
To get good at floating drywall, it's important to follow five main steps carefully. Starting with preparing the wall to adding the final touches, each step is crucial for smooth walls.
By focusing on details and using the correct methods, you'll get great results. Paying close attention to each part of the process is key to making your project look its best.
Key Takeaways
- Prepare the wall surface meticulously for flawless results.
- Measure and cut drywall with precision and attention to detail.
- Install drywall securely, ensuring level and flush alignment.
- Achieve a seamless finish through meticulous floating, sanding, and finishing techniques.
Properly Prep the Surface
Before you begin floating drywall, make sure the surface is properly prepped for best results. Surface preparation is key to achieving a smooth finish. Start by inspecting the surface for any imperfections such as bumps, dents, or holes. Use a putty knife to fill in these areas with joint compound and allow it to dry completely. Once dry, sand the entire surface using a sanding technique that guarantees evenness.
When sanding, make sure to use a fine-grit sandpaper to avoid damaging the drywall. Work in a circular motion, overlapping each pass to avoid creating uneven patches. Pay close attention to the edges and corners, as these areas tend to collect excess joint compound. After sanding, wipe down the surface with a damp cloth to remove any dust or debris.
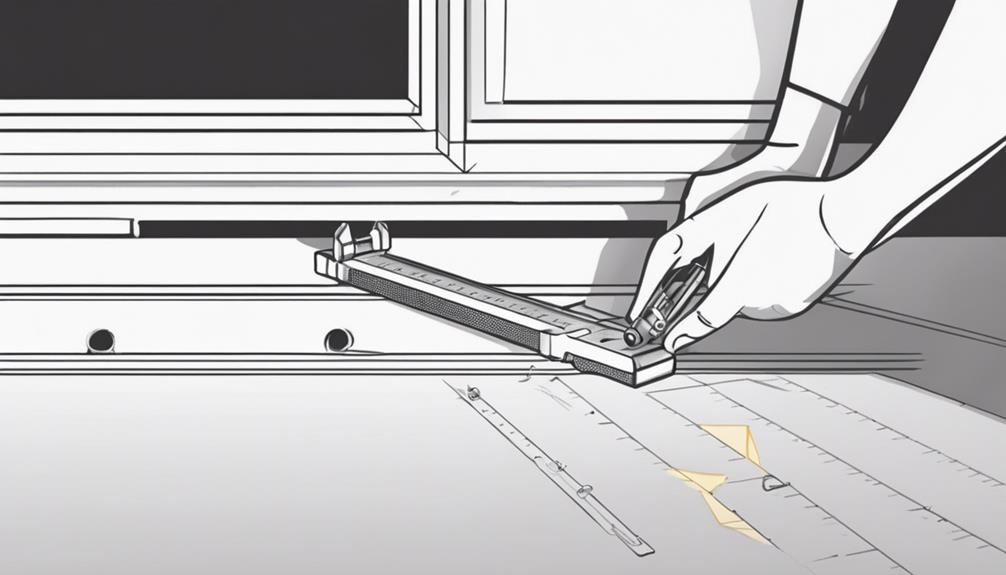
Measure and Cut Drywall Accurately
To confirm precise fitting, accurately measure and cut the drywall before installation. When it comes to cutting techniques and accuracy, follow these tips:
- Use the right tools: To guarantee accurate cuts, use a sharp utility knife or a keyhole saw. A T-square can help you create straight lines for cutting.
- Measure twice, cut once: Double-check your measurements before cutting to avoid mistakes. It's better to spend a little extra time measuring accurately than to deal with ill-fitting pieces later on.
- Score and snap method: When using a utility knife, score the drywall's face lightly along the cut line, then snap it along the scored line for a clean break.
- Cutouts and curves: For irregular shapes or curves, consider using a jab saw for more precision. Take your time to ensure smooth edges and a perfect fit.
Install Drywall With Precision
For precise installation of drywall, guarantee each panel is carefully aligned and securely fastened. When hanging drywall, make sure that the panels are level and flush against the studs using proper drywall hanging techniques. Start by positioning the first panel in the corner and work your way out, ensuring that each subsequent panel fits snugly against the previous one. Use a level to check for any bumps or uneven spots before securing the drywall in place.
To enhance your floating drywall skills, consider these tips for a flawless finish. When fastening the drywall, use screws instead of nails for a more secure attachment. Place the screws evenly along the studs to prevent the drywall from sagging over time. Additionally, be mindful of the spacing between screws to avoid creating weak points. By following these floating drywall tips and mastering drywall hanging techniques, you'll achieve a professional-looking result that will stand the test of time.
Float and Sand Seamlessly
Guarantee a seamless finish by floating and sanding the drywall joints meticulously to achieve a professional look that will last. To make certain a flawless result, follow these steps:
- Prep the Surface: Before sanding, make sure the joint compound is completely dry. Use a bright light to inspect the seams for any imperfections that need to be addressed before proceeding.
- Choose the Right Sandpaper: Opt for fine-grit sandpaper (120 to 150 grit) for the initial sanding to avoid damaging the joint compound. Progress to even finer grits for a smoother finish.
- Use Proper Sanding Techniques: Apply even pressure while sanding in a circular motion to blend the seams seamlessly. Feather the edges to create a gradual shift between the compound and the drywall.
- Apply Float Finish Methods: After sanding, apply a thin layer of joint compound over the seams to fill in any remaining imperfections. Feather and blend the edges for a smooth, professional finish.
Prime and Paint for a Perfect Finish

Prepare the drywall surface thoroughly before priming and painting to guarantee a flawless and professional finish. Start by cleaning the surface to remove any dust or debris. Fill in any holes or imperfections with spackling compound, and sand them smooth once dry. Use a high-quality primer to assure proper adhesion and a smooth base for the paint.
When choosing paint colors, consider the overall aesthetic of the room and the desired mood. Lighter colors can make a space feel more open and airy, while darker shades add a sense of coziness.
When it comes to painting techniques, consider using a roller for larger areas and a brush for edges and corners. Apply multiple thin coats rather than one thick coat to prevent drips and assure even coverage. Don't forget the finishing touches, like trim and accents, to complete the look. Proper color selection can transform a room and enhance the overall design.
Conclusion
Having navigated through the five essential steps for mastering floating drywall, you're now equipped to create walls that embody both strength and elegance.
Precision in measuring, meticulous installation, and refined finishing techniques are the pillars that ensure your walls stand out in both durability and aesthetics.
As you step back to admire the seamless blend of art and functionality, it's worth pondering how the spaces we inhabit are transformed by the quality of their surfaces.
Will the perfection of your newly renovated walls inspire a broader appreciation for the spaces we craft and inhabit?