

Pumpkin contests have taught me that the simplest changes can often score the highest marks with viewers.
I tend to notice entries that use unexpected colors or textures before anything else.
Balancing a bold idea with something that still feels like a pumpkin keeps the display looking intentional.
Many people overlook how well small details photograph when judges review the submissions later.
My own approach usually starts with choosing a theme that works on a table or porch without needing extra props.
Create A Floral Pumpkin Centerpiece

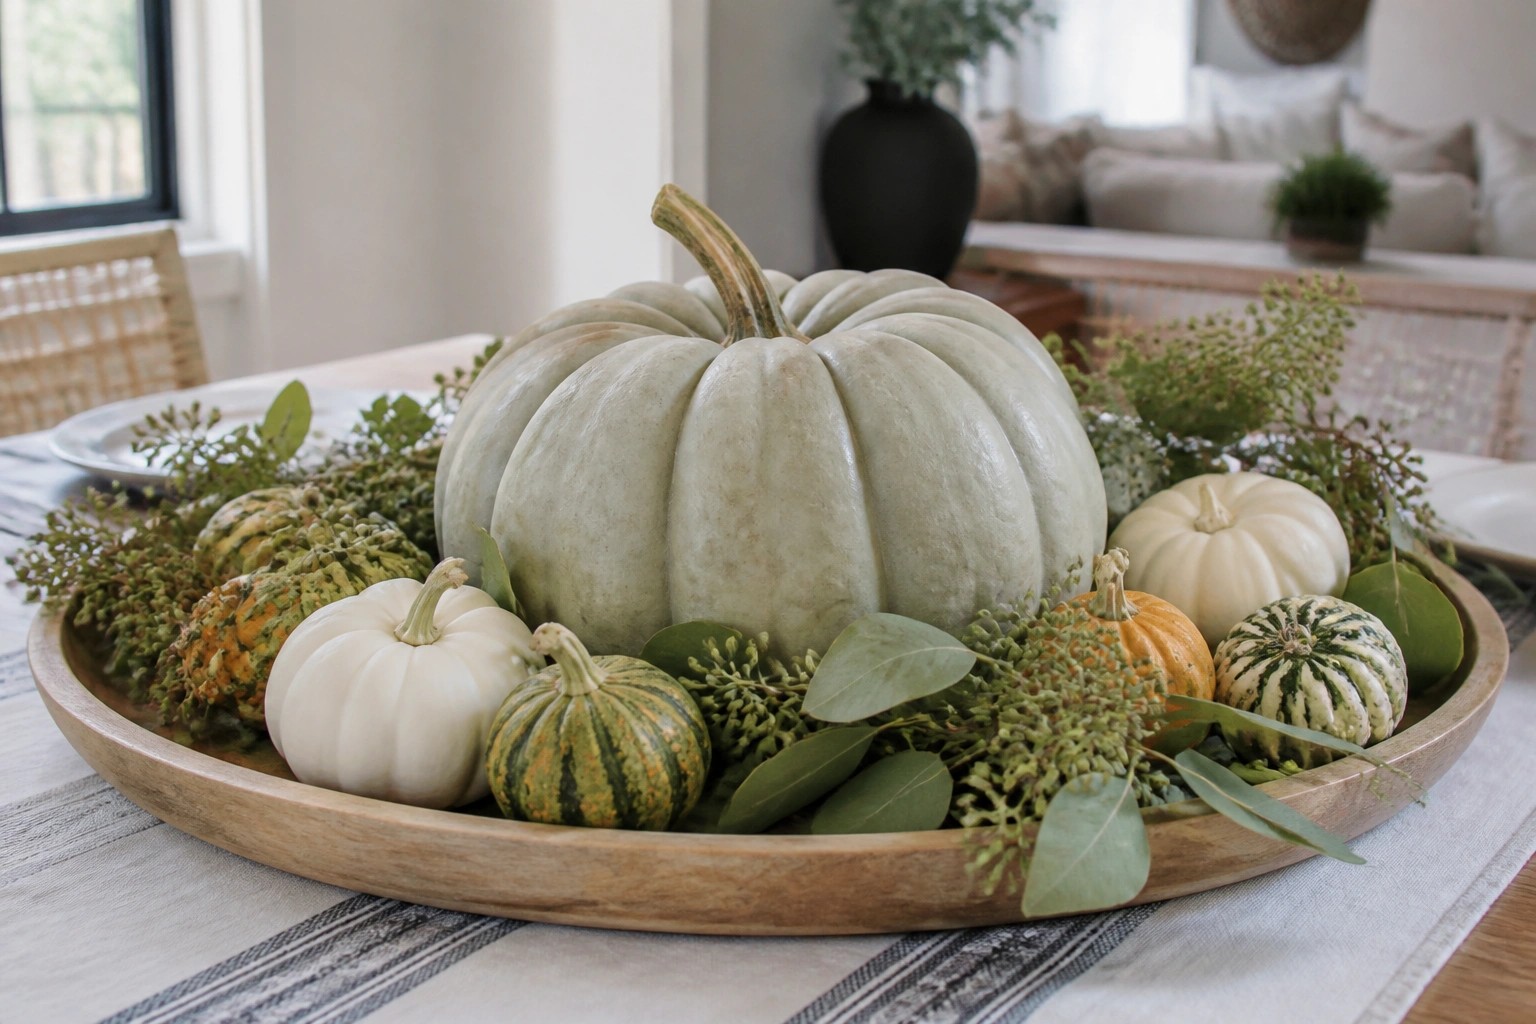
A large white pumpkin works well as the base for a contest entry because it stands out without needing paint or carving. Adding a few white roses and greenery on top turns it into a clean focal point that still reads as Halloween when paired with smaller pumpkins around the edges.
Place the finished pumpkin on a wooden tray and surround it with two or three smaller striped or solid pumpkins to keep the look balanced. This setup stays simple, uses few materials, and lets the main pumpkin carry the idea.
Arrange Pumpkins Along The Mantel
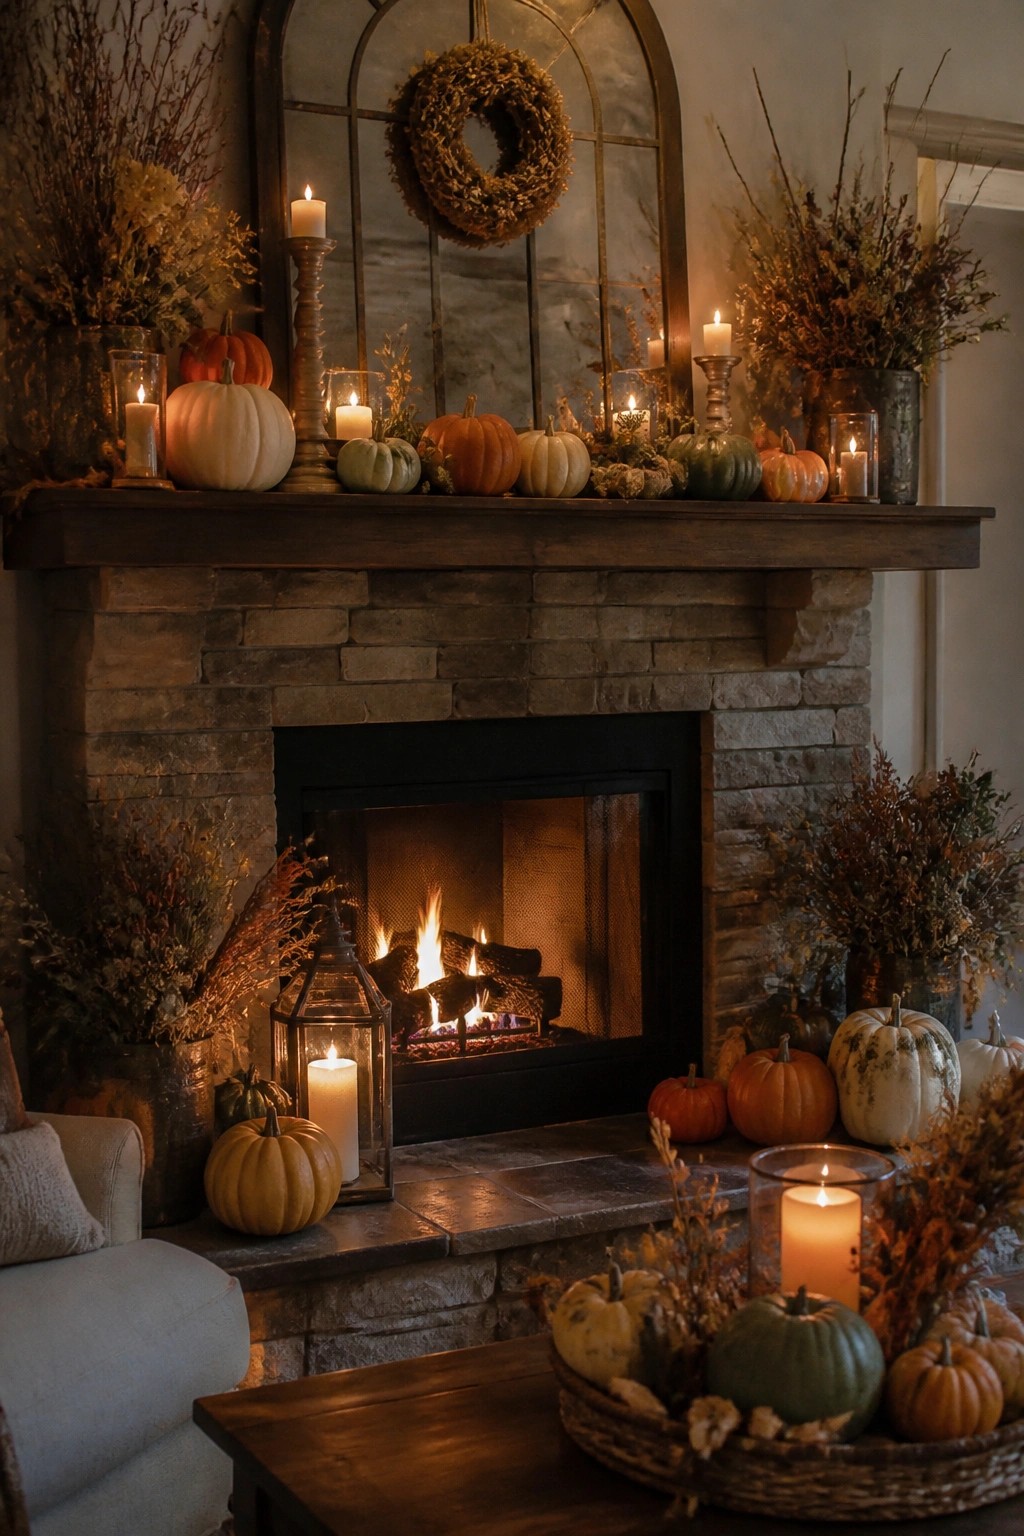
A mantel full of pumpkins makes an easy and effective contest entry because it turns one surface into the main focus. Mix different sizes and colors so the display feels full without needing extra props or complicated setups.
Place the largest pumpkins first, then fill gaps with smaller ones and a few candles for light. This works best on a wide mantel where you can spread them out in a loose row. Keep the rest of the room simple so the pumpkins stay the center of attention.
Group Pumpkins Of Different Sizes And Colors On A Console

A simple way to make pumpkins stand out is to gather several varieties together in one spot instead of spreading them around. The mix of smooth orange ones, smaller white pumpkins, and a couple of darker or striped types creates interest without needing extra props or bright colors.
Place the grouping on a console table in an entryway or hallway where people will see it right away. Use a neutral runner underneath so the pumpkins stay the focus, and keep the number of pieces to about eight or ten so the display stays balanced rather than crowded.
Recommended Products

Self-Adhesive rhinestones for crafts: These bling jewel stickers are made of acrylic, shiny and sparkly, You can easily take off the bling rhinestones sticker and stick on craft and activity, will not leave marks when peeling off

🎃 Suitable For:Halloween party,Theme party decorations supplies

Complete pumpkin decor Set–This 20-piece autumn decor set includes glittered artificial plastic pumpkins(4 orange,4 green, and 2 red) paired with shimmering acorns.The color palette and textured details perfectly capture the festive mood of autumn,making it a charming addition to your home for Thanksgiving, Halloween,or seasonal gatherings
Group White Pumpkins In A Shallow Bowl

A simple cluster of white pumpkins in one bowl can stand out in a pumpkin decorating contest because it feels clean and intentional. The varying sizes add interest without needing paint, carving, or extra props, and the neutral color lets the shape of the pumpkins do the work.
Place the bowl on a console or entry table and keep everything else minimal. Three to five pumpkins is usually enough. A few dried branches nearby can add height, but the pumpkins remain the clear focus so the display reads as a contest entry rather than just seasonal filler.
Paint A Vintage Scene On Your Pumpkin
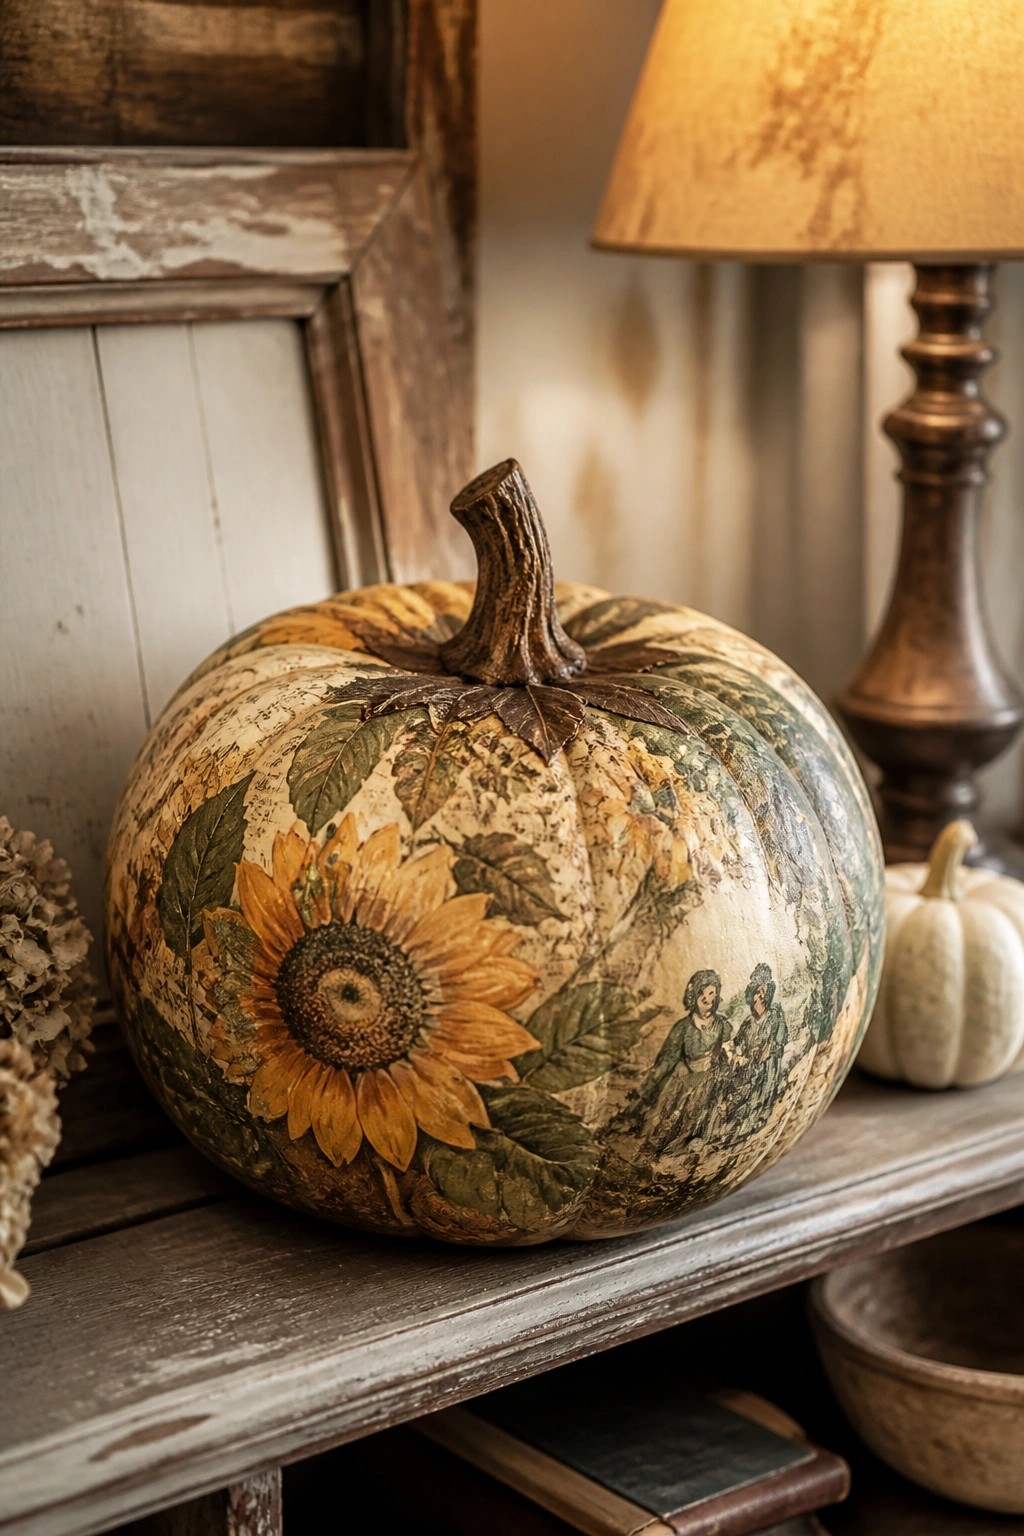
A painted pumpkin with a full illustration can stand out in any contest. The large surface gives room for details like figures, flowers, and layered colors that turn an ordinary gourd into the main attraction.
Choose a smooth pumpkin and sketch or transfer your scene first. Keep the rest of the display simple so the artwork stays the focus. A single lamp nearby helps the colors show without adding clutter.
Group Metallic Pumpkins On A Coffee Table
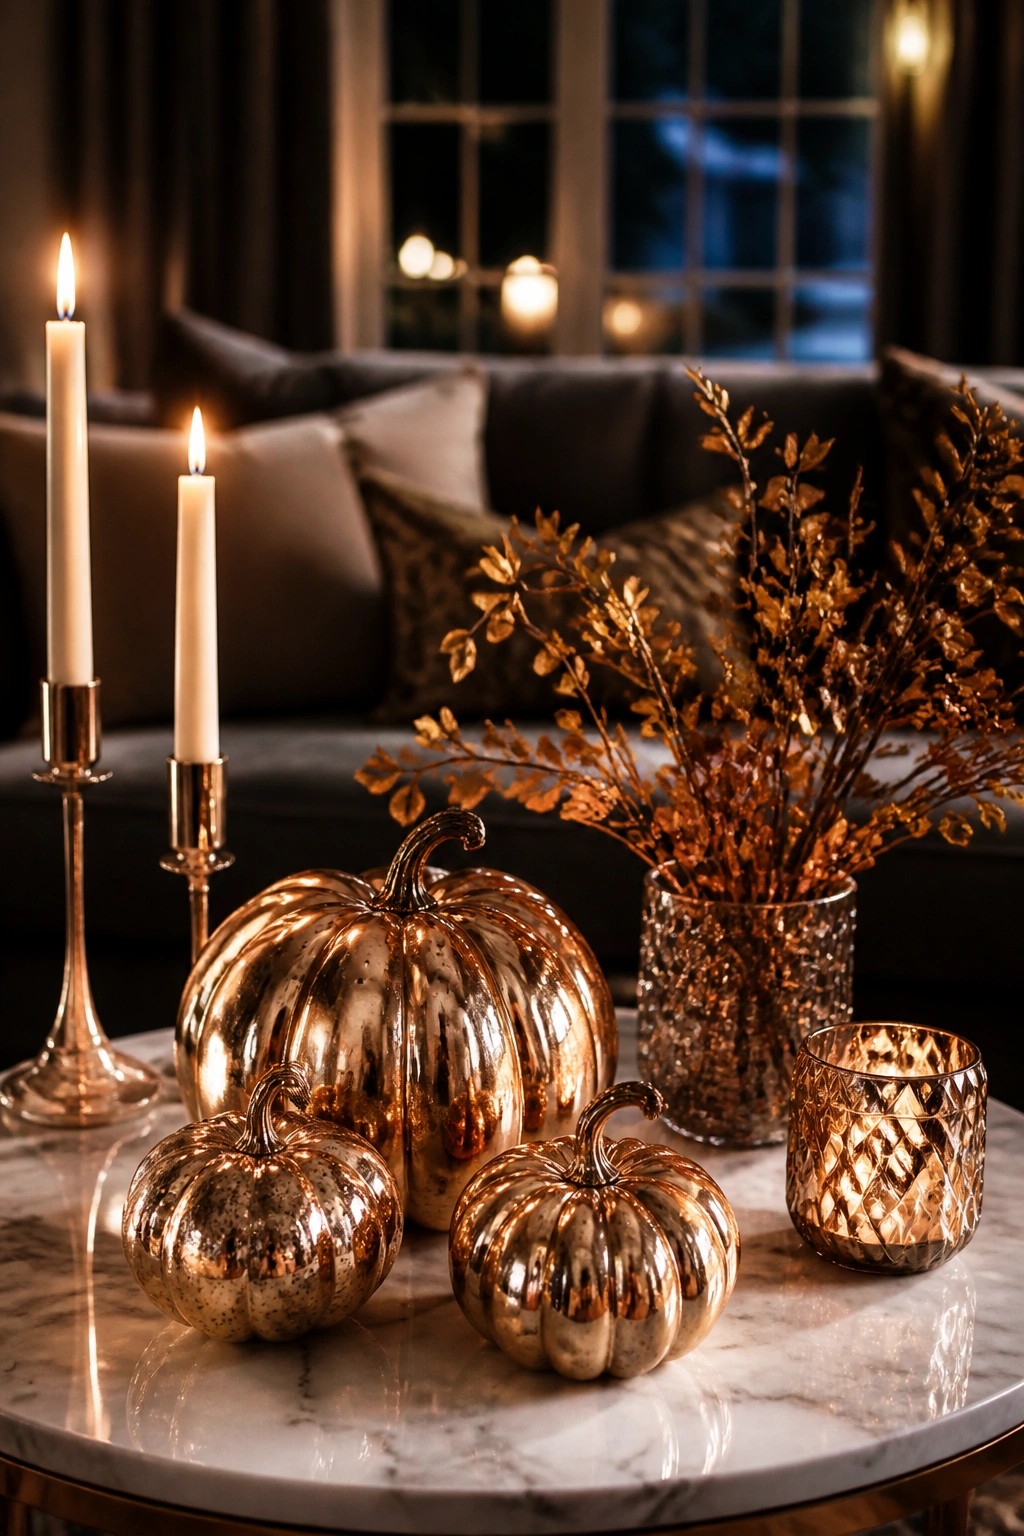
Metallic pumpkins stand out as a clean way to bring Halloween into a living room without going overboard. The reflective finish catches light from nearby candles and makes the group feel intentional rather than scattered. Different sizes keep the arrangement interesting while the neutral metallic tone fits easily with existing furniture.
To copy the look, gather three or four pumpkins in varying heights and give them a copper or gold finish with spray paint or leafing. Set them together on a low table and add a pair of tall candles on either side. The setup works best when the rest of the surface stays simple so the pumpkins remain the clear focus.
Carve A Tree Design Into Your Pumpkin

A tree carving gives a pumpkin more presence than a basic face. The branches and roots create a clear shape that shows up well once the light is inside.
Set the pumpkin on a console or side table so the glow can spread across the surface. Keep the rest of the area simple so the carving stays the main focus.
Paint A Portrait On Your Pumpkin

Painting a realistic face onto a pumpkin gives you a contest entry that feels more like art than typical carving. The soft colors and floral details around the hair keep it elegant while still reading as Halloween.
Start with a smooth pumpkin and build the face slowly with acrylics. Focus on the eyes and mouth first, then add flowers last so they frame the features without crowding them. This works especially well on a mantel or console where people can see the details up close.
Mix Painted Pumpkins On The Porch
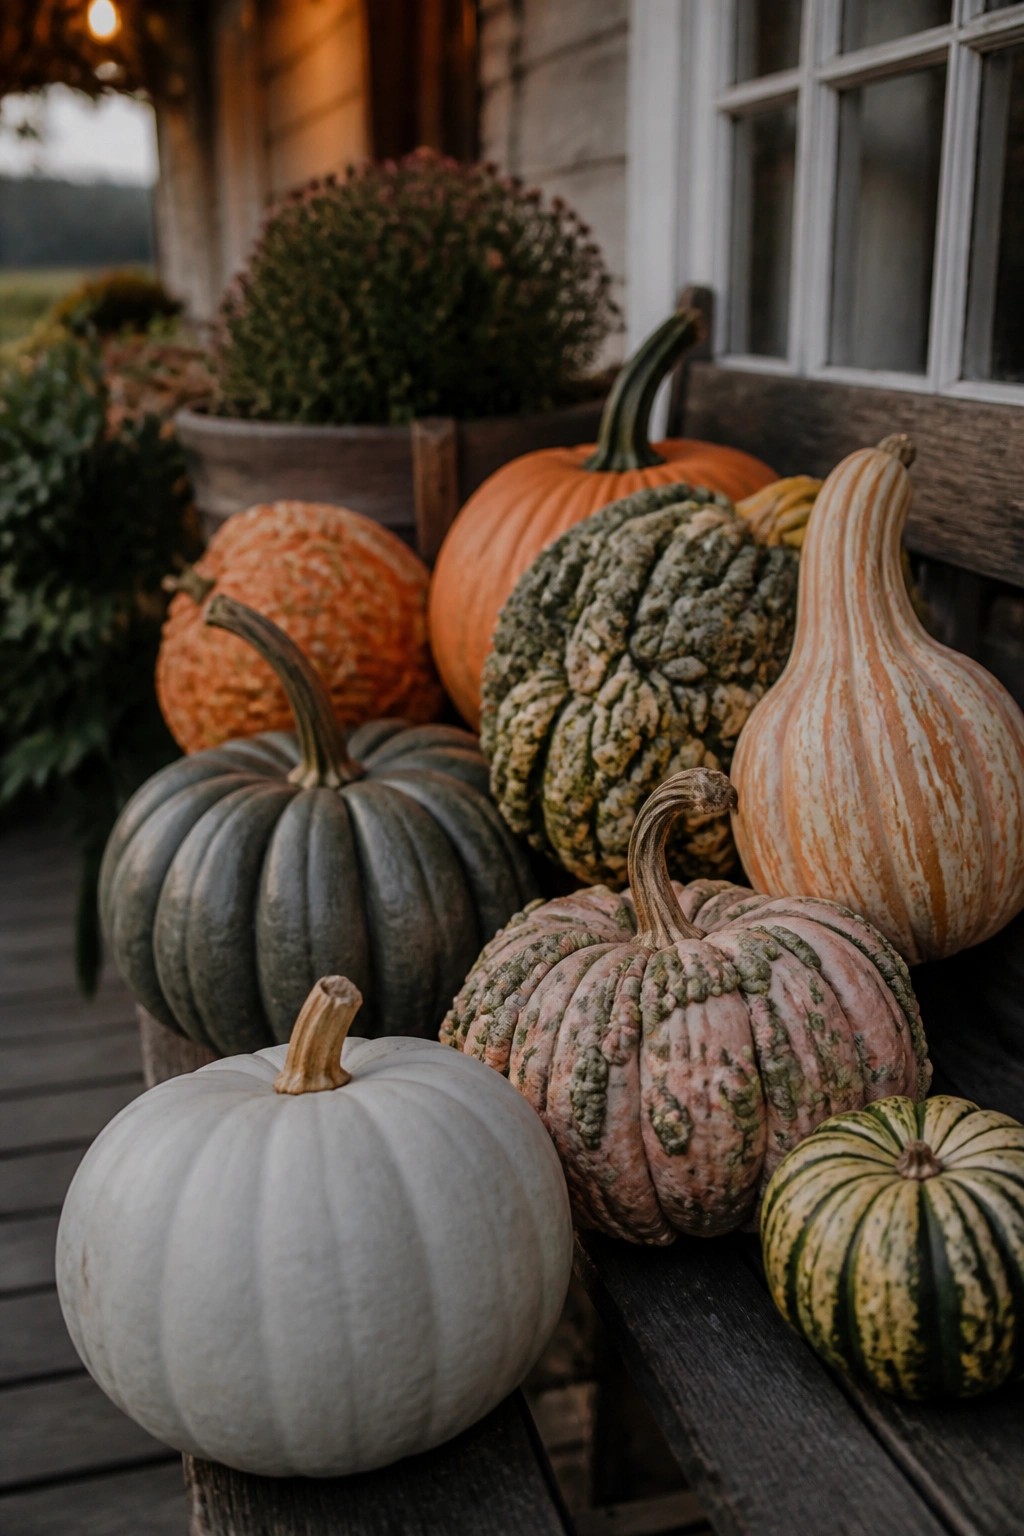
A simple way to stand out in a pumpkin decorating contest is to gather several pumpkins in different colors and textures and set them together on the front porch. The mix of white, gray, orange, and striped varieties creates an eye-catching group without needing extra props.
Place the largest pumpkins at the back and work smaller ones toward the front so every piece stays visible. This setup works best on steps or a bench where people can see the full collection at once.
Stack Pumpkins In Different Sizes And Colors
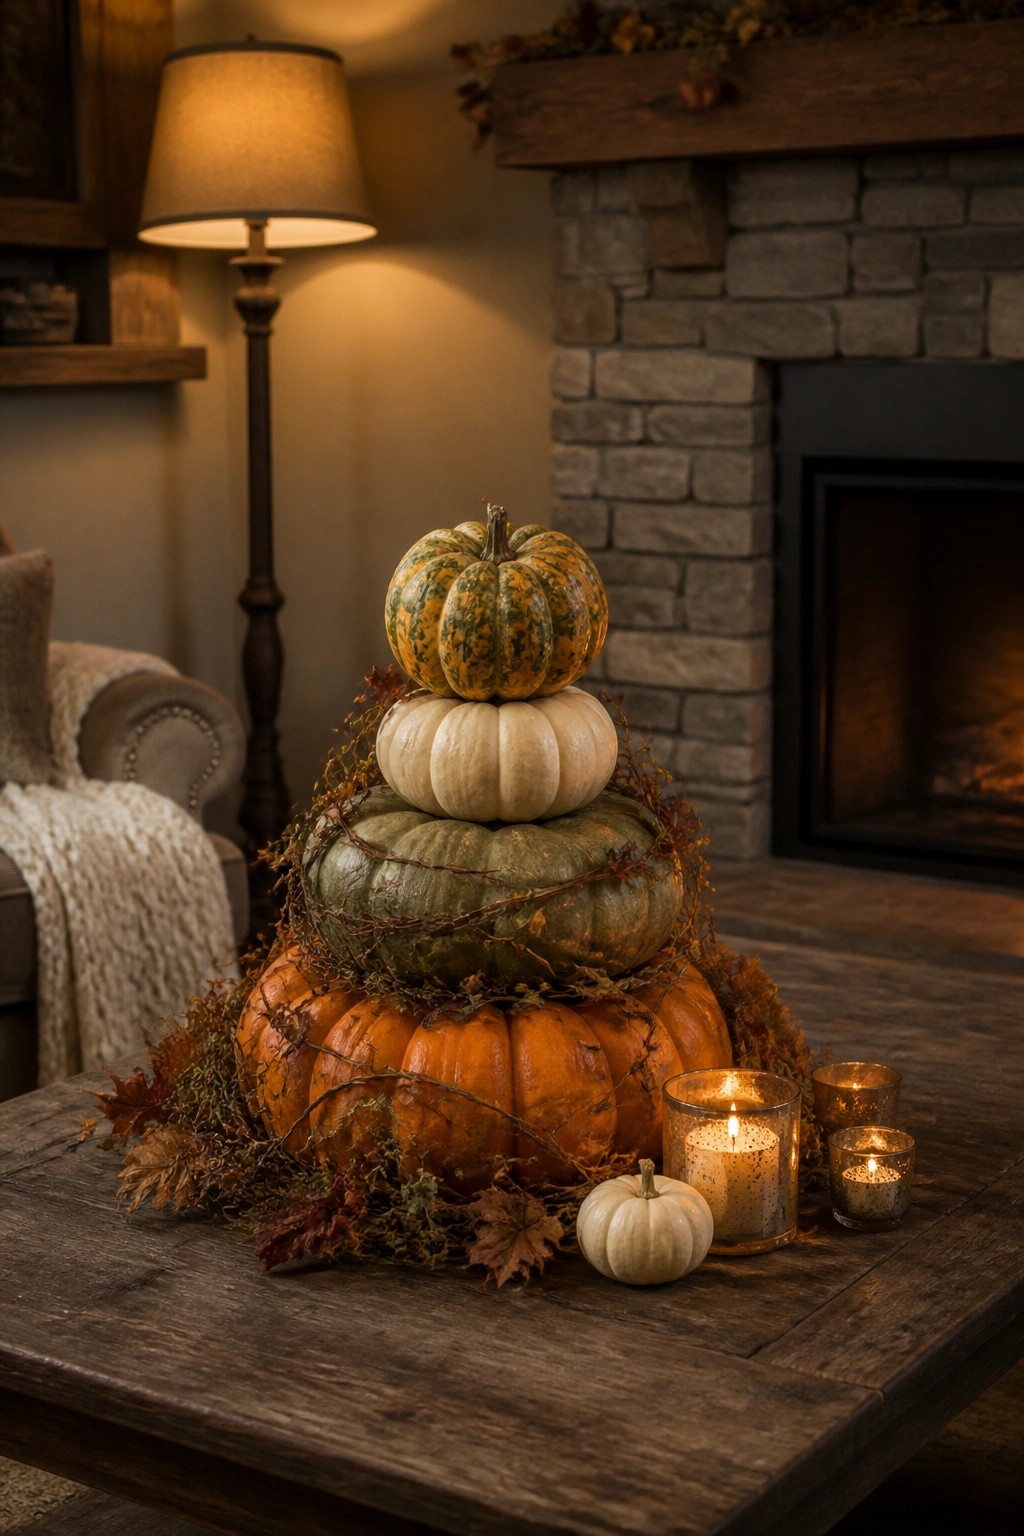
Stacking pumpkins of varying sizes and colors creates a simple but striking table centerpiece that stands out in any room. The mix of orange, green, white, and mottled pumpkins gives the arrangement visual interest without needing extra props or complicated carving.
Place the largest pumpkins at the base and work upward with smaller ones, tucking in a few dried vines or leaves for texture. This works well on a coffee table or dining surface where the height draws the eye, and you only need five or six pumpkins plus a few battery candles to finish the look.
Paint A Cute Character Face On Your Pumpkin

This painted pumpkin wins attention with its big blue eyes, purple hair strokes, and ring of bright flowers around the stem. The cartoon style feels cheerful and stands out in a contest without needing extra props or lights.
Start with a light blue base coat, then add the eyes and mouth using simple acrylic paints. Glue or press small flowers around the top while the paint is still workable. Place it on a table or entry surface where people can see the details up close.
Style A Black Painted Pumpkin As Your Mantel Centerpiece

A solid black pumpkin makes a strong contest entry because the dark finish turns a familiar shape into something striking. Place it dead center on the mantel so the ridges catch the light and the curved stem adds height without extra props.
This idea works in any room with a fireplace or console. Pick a large pumpkin, apply two or three coats of flat or metallic black paint, and keep the rest of the mantel simple with just a pair of black candles on either side.
Use A Pumpkin As A Floral Centerpiece
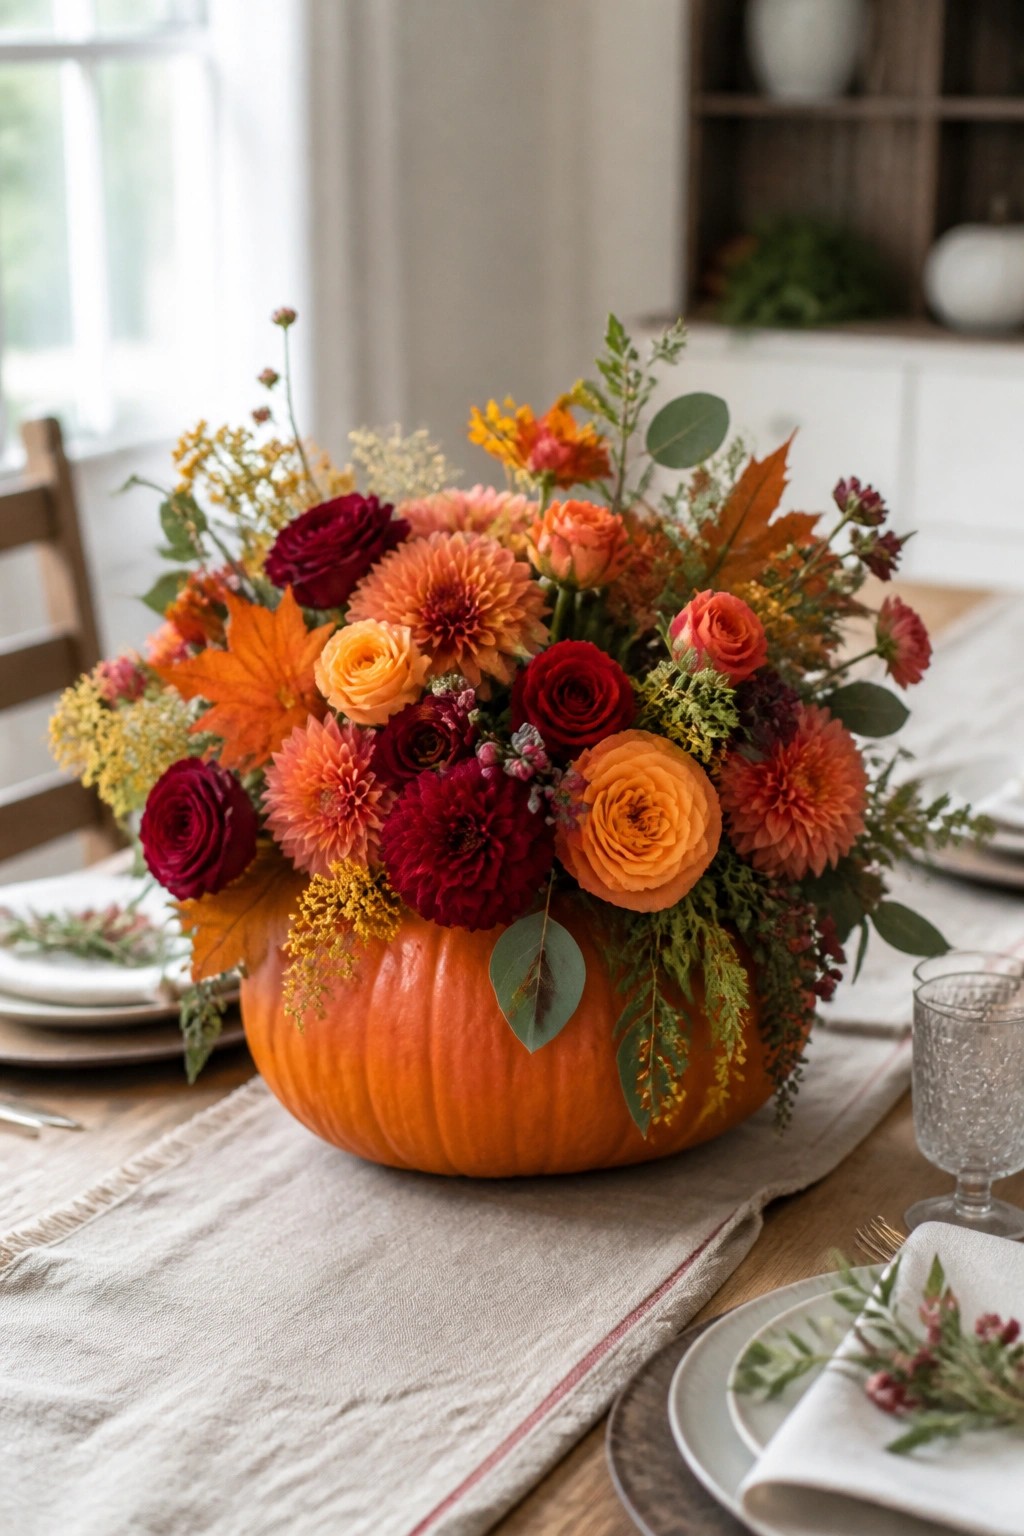
Hollowing out a pumpkin and filling it with flowers gives you a clean way to enter a pumpkin decorating contest. The bright orange shell becomes the vase, while the flowers and foliage add color and height without extra props or carving patterns.
Start with a medium sized pumpkin, scoop it clean, and drop in a plastic liner or soaked floral foam. Arrange a mix of dahlias, roses, and a few leaves to fill it out, then set it in the middle of the table. One well balanced arrangement is usually enough to make the whole setting feel finished.
Stack Pumpkins In A Tall Tower
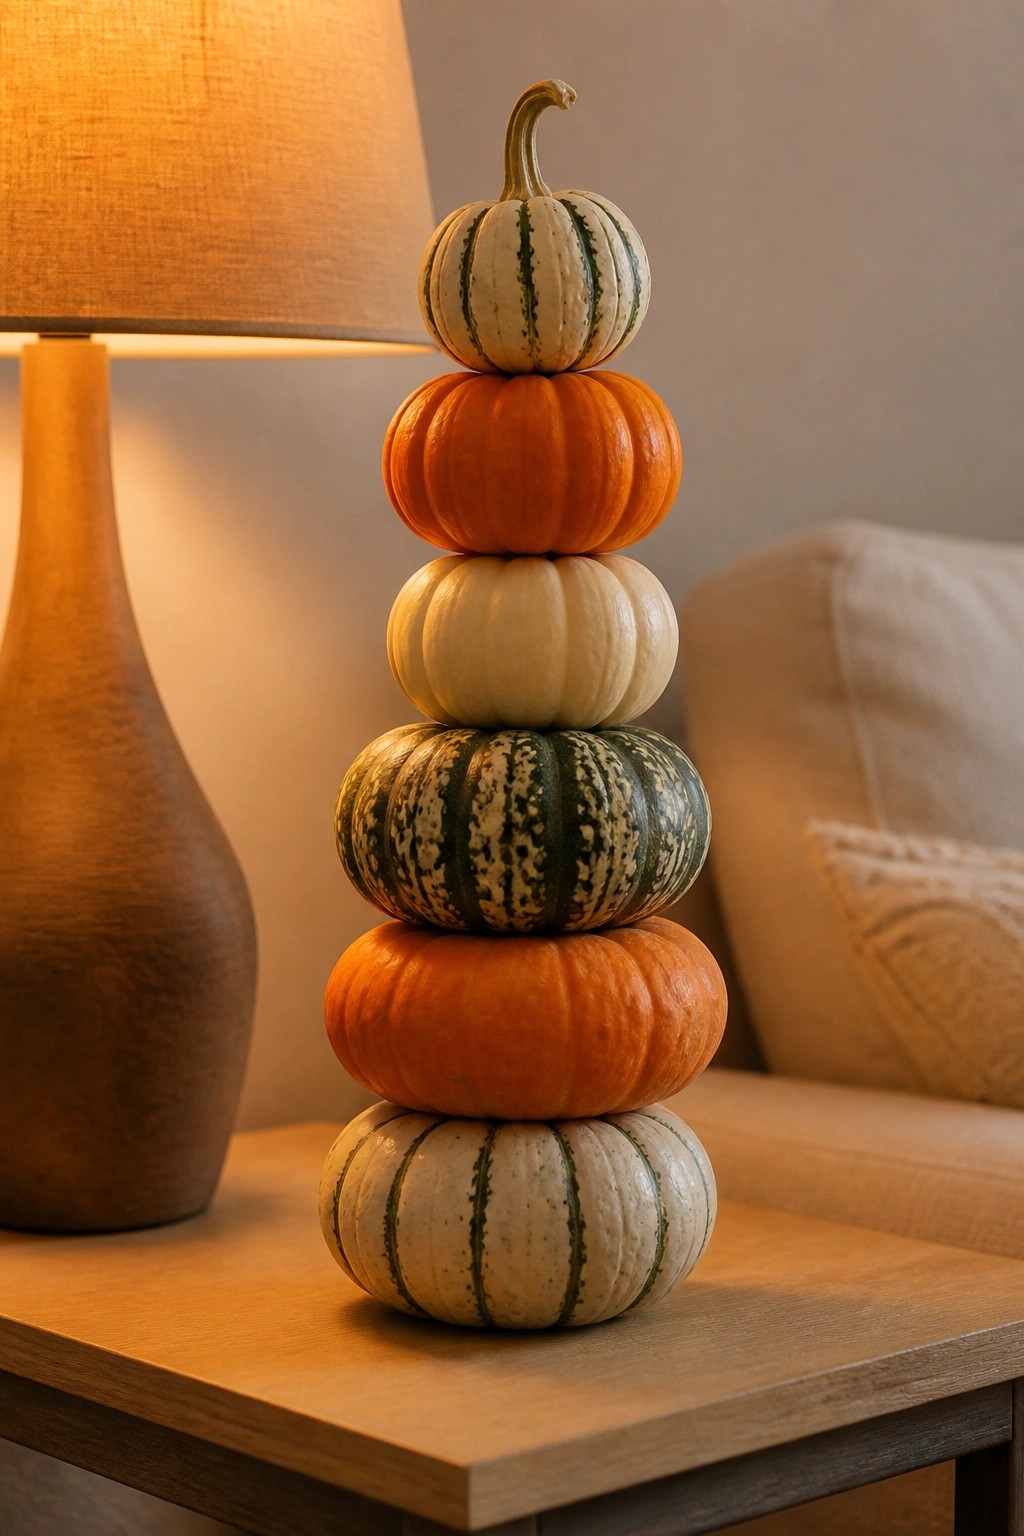
Stacking pumpkins of different sizes and colors creates a simple but striking display that works well for a decorating contest. The mix of orange, white, and green striped varieties adds visual interest without needing any carving or extra props. This approach turns ordinary pumpkins into the main focal point.
Place the largest pumpkin at the base and work upward with smaller ones for stability. A tabletop or side table gives the tower room to stand out while keeping the rest of the space uncluttered. Use five or six pumpkins total so the shape stays balanced and easy to move if needed.
Paint Simple White Designs On Pumpkins
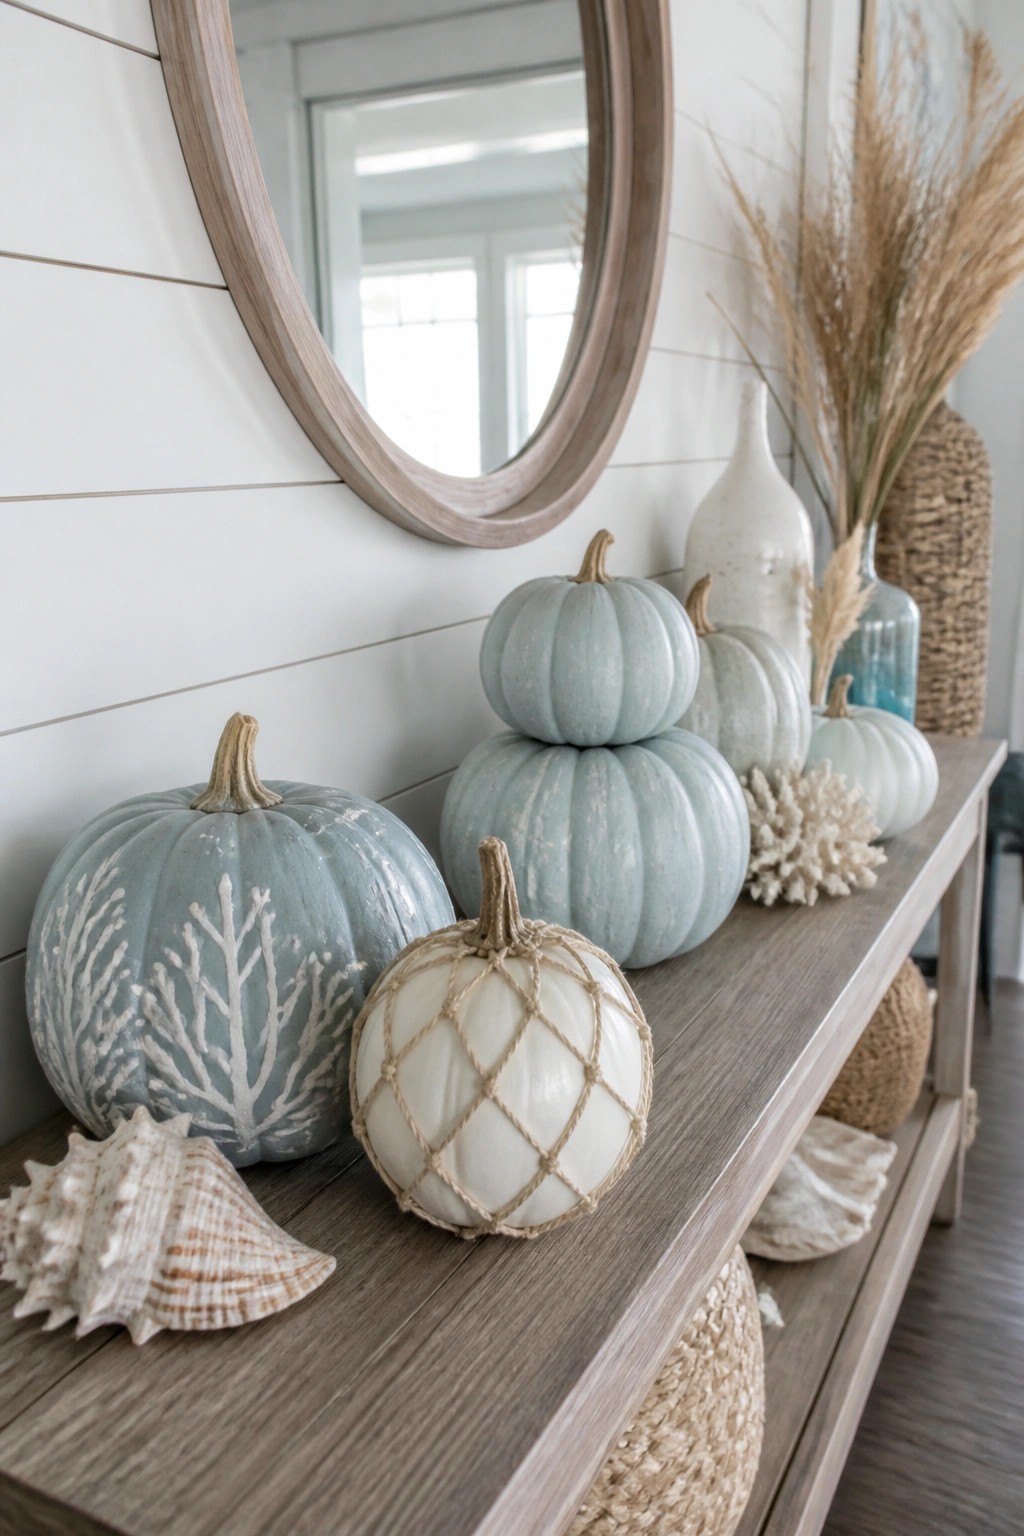
Painting pumpkins with basic white patterns gives them a clean look that still reads as Halloween without going overboard. The light blue base color paired with white coral style branches creates contrast that stands out on a console or entry table while keeping the overall feel neutral and easy to style with other pieces.
This approach works well for anyone who wants to enter a pumpkin contest but prefers to skip bright orange or heavy carving. Use a few painted pumpkins as the main group and add one wrapped in rope for extra texture. The result stays simple but still feels like a deliberate seasonal display.
Group Painted Pumpkins On A Mantel
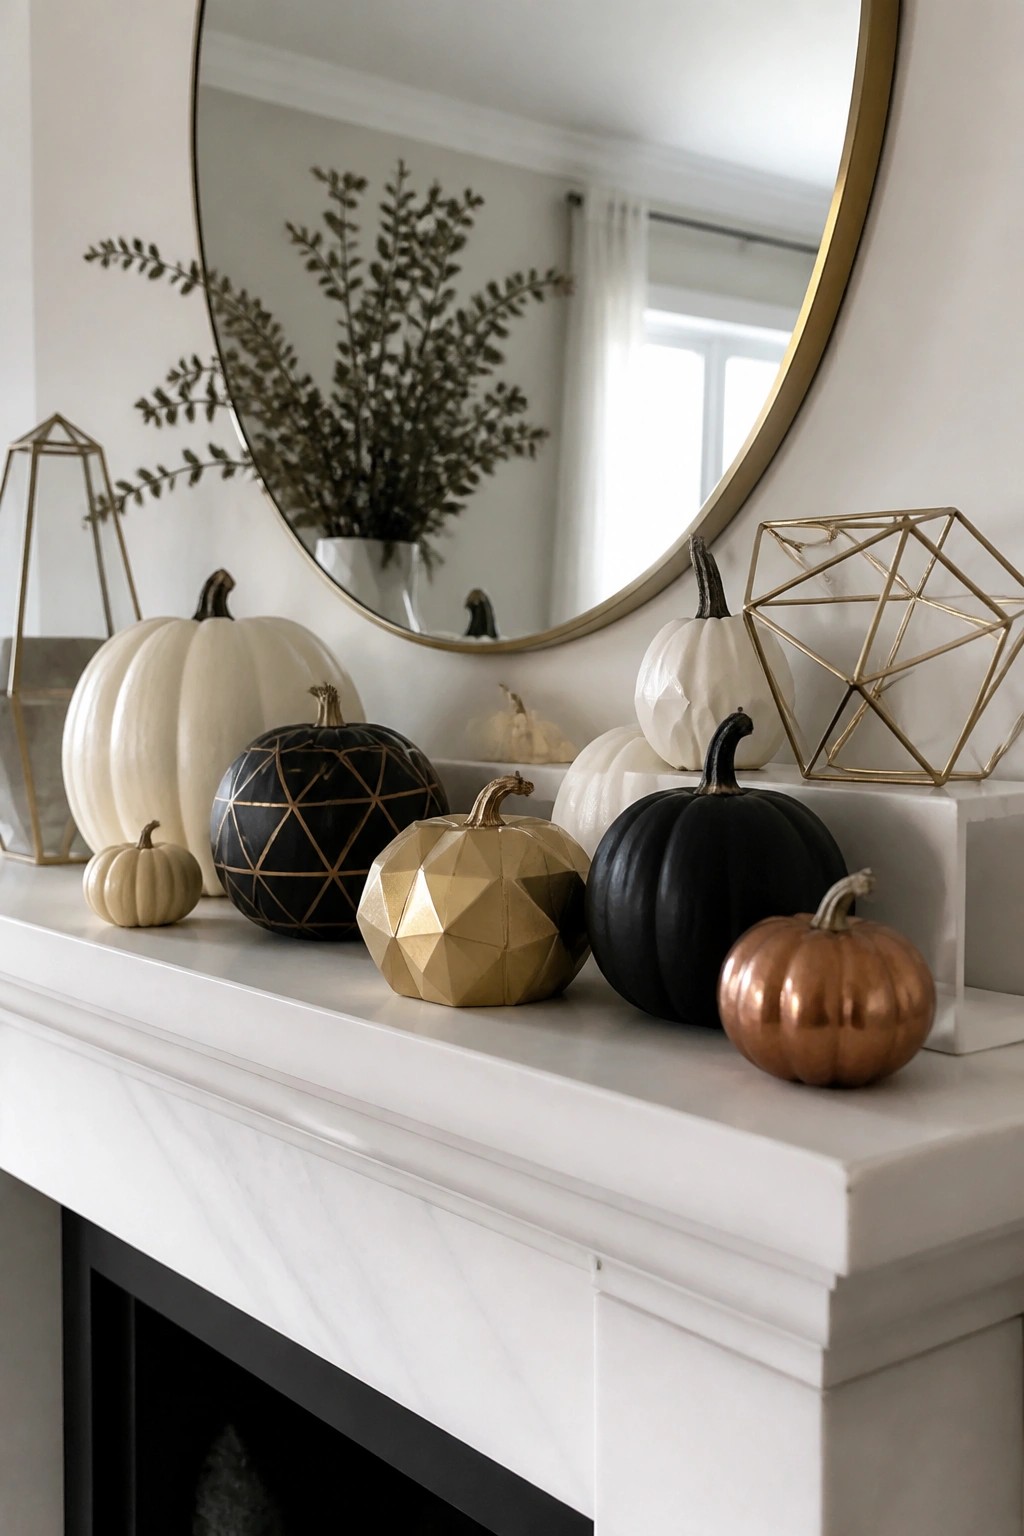
A mantel makes an easy spot to show off pumpkins that have been painted or finished in different ways. Here the display mixes plain white pumpkins with black ones that have gold lines, a faceted gold pumpkin, and a copper one that catches the light. The variety in shape and finish keeps the look interesting without needing extra props.
To copy the idea, start with pumpkins in a few sizes and paint them in metallic tones or simple patterns. Place the largest ones in the middle and tuck smaller ones toward the ends. A neutral wall and a simple mirror behind them let the pumpkins stay the main focus.
Recommended Products

PUMPKIN DESIGNS & PAINTS: This kids paint set features 4 Paint Sticks, 1 Glow in the Dark Sticker Sheet, 1 Regular Sticker Sheet, and 1 Instruction Sheet.
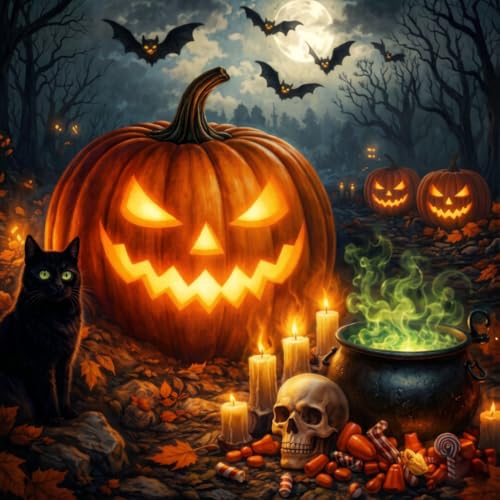
【Halloween Decor】This DIY diamond painting depicts glowing jack-o'-lanterns, a mysterious black cat, flying bats, a witch's magic cauldron, skull, candles and Halloween candies under the full moon night, creating a rich, mysterious and warm autumn Halloween atmosphere. Frame and hang it in your bedroom, living room, study or office to enhance festive vibes and bring you more pleasant leisure time. Meanwhile, you can also send this Halloween diamond painting as a gift to your friends, and they will absolutely love it.

LIGHT UPS JACK-O-LANTERN: Features 1 Recolorable Light-Ups Jack-O-Lantern, 3 Washable Markers, and an Instruction Sheet.
Paint Intricate Designs On Pumpkins

Painting pumpkins with detailed patterns gives you a clean look that still reads as Halloween without needing any carving tools. The designs stand out because they turn ordinary pumpkins into the main focal point, and the soft color choices keep the whole setup feeling put together rather than busy.
This idea works especially well on a front porch or entry steps where people can see the work up close. Start with a few larger pumpkins for the main patterns and add smaller ones with simpler lines so the display does not feel overwhelming. Use acrylic paints and seal them if you want the pumpkins to last longer outdoors.
Recommended Products

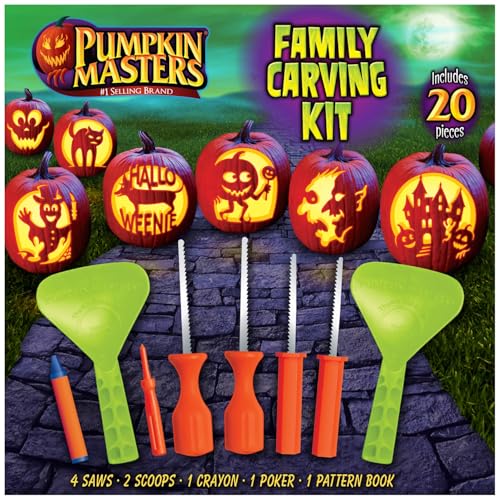
Complete Halloween Pumpkin Carving Kit – Includes 4 safe and durable carving tools plus 12 stencil patterns to help you design spooky, silly, and creative jack-o’-lanterns for Halloween.

(2) Carving Tools, (1) Marker, (1) Pumpkin Scooper
Group Metallic Pumpkins On A Shelf
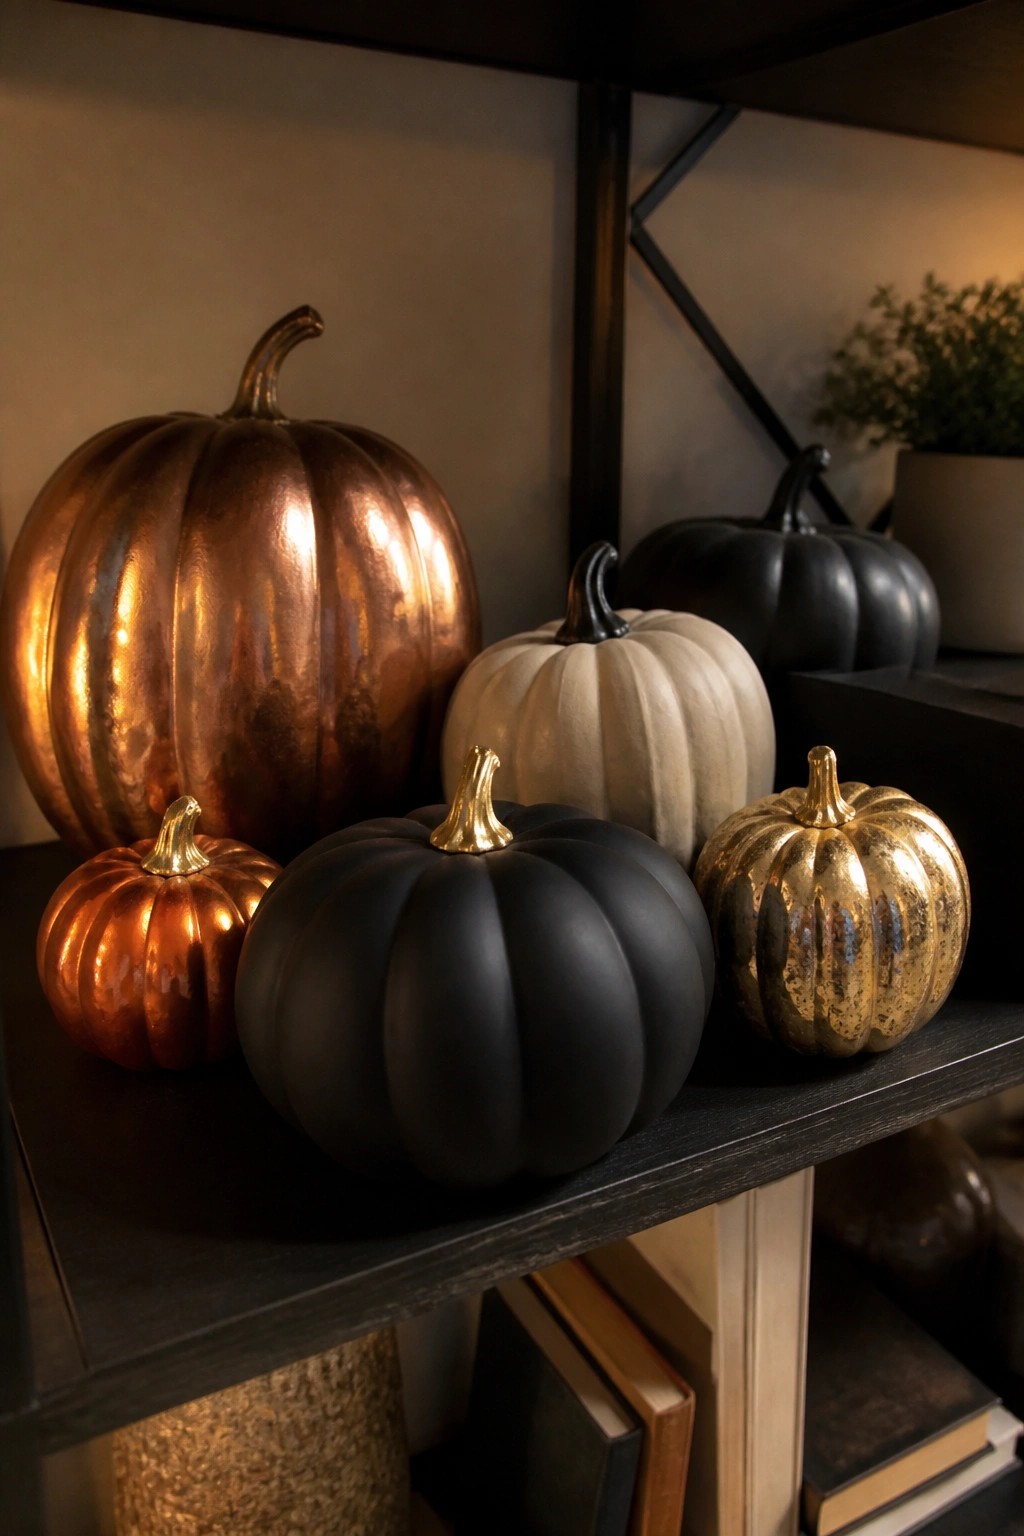
Metallic pumpkins stand out because the reflective finishes catch light and give plain shapes a polished look. A mix of copper, gold, and black finishes creates contrast without needing extra props or bright colors.
Place the largest pumpkin at the back and work smaller ones forward so each finish shows clearly. This works on any open shelf or mantel and needs only five or six pumpkins to feel complete.
Carve Floral Patterns Into Your Pumpkin

A pumpkin with detailed floral carvings and painted accents stands out because the flowers continue from the outer surface straight into the glowing interior. The cutout shape lets the light highlight the inner bouquet, turning a simple jack o lantern into something more like a piece of seasonal art.
Place the finished pumpkin on a side table or entry console where the light can show through. Use a small saw for the larger opening, then etch the stems and leaves with a detail knife before adding white and green paint for contrast. One well lit pumpkin is enough to carry the look without extra pieces.
Draw Florals On A Painted Pumpkin
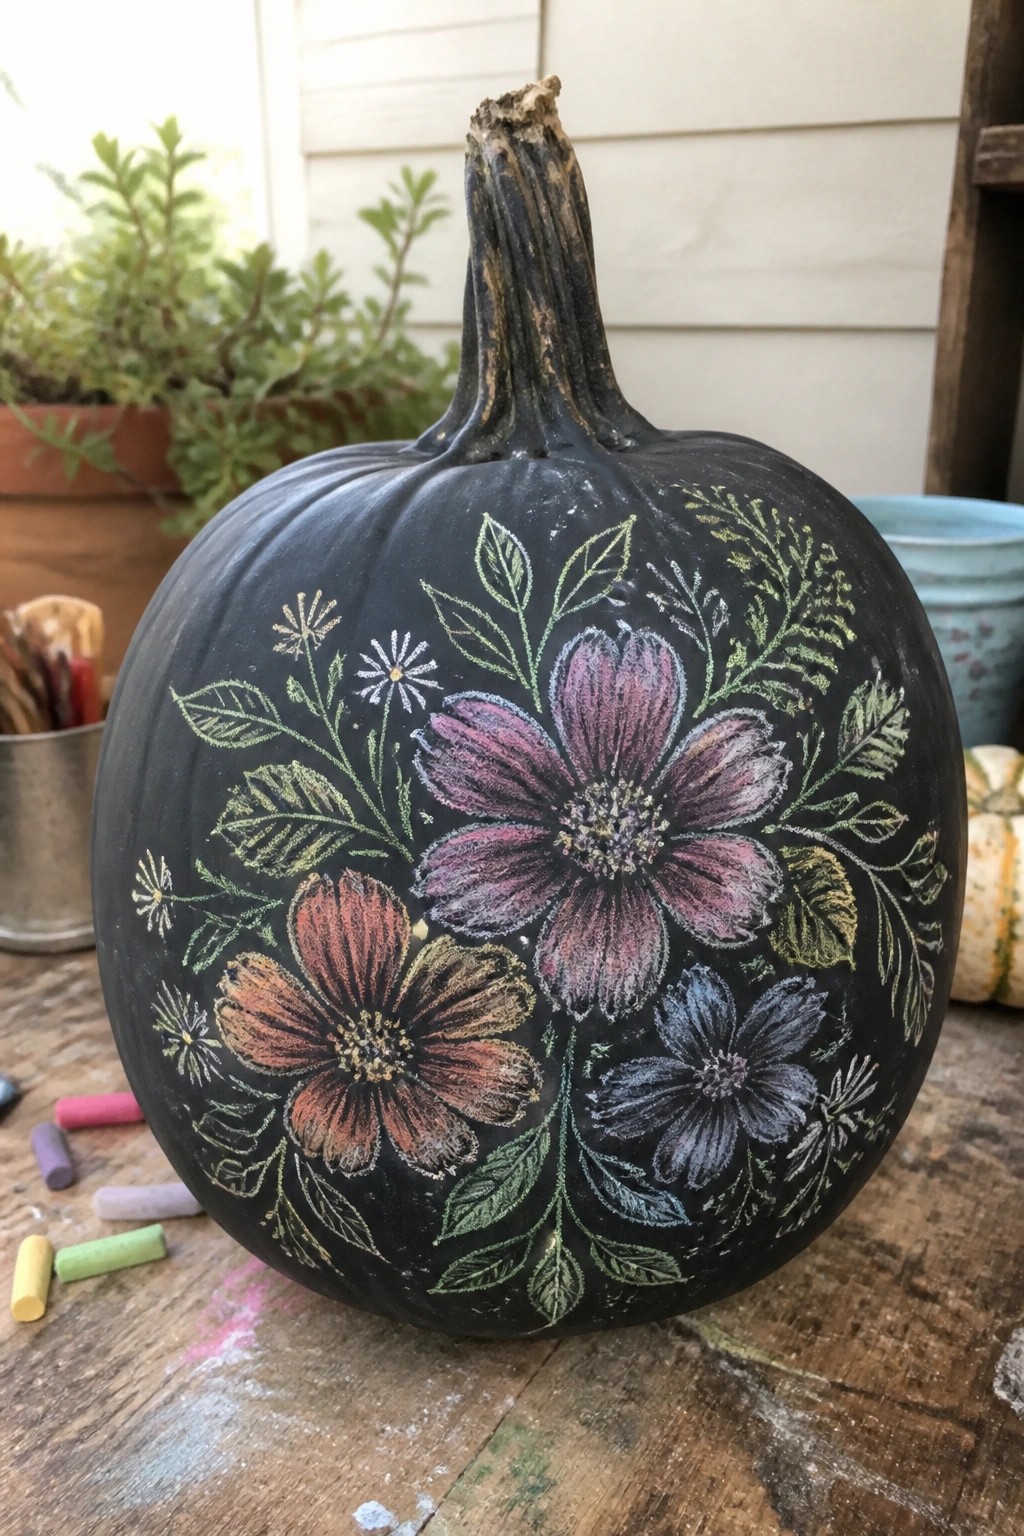
Painting a pumpkin black first turns it into a blank canvas that makes chalk colors stand out. The floral design here uses simple leaf shapes and layered flowers in different shades to create an eye catching pattern without needing perfect drawing skills. It works well for a contest because the contrast makes the details easy to see from a distance.
Start with a smooth pumpkin, give it a couple coats of black paint, and let it dry fully. Use chalk pastels or chalk markers to sketch leaves and flowers, then fill them in with light pressure so the colors blend softly. Keep the rest of the display minimal so the pumpkin stays the main focus.
Embellish A Velvet Pumpkin With Gold Leaves

This idea works well for a pumpkin decorating contest because it takes a single pumpkin and turns it into something more refined. The gold leaves trail down the sides and catch the light, while the curved stem adds height and shape without needing extra pieces.
Set the finished pumpkin on a console or side table where it can stand alone. Use one strong focal pumpkin and keep the surrounding items simple so the decorated surface stays the main point of interest.
Frequently Asked Questions
Q: How long will my decorated pumpkins stay fresh for a contest?
A: Pick a fresh pumpkin and store it in a cool spot. A quick bleach wipe helps it last longer through the event.
Q: Can I use regular craft paint on pumpkins or do I need something special?
A: Regular acrylic paint works fine on the surface. Just make sure the pumpkin is dry before you begin. Layer thin coats so nothing cracks.
Q: What if my kid wants to enter but the ideas seem too advanced?
A: Pick a simple design and let them add their own touches with stickers or markers. Many contest winners use basic shapes that stand out with bright colors. Focus on fun rather than perfection.