

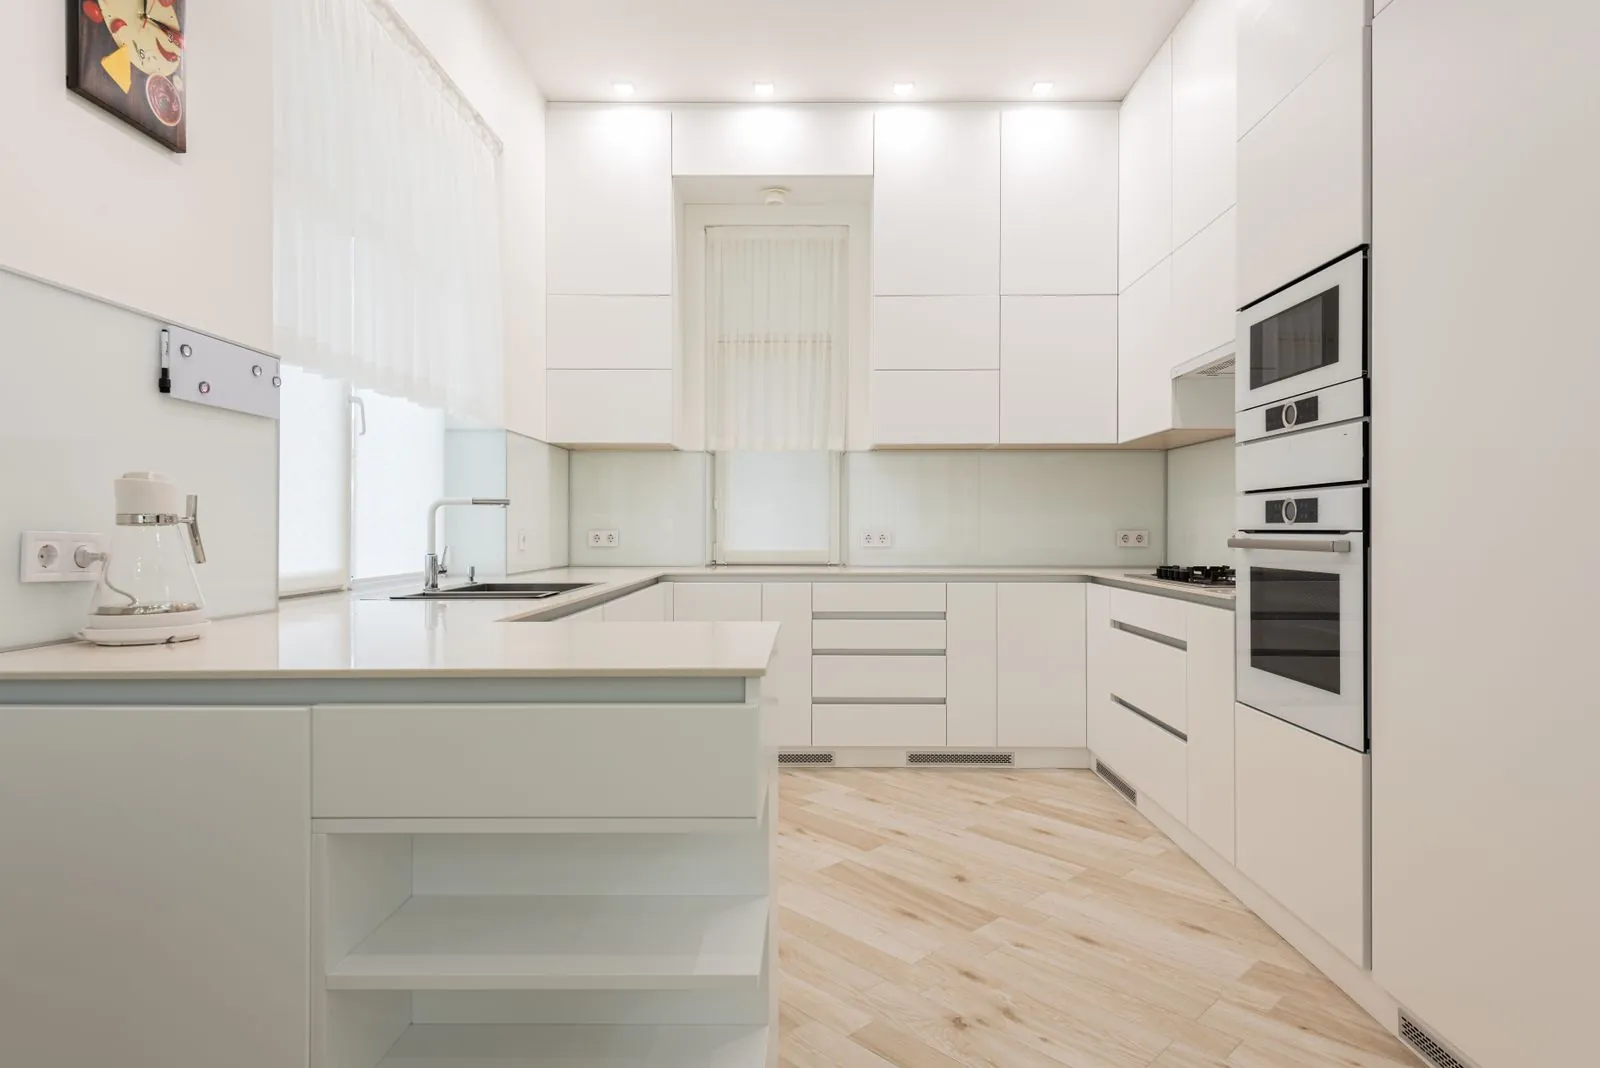
Most kitchen photos online come from big remodels with new everything. These ones are different. They are real kitchens that home bloggers painted and updated themselves, and they shared what it cost, what went wrong and what they would do again.
I picked eight I keep coming back to, from a $95 gray refresh to a deep green flip-house kitchen. Each photo belongs to the blogger credited under it, so click through to see the full before and after. If you are still choosing a color, my guides to blue kitchen cabinets and color schemes that work with oak are good places to start.
How I chose these kitchens
- They are the bloggers’ own kitchens or projects, not product shoots.
- Each one has a practical lesson you can use, whatever your budget.
- Together they cover white, cream, mint, gray and two shades of dark green.
1. Dated oak cabinets painted white, by hand
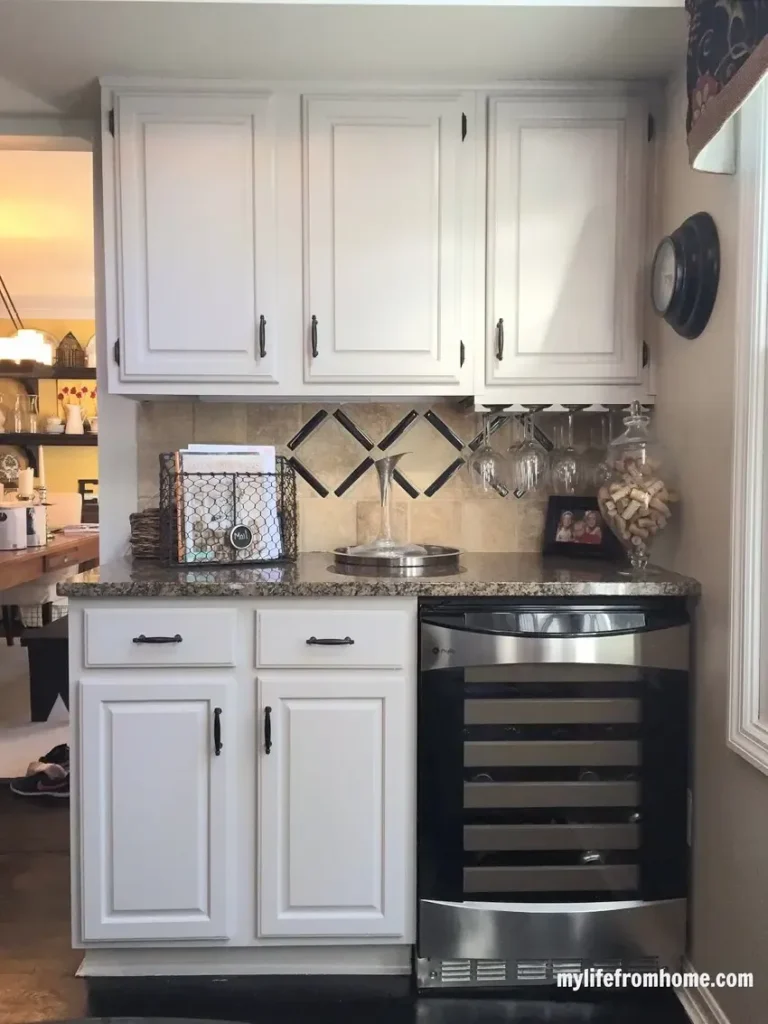
Gillian’s kitchen had the honey oak cabinets so many of us still live with: not ugly, just tired. She painted them white herself and shared the before, the messy middle and the finished room.
Two details stood out to me. She left the doors off two upper cabinets to show off white dishes and glassware, which is a free way to test open shelving before you commit. And she is honest about the cost in time: a few weeks of disruption for the family, against roughly a tenth of the professional quote she had been given.
Worth borrowing: before you rip off doors for open shelves, just take two off and live with it for a month. If you hate the dusting, screw them back on.
2. Mint cabinets and brass pendants in a first home
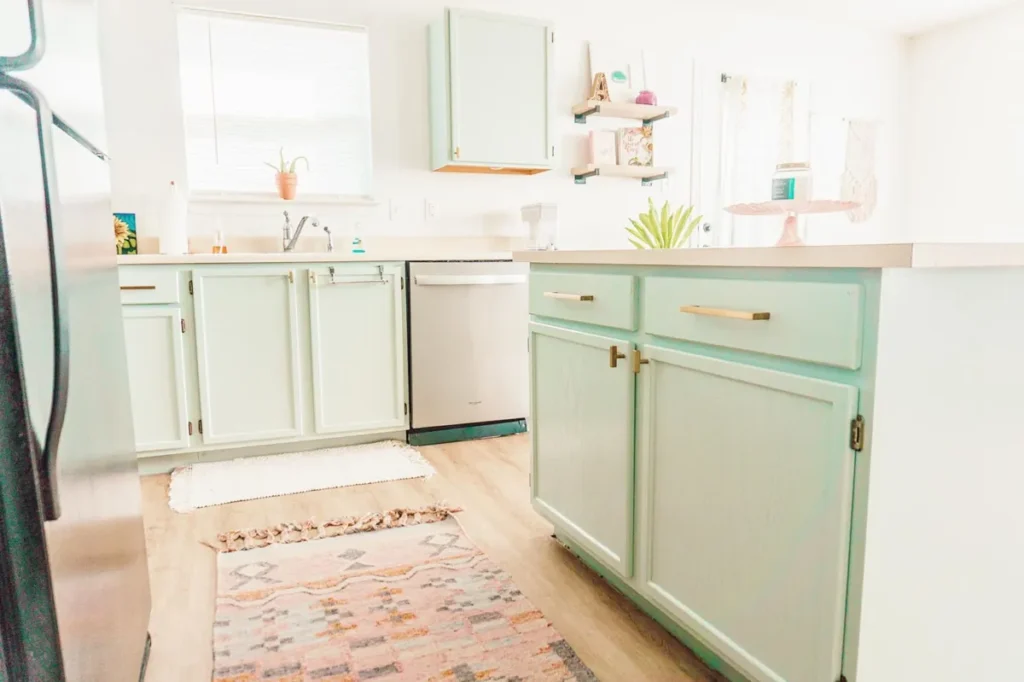
Abby’s first-home kitchen came with new cabinets that were very standard. She painted them in Sherwin-Williams Silvermist, a soft mint, and paired the paint with new vinyl plank flooring, can lights and two antique brass mini pendants.
She points out that it was her first time painting cabinets and walks through her steps: TSP to clean, wood filler in the gaps around the door frames, a foam mini roller for flat areas and an angled brush for edges, two coats with each coat drying overnight. It took her about a week.
Worth borrowing: a soft color like mint or sage hides small brush marks better than a stark white, which is forgiving if this is your first cabinet job.
3. Streaky stained cabinets turned creamy white in a 1960s ranch
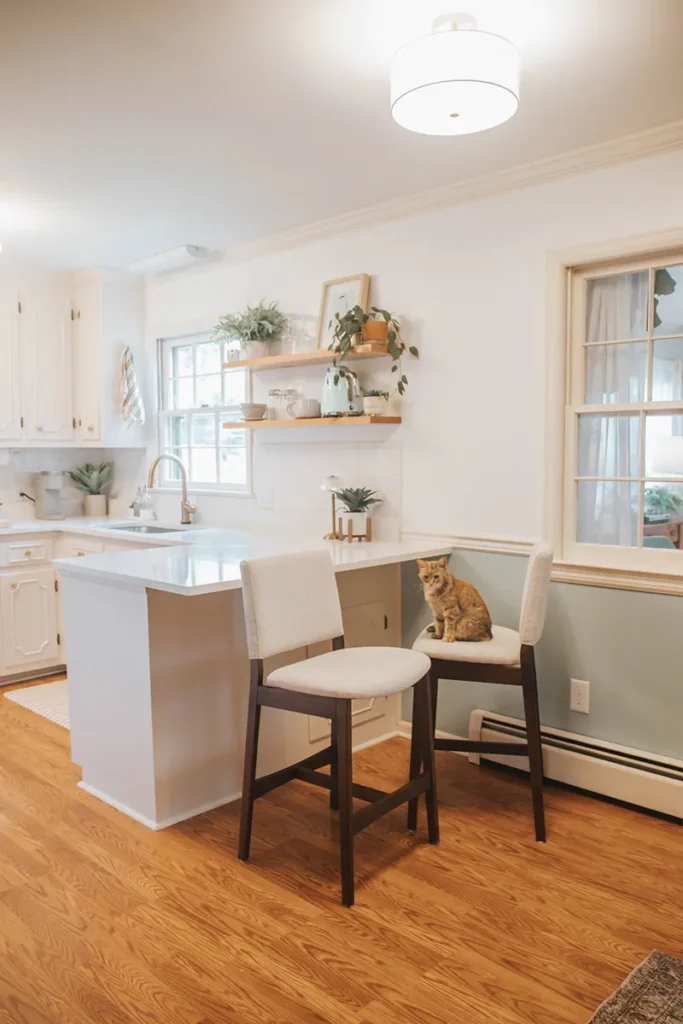
Carrie usually argues for keeping original mid-century wood, so I like that she explains why she painted anyway: the stain was streaky and worn through, the finish was sticky, and the kitchen is dark even on bright days. A light color was the practical fix.
She chose a creamy white with a slightly cool undertone to balance the warm overhead lights they keep on all day, and she picked it using large peel-and-stick swatches moved around the room in different light. (She notes the paint was gifted by the brand for the post.) Labeling every door and drawer with numbered tape before taking them down is a small step that saves a lot of confusion later.
Worth borrowing: number every door and drawer, and the spot it came from, with painter’s tape before you start. Rehanging goes from a puzzle to a ten-minute job.
4. A full cabinet repaint for about $160
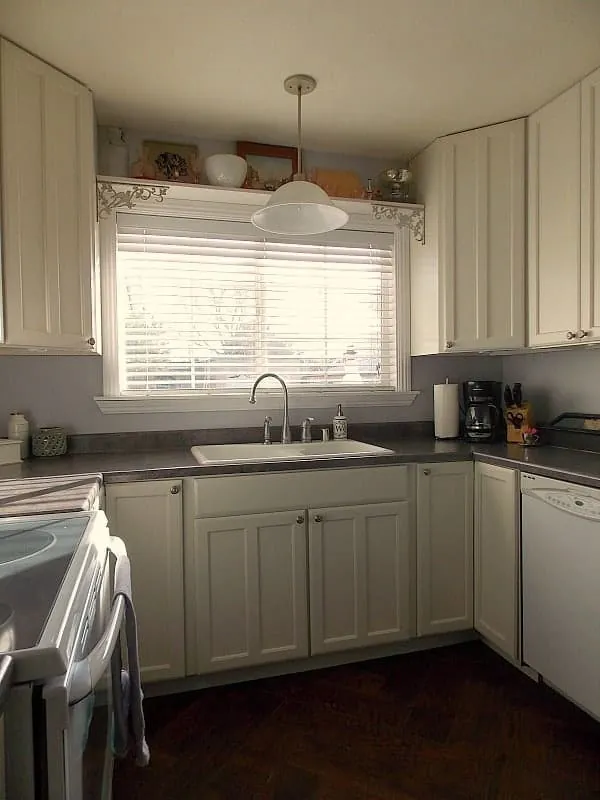
Meredith kept her hardware, appliances and countertops and changed the color, which brought the whole project in at about $160 for paint, primer, rollers, sandpaper and a new shelf. It took her around three weeks, working a couple of hours on weekdays.
Her tutorial is long for a reason: she was determined to do it once and never again. She chose a self-leveling alkyd paint with a long drying time (Benjamin Moore Advance), a mohair roller and synthetic brushes, and she is blunt that there is no hack: the only way to a professional-looking finish is to do it the way the pros do.
Worth borrowing: if your hardware still works and you like it, keep it. New knobs and hinges can quietly double the cost of a paint-only makeover.
5. Dark green cabinets and open shelves in a lake house
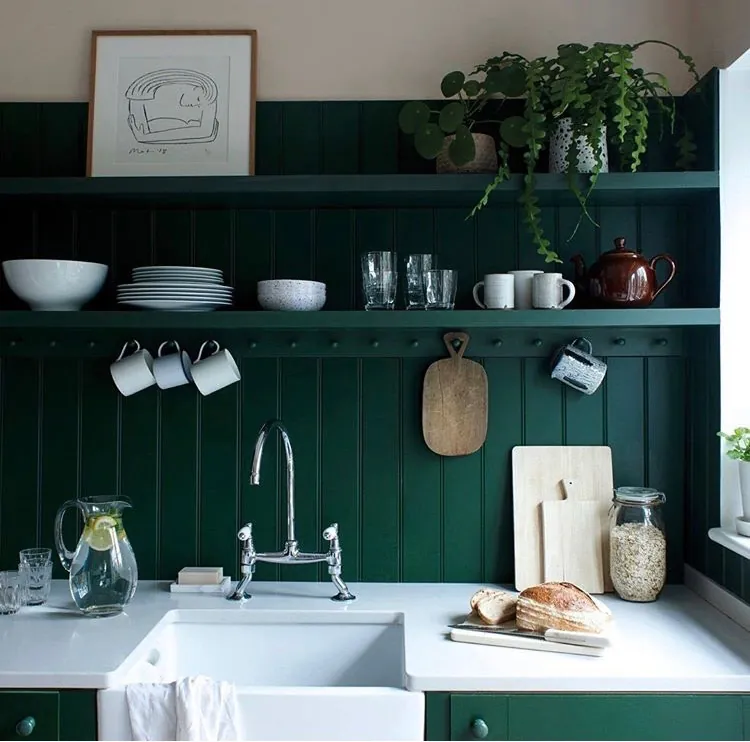
Beth’s lake house kitchen was already functional, so this makeover was about looks, done as cheaply as possible. She painted the cabinets Sherwin-Williams Pewter Green, a deep mossy shade, and kept the existing dark laminate counters because replacing them was not in the budget.
What I like is how she chose the green: she collected a few inspiration kitchens, noticed one shade was a little too bright for her room, and went for a darker green that suited both the counters and the trees and water around the house.
Worth borrowing: pick your cabinet color to work with the counters you are keeping, not the ones you wish you had. Dark green is very kind to dark speckled countertops.
6. Black-green cabinets with copper accents in a flip house
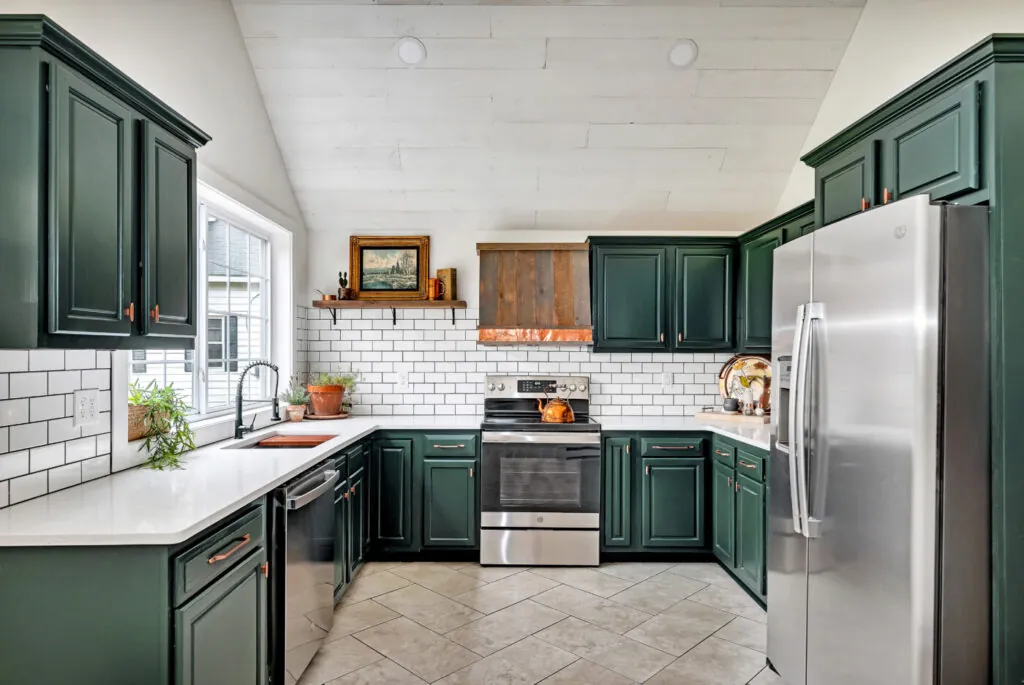
Sarah and John rebuilt the kitchen of an old trolley stop they were flipping. White would have been the safe resale choice, so they asked their followers to vote; it came out almost 50/50 and Sarah went with green: Behr Black Evergreen, which reads almost black, deep green or nearly teal depending on the light.
Many of the cabinets were bought secondhand from a local marketplace, with a few extras added to complete the layout. Strips of copper left from an earlier project, used along the bottom of the custom hood, plus copper hardware, ties the room together with the black faucet and gold touches.
Worth borrowing: secondhand cabinets plus paint can give you a custom-looking kitchen for far less. Mix two or three metal finishes on purpose and repeat each one at least twice so it looks planned.
7. Dark builder cabinets painted white for $100
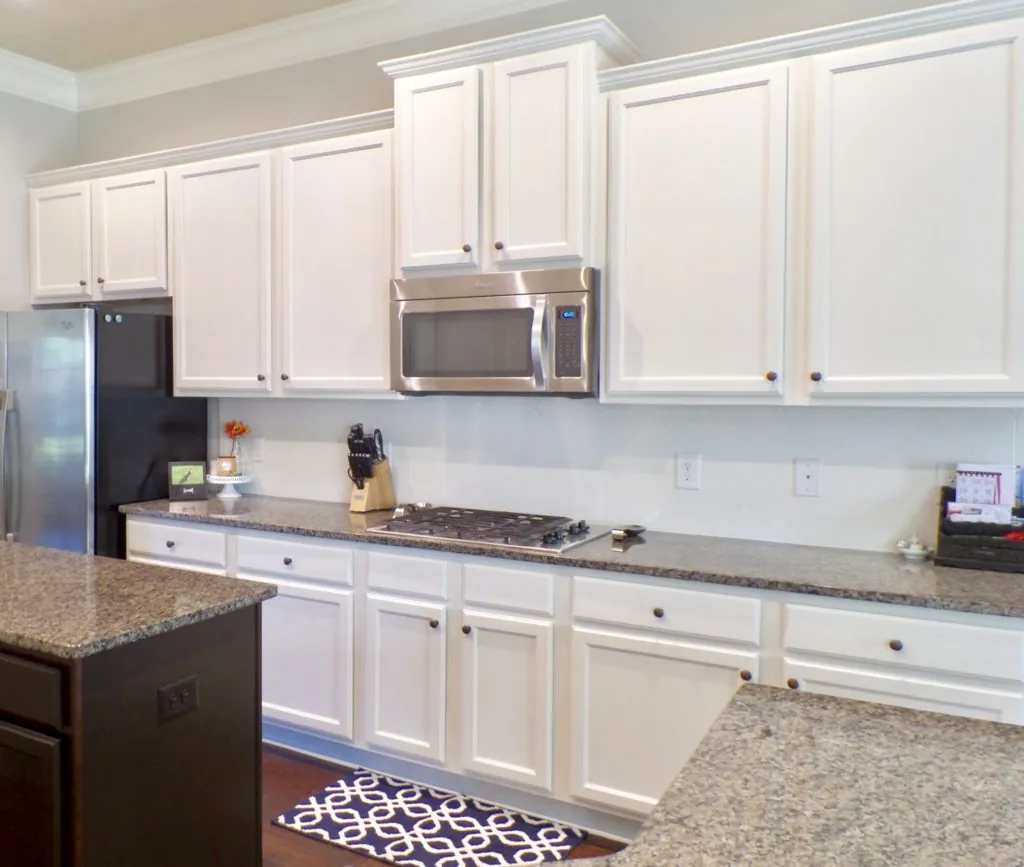
Melissa painted her dark brown cabinets white as part of a $100 Room Challenge, and she spent the money on supplies only: paint, primer, mineral spirits, foam rollers, a brush, trays and respirator masks. The rugs and decor came from other rooms in her house.
The most useful part is the mistake she owns up to. She skipped sanding between coats on the lower doors when spraying, saw how much rougher they looked next to the uppers, and took them all down again to sand and respray.
Worth borrowing: sand lightly between primer and paint, and between coats. Skipping it saves an hour and can cost you a whole second round of doors.
8. Gray cabinets and a darker island, painted in place
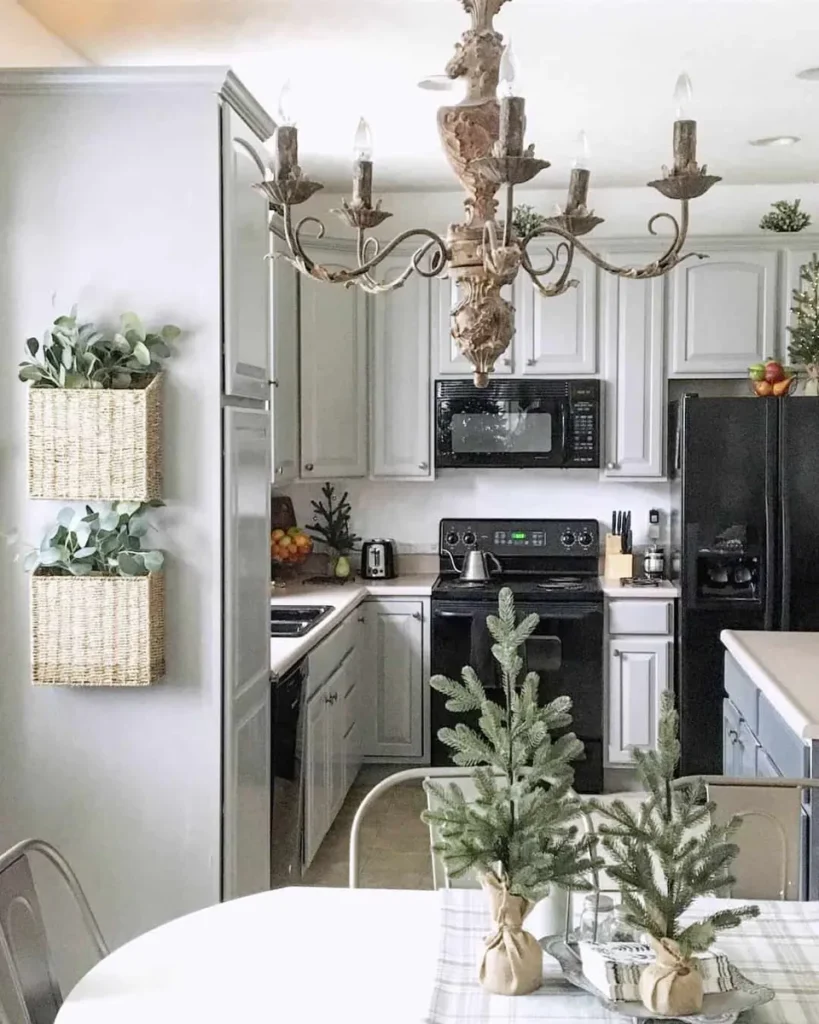
Jeanette treats this as a placeholder: a bigger remodel is planned, so for now the kitchen got paint for about $95. She used a cabinet enamel tinted to Benjamin Moore Graystone on the cabinets and the darker Peppercorn on the island.
Because her cabinets were smooth grain rather than deep-grain oak, she skipped the heavy sanding. She cleaned and lightly sanded, used one coat of primer and two of enamel, and left the doors hanging, cutting in around the hinges with a small artist brush.
Worth borrowing: if a full remodel is a few years away, paint is a good bridge. A darker island color makes a plain layout look more designed for almost no extra cost.
Before you paint your own cabinets
Every blogger here said the same thing in a different way: the prep is the project. Clean off the grease, fill the gaps, sand lightly and let each coat dry properly. If you are pairing new cabinet paint with the walls, my list of color schemes for white cabinets and the white kitchens with a contrasting island show combinations that work. You will find more in the kitchen ideas hub.
Credits and sources
Every photo in this roundup belongs to the blogger credited directly under it, and each credit links to the original post. Please visit them for the full project, the materials they used and many more photos. If you are one of the featured bloggers and would like a photo changed or removed, email me at [email protected] and I will take care of it.