

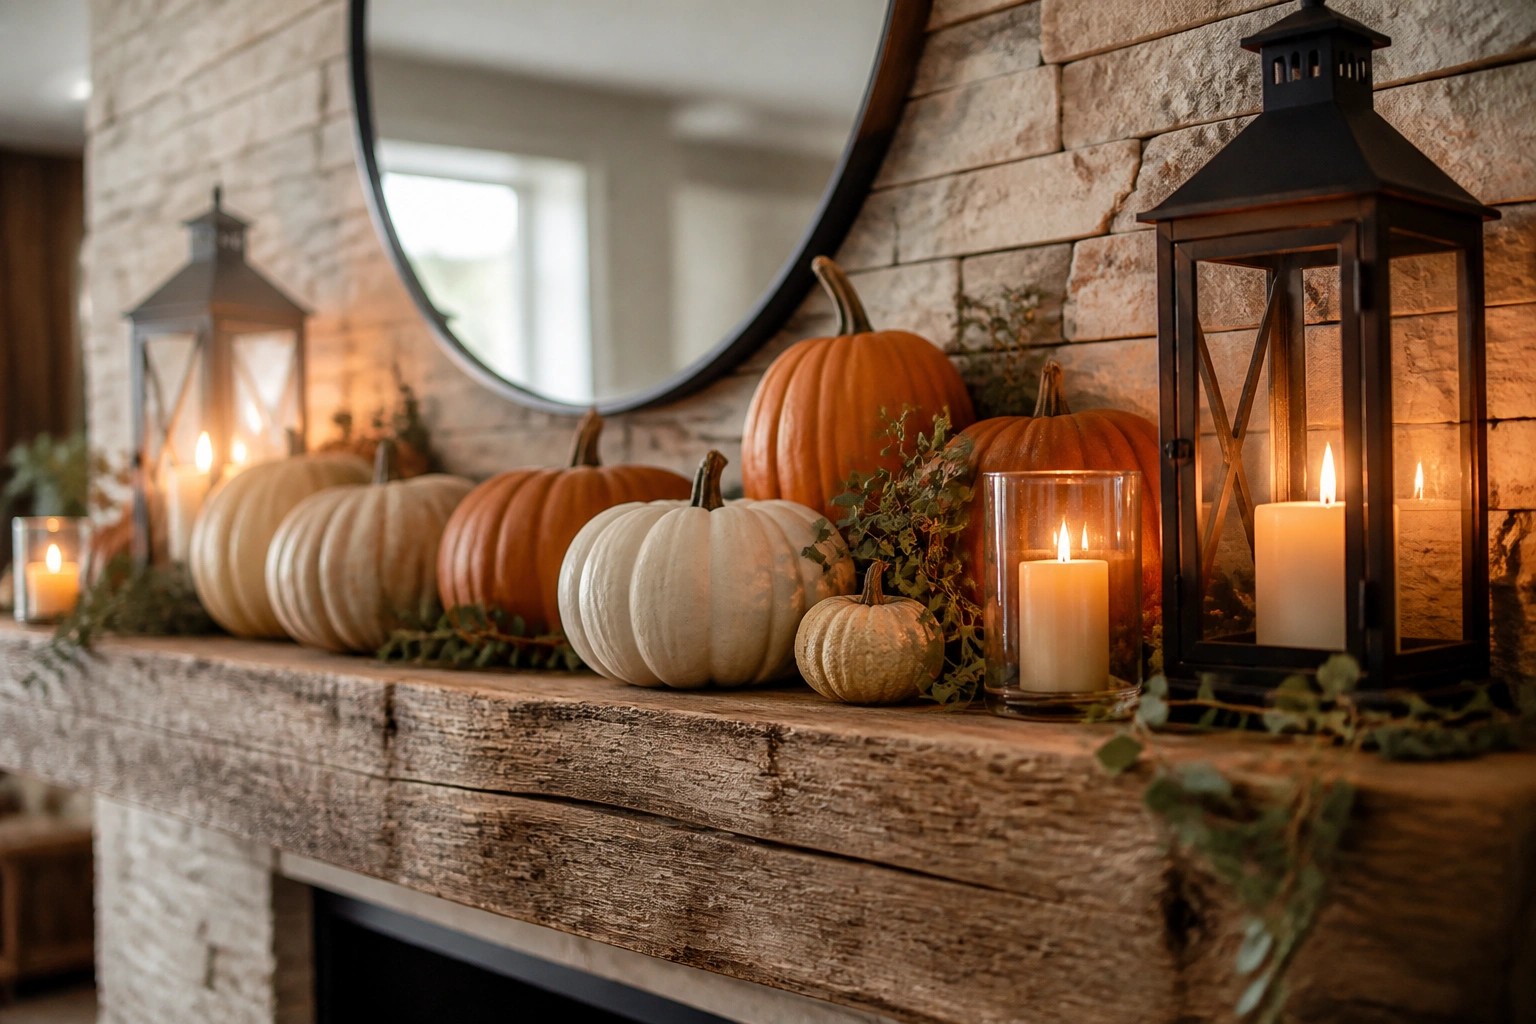
Pumpkins offer a simple way to mark the Halloween season inside a normal home without rearranging furniture or adding permanent pieces.
I have found that skipping the carving step keeps the whole process quick and avoids the usual mess that comes with it.
Plenty of people forget how much character one painted or ribbon-wrapped pumpkin can bring to a mantel or side table when the rest of the room stays unchanged.
No-carve techniques also let me swap ideas in and out from year to year while the rest of the house stays the same.
Time always ends up being the real limit.
Group Pumpkins Along The Mantel
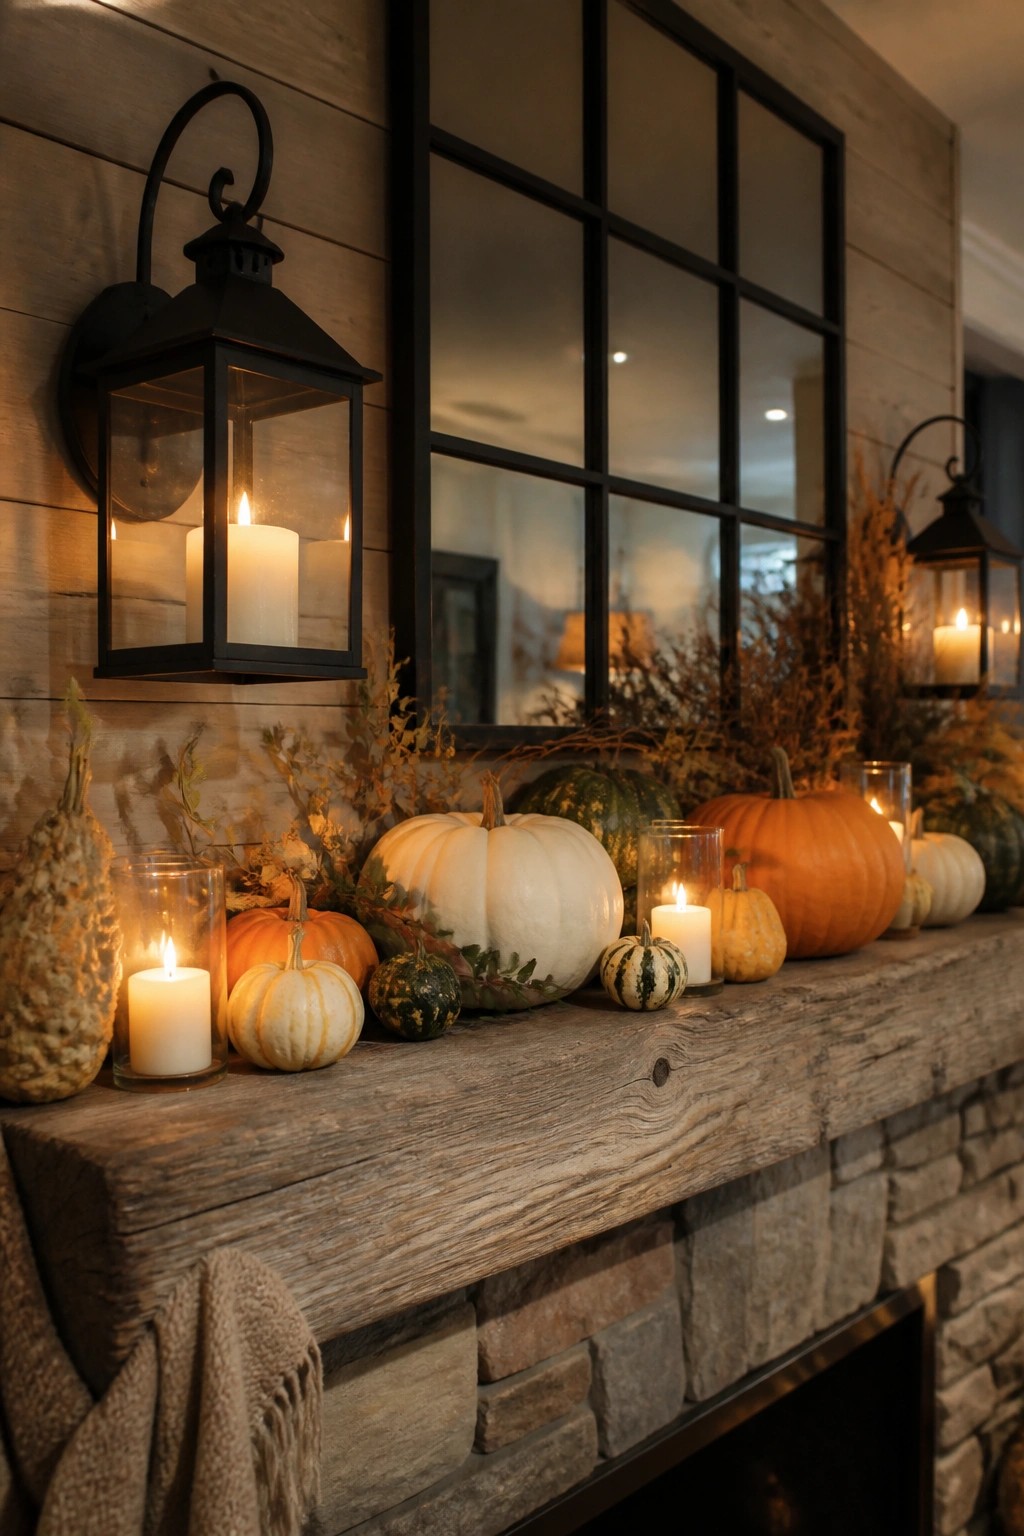
A simple way to make a mantel feel Halloween ready is to line it with a mix of pumpkins in different sizes and colors. The no carve approach keeps things easy since you can use whatever pumpkins you already have or pick up a few painted ones at the store.
Place the larger ones toward the center and tuck smaller ones around them with a few candles in between. This works well on a fireplace mantel or any long surface where you want one clear focal point without a lot of extra pieces.
Recommended Products

VIBRANT ACRYLIC PAINTS : Shuttle Art 16 Acrylic Paint Set consists of 16 vibrant assorted colors and with BONUS 3 FREE PAINT BRUSHES. Each tube is filled with 12 ml (0.4 oz) paints with rich pigments that are professional artist quality

Acrylic Paint Set With 12 Brushes: Premium paints glide on smoothly, dry quickly and stay as beautiful as the day they were painted. Whether you’re new to acrylic painting or a seasoned artist, the paint kit will set fire to your imagination. Great acrylic paint for canvas painting, halloween decorations, pumpkin painting. The craft paint set is great to produce true, consistent shades on painting art, ideal for professional artists, young aspiring artists, painting lovers.

DUAL TIP FOR PRECISE & CREATIVE WORK: Each acrylic paint marker features a 1 mm fine tip for detailed lines, writing, and outlining, plus a 1–5 mm dot tip for bold dots, patterns, decorative accents, and creative designs. Easily switch between precision details and eye-catching dot art with one versatile marker.
Paint A Pumpkin To Hold Flowers
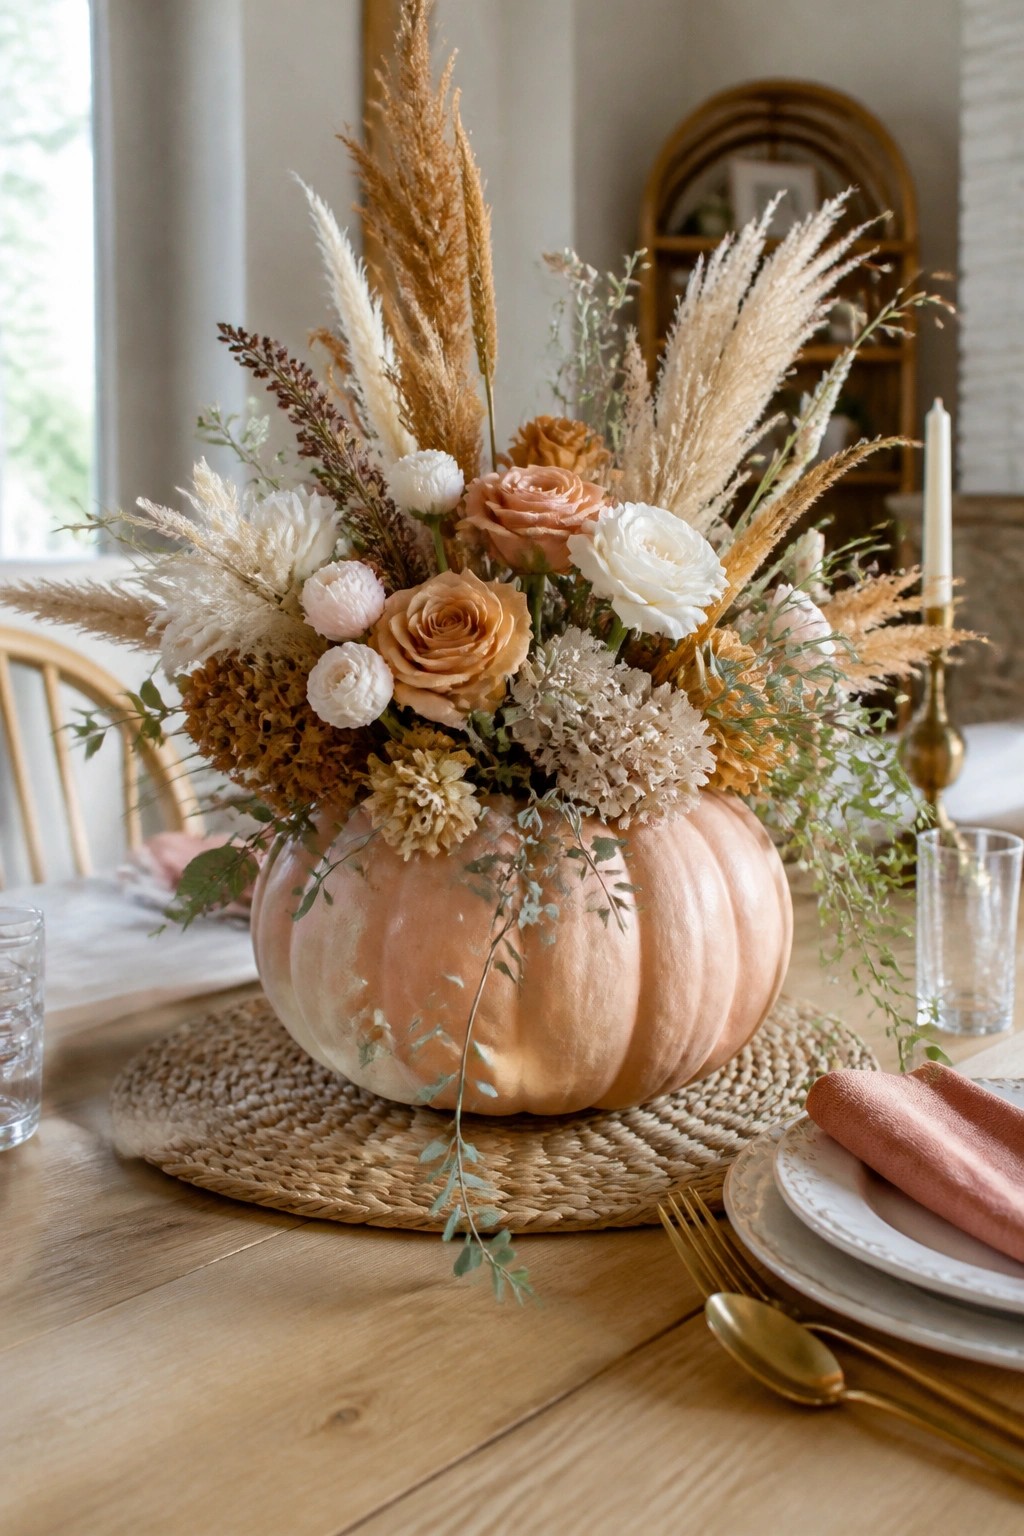
A painted pumpkin makes an easy no-carve vase for a dining table. The smooth surface holds water or a hidden container, and the neutral color lets the flowers and grasses stand out without extra effort.
Place the pumpkin on a simple charger or woven mat so it stays centered. Add a few stems of whatever you already have on hand, and the whole arrangement reads as seasonal without needing carving tools or extra supplies.
Group Pumpkins By Color On A Console
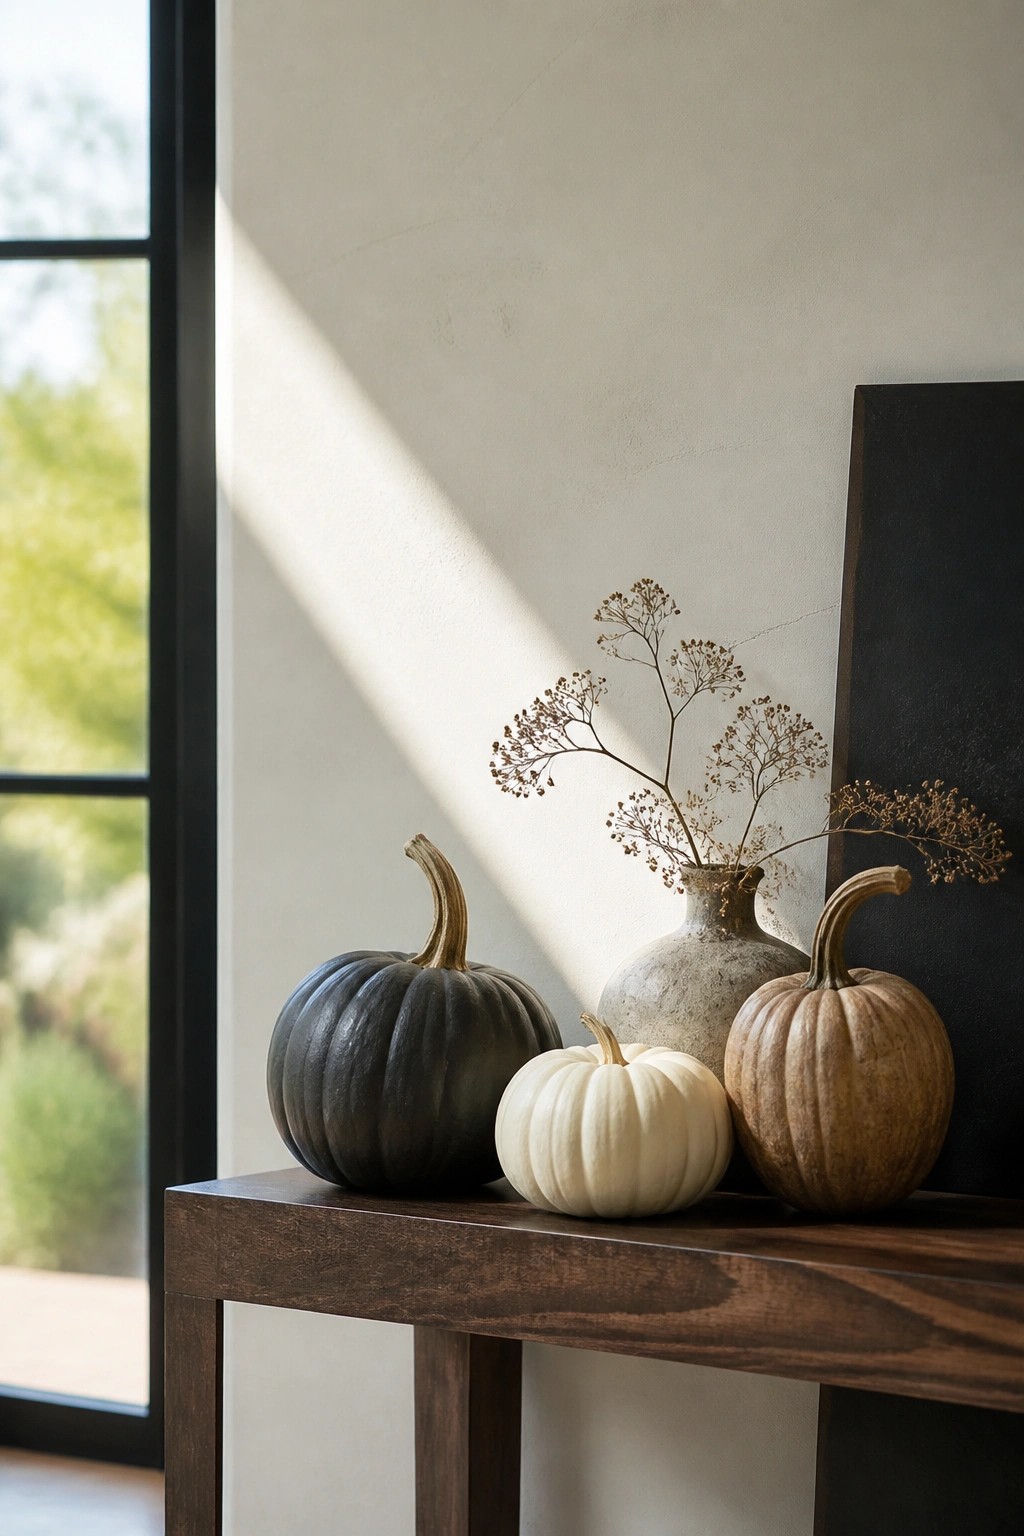
A simple way to get a Halloween look without any carving is to gather pumpkins in a few different shades and line them up on a console or side table. The contrast between the dark, white, and earthy tones makes the group stand out even though nothing has been painted or cut.
This works well in an entryway or hallway where people pass by often. Use three to five pumpkins of similar size so the arrangement stays balanced, and add one small vase of dried stems if you want a bit more height without crowding the surface.
Recommended Products

Glue is perfect for use on paper, cardboard, leather, plastic, metal, and other materials

Made in United States
WORKS ON ALMOST ANY SURFACE – Ensure your Glitter Blast glitter spray paint projects stay strong with Glitter Blast Clear Sealer. It adheres well to most surfaces, including craft foam, wood, metal, wicker, plastic, glass, ceramic, pottery and paper.
Layer Pumpkins Across Your Porch Steps
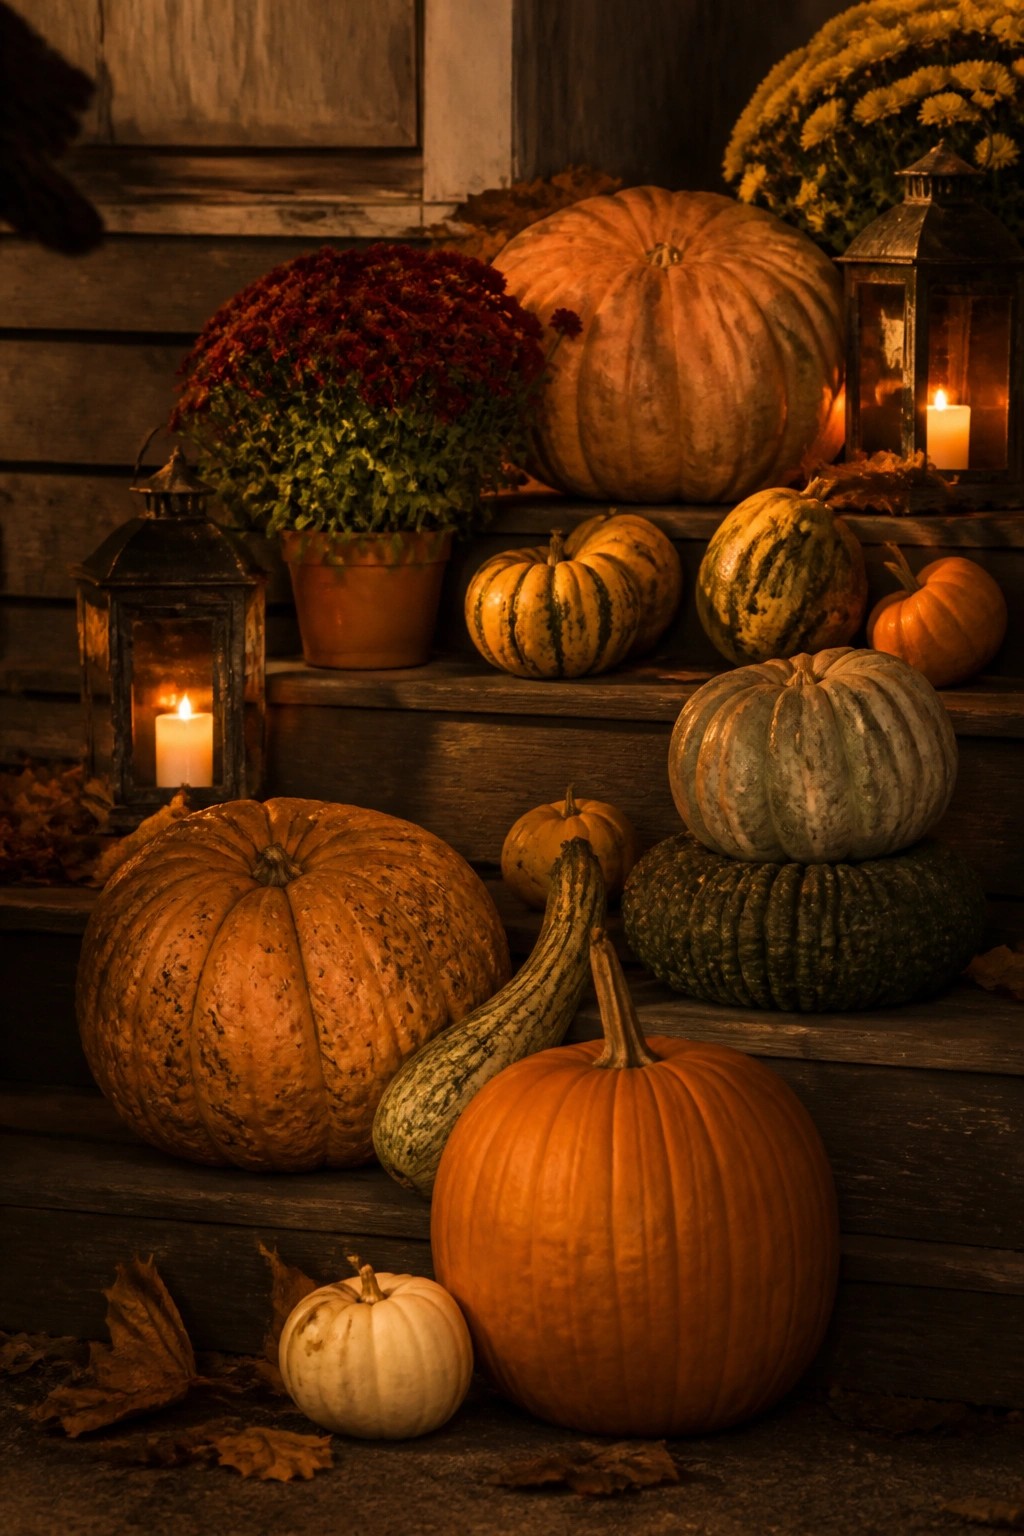
A simple way to use no-carve pumpkins is to group them in different sizes and colors right on the steps. The mix of orange, green, and white pumpkins creates enough contrast without any extra work or carving.
Start with a few large pumpkins at the base and add smaller ones higher up. A couple of lanterns tucked in between keeps the display from looking flat. This setup works on most porches and takes almost no time to put together.
Group Pumpkins By The Front Door
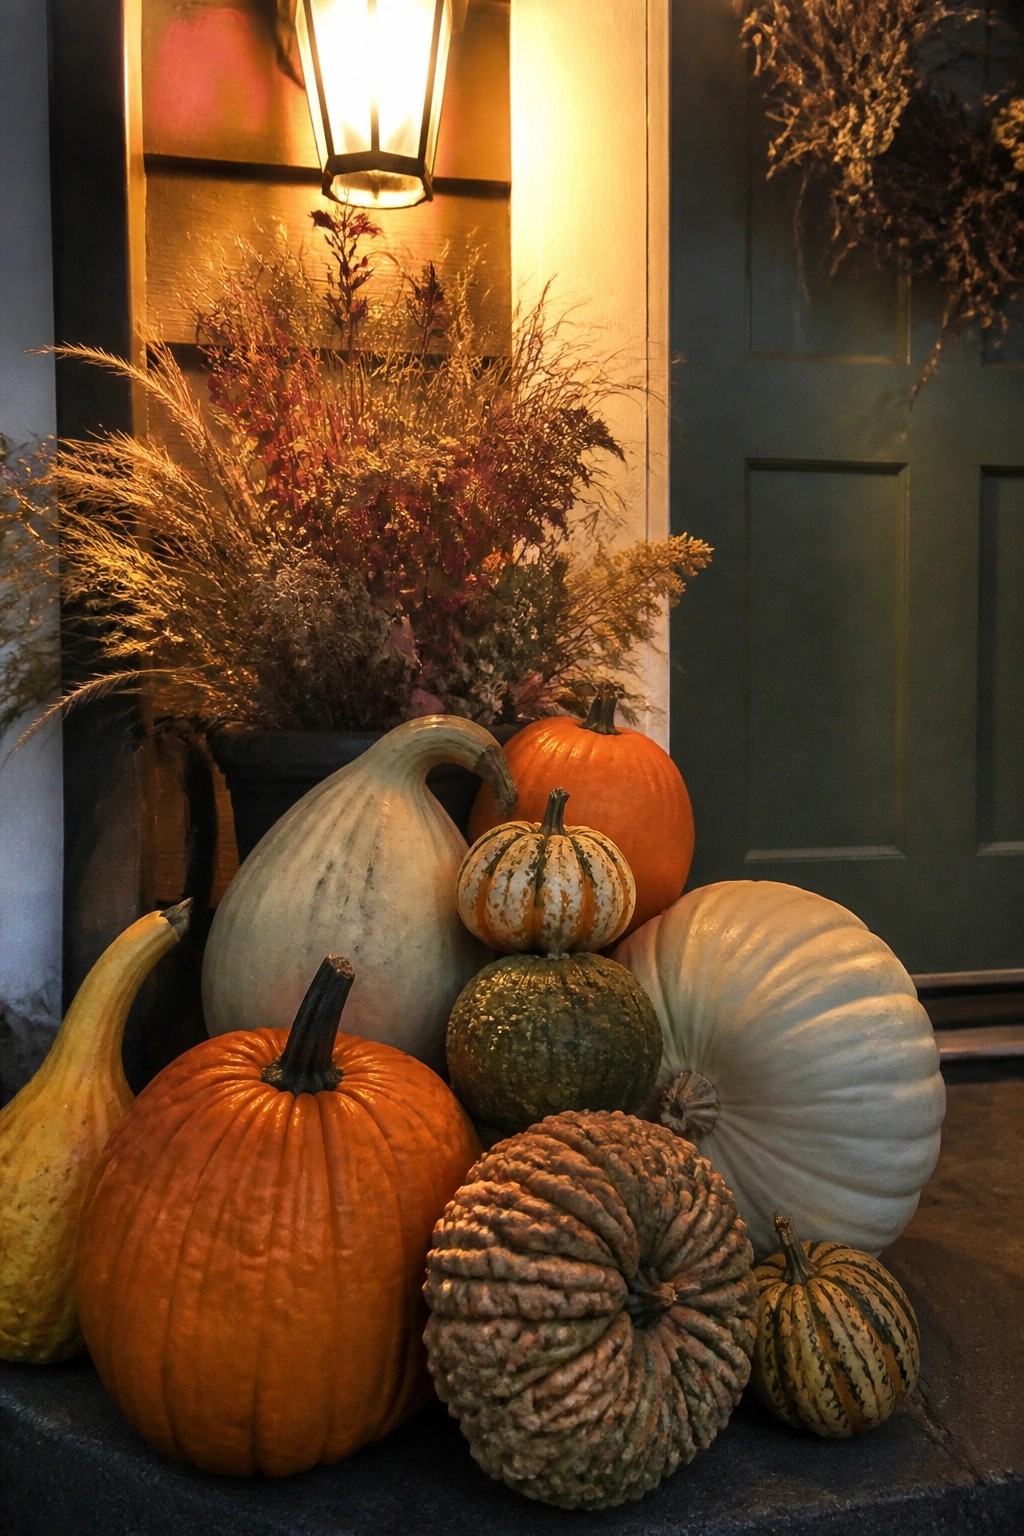
A simple way to get a strong Halloween look without any carving is to gather a big mix of whole pumpkins right at the entrance. Different shapes, colors, and textures placed together make the display feel full and seasonal without extra effort. The variety in size and pattern does most of the work.
This idea works well on a front step or beside the door because it stays low and does not block the walkway. Use as many or as few pumpkins as you have on hand and tuck in a few dried stems or grasses for filler. The arrangement can stay up through Thanksgiving and takes only minutes to put together each year.
Group Painted Pumpkins Across The Mantel
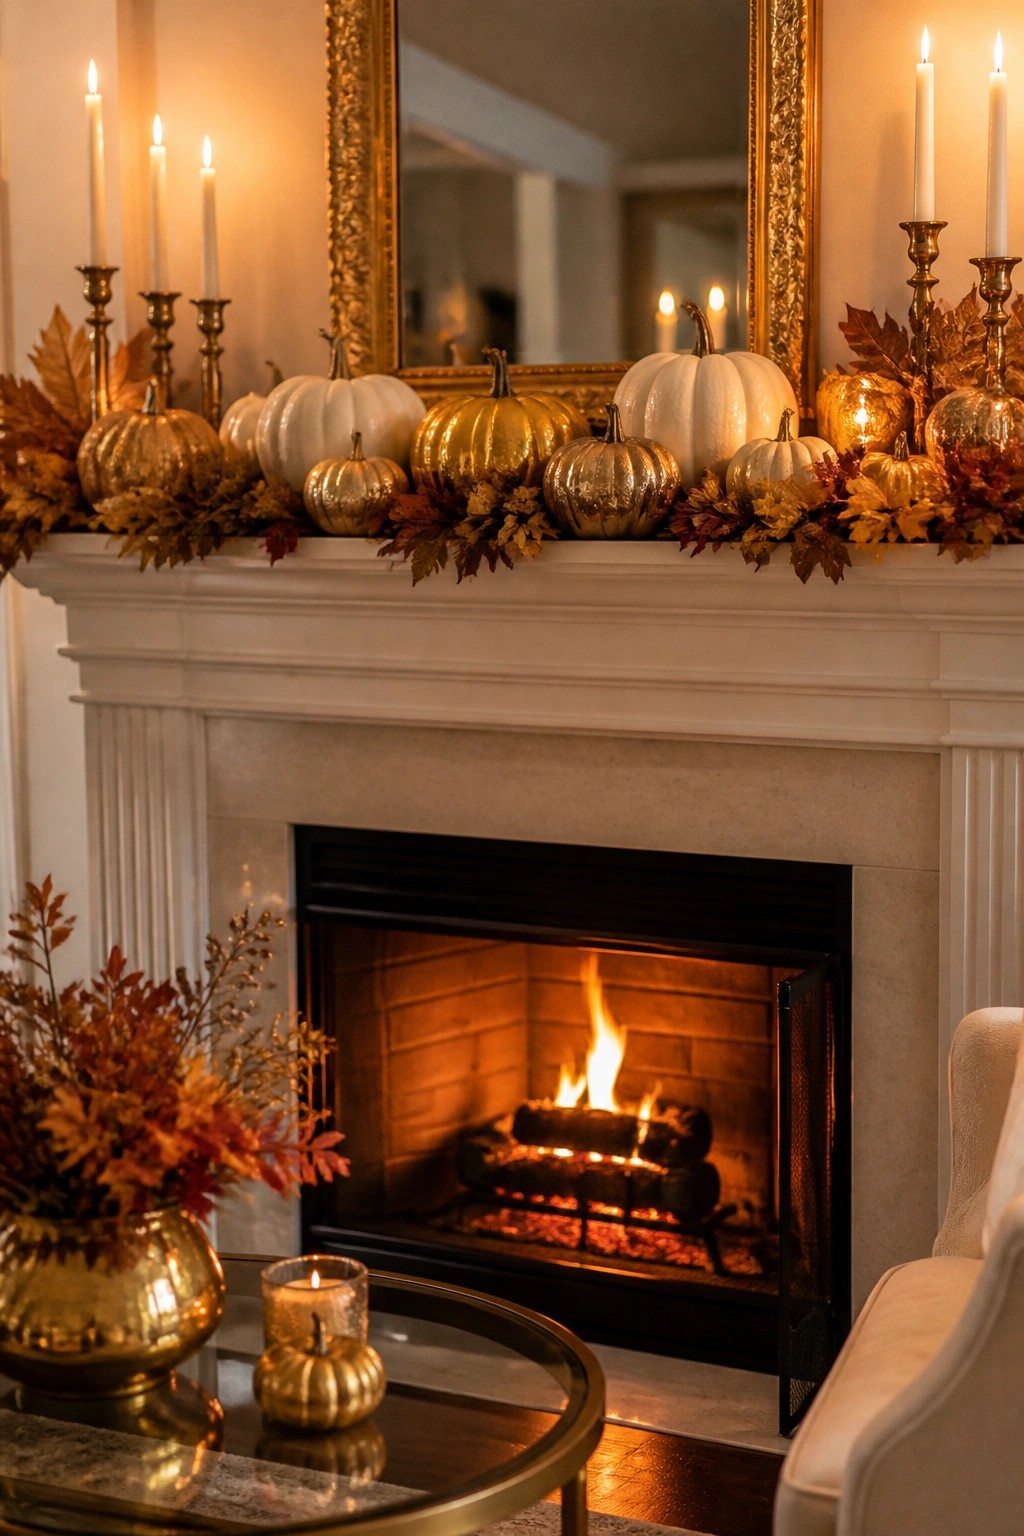
Placing a row of no-carve pumpkins along the mantel gives an easy Halloween update that still feels put together. The mix of white and metallic gold finishes catches the light from nearby candles and creates a simple focal point without any carving or extra mess.
This works well in living rooms where you want seasonal color but prefer to keep things neutral. Use six to eight pumpkins in two or three finishes, tuck in a few stems of dried leaves, and keep the rest of the surface clear so the arrangement stays easy to read.
Group No-Carve Pumpkins On A Tray
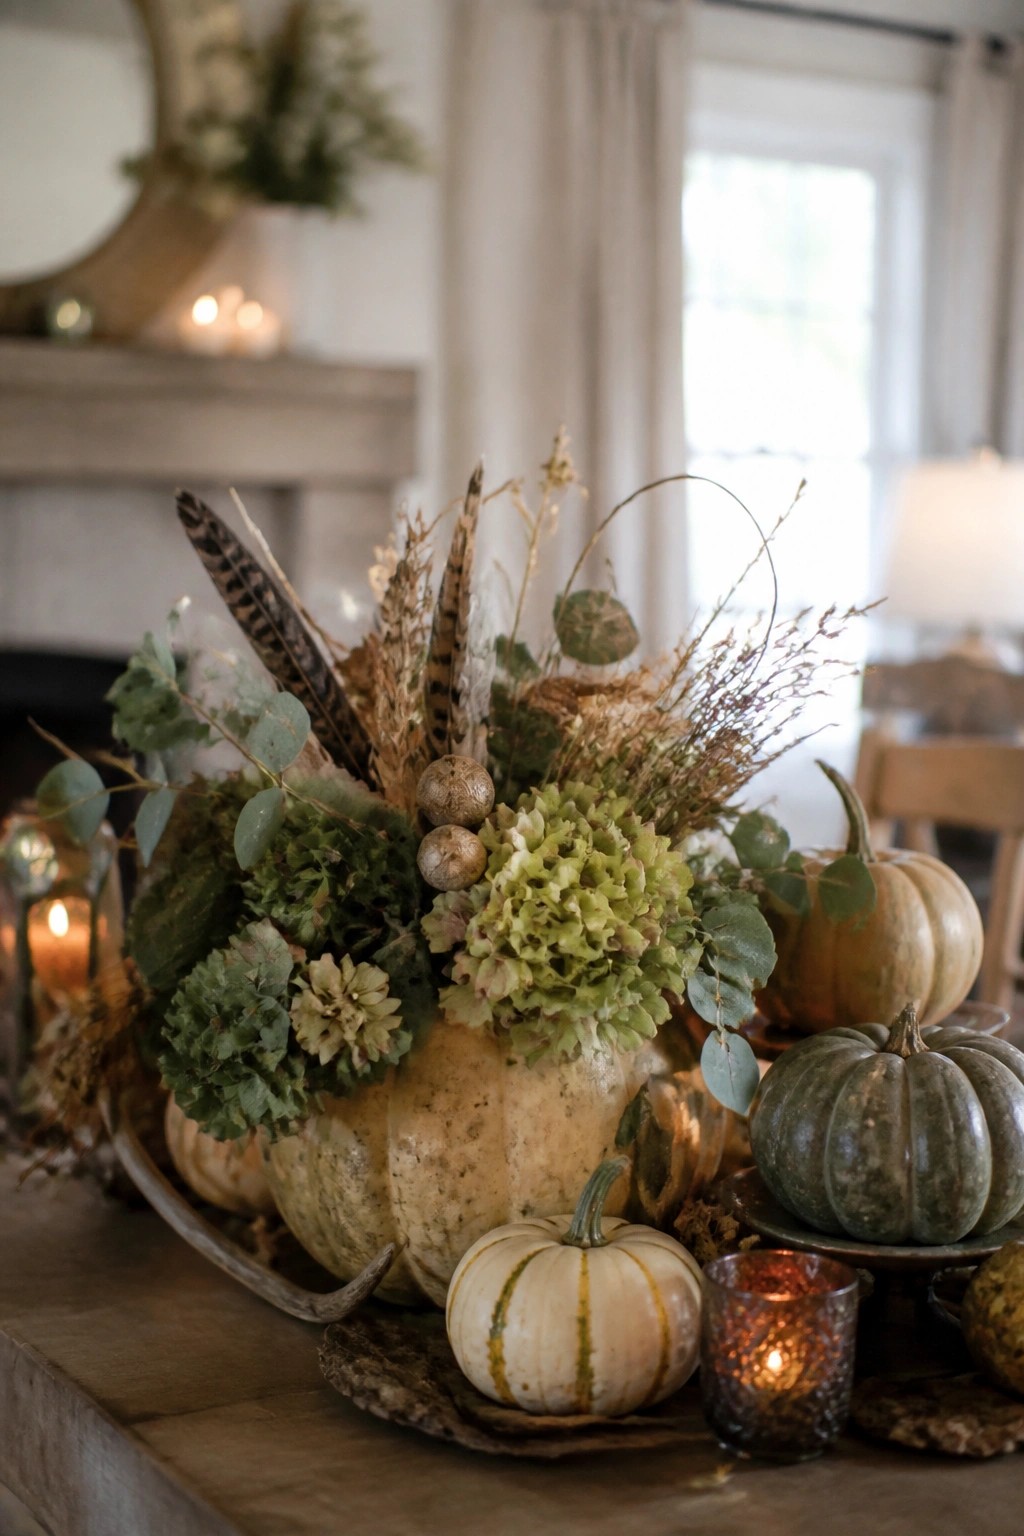
Placing several uncarved pumpkins together on a tray creates a simple Halloween centerpiece that still feels seasonal without any carving. The mix of sizes and muted colors keeps the look interesting while the tray pulls everything into one tidy spot.
This works well on a dining table, entry console, or coffee table. Choose pumpkins in different shades and shapes, set a couple of small candles nearby, and add a few stems of dried foliage if you want more height. The whole setup takes minutes and can be changed out easily after the holiday.
Group Colorful Pumpkins Along The Steps
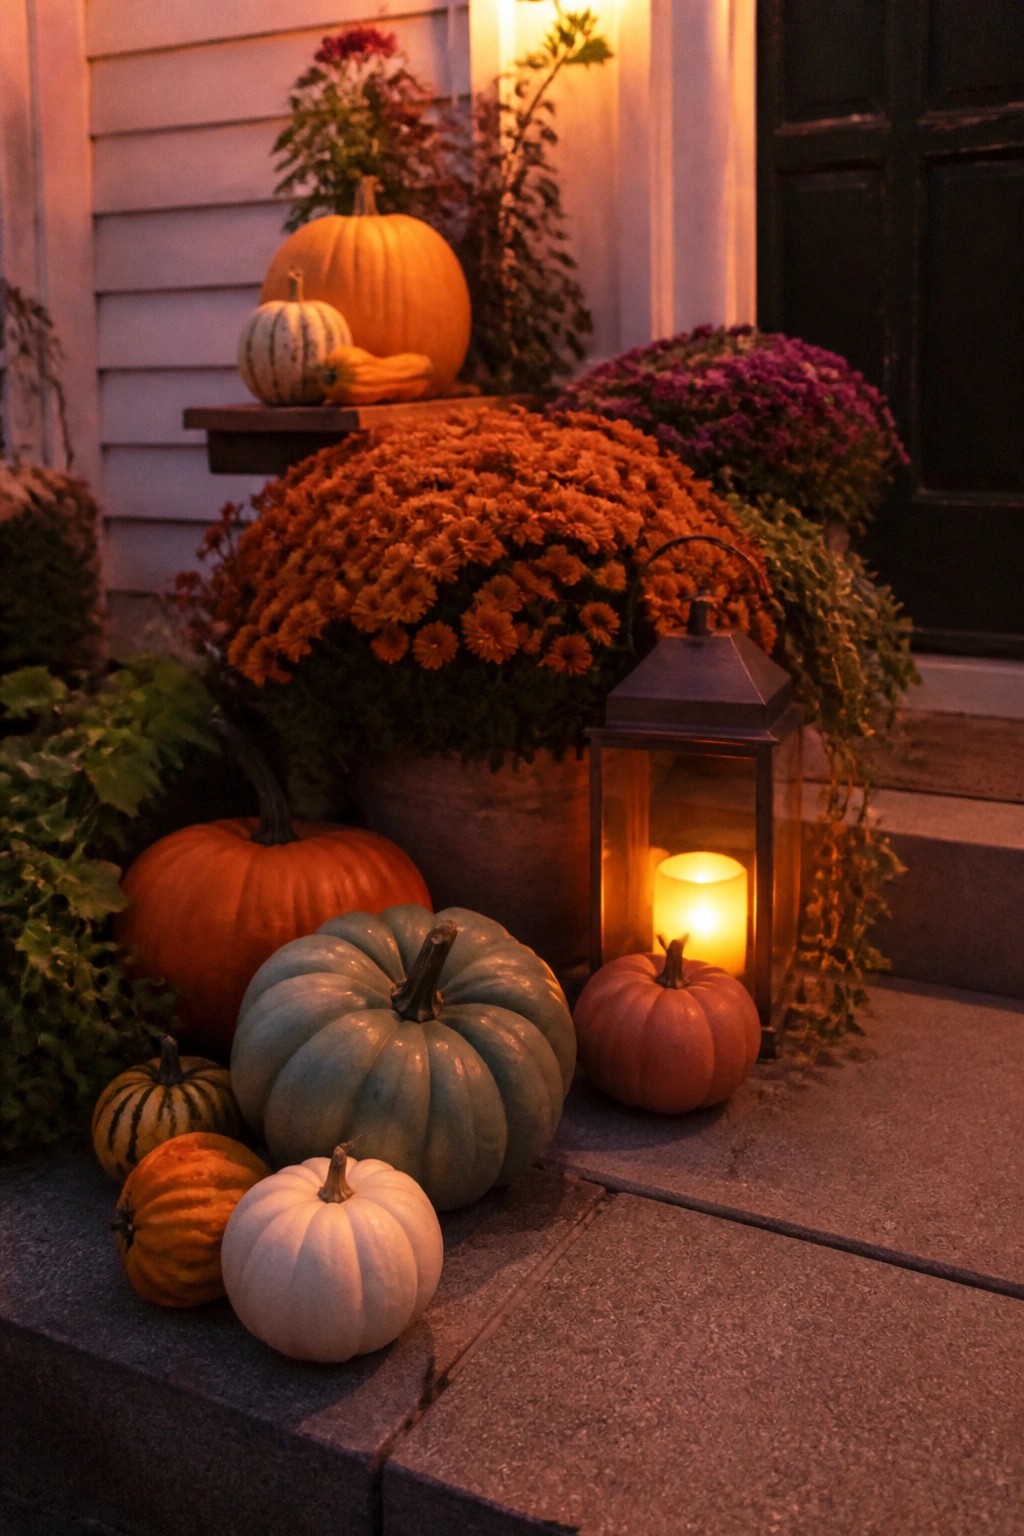
Mixing pumpkins in several colors and sizes creates an easy no-carve display right at the entry. The mix of white, teal, orange, and striped varieties stands out against the steps without needing any carving or extra props.
Place the largest ones first, then tuck smaller ones around them so the group looks full but not crowded. A single lantern nearby adds a bit of light at night and keeps the whole setup simple to put together or take down.
Group Pumpkins On A Coffee Table
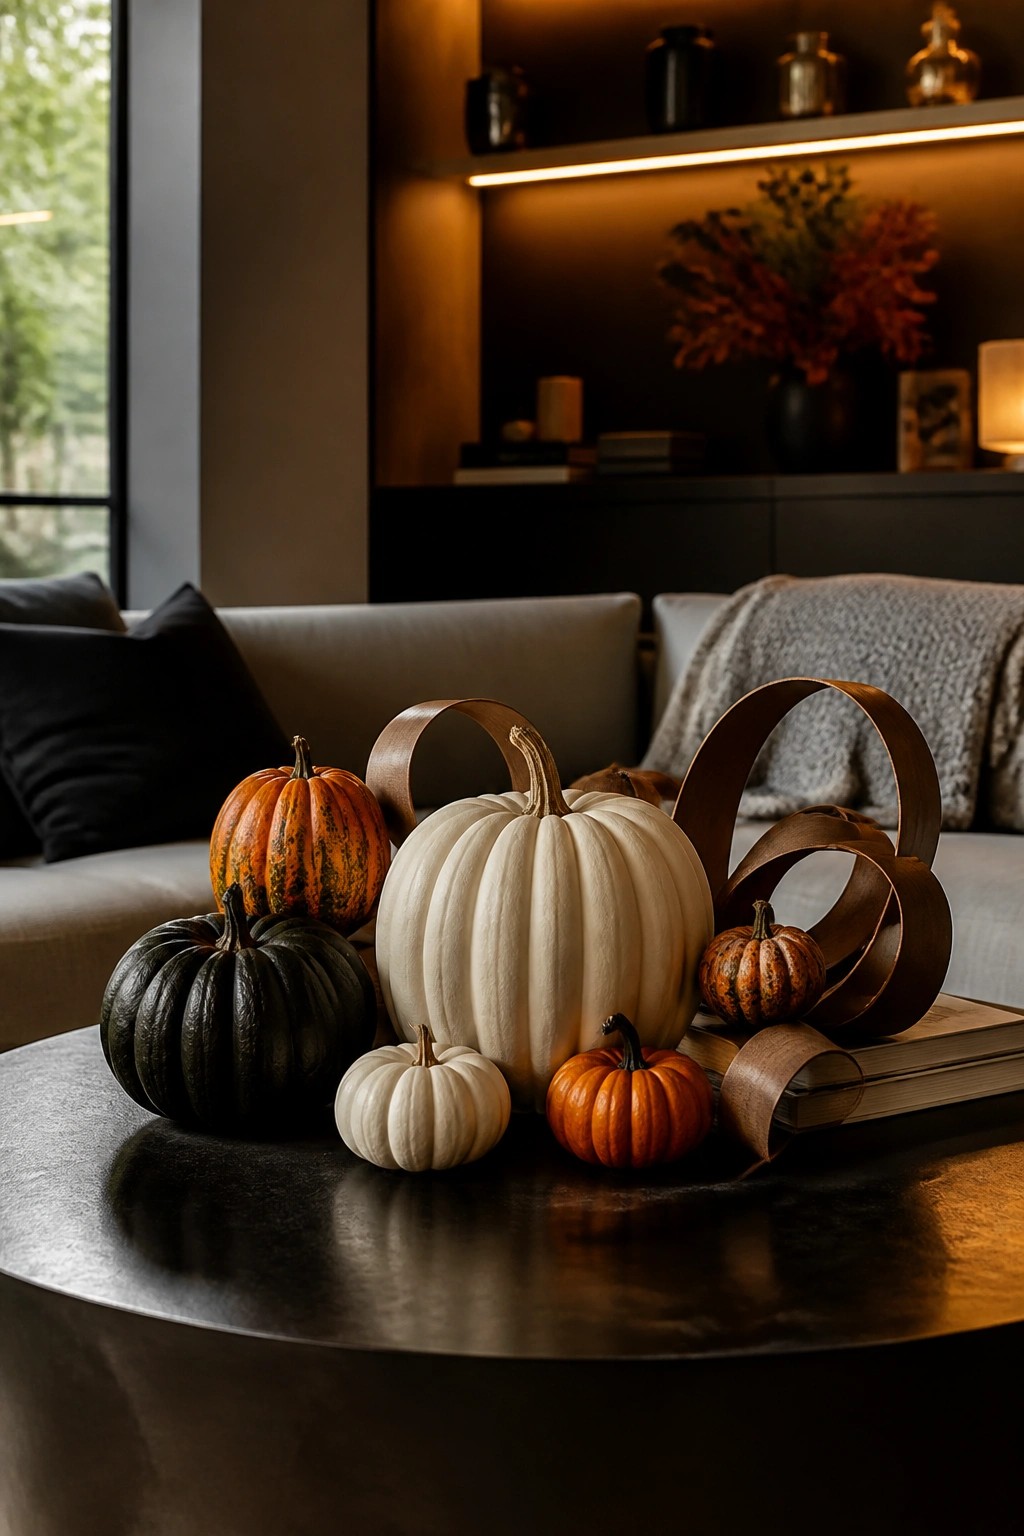
A simple mix of pumpkins in different sizes and colors makes an easy no-carve display. Place them together on a coffee table with a few loops of ribbon or fabric for a bit of shape. The variety in the group keeps it interesting without any carving.
This works well in a living room because the table is already a natural spot for something seasonal. Use five to eight pumpkins total and let the different shades do the work. Add a couple of stacked books underneath if you want a little height.
Group Face-Decorated Pumpkins On The Mantel
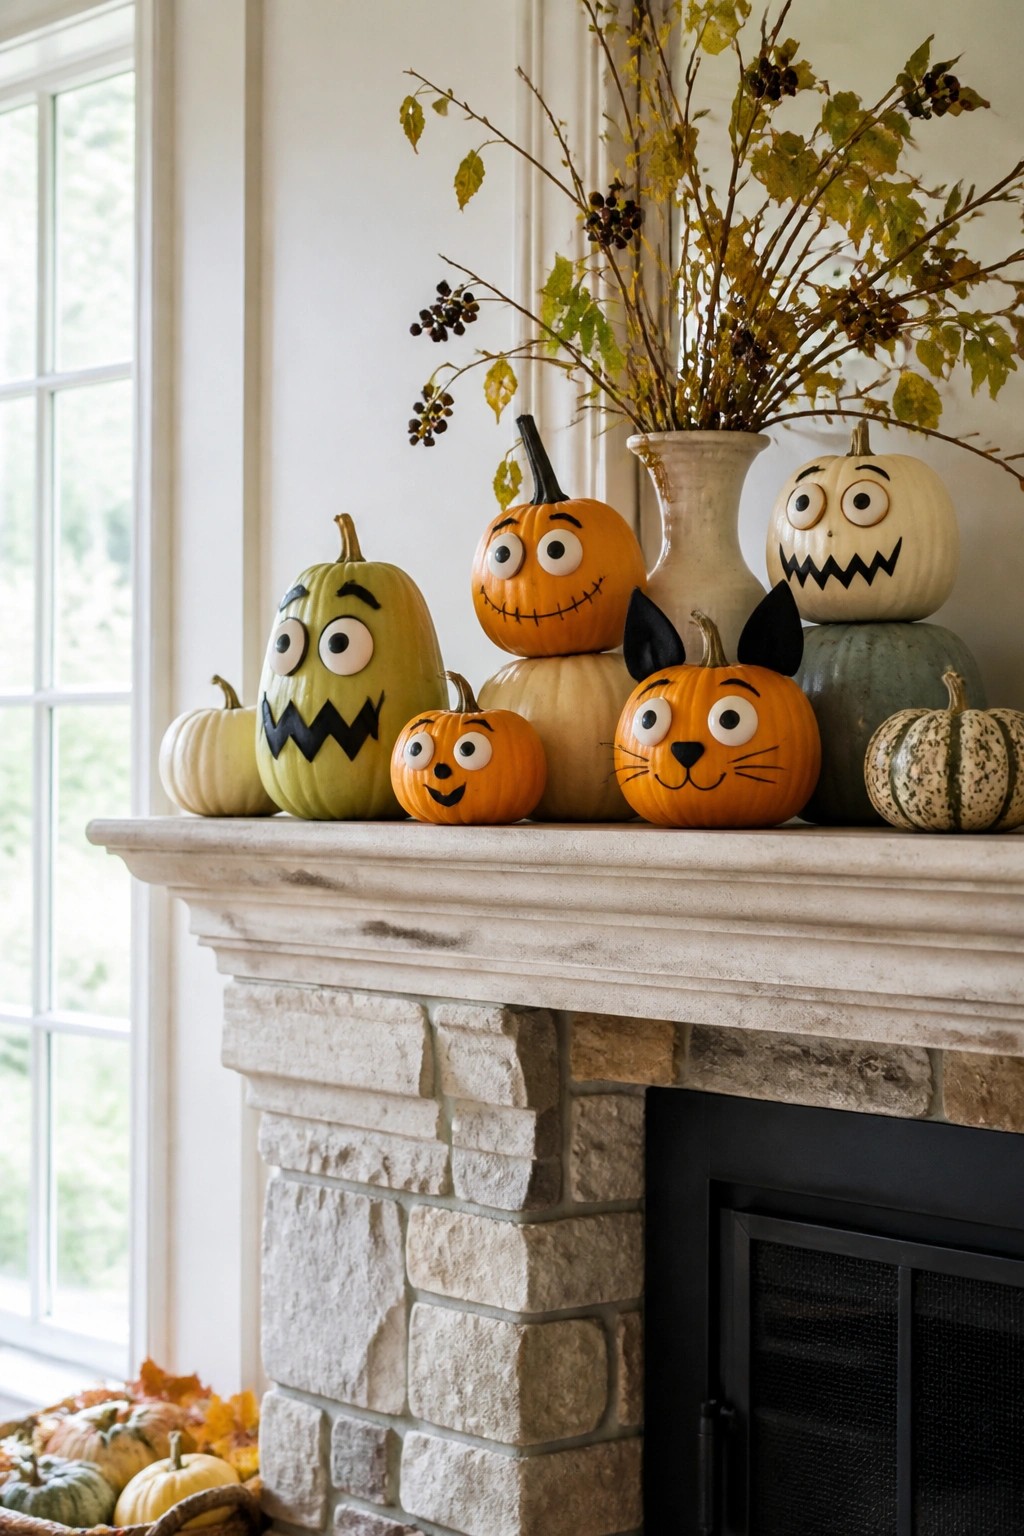
One simple way to make a mantel feel Halloween ready is to decorate several pumpkins with painted or attached faces and line them up across the surface. The mix of expressions creates a playful look that reads as intentional without any carving required.
Place the largest ones toward the center or stack two for extra height, then fill in with smaller pumpkins on either side. A few plain ones mixed in keep the display from feeling overcrowded while still letting the faces stand out.
Arrange No-Carve Pumpkins Along A Windowsill
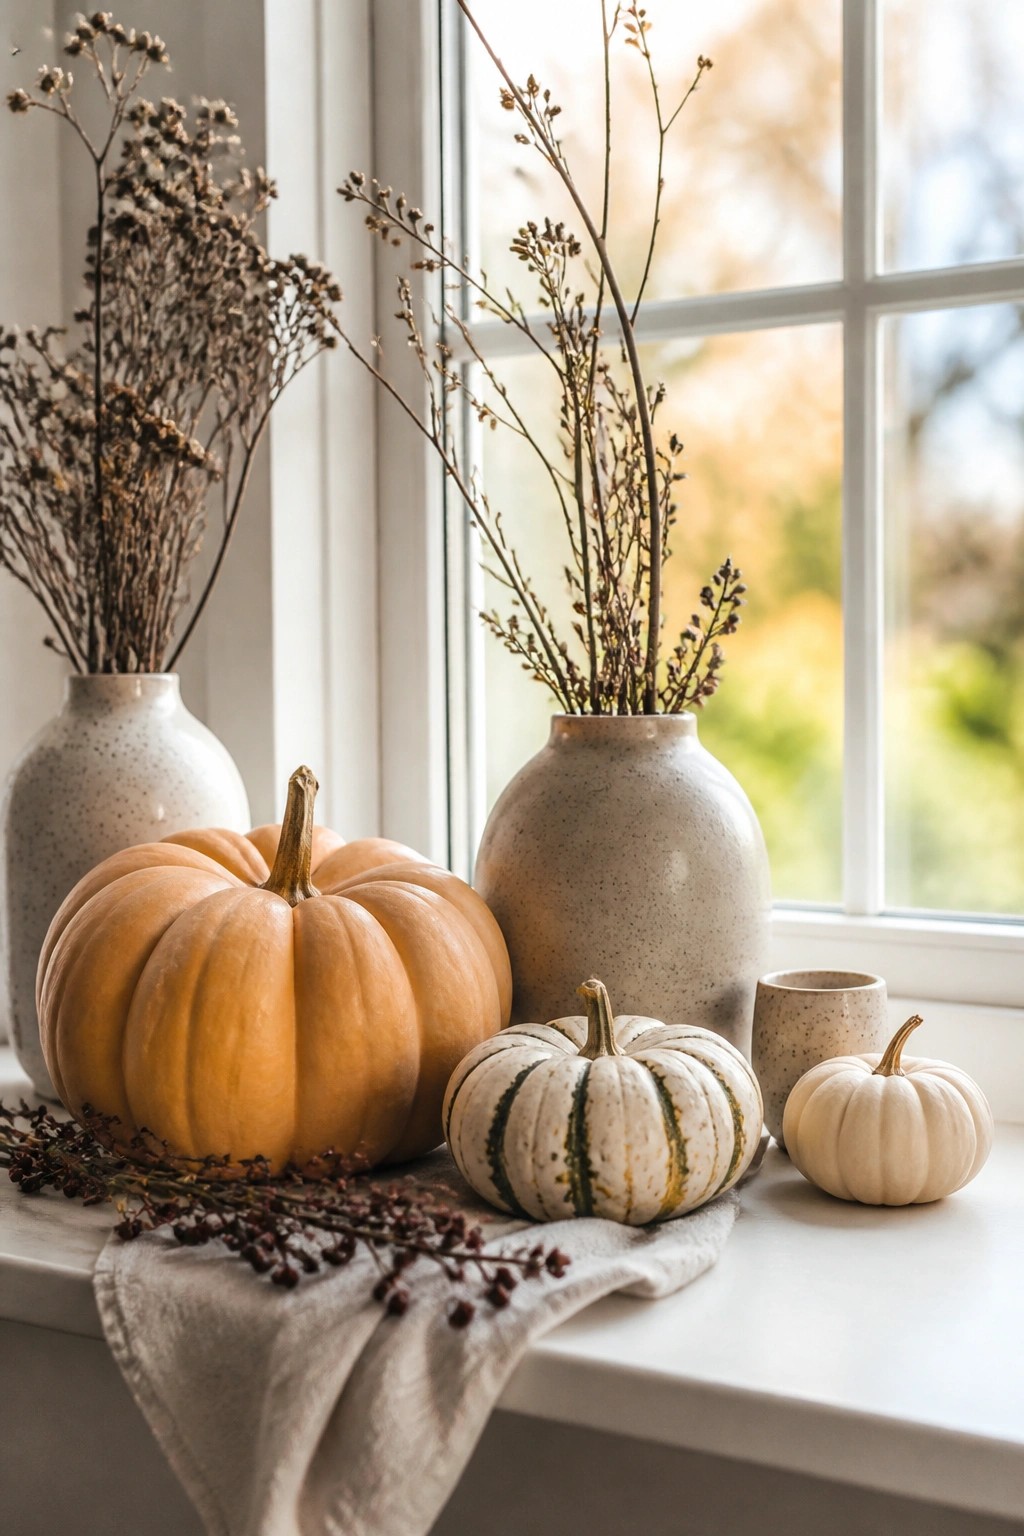
Grouping pumpkins of different sizes and colors on a windowsill gives you a quick Halloween look without any carving. The mix of a large orange pumpkin, a striped white one, and a small pale pumpkin keeps the display simple while still reading as seasonal.
This idea works on any wide ledge or deep sill. Add a couple of plain vases with dried branches behind the pumpkins for height and let the natural light do the rest. Keep the rest of the surface clear so the pumpkins stay the focus.
Group Pumpkins On A Side Table
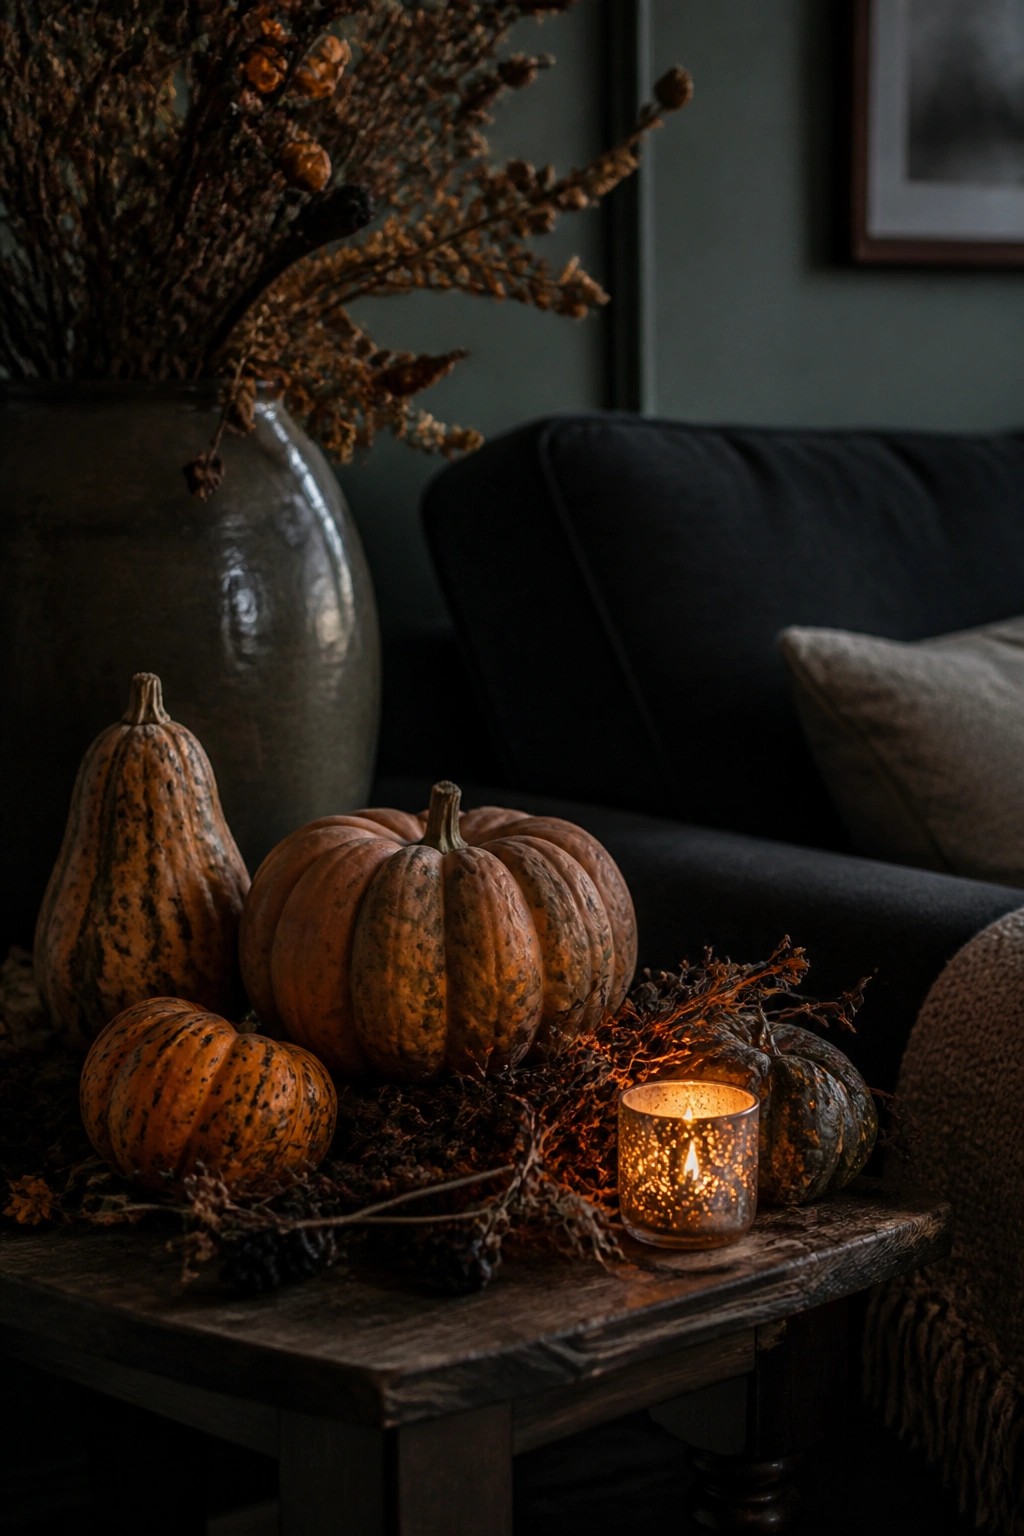
A simple cluster of pumpkins in different sizes and shapes makes an easy no-carve display. Place them together on a low table with a few dried stems and one small light source so the arrangement feels finished without extra effort.
This works well in a living room or any spot that needs a quick seasonal touch. Use whatever pumpkins you already have, keep the supporting pieces minimal, and move the whole setup when you want a change.
Group Metallic Pumpkins For A Quick Centerpiece
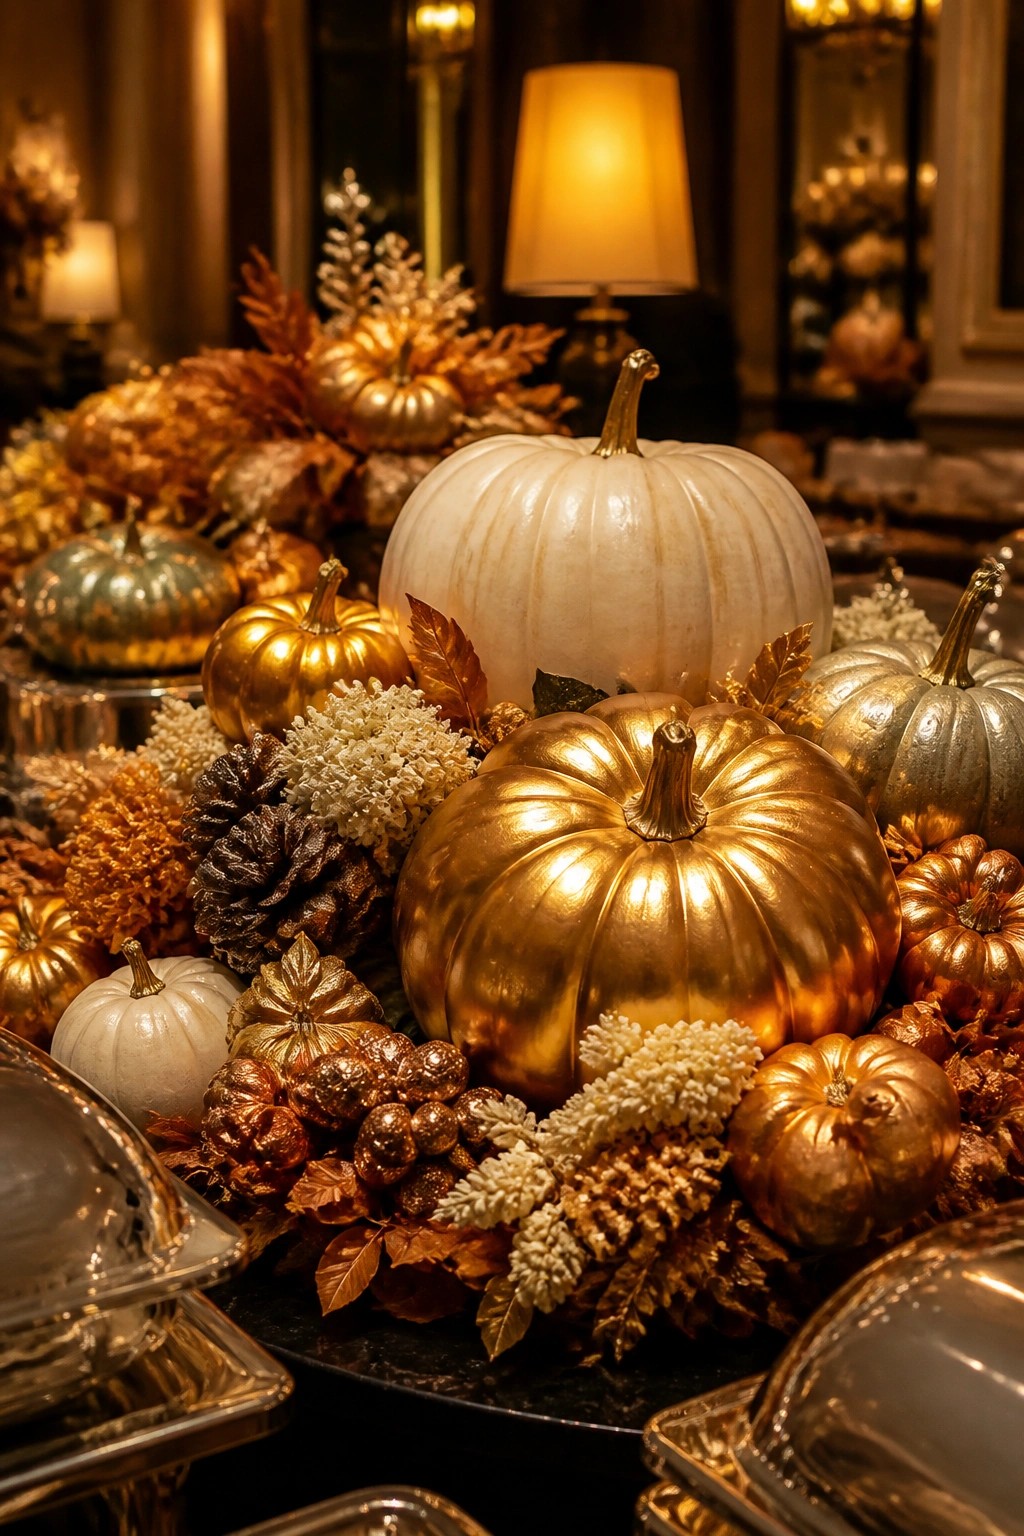
Painting or buying metallic pumpkins lets you create a polished no-carve display in minutes. Gold, silver, and white finishes catch the light and give the arrangement a finished look without needing any carving tools or templates.
Place the largest pumpkins in the center of a table or tray, then tuck smaller ones and a few dried leaves around the base. The mix of sizes and finishes keeps the grouping interesting while staying simple to put together and take down after the holiday.
Group Pumpkins Of Different Sizes On A Bench
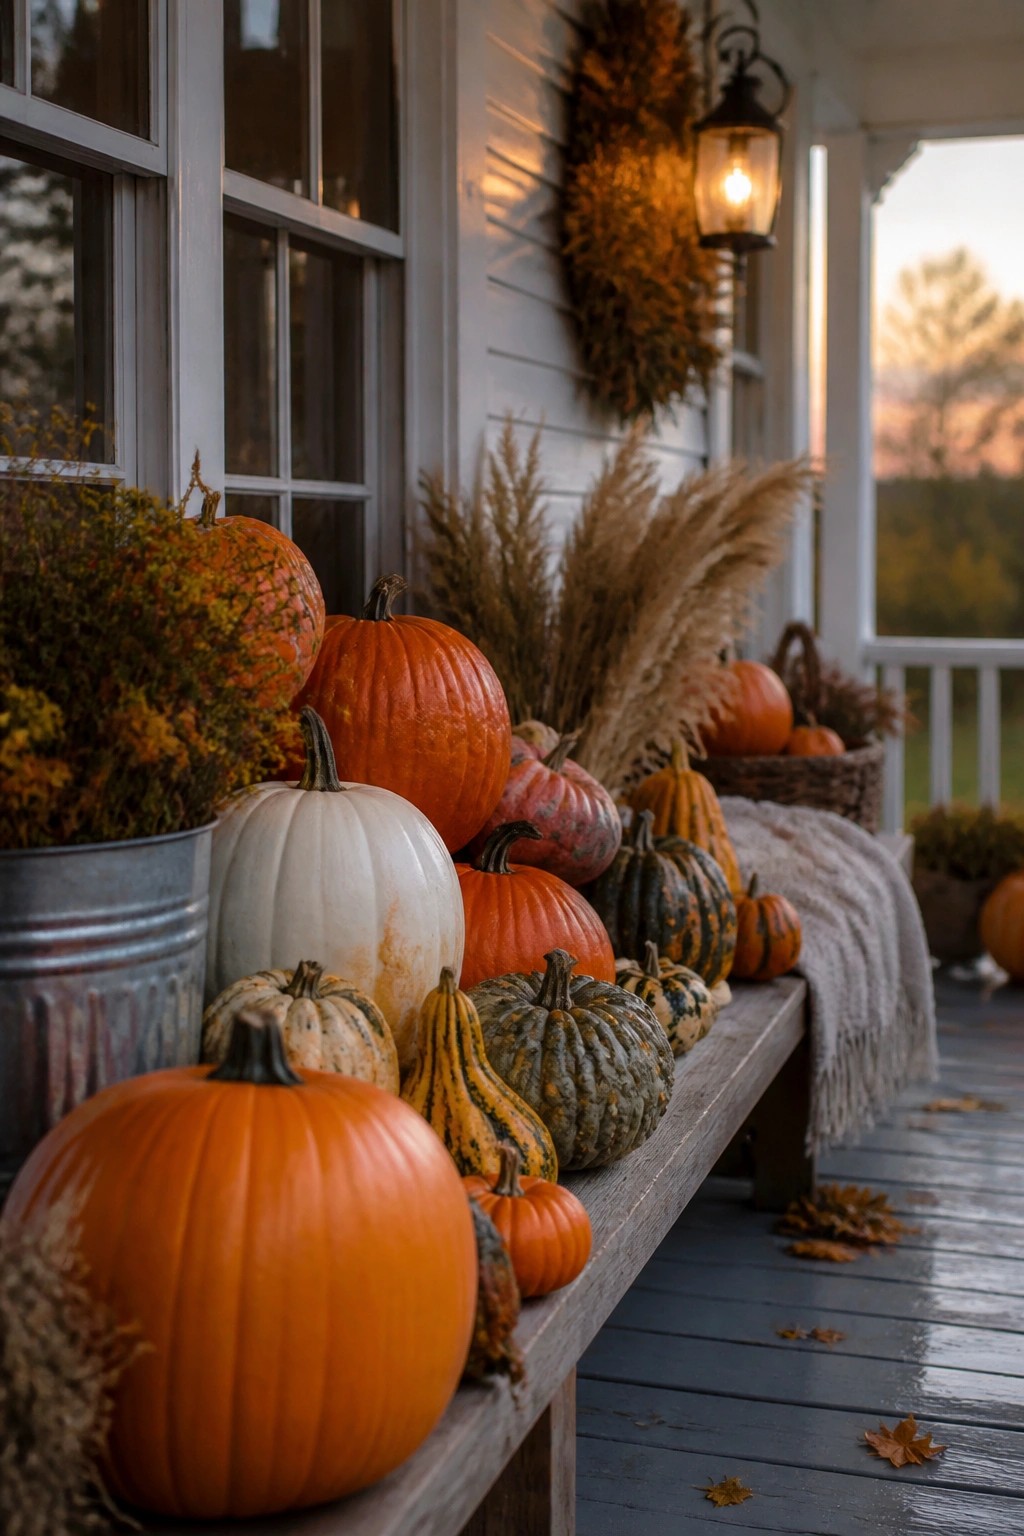
A simple way to decorate for Halloween without any carving is to gather pumpkins in lots of sizes and colors and line them up along a porch bench. The mix of orange, white, and striped varieties creates enough variety to look intentional while still keeping the whole setup low effort.
Place the largest pumpkins toward the ends and tuck smaller ones in between so the arrangement feels balanced. Add a few neutral fall plants or dried grasses behind them if you want extra texture, but keep the focus on the pumpkins themselves. This works especially well on a front porch where people can see the full row as they walk up.
Cluster Pumpkins On The Mantel
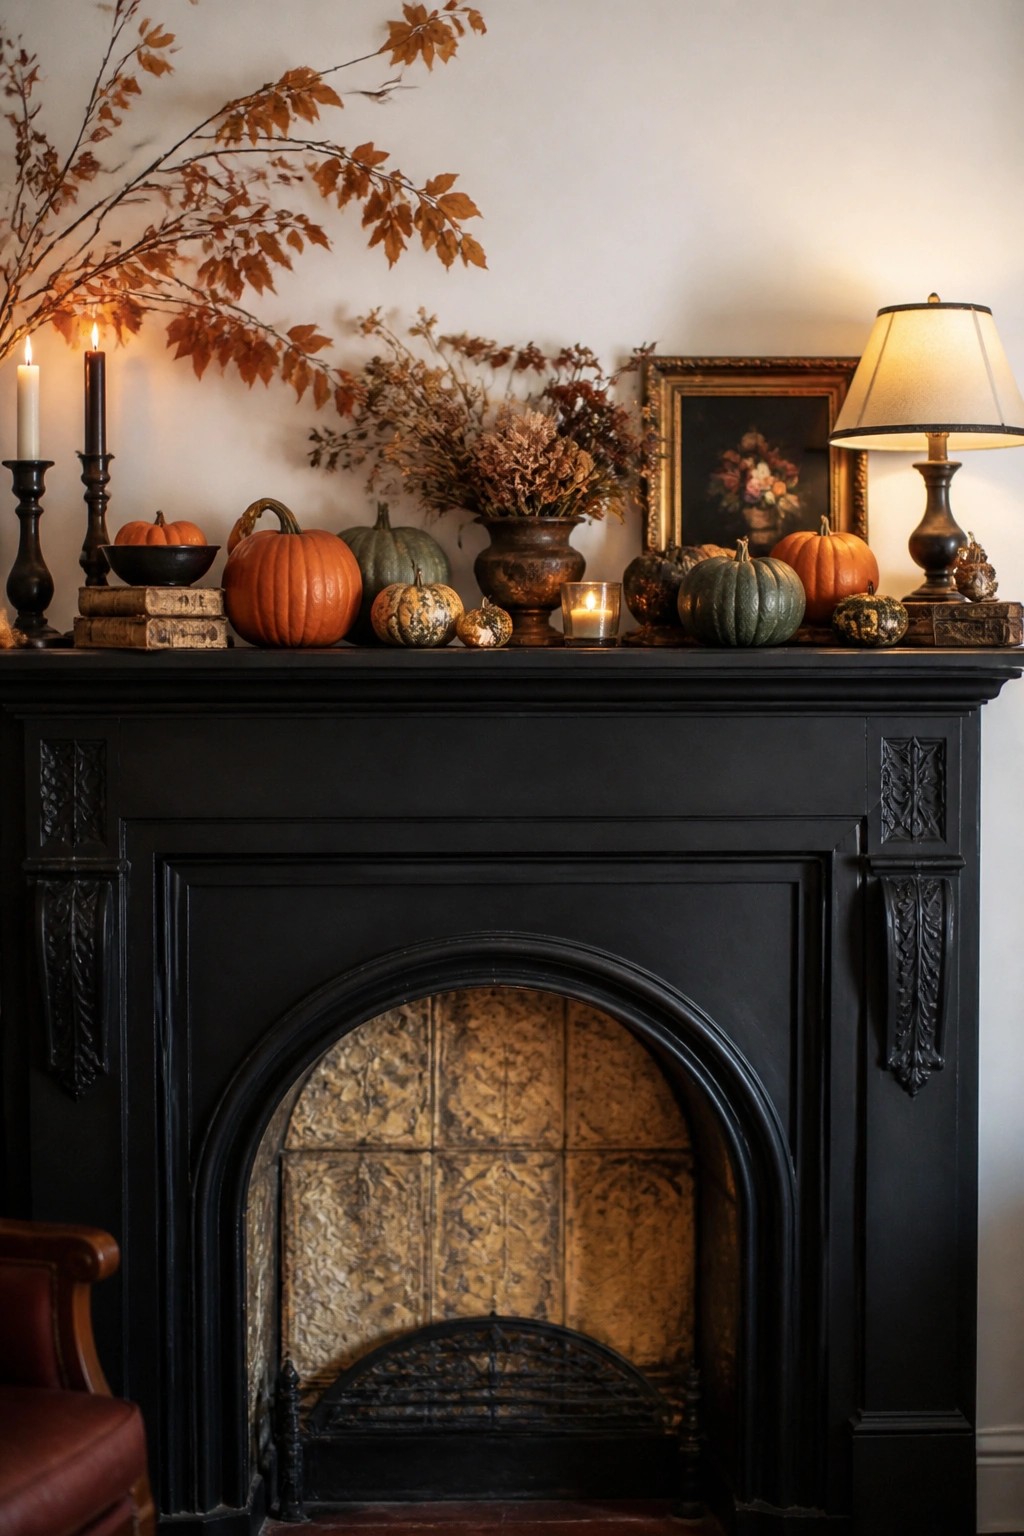
Placing a mix of whole pumpkins along the mantel gives you an easy Halloween look without any carving. Different sizes and colors keep the arrangement interesting, and a few painted or speckled ones add variety while staying simple.
Set the pumpkins in a loose row and tuck in a couple of candles between them. This works well on a dark mantel because the pumpkins stand out without needing extra pieces. You can swap them out after the holiday or leave a few for the rest of fall.
Group Painted Pumpkins On An Entry Console
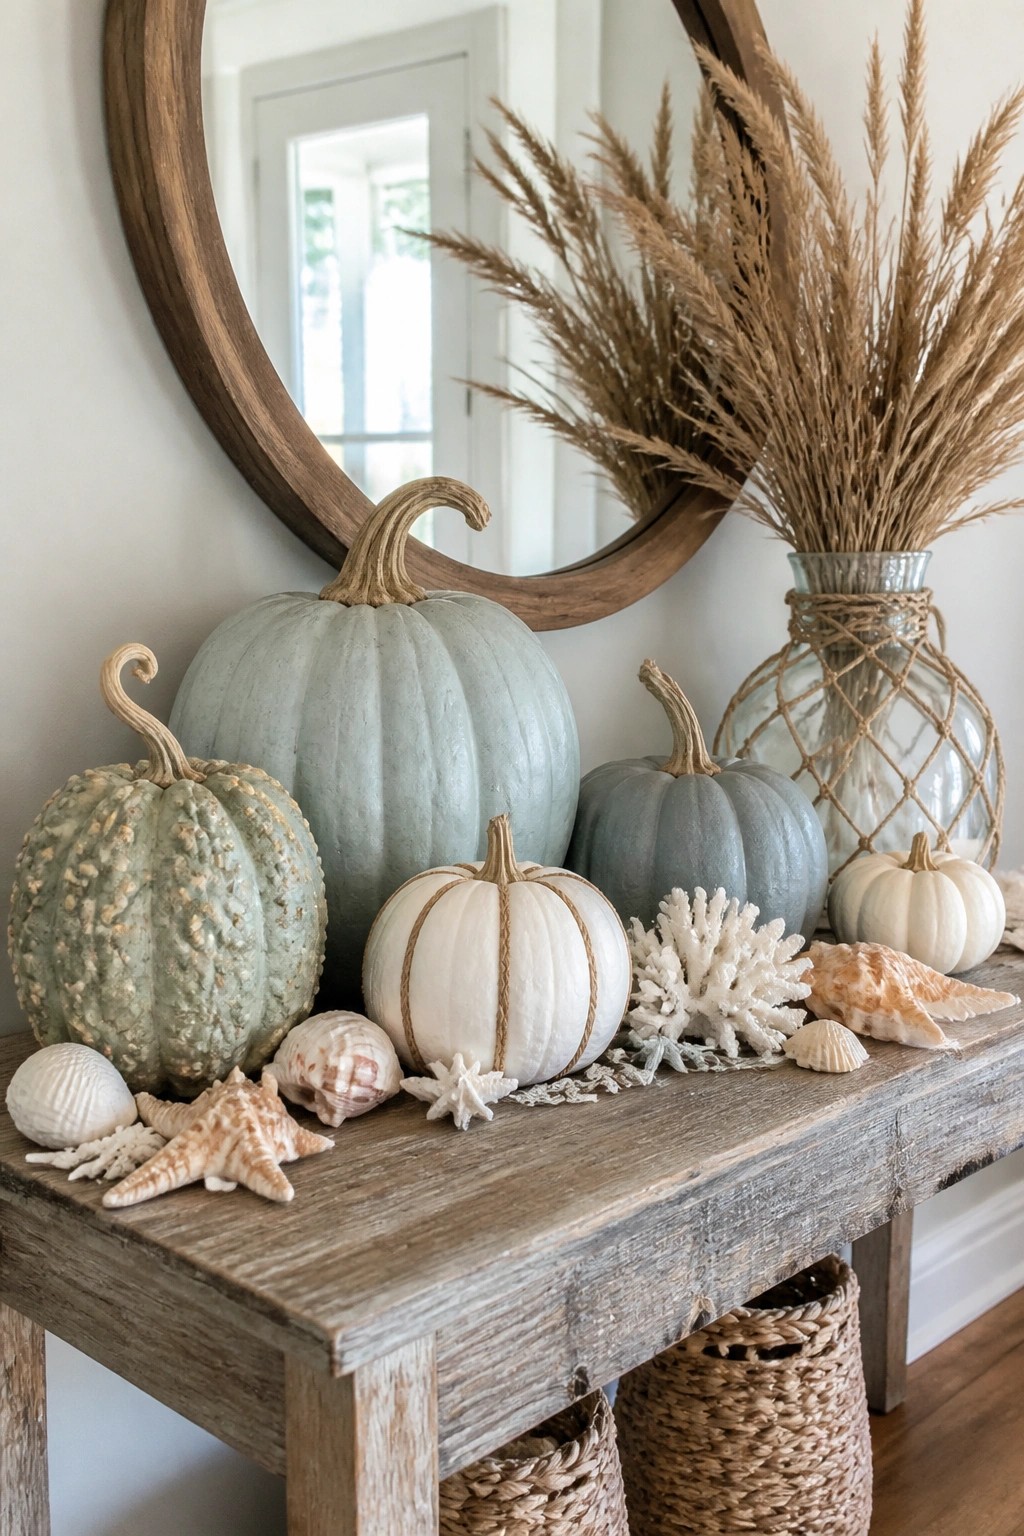
Painted and wrapped pumpkins make an easy no-carve display that still reads as Halloween. A few larger ones in soft gray and sage green sit at the back while smaller white and textured pumpkins fill in the front. The neutral colors keep the look calm but the pumpkin shapes make the seasonal intent clear.
This works best on a console table where people walk by every day. Use five to seven pumpkins of different sizes and finishes, then add just a couple of natural accents like shells or coral to break up the grouping. Keep the rest of the surface mostly clear so the pumpkins stay the main focus.
Recommended Products

【Pumpkin decorating kit stickers package includes】24 sheets pumpkin face stickers per package, 12 different expressions ,perfect for Jackolantern stickers for Halloween party,classroom and families’ activity.

【Halloween Pumpkin decorating kit】- Each pack include 40 sheets Halloween pumpkin decorating stickers, each sheet can make 2 pumpkin faces total 80 Halloween Pumpkin Decorating Faces.

Style A Pumpkin Tray On The Dining Table
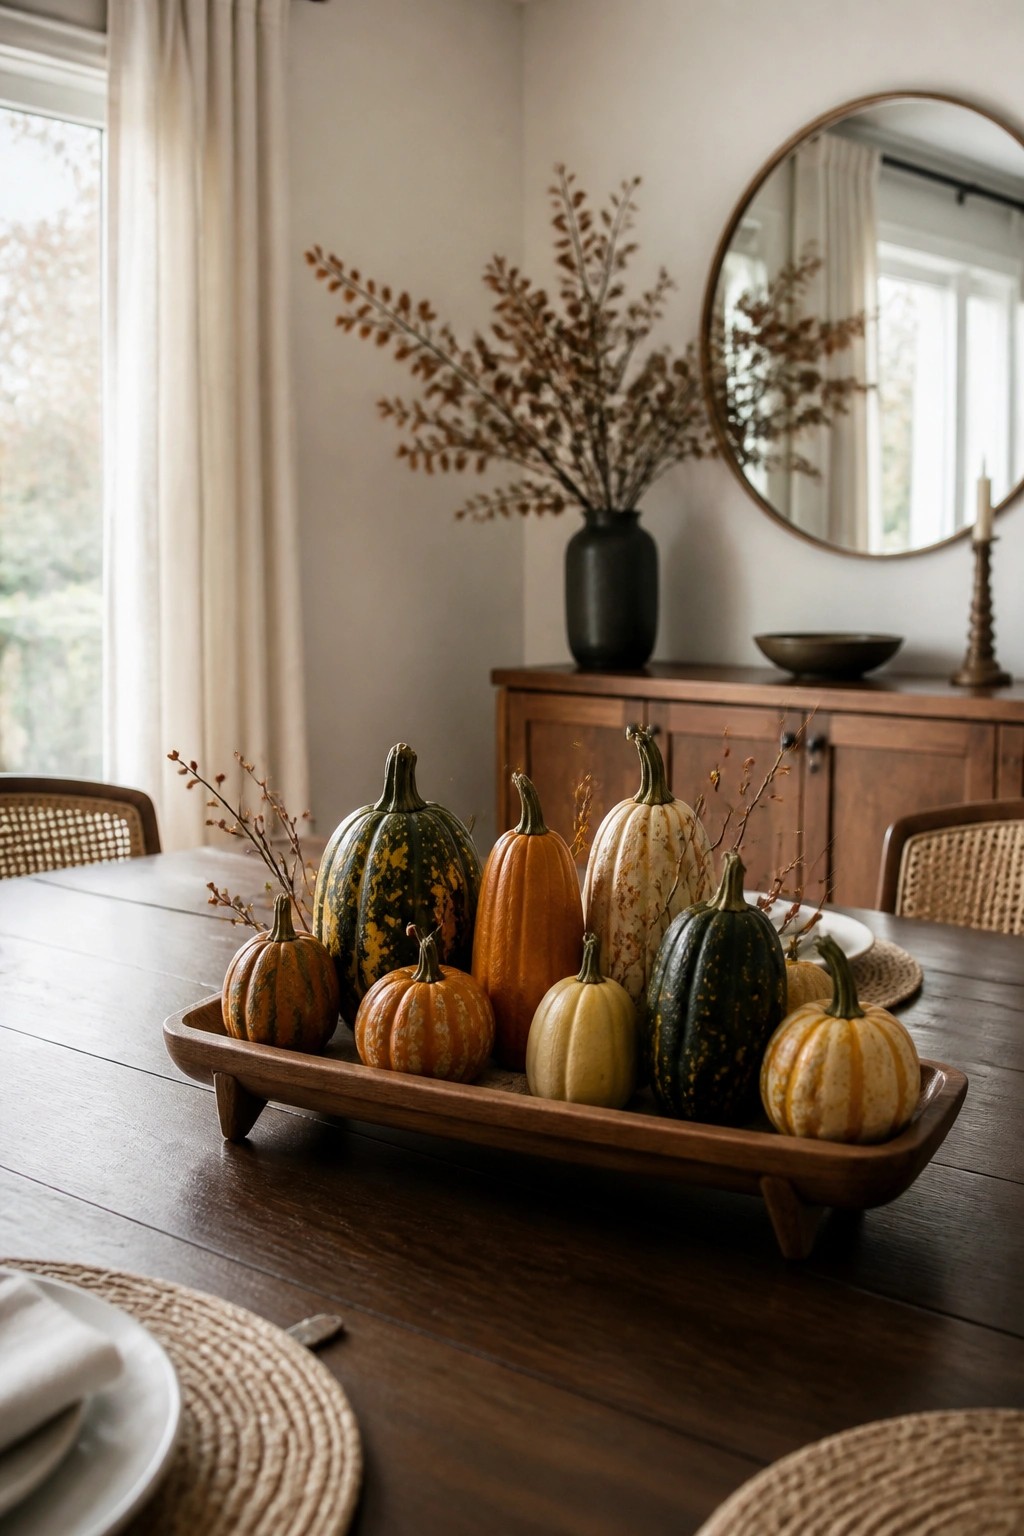
A simple wooden tray filled with small pumpkins in different colors and shapes makes an easy centerpiece. The mix of orange, pale yellow, and speckled green pumpkins keeps the look interesting without any carving or extra supplies.
Place the tray in the middle of the table and add a few thin branches if you want a bit more texture. This works well for everyday meals or a quick seasonal update since you can reuse the same tray with different pumpkins each year.
Arrange Pumpkins On A Coffee Table Tray
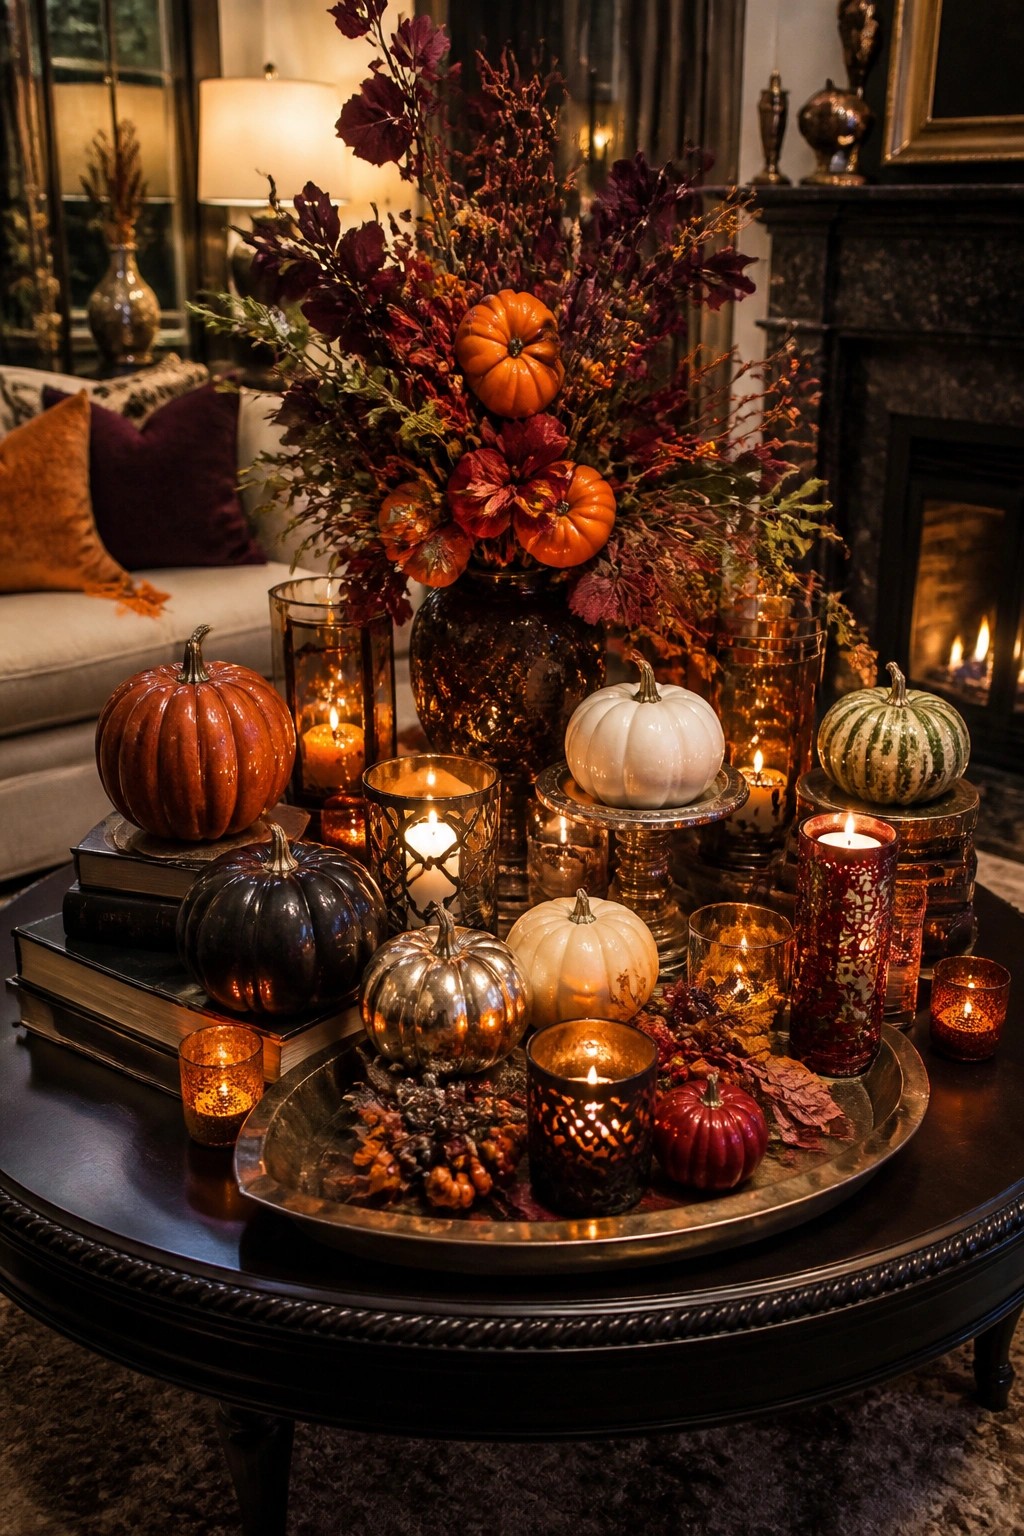
Mixing pumpkins in different finishes and sizes on one tray creates a simple but striking display. The metallic silver and black ones stand out against the white and orange ones, and the tray keeps everything contained so the look stays neat on a living room table.
Place the tray on a coffee table or side table and add a few candles around the pumpkins. You can use real or faux pumpkins and change the colors each year without needing much space or extra decor.
Group White Pumpkins On The Kitchen Island
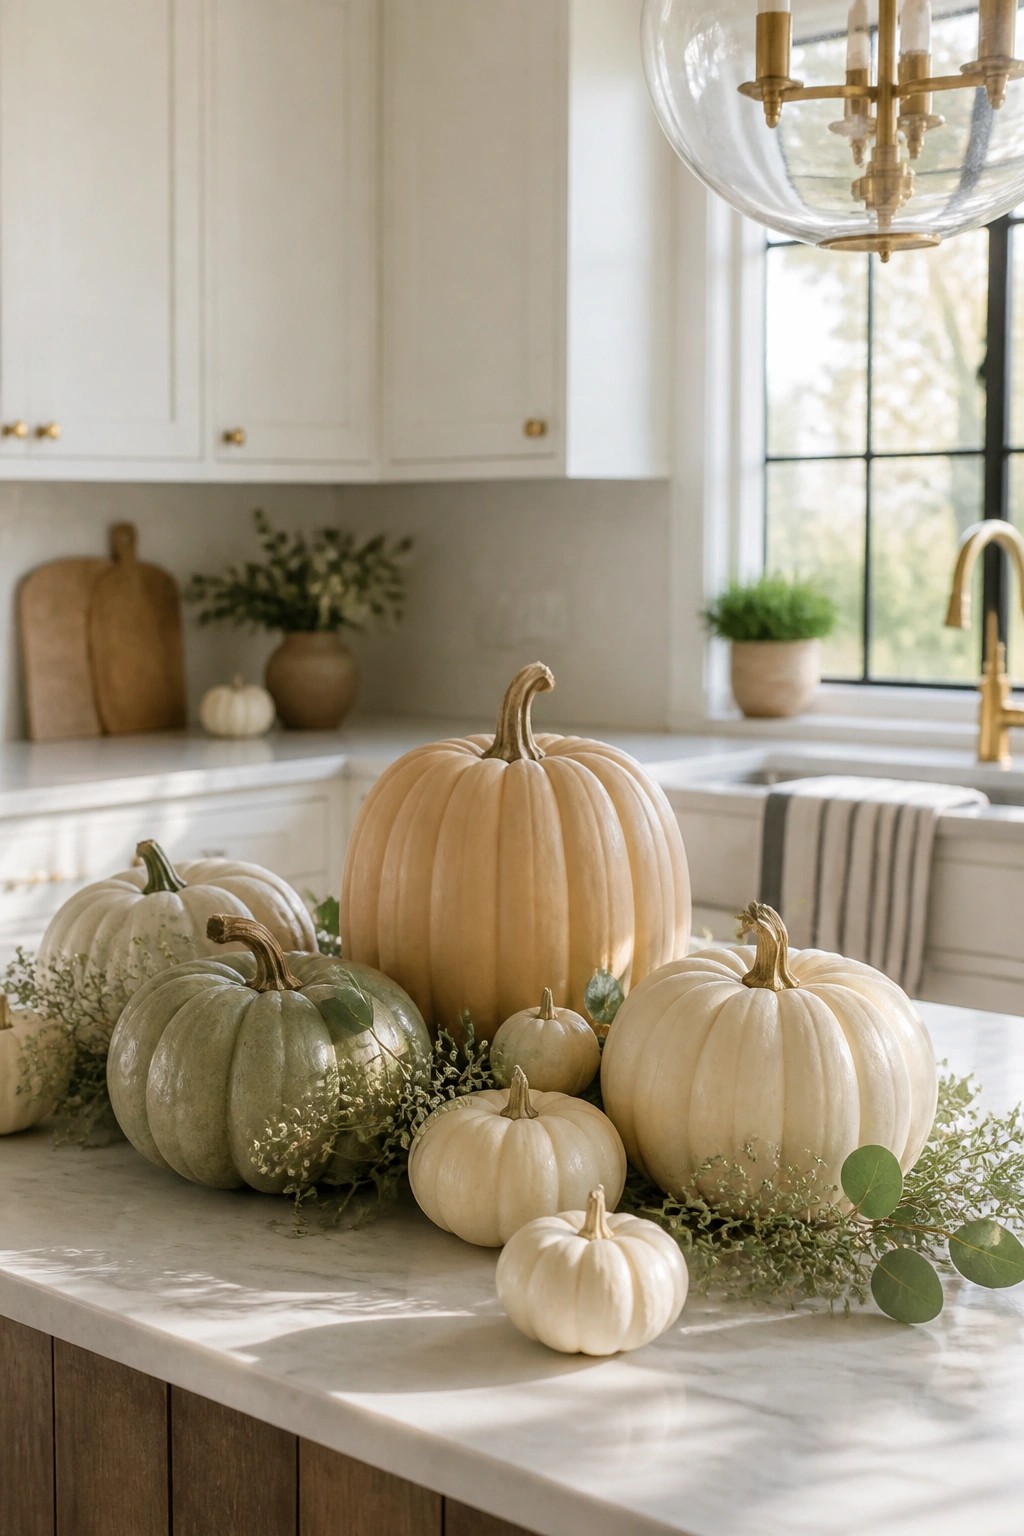
A simple mix of white pumpkins in different sizes makes a clean no-carve display that still reads as Halloween. The variation in shape and height keeps it interesting without any carving or extra paint.
Place the largest pumpkins in the center of the island first, then tuck smaller ones around them. Add a few sprigs of greenery if you want, but keep the rest of the counter clear so the pumpkins stay the focus.
Frequently Asked Questions
Q: I’m worried the decorations will fall off after a day or two. How do I keep everything in place?
A: Use a hot glue gun for most items since it grabs fast and holds tight on the smooth surface. Let it cool completely before moving the pumpkin around. This keeps things simple and secure without extra mess.
Q: Should I pick real pumpkins or go with fake ones for these projects?
A: Real pumpkins give that fresh look and feel right for fall. Fake ones last longer if you plan to keep them around after Halloween. Either works fine as long as the surface is clean before you start decorating.
Q: How can I involve my kids without the whole thing turning into a big cleanup?
A: Let them paint the base colors while you handle the gluing part. Set up a drop cloth and keep supplies in a tray to contain the mess.