Using Quikrete Concrete Resurfacer can sometimes lead to issues like cracks or problems with it sticking properly. However, there are straightforward solutions to these common challenges.
By knowing why these problems happen and applying the right fixes, you can make sure your concrete resurfacing project turns out smooth and lasts longer.
Let's look at some simple ways to solve these issues and get great results on your next project.
Key Takeaways
- Proper surface preparation prevents cracks and ensures adhesion.
- Address adhesion concerns with crack filling and bonding agents.
- Prevent staining through thorough cleaning and maintenance practices.
- Achieve finish consistency and durability by following application guidelines diligently.
Cracking Issues: Causes and Fixes

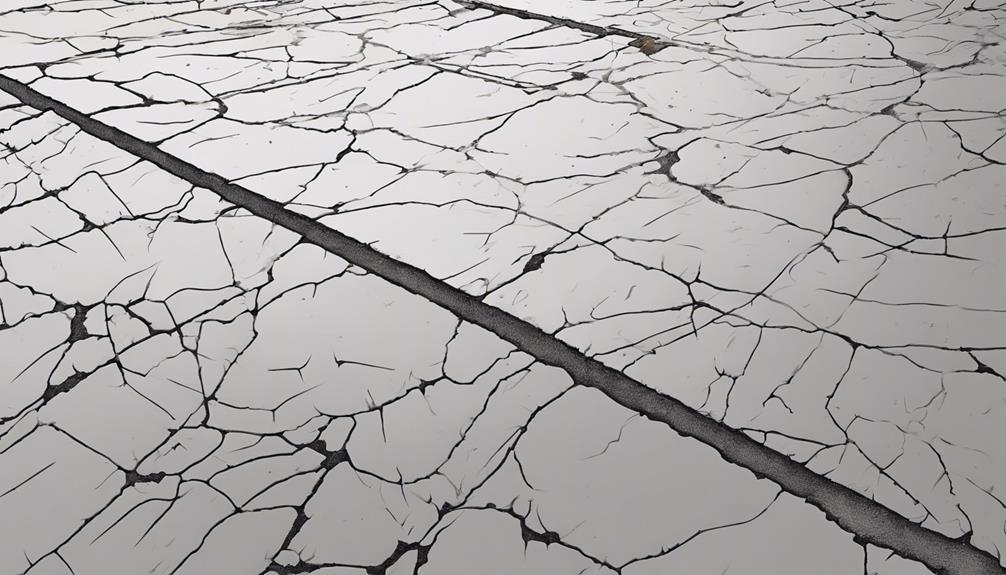
If you notice cracks in your Quikrete Concrete Resurfacer, understanding the causes and implementing the appropriate fixes is important. Proper surface preparation is vital to prevent cracking. Make sure that the surface is clean, free of debris, and properly roughened to promote adhesion. Inadequate surface preparation can lead to poor bonding between the resurfacer and the existing concrete, resulting in cracks.
Additionally, proper curing plays a significant role in preventing cracks. After applying the Quikrete Concrete Resurfacer, make sure to follow the manufacturer's guidelines for curing. This usually involves keeping the resurfaced area damp for an extended period to allow for proper hydration and strength development. Inadequate curing can result in a weakened surface that's prone to cracking over time.
Adhesion Problems: Troubleshooting Guide
To troubleshoot adhesion problems with your Quikrete Concrete Resurfacer, examine the surface thoroughly for any signs of poor bonding that may lead to issues like cracking. Proper surface preparation is key to ensuring good adhesion. Here are some troubleshooting tips to improve adhesion:
- Inspect Surface: Check for dust, dirt, grease, or any other contaminants that may affect bonding.
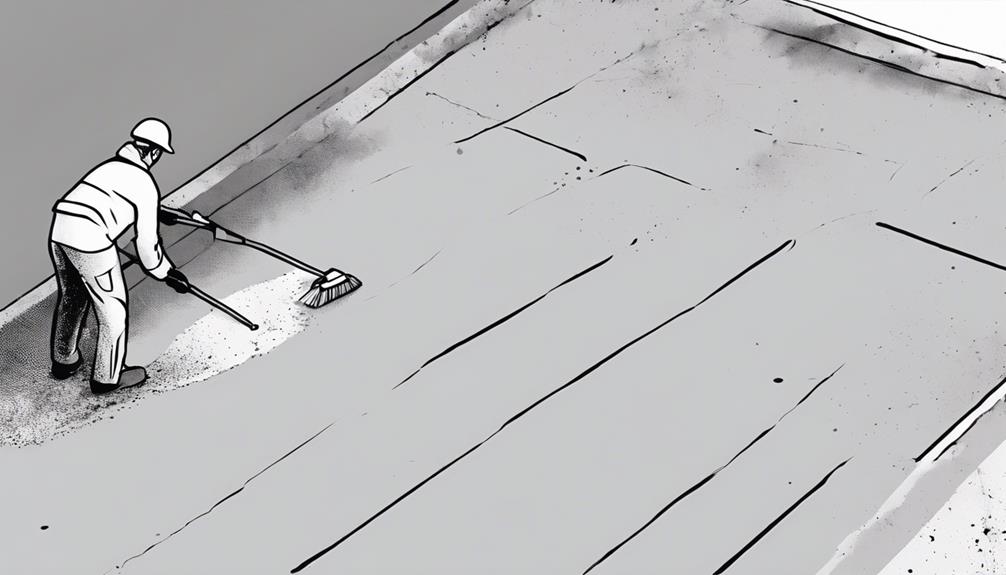
- Clean Thoroughly: Remove all loose materials and debris from the surface before application.
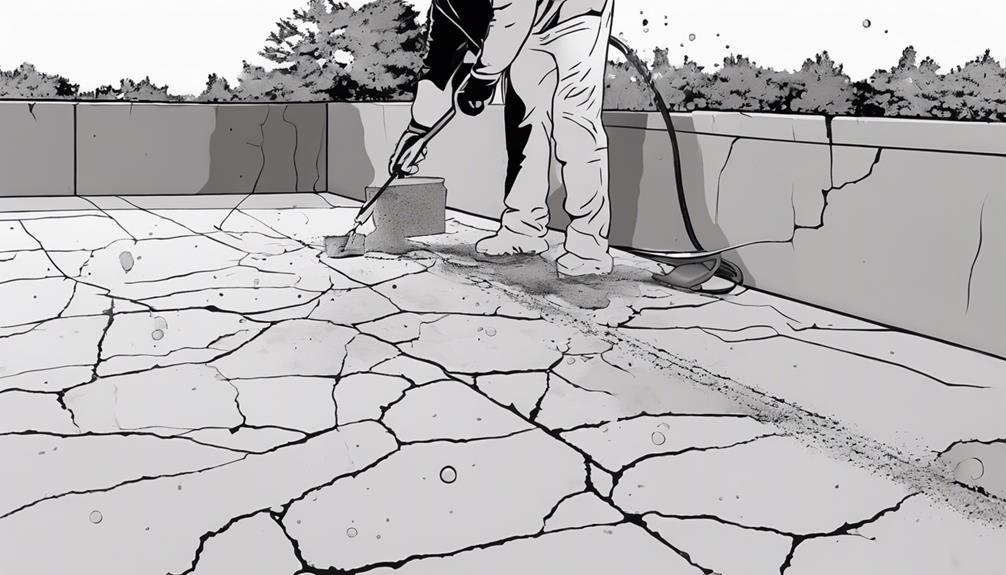
- Repair Cracks: Fill in any cracks or holes in the existing concrete to promote better adhesion.
- Use Bonding Agents: Consider using bonding agents to enhance adhesion between the existing surface and the resurfacer.
- Follow Instructions: Always follow the manufacturer's guidelines for surface preparation and application to maximize adhesion.
Staining Challenges: Prevention Methods

Inspecting the surface for potential contaminants and applying preventive measures can help counter staining challenges when using Quikrete Concrete Resurfacer. Proper surface preparation and sealer application are vital steps in preventing stains from ruining the finish of your project. Below is a table outlining key methods to prevent staining issues:
| Preventive Measures | Description |
|---|---|
| Surface Cleaning | Thoroughly clean the surface to remove any dirt, grease, or other contaminants that could cause staining. |
| Acid Etching | Use acid etching to remove stubborn stains and prepare the surface for resurfacing. |
| Sealer Application | Apply a high-quality sealer to the surface after resurfacing to protect it from stains and enhance its durability. |
| Regular Maintenance | Perform routine maintenance and cleaning to prevent stains from setting in and preserving the appearance of the resurfaced concrete. |
| Immediate Spill Cleanup | Quickly clean up any spills to prevent them from seeping into the surface and causing stubborn stains. |
Uneven Finish: How to Achieve Smoothness
Achieving a smooth finish with Quikrete Concrete Resurfacer requires meticulous surface preparation and careful application techniques. To guarantee a flawless result, follow these tips:
- Surface preparation: Make sure the surface is clean, free of debris, and properly primed before applying the resurfacer.
- Leveling techniques: Use a straight edge or trowel to level the resurfacer evenly across the entire surface for a uniform finish.
- Finishing tips: Smooth out the resurfacer with a steel trowel or squeegee to eliminate any bumps or ridges.
- Smoothing methods: Consider using a concrete broom for a textured finish or a concrete float for a smooth, polished look.
- Attention to detail: Pay close attention to edges and corners, ensuring they're treated with the same care as the rest of the surface to maintain consistency.
Color Inconsistencies: Resolving Techniques

For a uniform appearance in your Quikrete Concrete Resurfacer project, address color inconsistencies effectively by implementing these proven techniques. When encountering color variations, consider color blending to create a seamless look. Start by thoroughly mixing the resurfacer powder to guarantee uniform color distribution. Additionally, blend different batches of the resurfacer together before application to minimize color discrepancies.
Application tips are important in achieving consistent coloring. Maintain a consistent application thickness across the entire surface to prevent color variations. Use the recommended tools, such as a squeegee or trowel, to apply the resurfacer evenly. Avoid leaving excess material in one area as it can lead to darker patches.
To further enhance color consistency, work efficiently and complete each section without interruptions. If you need to pause mid-application, finish at a natural breaking point to prevent color variations at the seam. By following these color blending and application tips, you can effectively address color inconsistencies in your Quikrete Concrete Resurfacer project.
Durability Concerns: Enhancing Longevity
To guarantee the long-lasting durability of your Quikrete Concrete Resurfacer project, focus on incorporating key reinforcement techniques right from the preparation stage. Here are some essential tips to enhance the longevity of your concrete resurfacing project:
- Use Proper Sealing Options: Applying a high-quality sealer can help protect the resurfaced concrete from moisture, stains, and other damaging elements.
- Regular Maintenance: Perform routine inspections and maintenance tasks such as cleaning, resealing, and addressing any cracks or damage promptly.
- Avoid Heavy Traffic: Minimize the impact of heavy vehicles or machinery on the resurfaced area to prevent premature wear and tear.
- Repair Cracks Immediately: Fill in any cracks that develop to prevent them from expanding and causing further damage to the surface.
- Follow Manufacturer Guidelines: Adhere to the manufacturer's instructions for mixing, applying, and curing the Quikrete Concrete Resurfacer to ensure peak durability and performance.
Conclusion
Addressing common challenges such as cracking, adhesion issues, staining, uneven finishes, color inconsistencies, and durability concerns is crucial for a successful Quikrete concrete resurfacing project. By proactively understanding and troubleshooting these problems, achieving a smooth and durable finish becomes a more attainable goal.
This approach not only ensures the longevity and aesthetic appeal of your concrete surfaces but also reflects the broader importance of meticulous preparation and application in any resurfacing project.
What might the outcome be if every step, from preparation to finishing, is executed with precision and care?

