

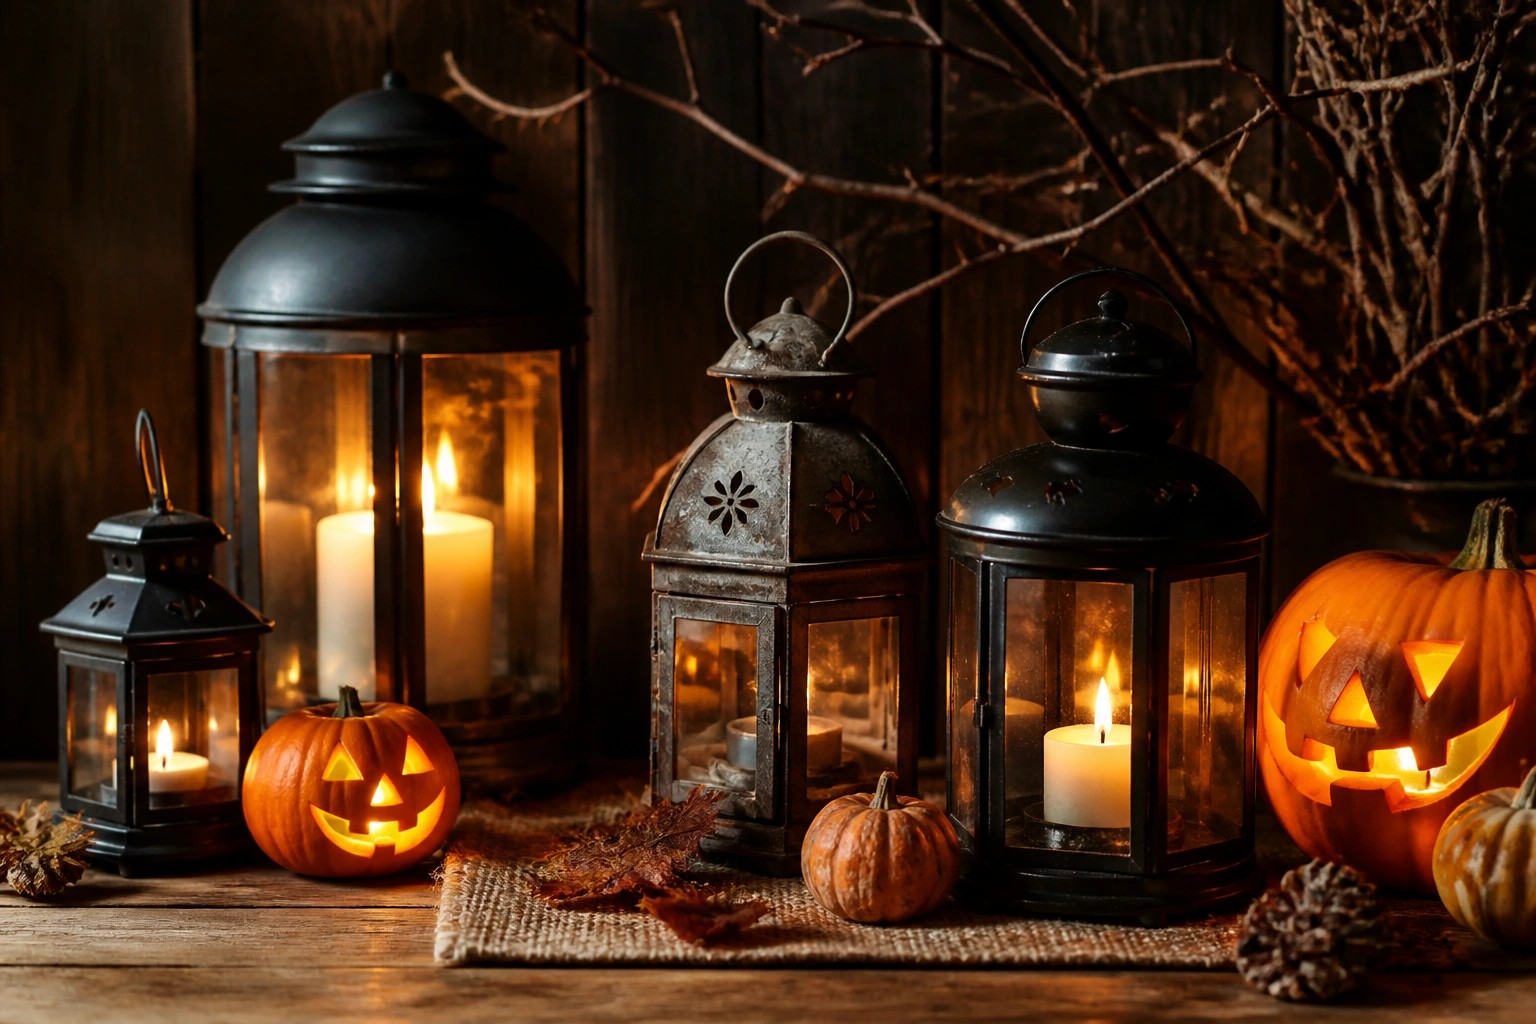
Lanterns add real function to Halloween decorating because they give off light instead of just sitting there as daytime accents.
I usually place one or two near the front steps since they create a clear focal point without covering every surface.
Some displays try to use too many small pieces and end up looking scattered once it gets dark.
DIY versions let me adjust the size and materials so the lanterns fit the space I actually have instead of fighting with existing furniture or railings.
The best ones balance simple construction with enough presence to be noticed from the street.
Group Jack O Lantern Lanterns On A Table
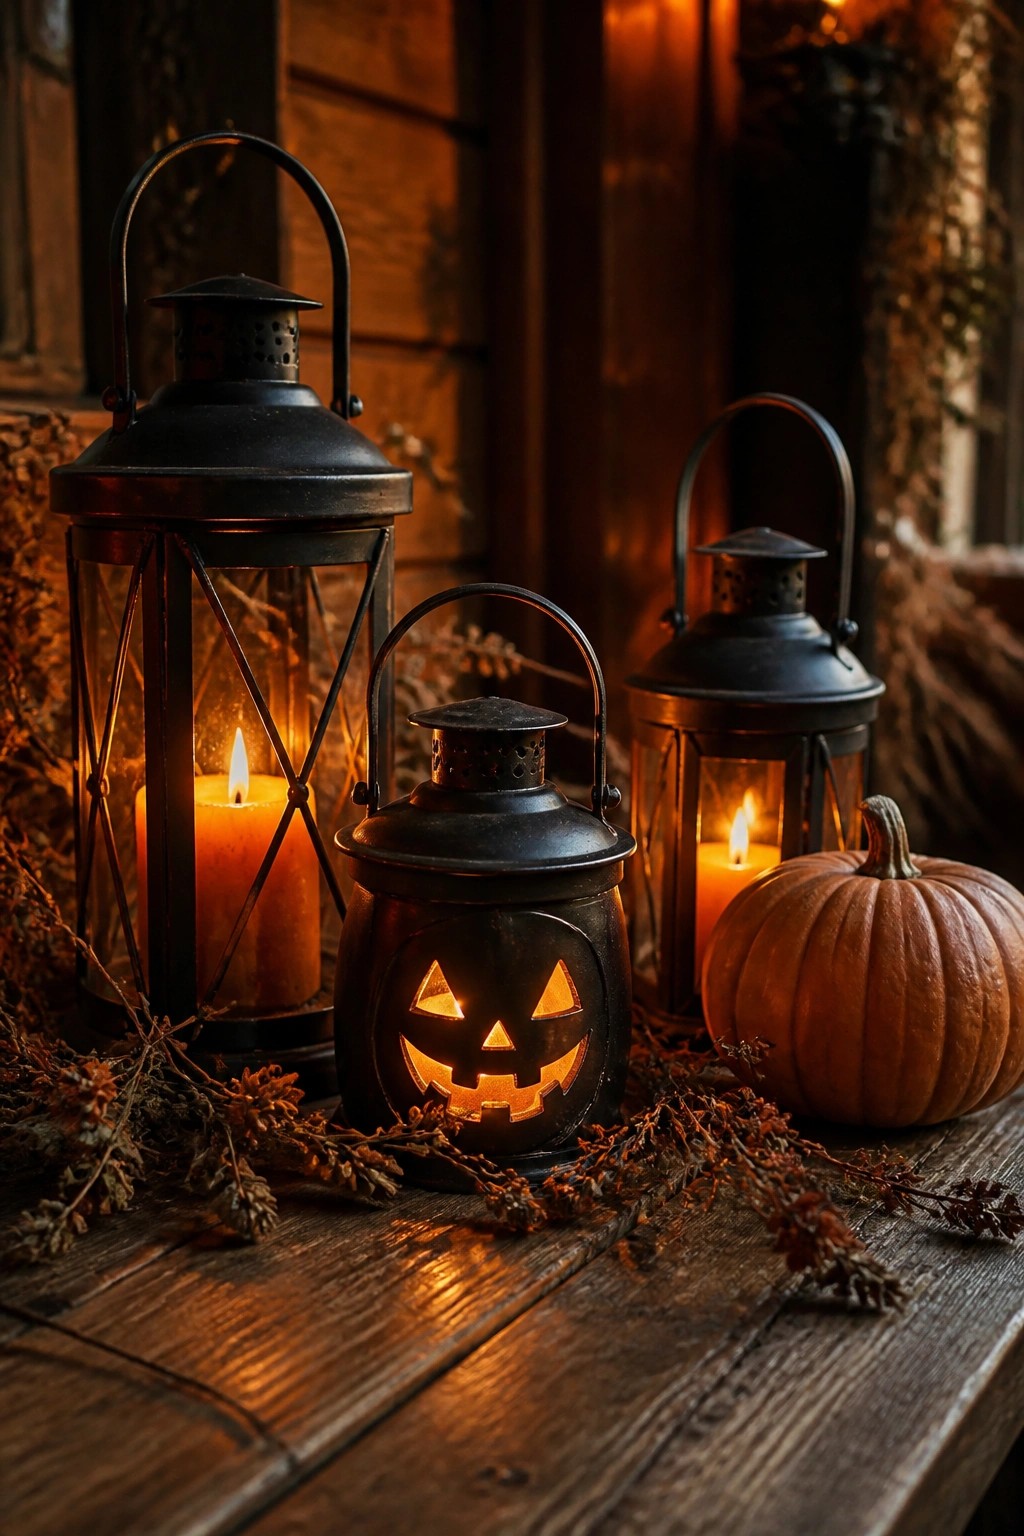
Place a few black metal lanterns together and cut a simple jack o lantern face into the front of one so the candle glow shines through. The mix of plain lanterns and the one with the carved face keeps the look focused without needing extra pieces.
Set the group on a porch table or entry step where it can be seen at night. Use battery candles inside each lantern so the faces stay lit safely and the arrangement stays easy to move around.
Cut Tree And Bat Silhouettes Into Lanterns

Black lanterns with tree branches and flying bats cut into the sides make a simple but strong Halloween statement. The cutouts let the candlelight shine through in sharp patterns, turning ordinary lanterns into the main focal point without needing much else around them.
Place a few of these lanterns together on a mantel or console and keep the rest of the surface fairly quiet. A couple of small pumpkins and some moss tucked at the base is enough to tie the look together. The lanterns do the work, so extra decorations are not required.
Cluster Lanterns On A Patio Table

Grouping several lanterns of different heights and patterns makes a simple but effective Halloween display. The mix of tall ornate ones and smaller ones creates layers of light without needing much else.
Place them on any outdoor table you already have and add a few pumpkins around the base if you want more seasonal color. Battery candles keep the look going safely after dark.
Cluster Lanterns Along A Windowsill
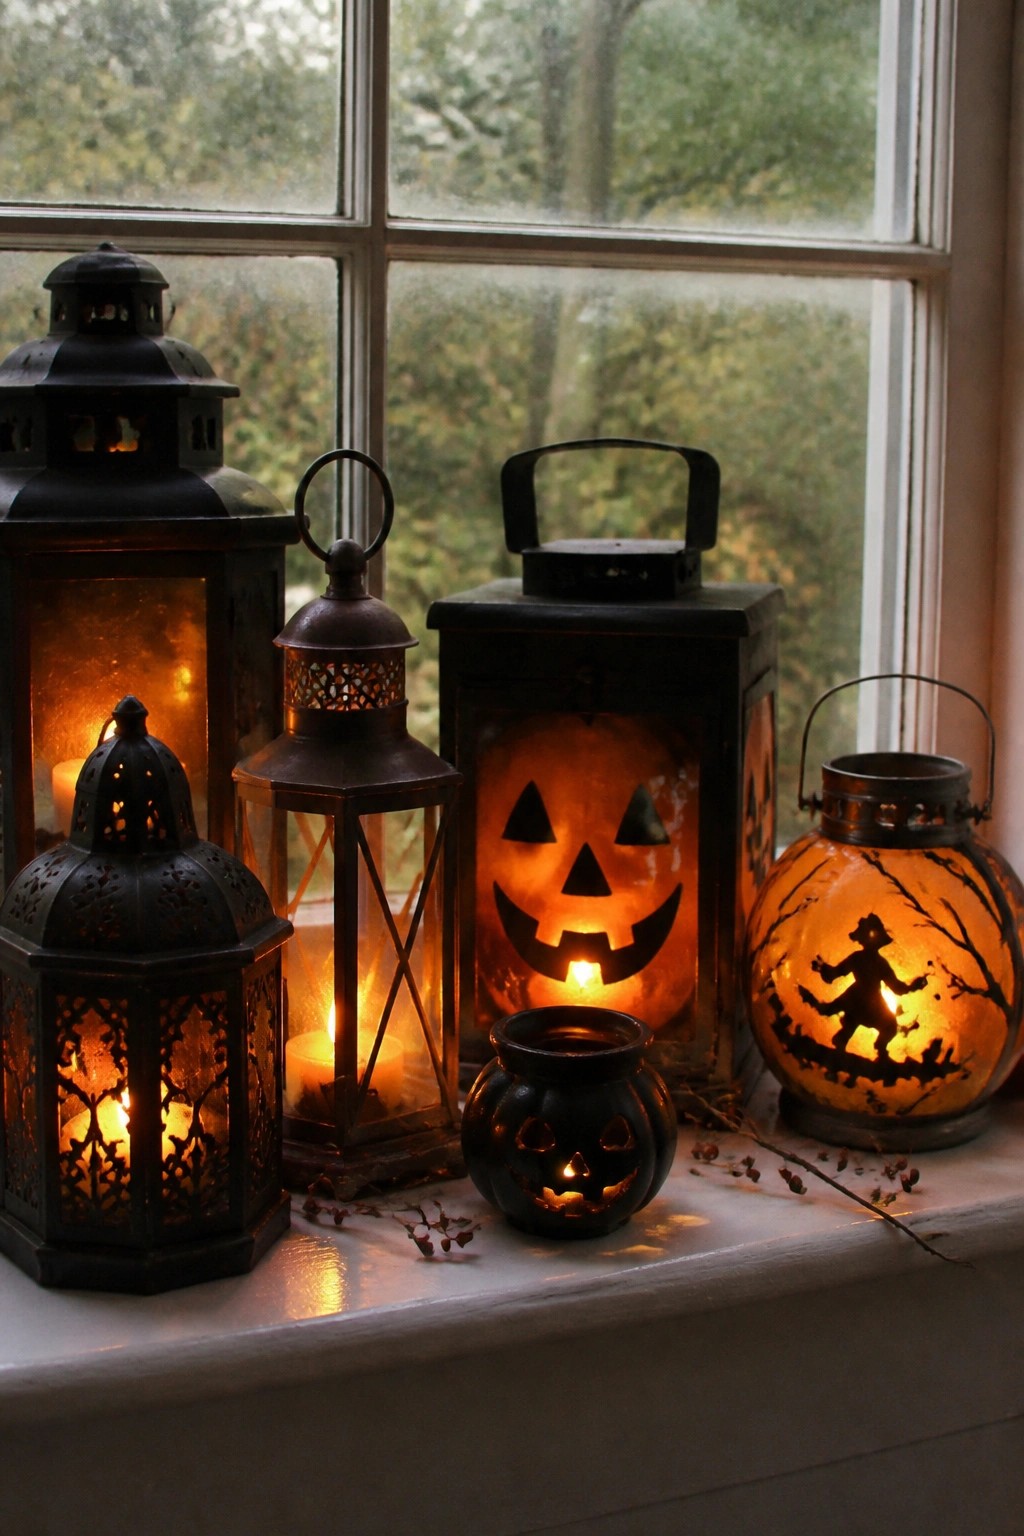
Grouping several different lanterns together turns a simple windowsill into a strong Halloween focal point. The mix of black metal styles with carved faces and glowing centers creates an easy layered look that stands out at night without needing much else around it.
Place the tallest lanterns toward the back and smaller ones in front so each one stays visible. Use battery candles inside so you can leave them on safely after dark. This setup works on any wide sill or ledge and lets you swap in new lanterns each year without changing the rest of the room.
Make Ghost Lanterns From Fabric And Jars

These ghost lanterns work because the white fabric covers the jars completely and the light shows through the simple black eyes. The two sizes create a quick group without needing extra pieces.
Set one or two on a table or dresser where they can be seen at night. Battery candles keep the fabric safe and let the lanterns stay lit for hours.
Group Lanterns On A Wooden Tray For Outdoor Lighting

Placing several lanterns together on a low tray creates a focused glow that works well on a patio table or deck. The mix of lantern sizes adds interest while the tray keeps everything contained and easy to move.
Use a simple wooden tray as the base, then arrange three or four lanterns of different heights inside it. Add one small pumpkin and a skull to give the setup a clear Halloween touch without needing many extra pieces. This works best in an outdoor spot where the light can be seen at night.
Line The Path With Glowing Lanterns
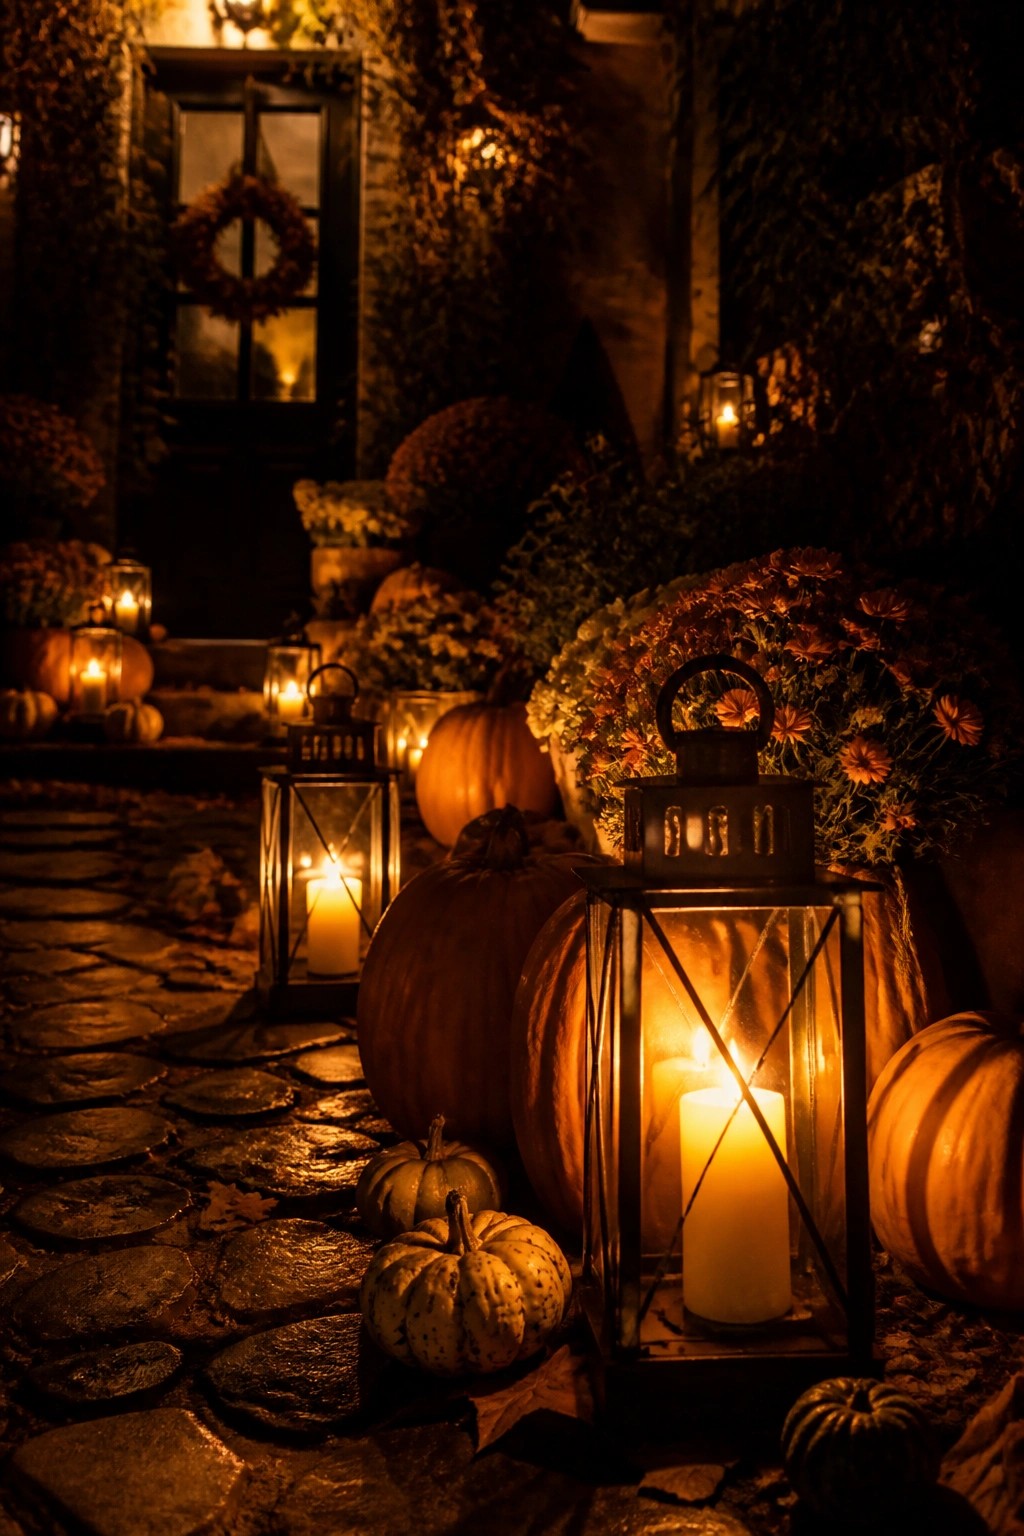
Lanterns turn a simple walkway into a Halloween feature without much effort. Placing several along the stone path creates a steady line of light that leads visitors toward the door while keeping the mood warm and inviting.
Use a mix of sizes and keep the candles inside protected from wind. A few pumpkins placed between the lanterns is enough to tie the whole look together without crowding the path.
Arrange Glowing Lanterns Across The Mantel

A simple row of carved lanterns makes a strong Halloween focal point without much extra effort. The mix of pumpkin shapes and taller ghost forms creates variety while the cutout faces let the light shine through in a consistent way.
Place the tallest pieces toward the back or center and fill in with smaller ones so the glow stays even. Battery candles work well inside each one and keep the setup safe on a wooden surface. This approach works on any mantel or long shelf where you want the lanterns to stand out as the main seasonal touch.
Group Halloween Lanterns On A Console
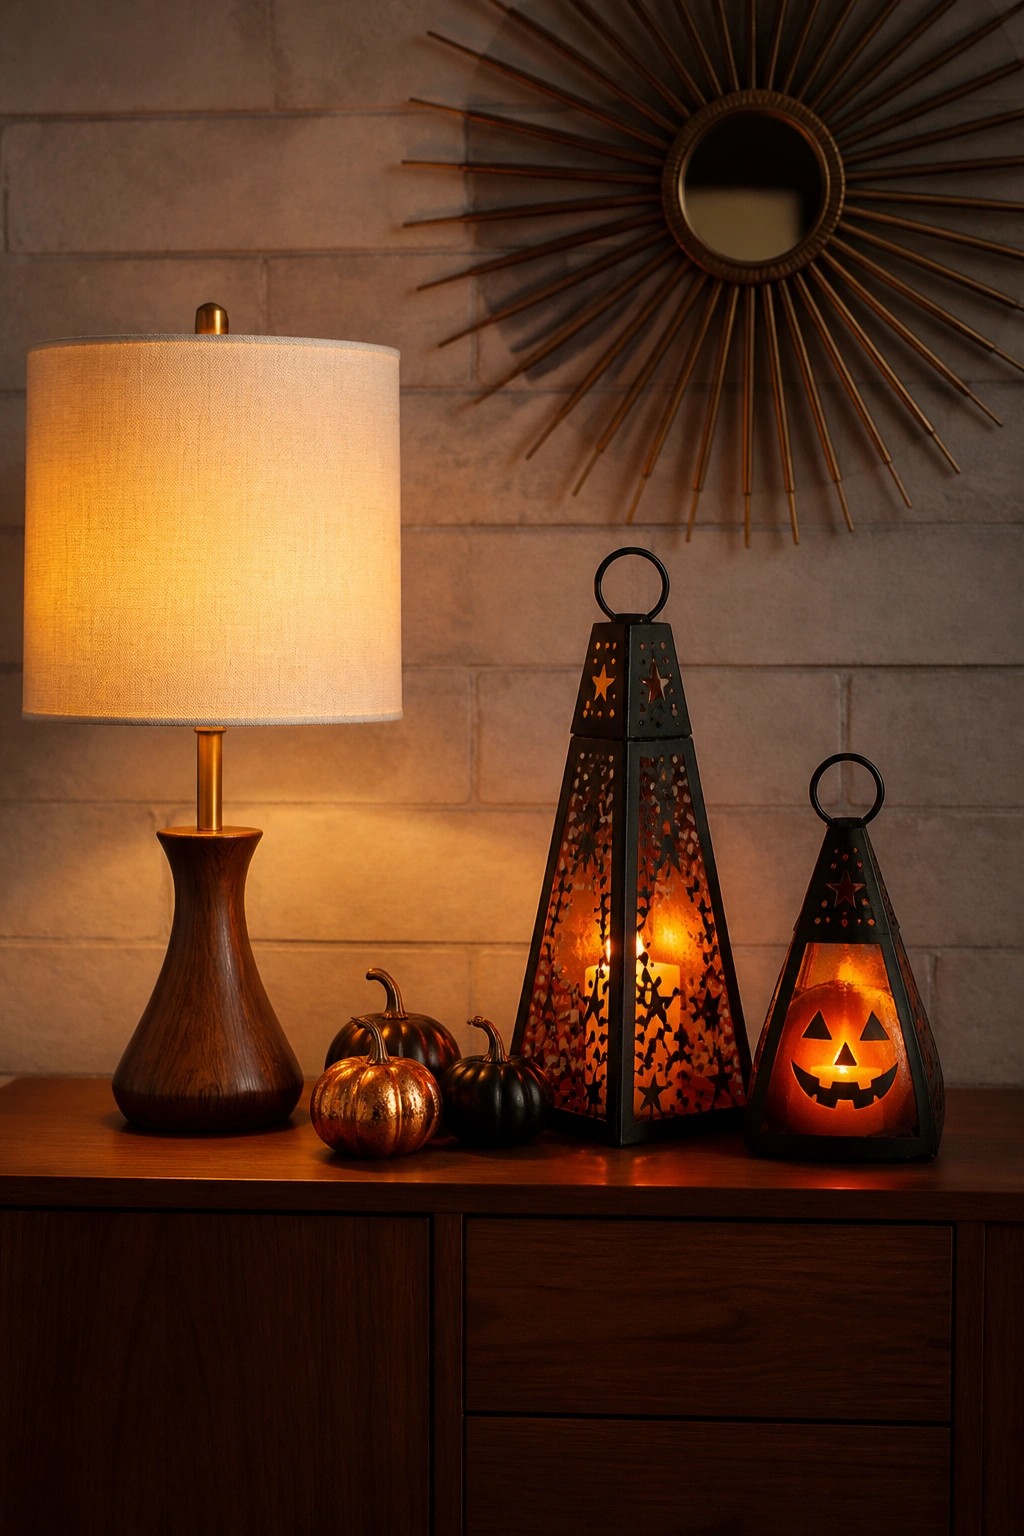
Lanterns with cutout designs give a simple tabletop a clear Halloween focus. The tall black metal lantern with star and bat shapes next to the shorter one with a jack o lantern face creates an easy focal point that works on any sideboard or entry console.
Place two or three lanterns of different heights together and add battery candles so the light shines through the cutouts. Keep the rest of the surface light with just a few small pumpkins so the lanterns stay the main feature. This setup works in living rooms, hallways, or entryways and takes only a few pieces to look finished.
Group Lanterns Along Outdoor Steps

Placing several black lanterns together on stone steps creates a simple glowing display that works especially well for Halloween. The different sizes and heights give the arrangement depth while the lit candles inside each one provide the main source of light after dark.
This idea works best near an entry or along a short flight of stairs where people will see it at night. Use lanterns you already own or pick up inexpensive ones, add battery candles so there is no fire risk, and keep any extra pieces like dark pumpkins to just a few so the lanterns stay the focus.
Hang Halloween Lanterns Overhead Along A Path

Hanging rows of paper lanterns with cutout designs turns a simple walkway into a glowing Halloween feature. The lanterns feature classic motifs like jack-o-lantern faces, bats, black cats, and haunted houses, and the warm light inside makes the shapes stand out after dark. This approach works especially well in covered outdoor spaces where you can run a few lines of string or wire.
Start with inexpensive paper lanterns and add your own silhouettes using black cardstock or paint. Mix a few sizes and shapes so the display feels collected rather than uniform. Keep the rest of the path simple so the lit lanterns remain the main focus.
Style Skeletons Inside Old Lanterns

One simple way to turn plain lanterns into Halloween decor is to set a small skeleton figure inside the glass. The candlelight glows through the metal frame and makes the bones stand out without needing extra pieces around it.
This setup works on a console table or any flat surface where you want one clear focal point. Use just one or two lanterns so the skeleton stays easy to notice instead of getting lost in other items.
Line Your Walkway With Hanging Lanterns

Hanging lanterns along a stone path creates an easy Halloween lighting display that guides people toward the house. The metal lanterns with simple candles inside stand out at night and pair naturally with a carved pumpkin placed nearby.
Mount a few lanterns on wooden posts or low branches along the sides of the path. Battery candles keep the setup safe outdoors and let you space the lanterns however far apart you want. This idea works for any walkway and needs only a handful of lanterns to look finished.
Group Lanterns Around The Fireplace Mantel

Black lanterns with lit candles make a strong focal point when placed both on the floor and along the mantel. The mix of sizes creates a layered look that still feels balanced next to the fire.
Try starting with two or three lanterns of different heights and add smaller ones nearby. Keep the rest of the surface simple so the glowing candles stand out without crowding the space.
Group Lanterns Along The Dining Table
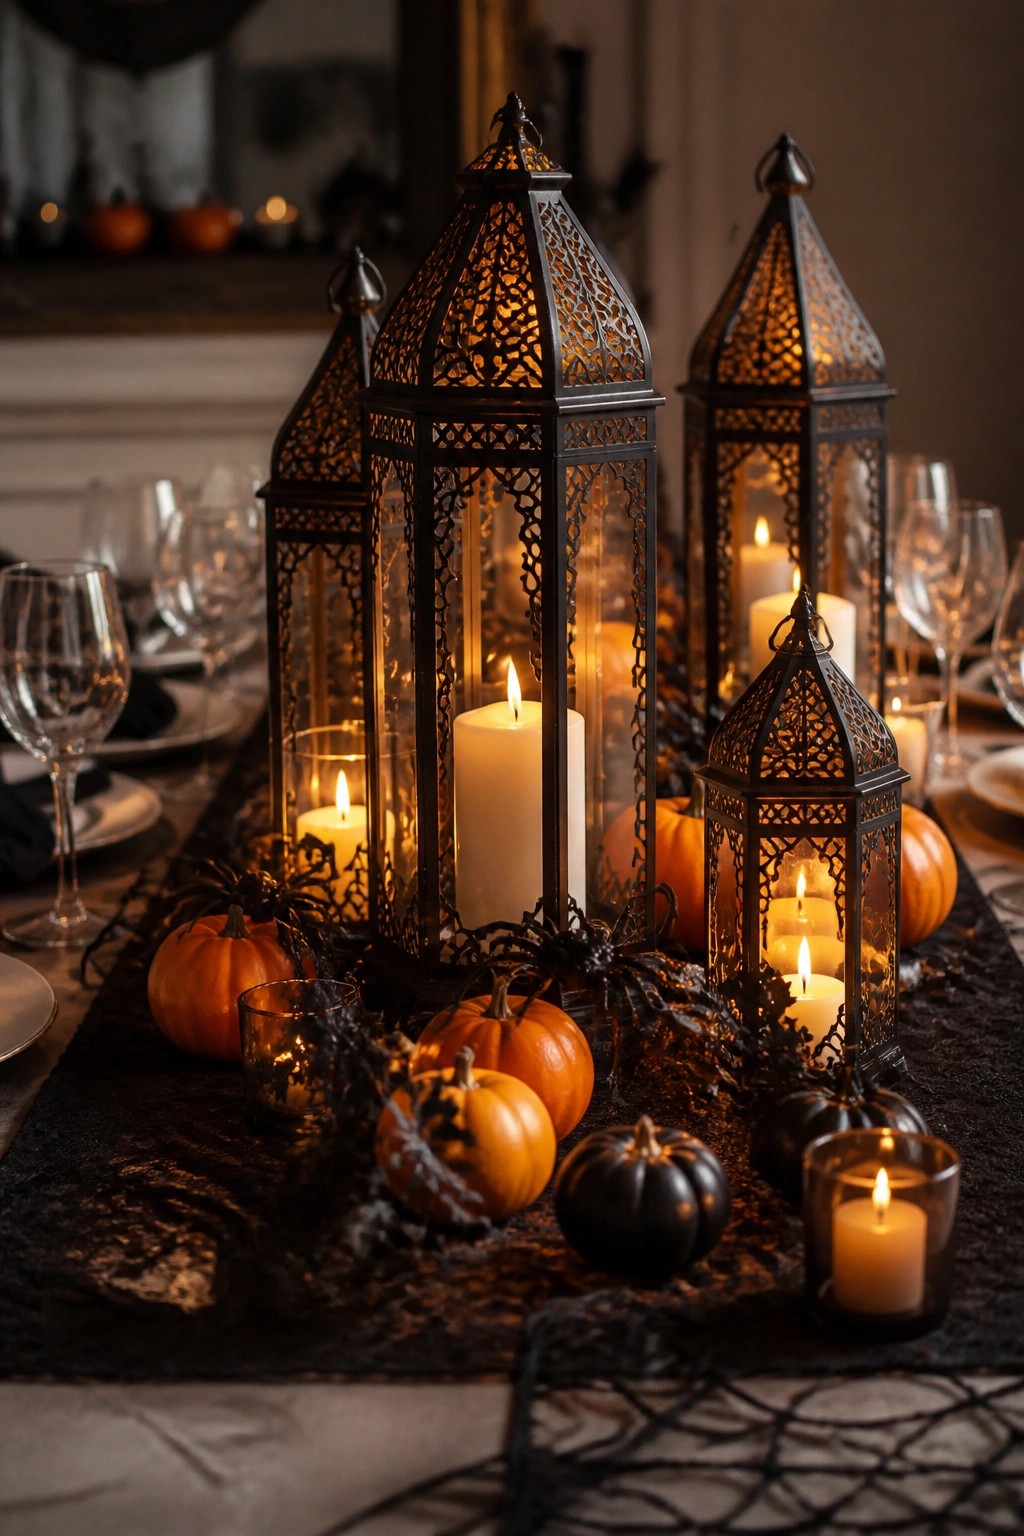
Placing several tall black lanterns in a row down the center of the table creates a strong Halloween focal point without much extra effort. The mix of sizes and the spider accents tucked around the bases make the whole setup feel intentional and themed while still leaving room for plates and glasses.
This works best on a longer table where the lanterns can run the full length. Start with three or four lanterns of different heights, add a few small pumpkins and a couple of plastic spiders, and keep the rest of the table simple so the glowing lanterns stay the main feature.
Group Carved Pumpkin Lanterns Together

Placing several pumpkin-shaped lanterns side by side makes a simple but effective Halloween display. The different sizes and carved faces give the group more interest than a single lantern would, and the warm light inside each one brings out the details after dark.
This idea works well on a low table, bench, or wooden crate near a window. Start with two or three larger lanterns as the base, then tuck in a couple of smaller ones around them. Battery candles keep everything safe and let you move the arrangement easily when the season ends.
Group Jack O Lanterns With Black Lanterns On The Porch

Placing carved pumpkins next to simple black lanterns creates an easy Halloween display that works especially well on a porch. The lit faces and candlelight inside the lanterns give off a warm glow once the sun goes down, and the dark metal of the lanterns makes the orange pumpkins stand out without needing extra color.
You can copy this look with just a few pumpkins and two or three lanterns placed around a swing or bench. Keep the rest of the seating neutral so the glowing pieces stay the main focus, and use battery candles if you want the lights to stay on safely after dark.
Create A Lantern Display On Your Entry Console
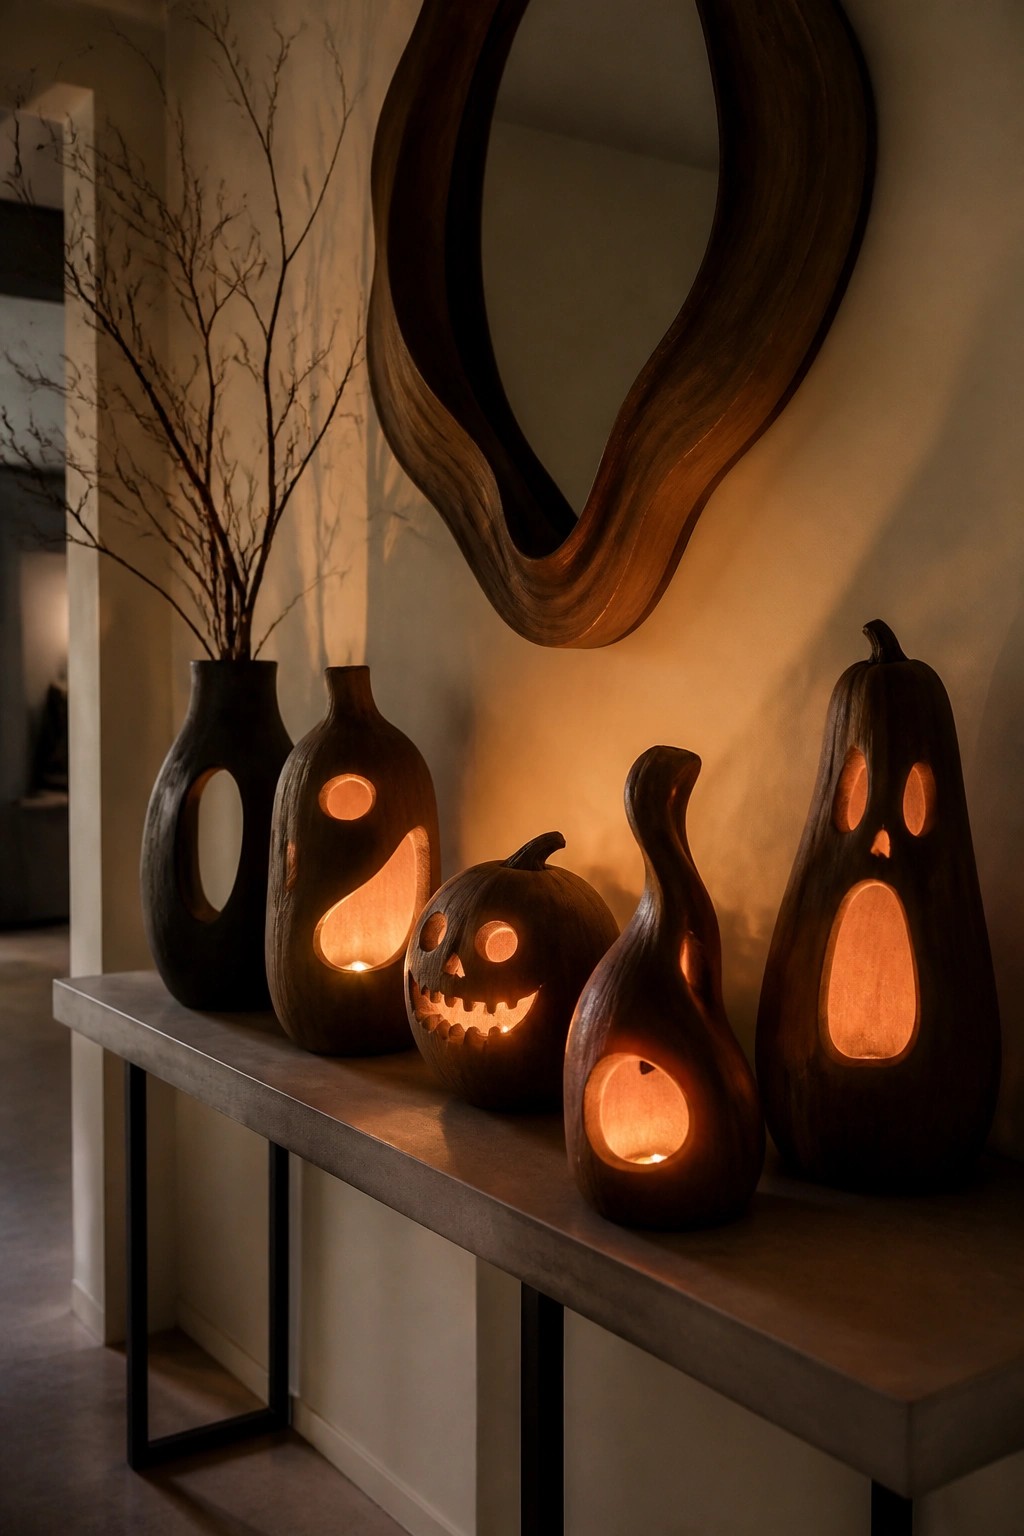
Carving different shaped gourds and lighting them from within turns an ordinary console into a strong Halloween focal point. The mix of tall narrow forms and rounder ones keeps the display interesting while the warm glow from inside each one makes the whole arrangement feel like a set of working lanterns rather than just decorations.
Place the largest pieces toward the back and stagger the smaller ones in front so the light spreads evenly. Battery operated candles work well inside each piece because they stay cool and safe on a narrow surface. This setup works best in an entryway where people see it right away and it stays contained enough that you can take it down easily after the holiday.
Recommended Products

[10-Piece Pumpkin Display]: Includes 10 orange 10-inch paper lanterns for creating two tall pumpkin lantern displays. The matching pumpkin lanterns keep the classic ribbed paper look, while the coordinated stacked design adds height and visibility for Halloween parties, entryways, living rooms and seasonal displays

Package includes: comes with 6 pieces paper lanterns in total, each lantern is approx. 30 x 28 cm/ 11.8 x 11 inches, enough for Halloween spooky home decoration, party and festival decor

Halloween Craft Kit: you will receive 30 pumpkin lantern boxes, 30 warm white LED tea lights, 120 clear stickers, 500 orange tissue papers, 1 roll of jute rope, and 1 roll of orange ribbon; The halloween paper craft kit supports layered seasonal decorating arrangements
Group Lanterns With Skulls On The Counter

Placing several dark metal lanterns together on a kitchen counter makes a strong Halloween focal point. The lit candles inside each lantern add a warm glow while the skulls and dark flowers around them keep the display clearly spooky instead of just seasonal.
You can copy this look with three or four lanterns in different heights, a couple of skulls, and a few small pumpkins. Set them on a dark runner or cloth so the arrangement stays contained and easy to remove after the holiday.
Recommended Products

Light up your Halloween pumpkins: The battery-operated color-changing LED pumpkin lights with printed skull and spider web designs are designed for Halloween Jack-O'-Lantern pumpkins. Put the bright LED lights into a real pumpkin or a fake pumpkin and light them up in 12 colors—or set these printed pumpkin lanterns on a table as spooky Halloween decor. These battery pumpkin lights are your first choice for Halloween decorations, and they are also your first choice for Halloween gifts.

CUTE HALLOWEEN DESIGN: These Halloween LED pumpkin lights have orange pumpkin-like stripes and white lampshades. Such a fun and cute shape can not only emit bright light inside Jack O’ Lanterns but is also great to use as a Halloween atmosphere light alone.

【Colors Changing pumpkin Lights】RGB Pumpkin lights features 4 preset colors, red,green,blue. white(3500 Kelvin), color changing of 4 lighting modes: Jump / Flash / Gradient/Slow Jump in 16 colors.
Cluster Lanterns Around A Carved Pumpkin On A Console

Grouping several black metal lanterns with a carved jack o lantern on a console creates a simple but striking Halloween focal point. The lanterns give height and structure while the single glowing face on the pumpkin pulls everything together and makes the display read as Halloween instead of plain fall.
Set this up in an entryway or hallway where people will see it at night. Use three or four lanterns of different sizes, place the carved pumpkin slightly forward, and add a few smaller candles inside the lanterns so the light stays soft and even. Keep the rest of the surface mostly clear so the lanterns stay the main feature.
Make Bat Lanterns From Glass Jars

Wrapping simple glass jars in black mesh or fabric and adding bat cutouts turns them into quick Halloween lanterns. The bats stand out once the candles are lit inside, giving the jars a clear spooky shape without needing much extra decor.
Set a few of these on a table or windowsill where the light can show through the fabric. All you need are jars, some black mesh, twine, and paper bats. Cut the bats first so you can position them before tying everything in place.
Recommended Products

SPOOK YOUR HOME THIS HALLOWEEN - Place the pumpkin lights into Halloween pumpkins - Two modes to choose by remote control: FLICKER (flickering effect) & STEADY (steady glow) - In FLICKER mode, emit eerie orange glow against a diabolical grin on the pumpkin to send an electrifying chill down the spine - In STEADY mode, light up the pumpkin to welcome the ghoulish guests and create a spooky Halloween - Cluster the lighted pumpkins together or scatter them around to spook your home this Halloween!

ELEGANT AND REALISTIC: These orange fake tea lights are designed with small rings to add elegance and mimic the look of real candles, emitting bright light without annoying flashes to protect your eyesight

LIFELIKE FLICKERING CANDLELIGHT: The warm white glow flickers like a real candle from across the room, while the melted-edge design adds realistic detail up close; create cozy candlelight across votive holders, table centerpieces, mantels and seasonal displays
Frequently Asked Questions
Q: Do I need special tools to make these lanterns? A: Most projects only call for scissors, glue, and maybe a hole punch. You can improvise with what you have around the house. Skip anything that requires power tools if you want to keep it simple.
Q: How do I light the lanterns safely around kids and pets? A: Switch to LED candles or string lights right away. They stay cool and avoid any fire hazards. (This also lets you leave them on longer without worry.)
Q: Will these hold up outside for trick or treaters? A: Spray the finished lanterns with a waterproof sealer before hanging them. It shields the materials from damp air. Bring them inside if heavy rain starts.