

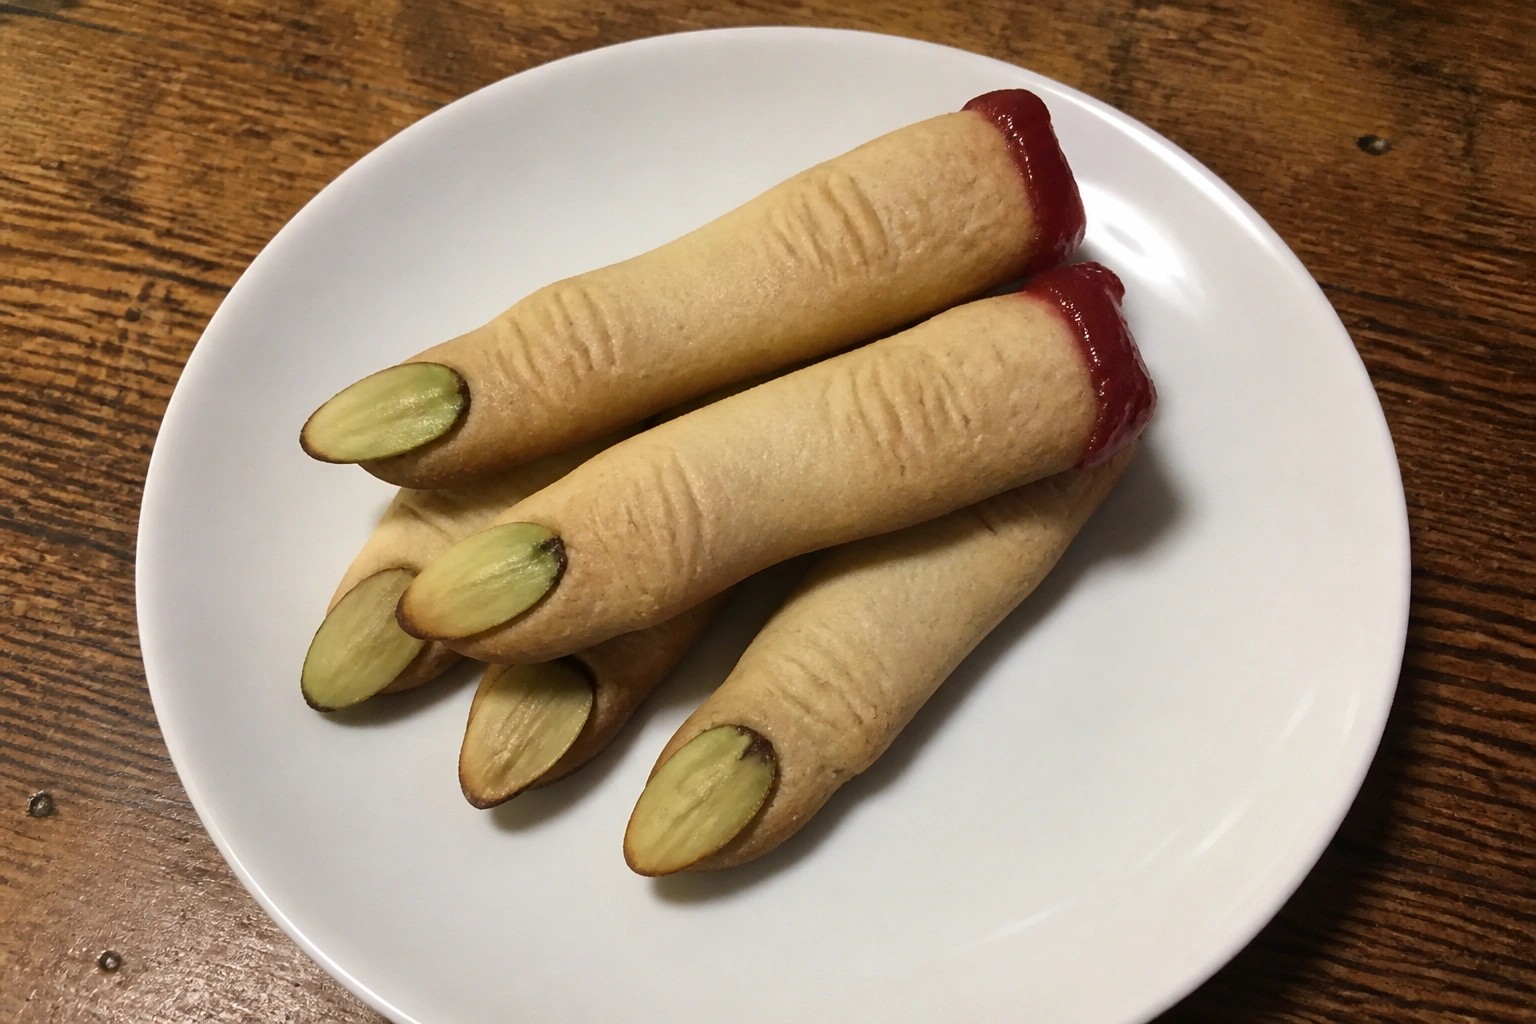
Halloween parties are a fun chance to try out some themed snacks and treats. I collected 12 recipe ideas that range from savory bites to sweet desserts. Each one is designed to be straightforward and use ingredients you might already have. These options can help you build a nice spread without too much extra work. They work well for both kids and adults at a gathering.
Helpful Tips Before You Start
These tips will help you pull together creative Halloween foods with less hassle.
Prep in Batches
Make doughs or fillings a day ahead. This cuts down on last-minute work when guests arrive.
Use Natural Colors
Swap food dye for pumpkin puree or spinach. The colors stay bright and fit the seasonal theme.
Keep Shapes Simple
Use cookie cutters for ghosts or bats. Basic outlines look polished without extra effort.
Set Up a Garnish Station
Place small bowls of sprinkles and herbs nearby. Guests can add their own spooky touches.
Check Oven Space Early
Plan which items bake together. This prevents crowding and keeps everything on schedule.
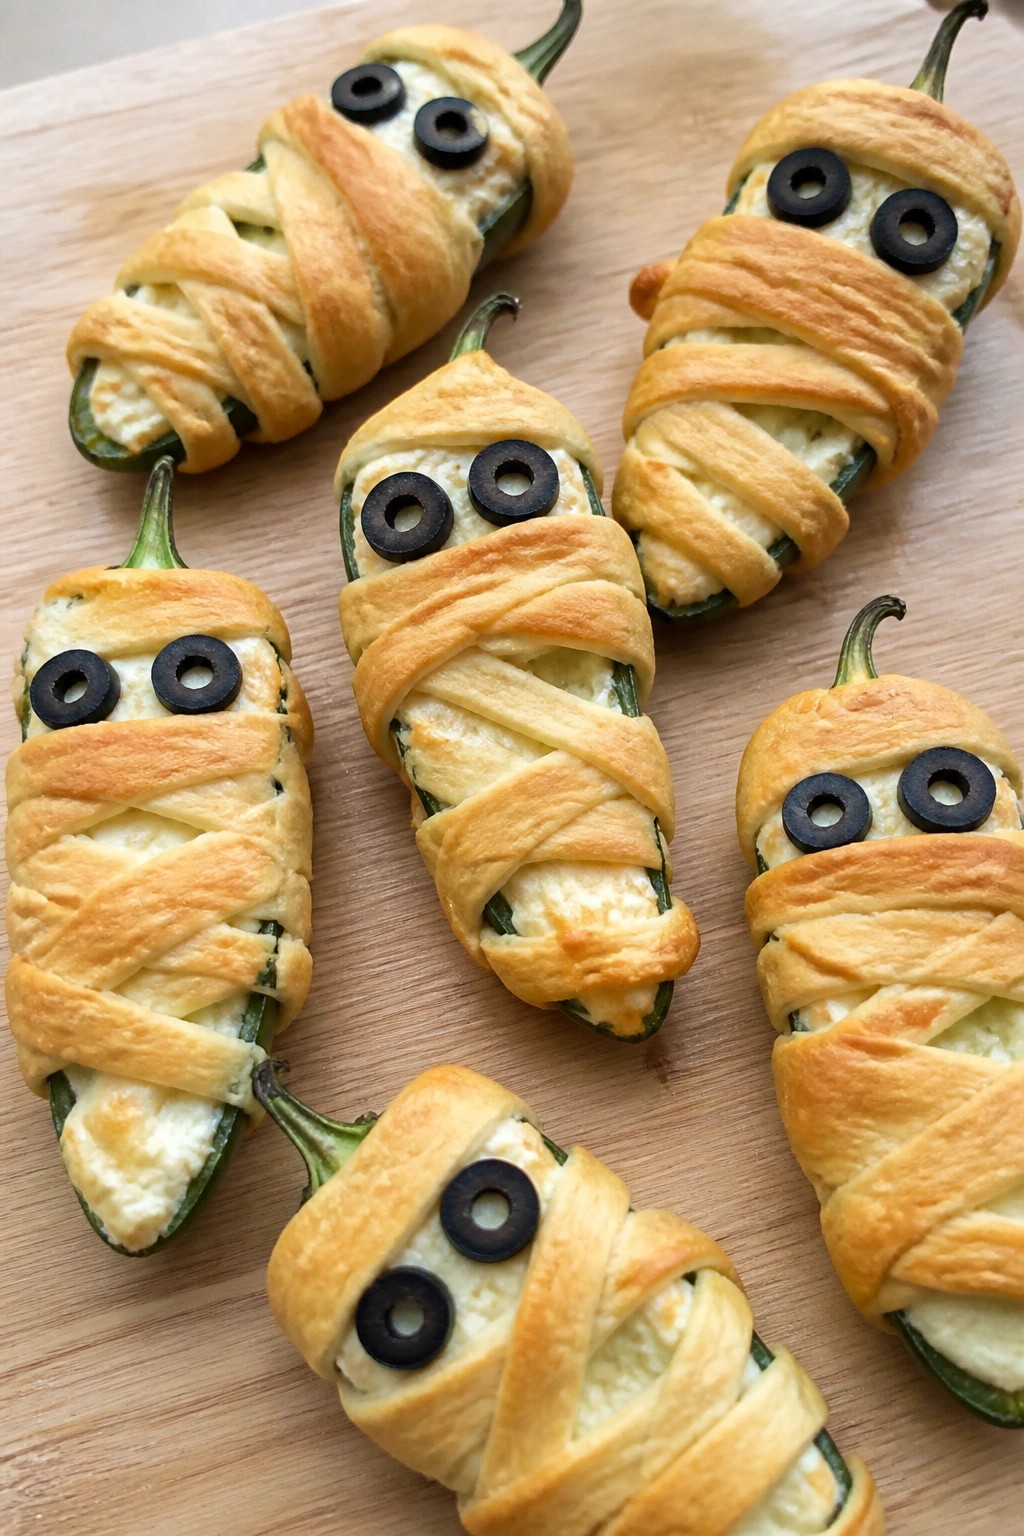
Mummy-Wrapped Jalapeño Poppers with Cream Cheese Filling
These jalapeño poppers get a fun Halloween twist with strips of dough wrapped around each pepper to resemble little mummies. The creamy filling balances the heat from the peppers, while the baked dough adds a flaky texture that holds up well on a party table.
They work best as an appetizer for gatherings where guests want something bite-sized and a bit bold. The combination of soft cream cheese, mild spice, and golden crust makes them easy to eat while still standing out on the spread.
Serves 4 people.
Ingredients
- 8 large jalapeño peppers
- 8 ounces cream cheese, softened
- 1 teaspoon garlic powder
- 1/2 teaspoon salt
- 1 can (8 ounces) crescent roll dough
- 16 thin slices black olives
Instructions
- Preheat the oven to 375 degrees and line a baking sheet with parchment paper.
- Slice each jalapeño in half lengthwise and remove the seeds and membranes.
- Mix the cream cheese with garlic powder and salt in a bowl until smooth.
- Spoon the cream cheese mixture into each jalapeño half and smooth the tops.
- Unroll the crescent dough and cut it into thin strips about 1/4 inch wide.
- Wrap the dough strips around each stuffed jalapeño in a crisscross pattern, leaving a small gap near the top for the face.
- Press two olive slices into the gap on each popper to create eyes.
- Place the wrapped poppers on the baking sheet and bake for 15 to 18 minutes until the dough is golden brown.
Extra Tips
Let the poppers cool for a few minutes after baking so the cream cheese firms up slightly and the filling stays in place when picked up. If you want less heat, soak the halved jalapeños in cold water for 10 minutes before stuffing. The olive eyes can be added after baking if you prefer them softer. Course: Appetizer Cuisine: American Equipment: Baking sheet, Mixing bowl, Knife
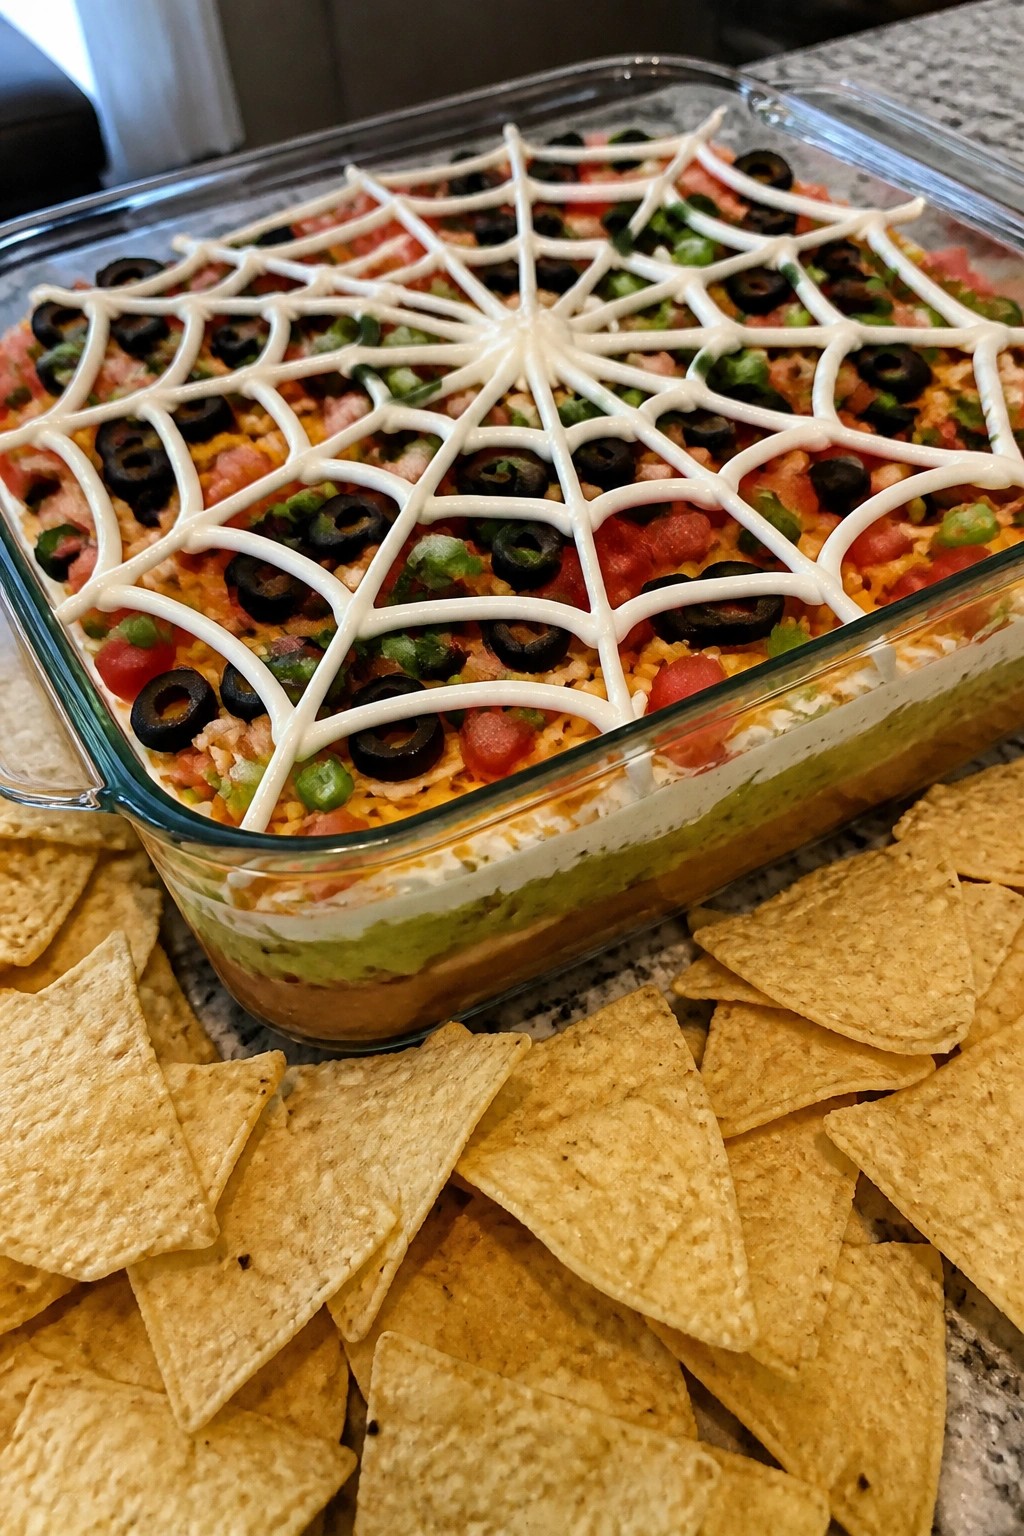
Spiderweb Seven-Layer Taco Dip with Tortilla Chips
This spiderweb seven-layer taco dip adds a simple Halloween detail to a familiar party dish. The layers hold classic taco flavors while the top gets a sour cream web that draws attention without extra work.
It fits well for small gatherings or potlucks where guests serve themselves. Creamy textures from the beans and guacamole contrast with the crisp tortilla chips and fresh toppings.
Serves 4 people.
Ingredients
- 1 (15-ounce) can refried beans
- 1 cup guacamole
- 1 cup sour cream, divided
- 1 tablespoon taco seasoning
- 1 cup shredded Mexican cheese blend
- 1 large tomato, diced
- 1/4 cup sliced black olives
- 2 tablespoons chopped green onions
- Tortilla chips, for serving
Instructions
- Spread the refried beans evenly across the bottom of an 8-inch square dish or pie plate.
- Spoon the guacamole over the beans and smooth it into an even layer.
- Stir 3/4 cup sour cream with the taco seasoning until combined, then spread this mixture over the guacamole.
- Sprinkle the shredded cheese evenly across the sour cream layer.
- Scatter the diced tomato over the cheese.
- Add the sliced black olives in an even layer.
- Finish with the chopped green onions.
- Place the remaining 1/4 cup sour cream in a small zip-top bag, snip off one corner, and pipe concentric circles followed by straight lines from the center outward to form a web.
Extra Tips
Pipe the web right before serving so the lines stay sharp and do not sink into the tomato layer. If the sour cream feels too thick for piping, stir in a teaspoon of milk to loosen it. Leftovers keep in the fridge for one day, though the web loses definition after the first serving. Course: Appetizer Cuisine: Mexican Equipment: 8-inch baking dish, Mixing bowl, Zip-top bag
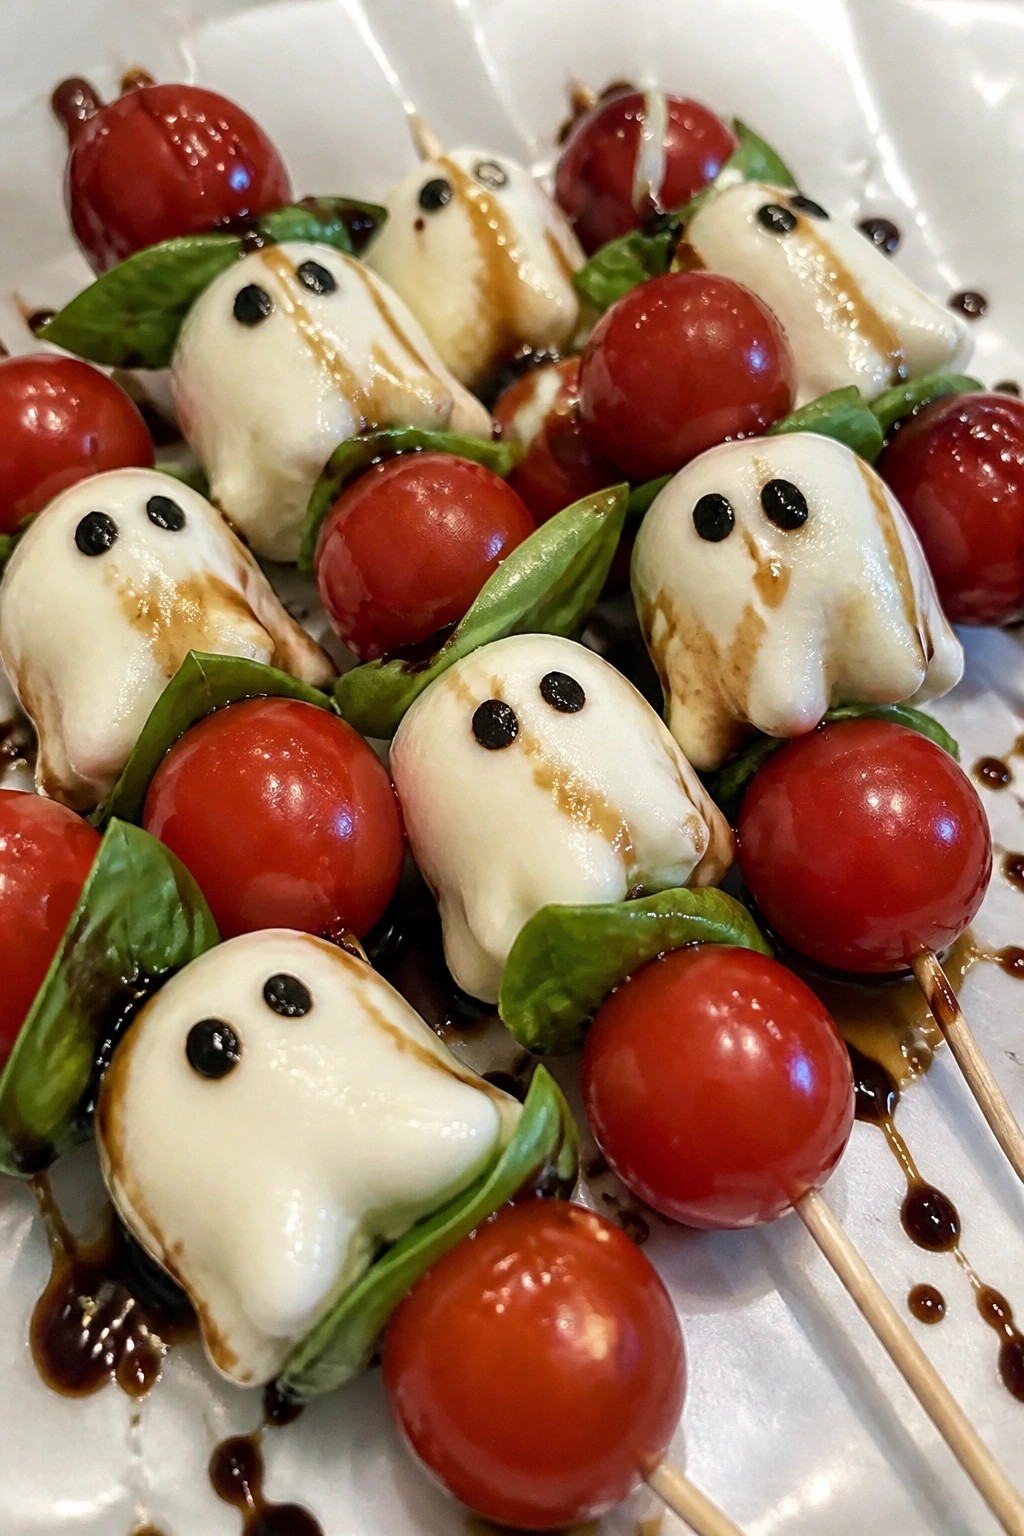
Ghost-Shaped Caprese Salad Skewers
These ghost-shaped Caprese salad skewers bring a playful touch to a classic salad. They fit well at Halloween parties or casual fall gatherings where you want something light before heavier dishes.
The fresh mozzarella stays soft and creamy while the tomatoes add juiciness and the basil brings a bright note. A balsamic glaze finishes each skewer with a touch of sweetness.
Serves 4 people.
Ingredients
- 12 small fresh mozzarella balls
- 12 cherry tomatoes
- 12 fresh basil leaves
- 12 wooden skewers
- 1/4 cup balsamic glaze
- 4 black olives, pitted
Instructions
- Slice each black olive into small rounds to create eyes.
- Press two olive slices gently onto the front of each mozzarella ball to form ghost faces.
- Thread one basil leaf, one cherry tomato, and one mozzarella ball onto each wooden skewer in that order.
- Arrange the finished skewers on a serving plate.
- Drizzle the balsamic glaze evenly over the skewers just before serving.
Extra Tips
Make the ghost faces right after slicing the olives so the pieces stay moist and stick to the mozzarella. If the basil leaves are large, fold them once before threading. Serve the skewers within an hour of assembly to keep the mozzarella from drying out. You can swap the balsamic glaze for a thick aged balsamic if you prefer less sweetness. Course: Appetizer Cuisine: Italian Equipment: Wooden skewers, Cutting board, Knife
Witch Finger Breadsticks with Marinara Dipping Sauce
These witch finger breadsticks add a playful element to a Halloween spread. They bake up golden with a light garlic flavor and a crisp exterior that holds up well to dipping. The marinara sauce brings a bright, tangy contrast that balances the seasoned dough.
They work well for parties or casual family meals when you want something simple yet themed. Kids and adults both enjoy shaping the dough, and the finished breadsticks look striking on a platter.
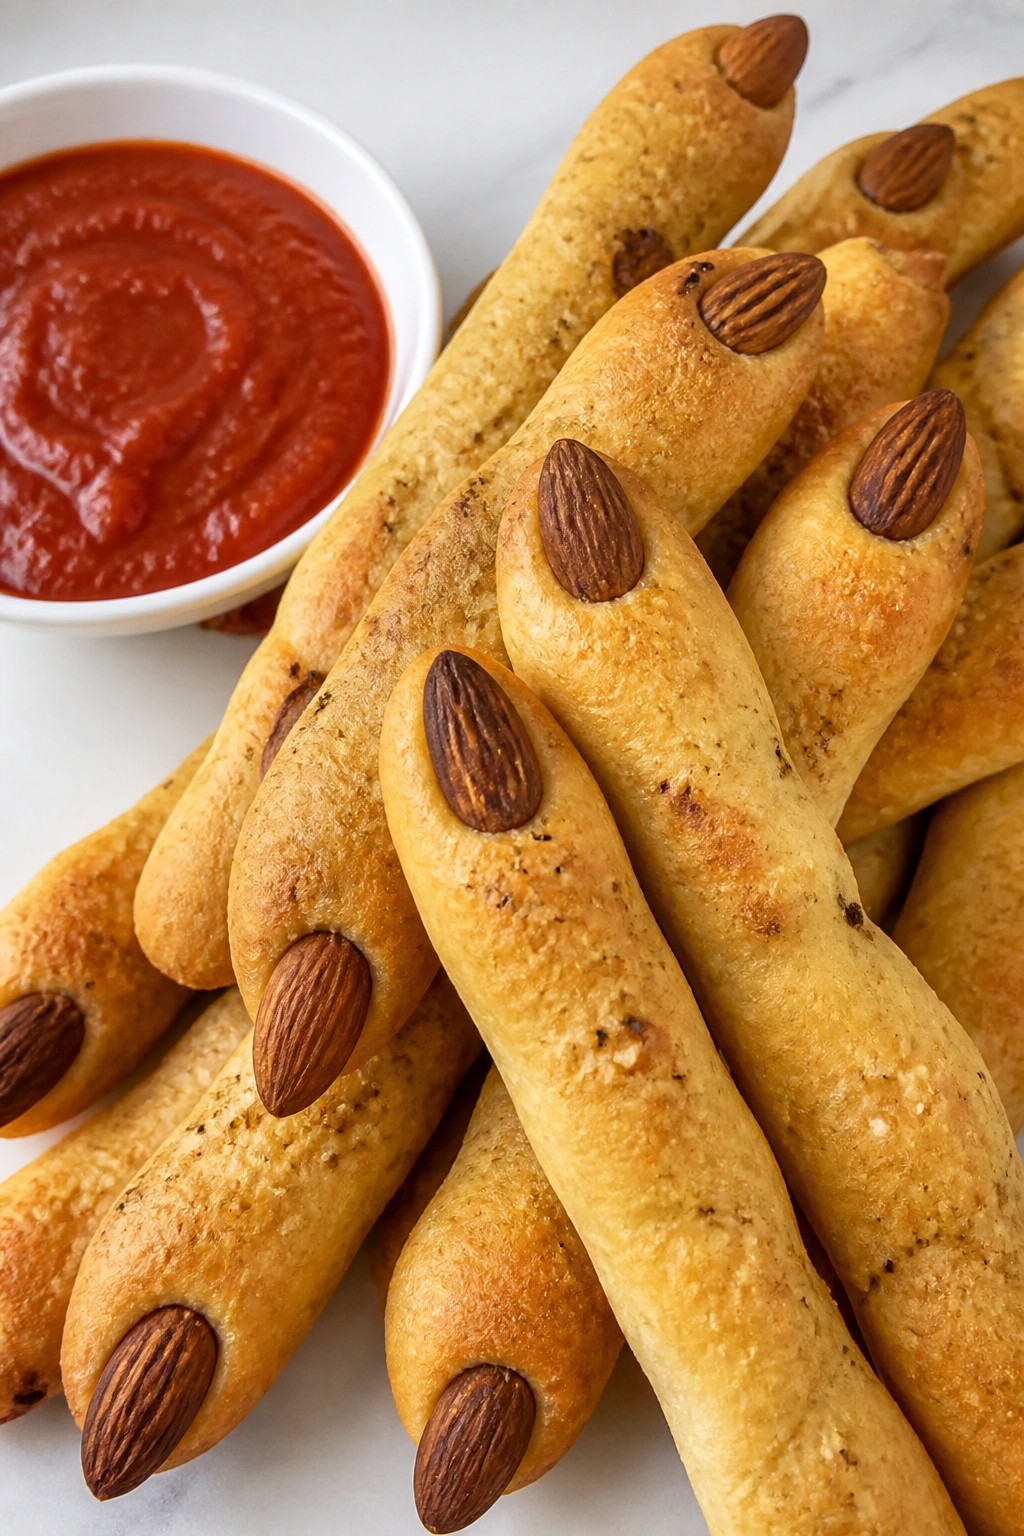
Serves 4 people.
Ingredients
- 1 pound pizza dough
- 2 tablespoons olive oil
- 1 teaspoon garlic powder
- 1/2 teaspoon salt
- 12 whole almonds
- 1 cup marinara sauce
Instructions
- Preheat the oven to 400 degrees F and line a baking sheet with parchment paper. Divide the pizza dough into 12 equal pieces.
- Roll each piece into a thin log about 5 inches long to form the finger shape. Place the logs on the prepared baking sheet.
- Brush each log lightly with olive oil. Sprinkle the garlic powder and salt evenly over the tops.
- Press one almond into the tip of each log to create a fingernail. Use a small knife to score two or three shallow lines across the middle of each log for knuckles.
- Bake for 12 to 15 minutes until the breadsticks are golden brown. Remove from the oven and let them cool slightly on the sheet.
- Warm the marinara sauce in a small saucepan or microwave. Serve the breadsticks warm with the sauce on the side for dipping.
Extra Tips
For the best look, choose blanched almonds so the nails appear pale against the baked dough. If the breadsticks soften after baking, reheat them briefly in a 350 degree oven to restore crispness. The dough can be shaped up to a few hours ahead and kept covered in the refrigerator until ready to bake. Course: Appetizer Cuisine: American Equipment: Baking sheet, Pastry brush, Knife
Pumpkin Cheese Ball with Pretzel Broomsticks
This cheese ball brings a fun Halloween twist to any party table. Shaped like a small pumpkin and surrounded by pretzel sticks that look like broomsticks, it gives guests an easy way to scoop and snack while fitting right into spooky spreads.
The flavor is savory and cheesy with a light smoky note from paprika. The texture stays creamy inside with a bit of crunch from the pretzels on the side.
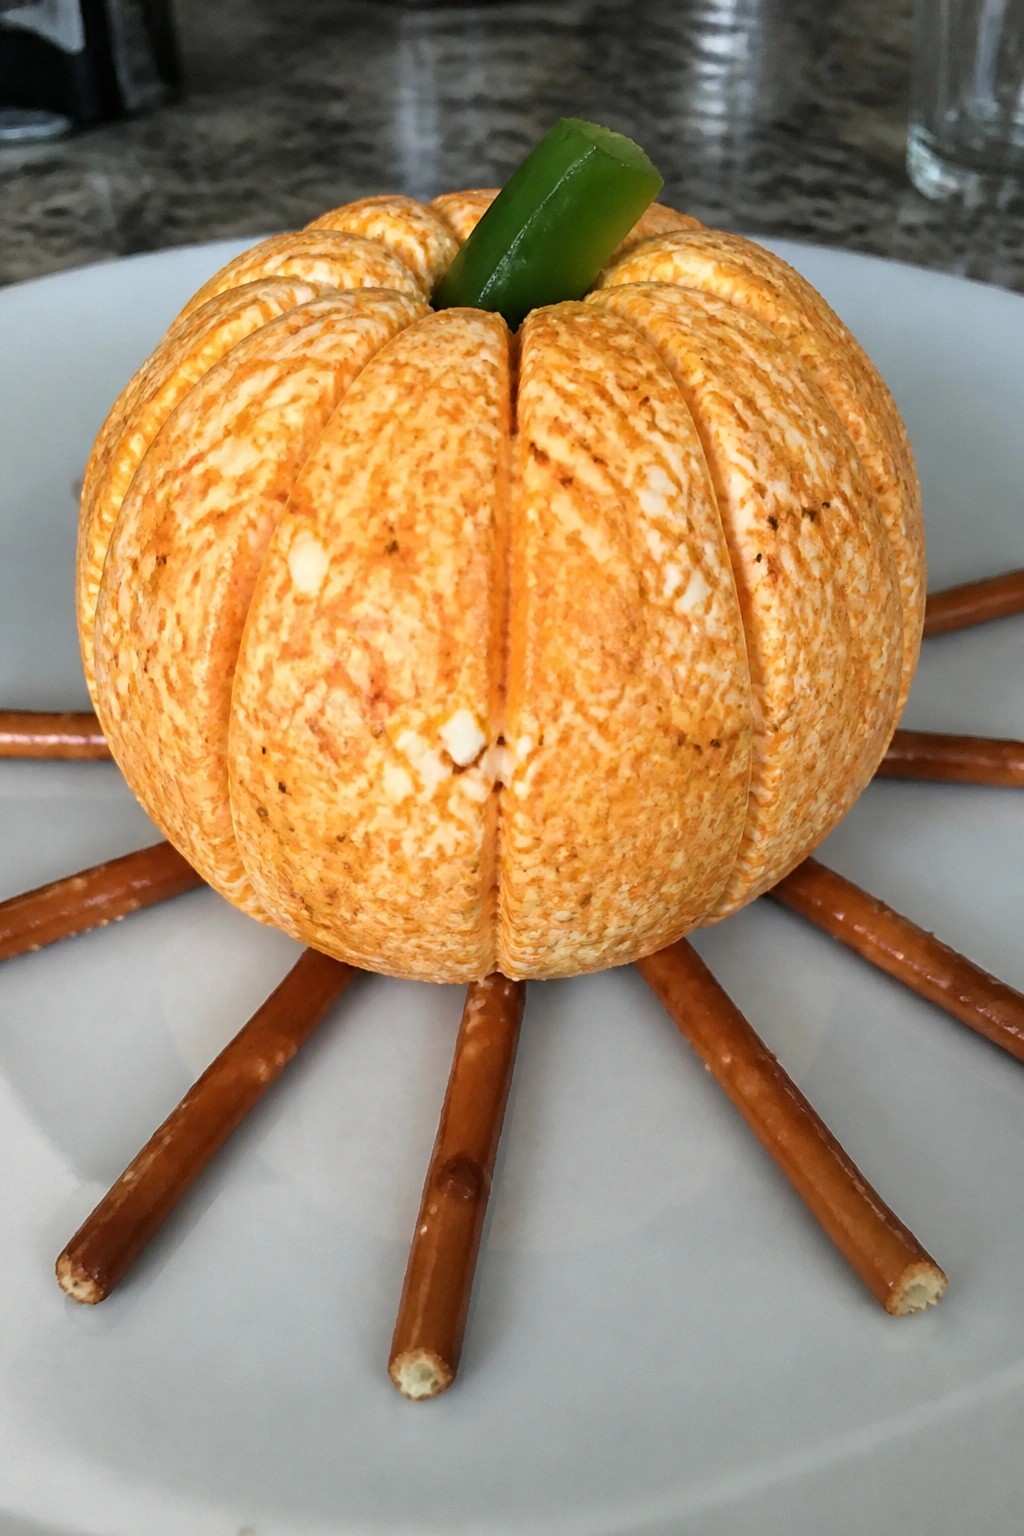
Serves 4 people.
Ingredients
- 8 oz cream cheese, softened
- 1 1/2 cups shredded cheddar cheese
- 1 teaspoon paprika
- 1/2 teaspoon garlic powder
- 1/4 teaspoon salt
- 8 pretzel sticks
- 1 small piece green bell pepper
Instructions
- Place the softened cream cheese in a mixing bowl and beat it until smooth.
- Add the shredded cheddar cheese, paprika, garlic powder, and salt. Mix until everything is evenly combined.
- Lay a piece of plastic wrap on the counter. Scoop the cheese mixture onto the wrap and shape it into a round ball.
- Use the edge of a spatula or knife to press light vertical lines around the ball to create a pumpkin look.
- Cut a small stem shape from the green bell pepper and press it gently into the top center of the cheese ball.
- Arrange the pretzel sticks around the base of the cheese ball so they stand upright like broomsticks.
Extra Tips
Mix the cheese ball a day ahead and keep it wrapped in the fridge so the flavors blend. Let it sit at room temperature for 15 minutes before serving so it spreads easily. If the mixture feels too soft to hold its shape, chill it for 20 minutes before forming the pumpkin ridges. Course: Appetizer Cuisine: American Equipment: Mixing bowl, Spatula, Plastic wrap, Serving plate
Eyeball Deviled Eggs with Olive and Red Pepper Details
These deviled eggs bring a simple Halloween twist to a familiar appetizer. The olive slices and red pepper strips add an eyeball look that fits right into a themed spread. They work well at parties where guests mingle and pick up finger foods. The creamy filling stays light with a touch of mustard for balance.
The texture comes from smooth yolks blended with mayonnaise. Each bite stays soft in the center with a bit of crunch from the pepper strips on top.
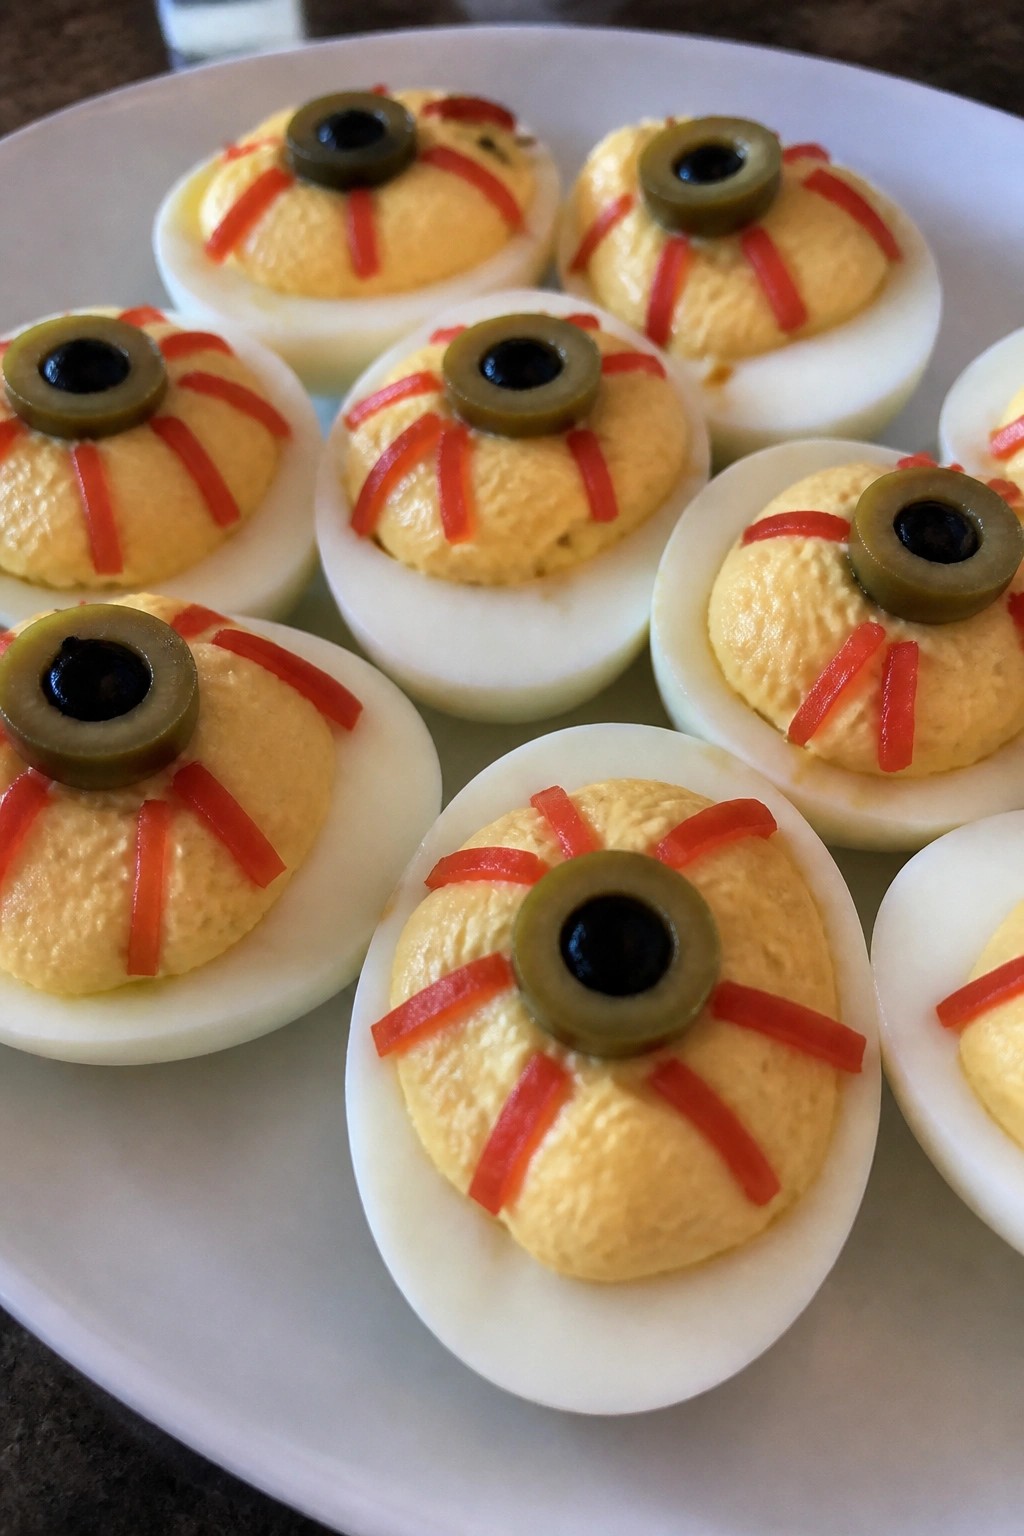
Serves 4 people.
Recommended Products

【12 PIECES HALLOWEEN COOKIE CUTTER SET】- The cookie cutter set is used for baking and decorating party supplies, which is related to Halloween themed patterns. 12 different shapes and sizes of halloween cookie cutter provides kids with a variety of choices for making Halloween cookies.

1 PIECE GHOST COOKIE CUTTER - Present our 1-piece ghost shape cookie cutter. Simple Ghost shape, Easy to decorate, but can bring big family Fun for Halloween

Halloween cookie cutter set is themed around Halloween and features 9 different shapes of cookie cutters, including pumpkin, bat, ghosts, witch's hat, cat, coffin, and skull shaped cookie cutter.
Ingredients
- 6 large eggs
- 1/4 cup mayonnaise
- 1 teaspoon yellow mustard
- 1/2 teaspoon salt
- 1/4 teaspoon black pepper
- 12 green olives, pitted
- 1/2 red bell pepper, cut into thin strips
Instructions
- Place the eggs in a pot and cover them with water. Bring the water to a boil, then reduce the heat and simmer for 10 minutes.
- Drain the eggs and run them under cold water until they cool enough to handle. Peel off the shells.
- Slice each egg in half lengthwise. Scoop the yolks into a mixing bowl and set the whites aside on a plate.
- Mash the yolks with a fork. Add the mayonnaise, mustard, salt, and black pepper. Stir until the mixture turns smooth.
- Spoon the yolk mixture back into the egg white halves, filling them evenly.
- Press one green olive slice into the center of each filled egg. Arrange a few red bell pepper strips around the olive to create the details.
Extra Tips
Use a small spoon to fill the eggs so the mixture stays neat. Cut the red pepper strips very thin so they look like fine lines without overpowering the olive. You can prepare the eggs and filling a few hours ahead, then add the olives and pepper right before serving to keep the colors bright. Course: Appetizer Cuisine: American Equipment: Pot, Mixing Bowl, Knife
Bat Wing BBQ Chicken Drumsticks
These drumsticks take on a dark, wing-like look from a simple BBQ and soy glaze that turns deep and sticky during cooking. They fit well at a Halloween gathering as a hearty finger food that still feels like regular barbecue. The outside gets lightly crisp while the meat stays tender and pulls easily from the bone.

Serves 4 people.
Ingredients
- 8 chicken drumsticks
- ¾ cup barbecue sauce
- 2 tablespoons soy sauce
- 1 tablespoon olive oil
- 1 teaspoon smoked paprika
- ½ teaspoon garlic powder
- Salt and black pepper
Instructions
- Heat the oven to 400°F and line a baking sheet with foil for easy cleanup.
- In a large bowl, stir together the barbecue sauce, soy sauce, olive oil, smoked paprika, garlic powder, salt, and black pepper.
- Add the drumsticks to the bowl and turn them until each piece is evenly coated with the mixture.
- Place the drumsticks on the prepared baking sheet, leaving a little space between each one.
- Bake for 35 to 40 minutes, turning the pieces once halfway through, until the skin is dark and the meat reaches 165°F inside.
Extra Tips
For deeper color, let the coated drumsticks sit in the bowl for 15 minutes before baking. Leftovers reheat well in a 350°F oven for 10 minutes to keep the glaze from turning soggy. If you want a milder flavor, use a sweeter barbecue sauce and reduce the smoked paprika by half. Course: Appetizer Cuisine: American Equipment: Baking sheet, Mixing bowl, Oven
Graveyard Dirt Pudding Cups with Cookie Tombstones
These pudding cups turn a classic chocolate dessert into a fun Halloween project. They work well for parties or family nights when you want something hands-on but still simple to put together. The creamy pudding pairs with crunchy cookie crumbs and sturdy cookie tombstones that stand upright in each cup.
The flavor is rich chocolate with a slight crunch from the cookies. Kids and adults both enjoy assembling them, and the finished cups look striking on a dessert table.

Serves 4 people.
Ingredients
- 1 (3.9-ounce) package instant chocolate pudding mix
- 2 cups cold milk
- 16 chocolate sandwich cookies
- 4 rectangular vanilla cookies
- 2 tablespoons white chocolate, melted
Instructions
- Whisk the pudding mix and cold milk in a mixing bowl for two minutes until the mixture thickens.
- Place 12 of the chocolate sandwich cookies in a zip-top bag and crush them into fine crumbs with a rolling pin.
- Divide the pudding evenly among four small cups or jars.
- Sprinkle the cookie crumbs over the top of each pudding cup to create the dirt layer.
- Press one rectangular vanilla cookie upright into the back of each cup to form a tombstone.
- Use the melted white chocolate to pipe the letters "RIP" on each rectangular cookie.
- Crush the remaining four chocolate sandwich cookies and add a small amount of extra crumbs around the base of each tombstone.
Extra Tips
Make the tombstones ahead by piping the white chocolate lettering on the rectangular cookies and letting them set on parchment paper. If the pudding sets too firm before assembly, give it a quick stir to loosen it. Store assembled cups in the refrigerator and add the tombstones just before serving so they stay upright. Course: Dessert Cuisine: American Equipment: Mixing bowl, Whisk, Zip-top bag, Rolling pin, Small cups
Jack-o’-Lantern Stuffed Bell Peppers with Rice and Beef
These stuffed peppers add a playful Halloween touch to any dinner table. Carving simple faces into orange bell peppers turns them into edible jack-o’-lanterns while the beef and rice filling stays hearty and satisfying. The dish works well for a weeknight meal or as part of a larger spread when you want something festive without extra fuss. The texture comes from tender peppers, seasoned beef, and fluffy rice, finished with melted cheese.
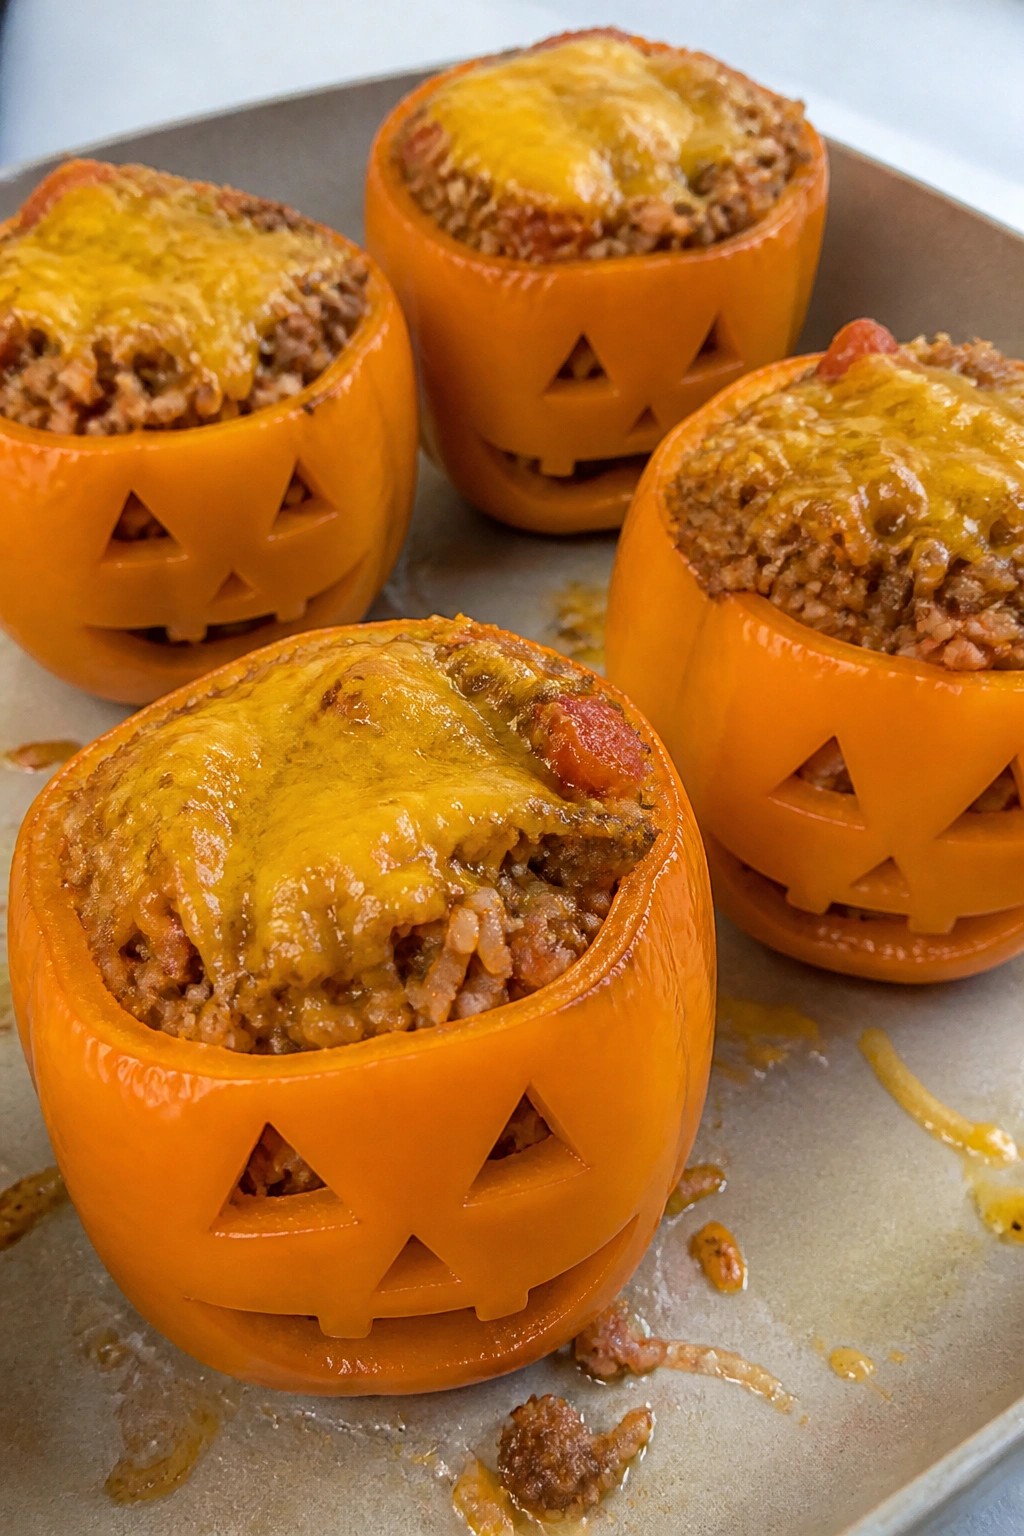
Serves 4 people.
Ingredients
- 4 large orange bell peppers
- 1 pound ground beef
- 1 medium onion, chopped
- 2 garlic cloves, minced
- 1 cup long-grain rice, cooked
- 1 can (14 oz) diced tomatoes, drained
- 1 teaspoon paprika
- 1/2 teaspoon salt
- 1/4 teaspoon black pepper
- 1 cup shredded cheddar cheese
Instructions
- Preheat the oven to 375 degrees. Cut the tops off each bell pepper and remove the seeds and membranes. Use a small knife to carve simple jack-o’-lantern faces into the sides of the peppers.
- Place the carved peppers in a baking dish and set aside.
- Heat a large skillet over medium heat. Add the ground beef, chopped onion, and minced garlic. Cook until the beef is browned and the onion softens, about 8 minutes. Drain any excess fat.
- Stir the cooked rice, drained diced tomatoes, paprika, salt, and black pepper into the beef mixture. Cook for 2 minutes to combine and warm through.
- Spoon the filling evenly into the carved peppers. Sprinkle shredded cheddar cheese over the top of each pepper.
- Bake for 25 minutes until the peppers soften and the cheese melts and begins to brown.
Extra Tips
Carve the pepper faces after removing the seeds so the walls stay sturdy during baking. If the peppers tip easily, slice a thin layer off the bottom to create a flat base before stuffing. Leftovers reheat well in the microwave with a damp paper towel over the top to keep the rice from drying out. Course: Main Course Cuisine: American Equipment: Large skillet, Baking dish, Knife
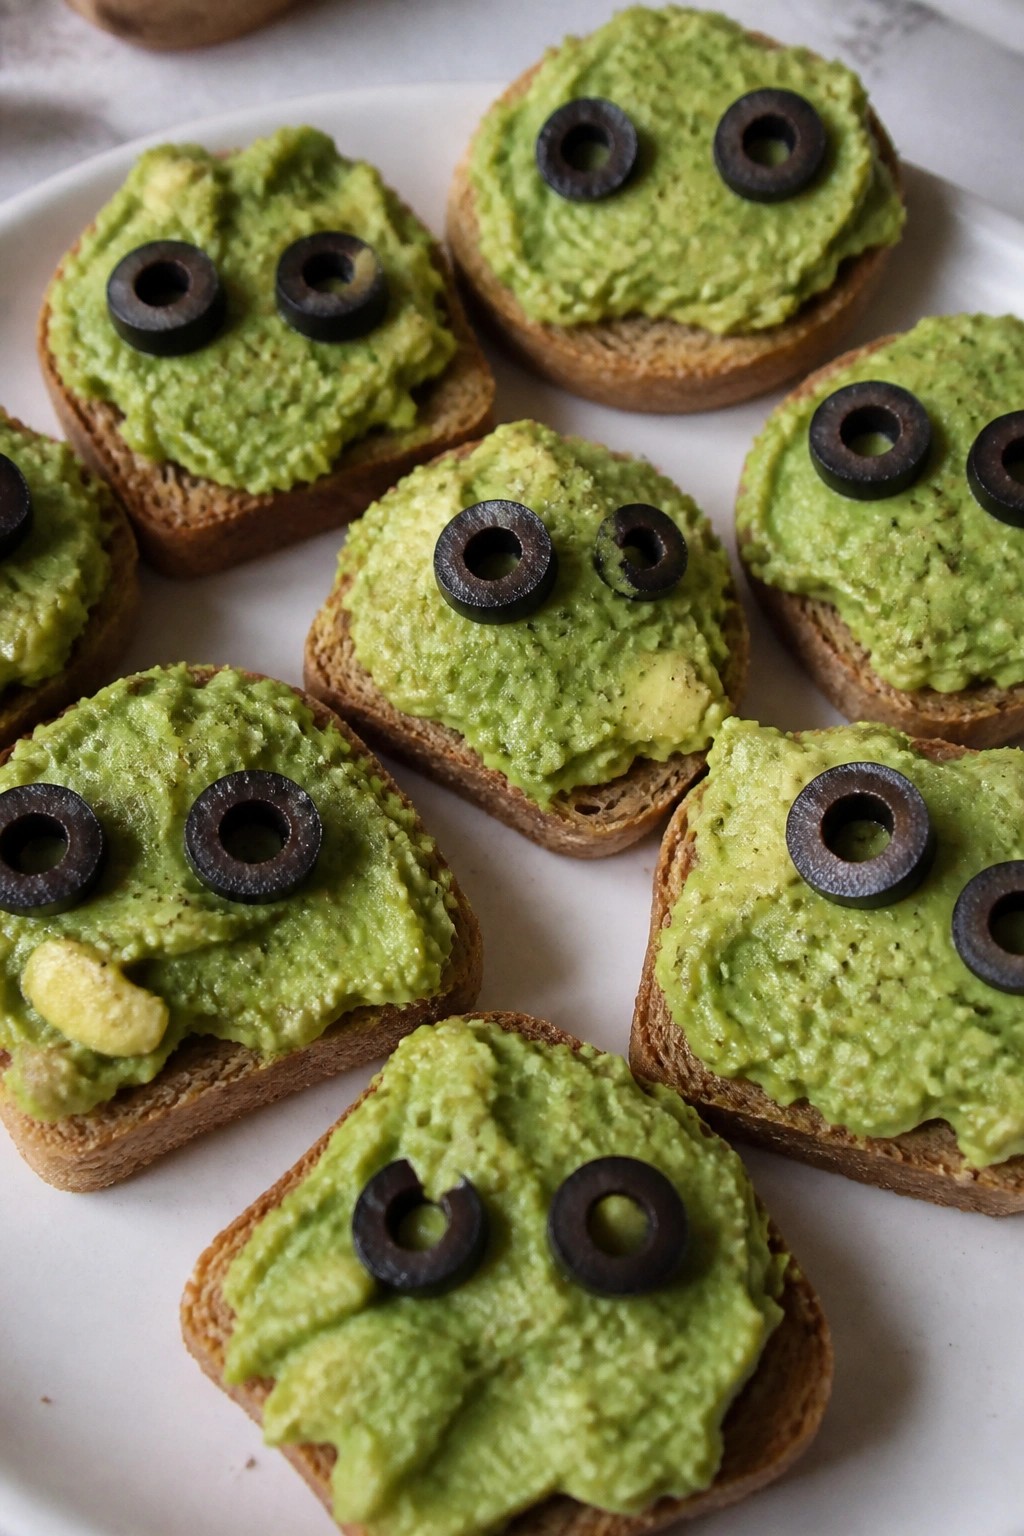
Monster Avocado Toast Bites with Olive Eyes
These avocado toast bites add a light and playful option to any Halloween spread. They come together fast, making them useful for last-minute party prep or after-school snacks when you want something simple yet themed.
The creamy avocado spreads smoothly over crisp toast, while the olives add a salty contrast that keeps each small bite interesting.
Serves 4 people.
Ingredients
- 4 slices whole wheat bread
- 2 ripe avocados
- 1 tablespoon lemon juice
- 1/2 teaspoon salt
- 1/4 teaspoon black pepper
- 12 pitted black olives
Instructions
- Toast the bread slices in a toaster until they turn golden and firm.
- Cut the avocados in half, remove the pits, and scoop the flesh into a mixing bowl.
- Add the lemon juice, salt, and black pepper to the bowl, then mash everything together with a fork until smooth.
- Spread the avocado mixture evenly across each slice of toast.
- Cut each toast slice into three small rectangles to create bite-sized pieces.
- Slice each black olive in half lengthwise and press two halves onto each bite to form eyes.
Extra Tips
Mash the avocados right before spreading so they stay bright green. If you need to prep ahead, cover the mashed avocado tightly with plastic wrap pressed against the surface. Arrange the finished bites on a dark platter to make the olive eyes stand out more clearly. Course: Appetizer Cuisine: American Equipment: Toaster, Mixing Bowl, Knife
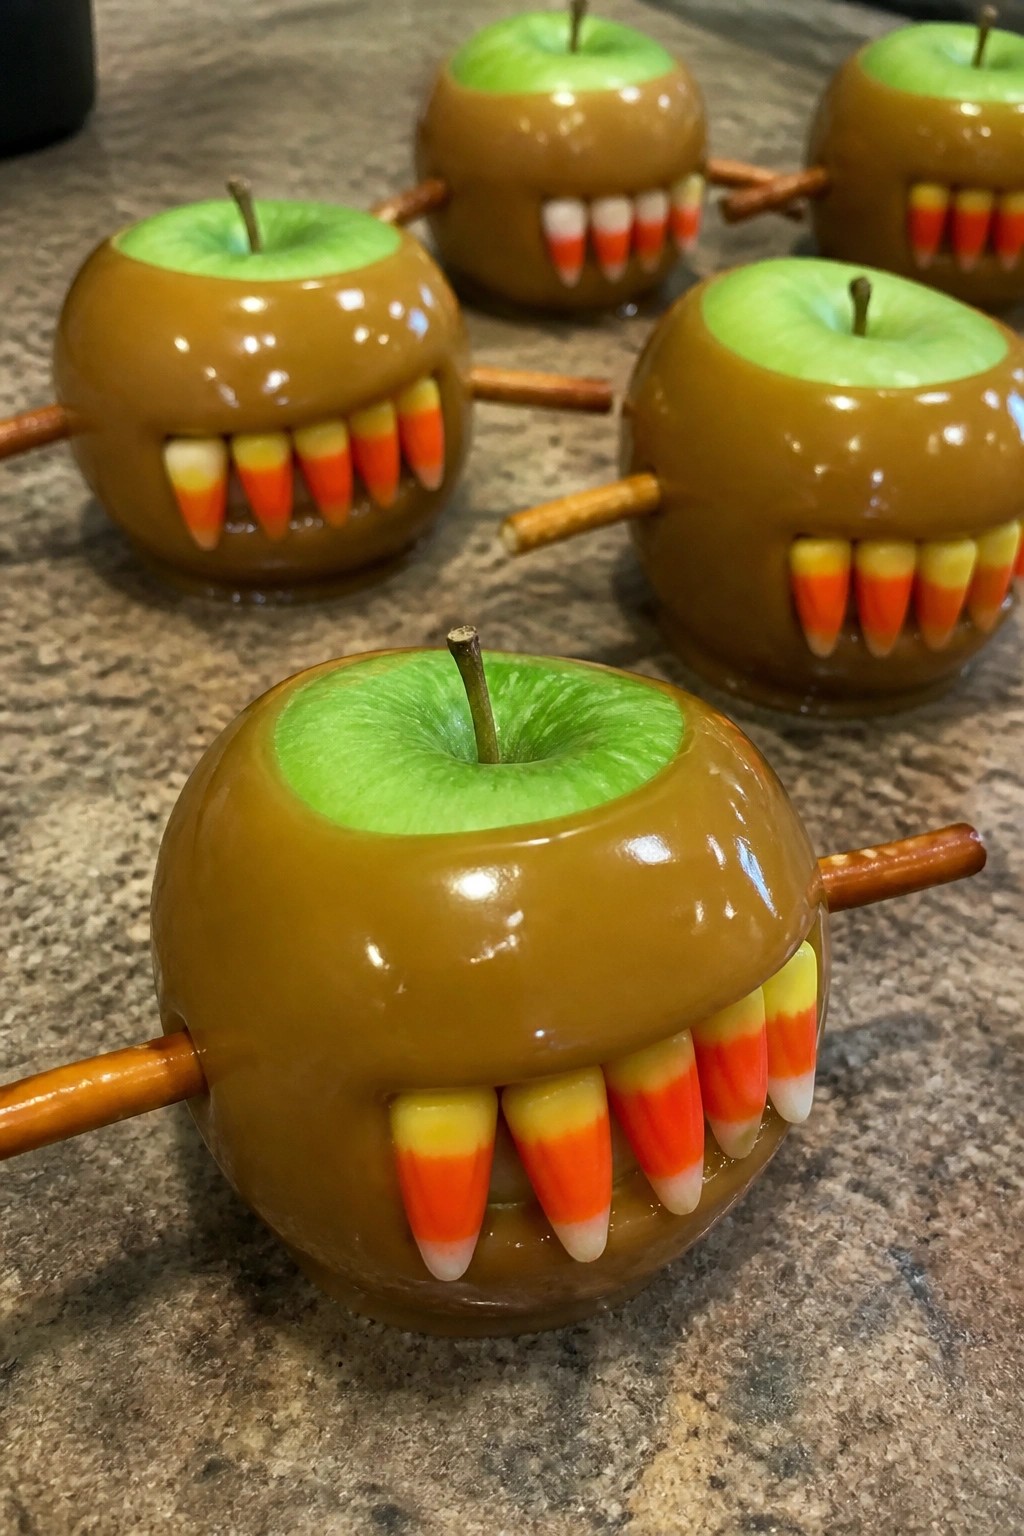
Caramel Apple Monsters with Candy Teeth and Pretzel Sticks
These caramel apples stand out at Halloween gatherings because they combine a classic fall treat with playful monster details. They work well for kids parties or casual get-togethers where you want something hands-on yet simple to prepare. The crisp apple contrasts with the smooth caramel while the pretzel sticks add crunch and the candy teeth give a chewy bite.
The finished treats hold up for a few hours at room temperature, making them easy to assemble ahead of time and serve without extra fuss.
Serves 4 people.
Ingredients
- 4 medium green apples
- 1 cup caramel candies
- 2 tablespoons milk
- 16 candy corn pieces
- 8 pretzel sticks
Instructions
- Wash and dry the apples, then insert one wooden stick into the top of each apple.
- Place the caramel candies and milk in a microwave-safe bowl. Heat in 30-second intervals, stirring between each, until the mixture is smooth.
- Dip each apple into the melted caramel, turning to coat evenly. Let excess caramel drip off.
- Press four candy corn pieces into the caramel on the front of each apple to form teeth.
- Insert two pretzel sticks into the sides of each apple to act as arms.
- Place the apples on a parchment-lined tray and let the caramel set for 15 minutes before serving.
Extra Tips
Use firm green apples so the caramel clings better and the finished monsters stay upright. If the caramel thickens while you work, warm it briefly to keep it pourable. Store any leftovers in the refrigerator and bring them back to room temperature for 10 minutes before serving to soften the caramel again. Course: Dessert Cuisine: American Equipment: Microwave-safe bowl, Parchment-lined tray, Wooden sticks
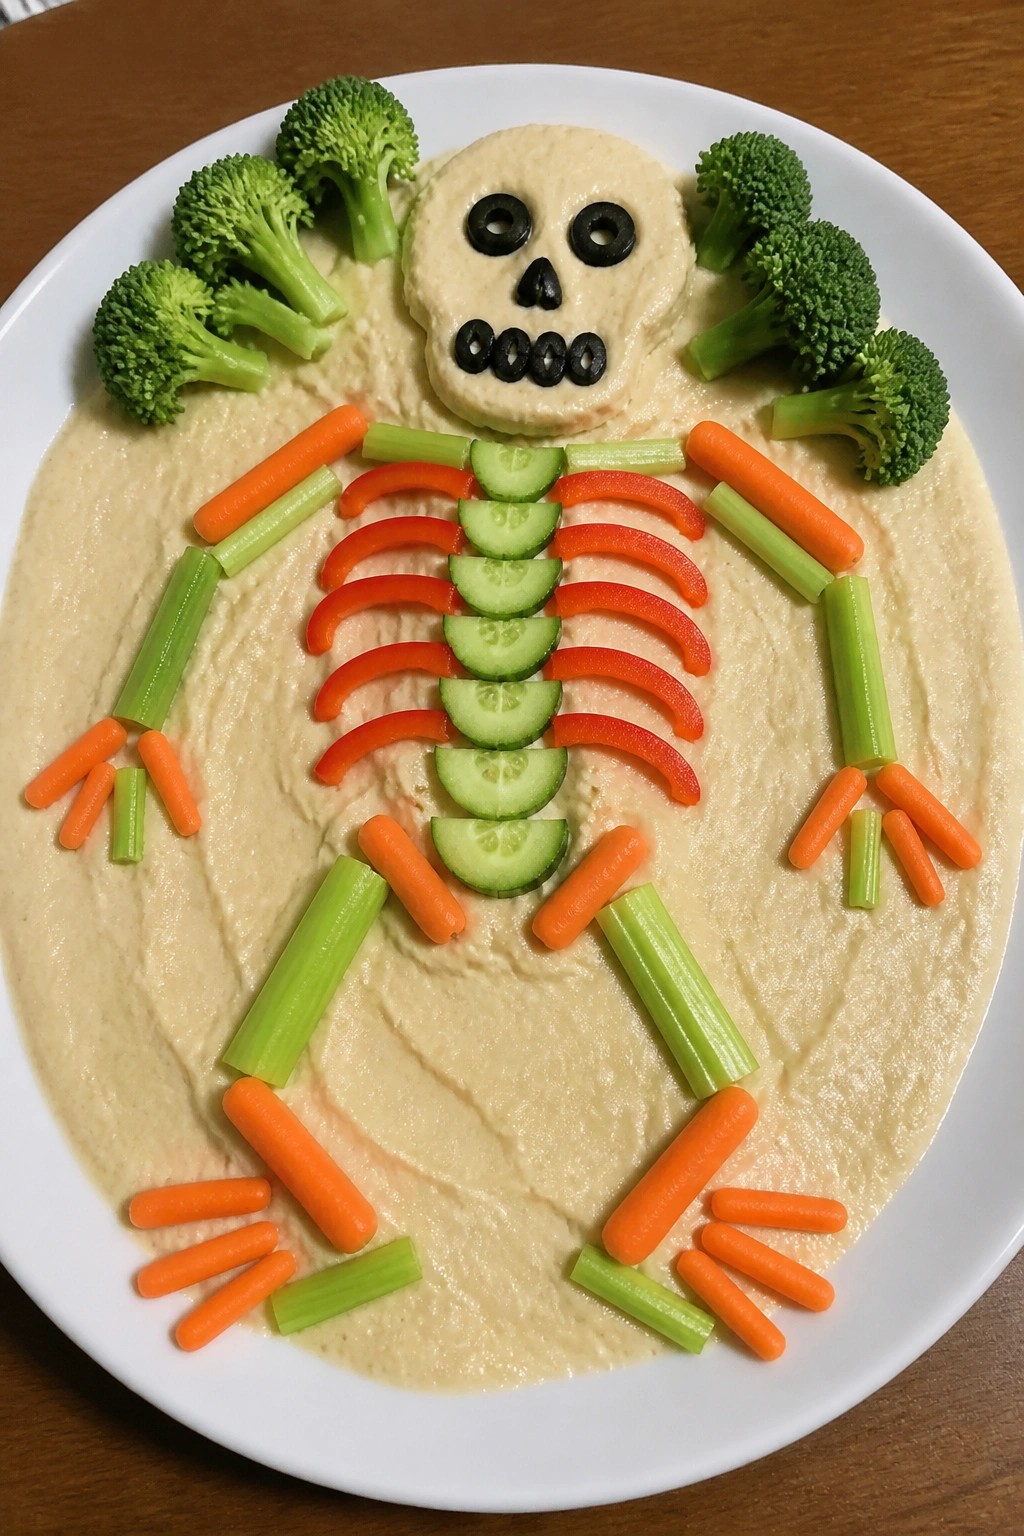
Skeleton Veggie Platter with Hummus and Black Olive Details
This skeleton veggie platter turns a basic tray of vegetables into a playful Halloween centerpiece. It works well for parties, school events, or family gatherings when you want a lighter option that still fits the theme. Crisp vegetables pair with creamy hummus for a simple savory bite.
Serves 4 people.
Ingredients
- 2 cups prepared hummus
- 4 carrots, peeled and cut into thin sticks
- 2 cucumbers, cut into rounds and sticks
- 1 red bell pepper, cut into strips
- 2 celery stalks, cut into sticks
- 1 cup broccoli florets
- 1/2 cup black olives, sliced
Instructions
- Spread the hummus evenly across a large platter to create the base layer for the skeleton shape.
- Arrange the carrot sticks and celery sticks to form the spine and limb bones, placing them in straight lines.
- Position the cucumber rounds in a curved pattern across the center to suggest a rib cage.
- Place the broccoli florets at the top of the platter to form the skull area.
- Add the red bell pepper strips alongside the limbs for extra bone detail.
- Use the sliced black olives to create eyes, a nose, and small accents on the skull and joints.
Extra Tips
Prepare the vegetables a few hours ahead and store them in water to keep them crisp, then assemble everything right before guests arrive so the olives stay bright. If you want more color, swap one cucumber for yellow bell pepper strips without changing the structure. Course: Appetizer Cuisine: American Equipment: Large platter, cutting board, knife