

Halloween parties need appetizers that are simple to put together. These recipes use basic ingredients and steps that work for any skill level. You can prep most of them in advance so you are not rushed on the day. They are designed to look nice without extra effort. Here are ten options that fit right into your plans.
Helpful Tips Before You Start
These ideas will help your Halloween appetizers come together smoothly.
Choose simple shapes
Cookie cutters turn cheese slices, bread, or sandwiches into ghosts, pumpkins, or bats with little effort.
Prep components early
Cut vegetables, mix dips, and assemble bases the day before so final steps take just minutes.
Use store bought shortcuts
Pre made dough, crackers, and hummus let you focus on spooky toppings instead of making everything from scratch.
Keep portions bite sized
Small pieces are easier for guests to grab while they mingle and reduce mess on plates.
Add quick visual touches
A sprinkle of paprika or a few olive slices can create eyes or spider details without extra time.
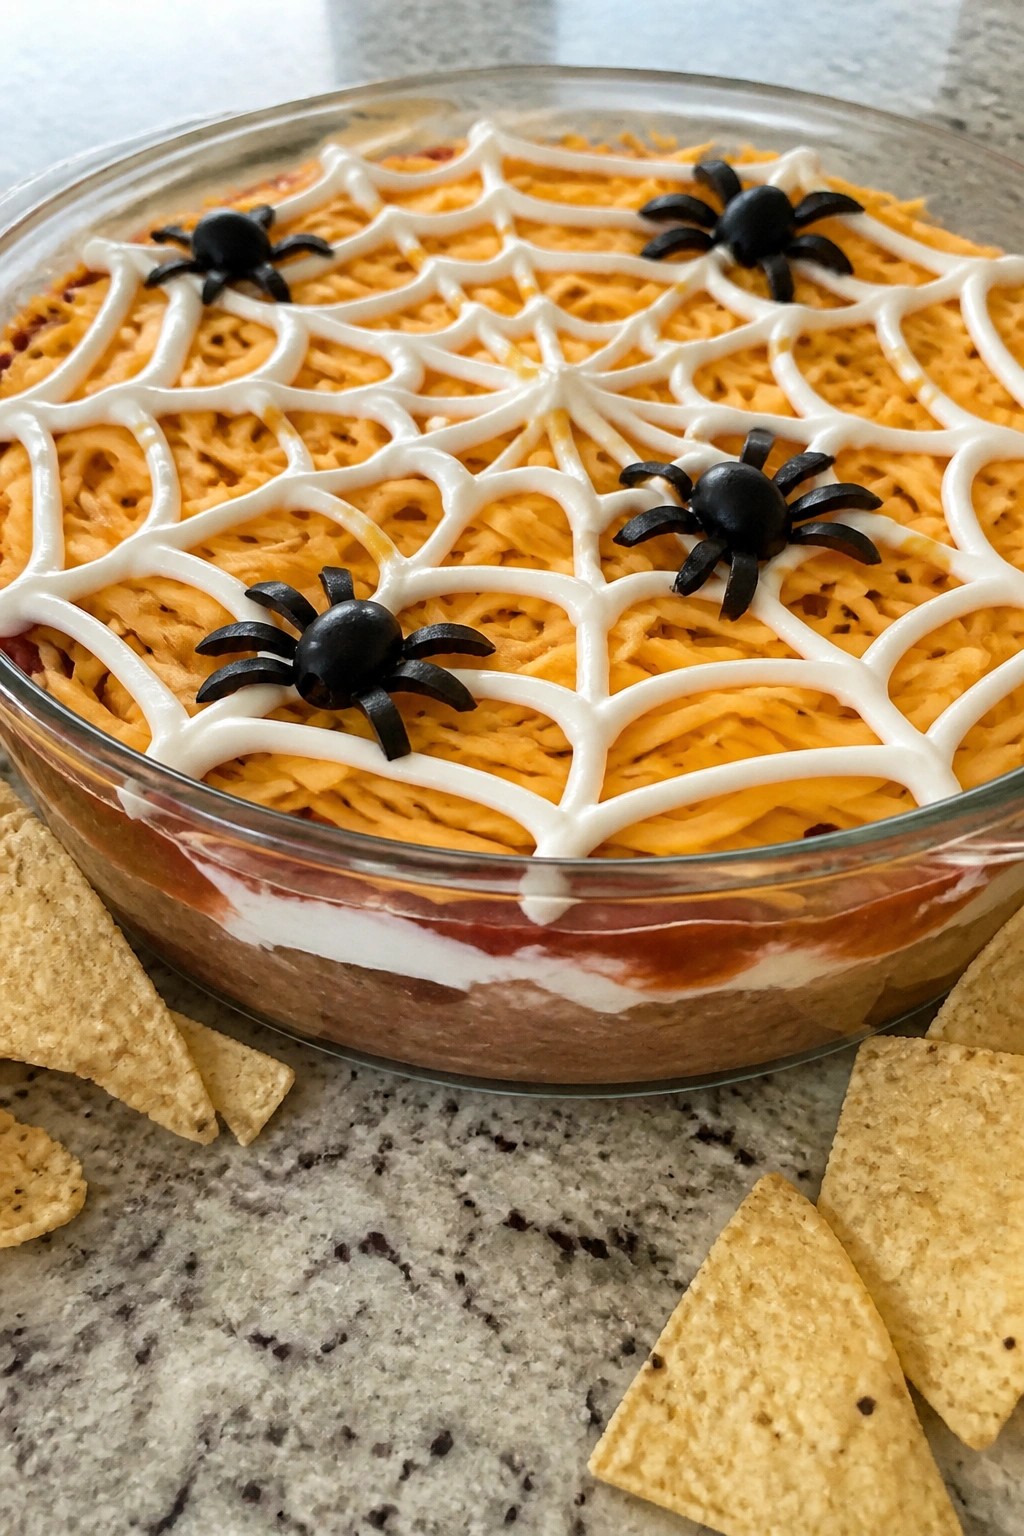
Spiderweb Layered Taco Dip with Tortilla Chips
This layered taco dip stands out at any Halloween gathering because of the simple spiderweb design on top. It brings familiar taco flavors together in one dish that guests can scoop with chips. The texture stays creamy from the cheese and sour cream layers while the beans add a bit of heartiness underneath.
The recipe works well for small groups since it comes together quickly with basic pantry items. It has a mild spice level that suits most tastes and looks festive without extra effort.
Serves 4 people.
Recommended Products

Precise & Even Filling: This deviled egg piping tool enables even and precise filling, creating professional and uniform shapes for devil eggs injector. Perfect for making neat and delicate deviled eggs easily.


Precise & Even Filling: This deviled egg piping tool enables even and precise filling, creating professional and uniform shapes for devil eggs injector. Perfect for making neat and delicate deviled eggs easily.
Ingredients
- 1 can (16 oz) refried beans
- 1 packet taco seasoning
- 8 oz cream cheese, softened
- 1 1/2 cups sour cream, divided
- 1 cup salsa
- 1 cup shredded cheddar cheese
- 1/4 cup sliced black olives
- Tortilla chips for serving
Instructions
- Mix the refried beans with the taco seasoning in a bowl until evenly combined.
- In a separate bowl, blend the cream cheese with 1 cup of the sour cream until smooth.
- Spread the seasoned bean mixture evenly across the bottom of an 8×8 inch dish.
- Layer the cream cheese mixture over the beans.
- Spoon the salsa over the cream cheese layer and spread it gently.
- Sprinkle the shredded cheddar cheese across the salsa.
- Place the remaining 1/2 cup of sour cream into a small plastic bag, snip a tiny corner, and pipe concentric circles on top of the cheese.
- Drag a knife from the center outward in several lines to create the web pattern.
- Scatter the sliced black olives in the center to form a spider shape.
- Serve with tortilla chips on the side.
Extra Tips
Pipe the sour cream slowly so the circles stay even before you drag the knife. If you make this ahead, add the web and olives right before serving to keep the pattern sharp. Leftovers store in the fridge for a day but the web may soften, so it is best enjoyed fresh. Course: Appetizer Cuisine: Mexican Equipment: Mixing Bowl, 8×8 Baking Dish, Plastic Bag
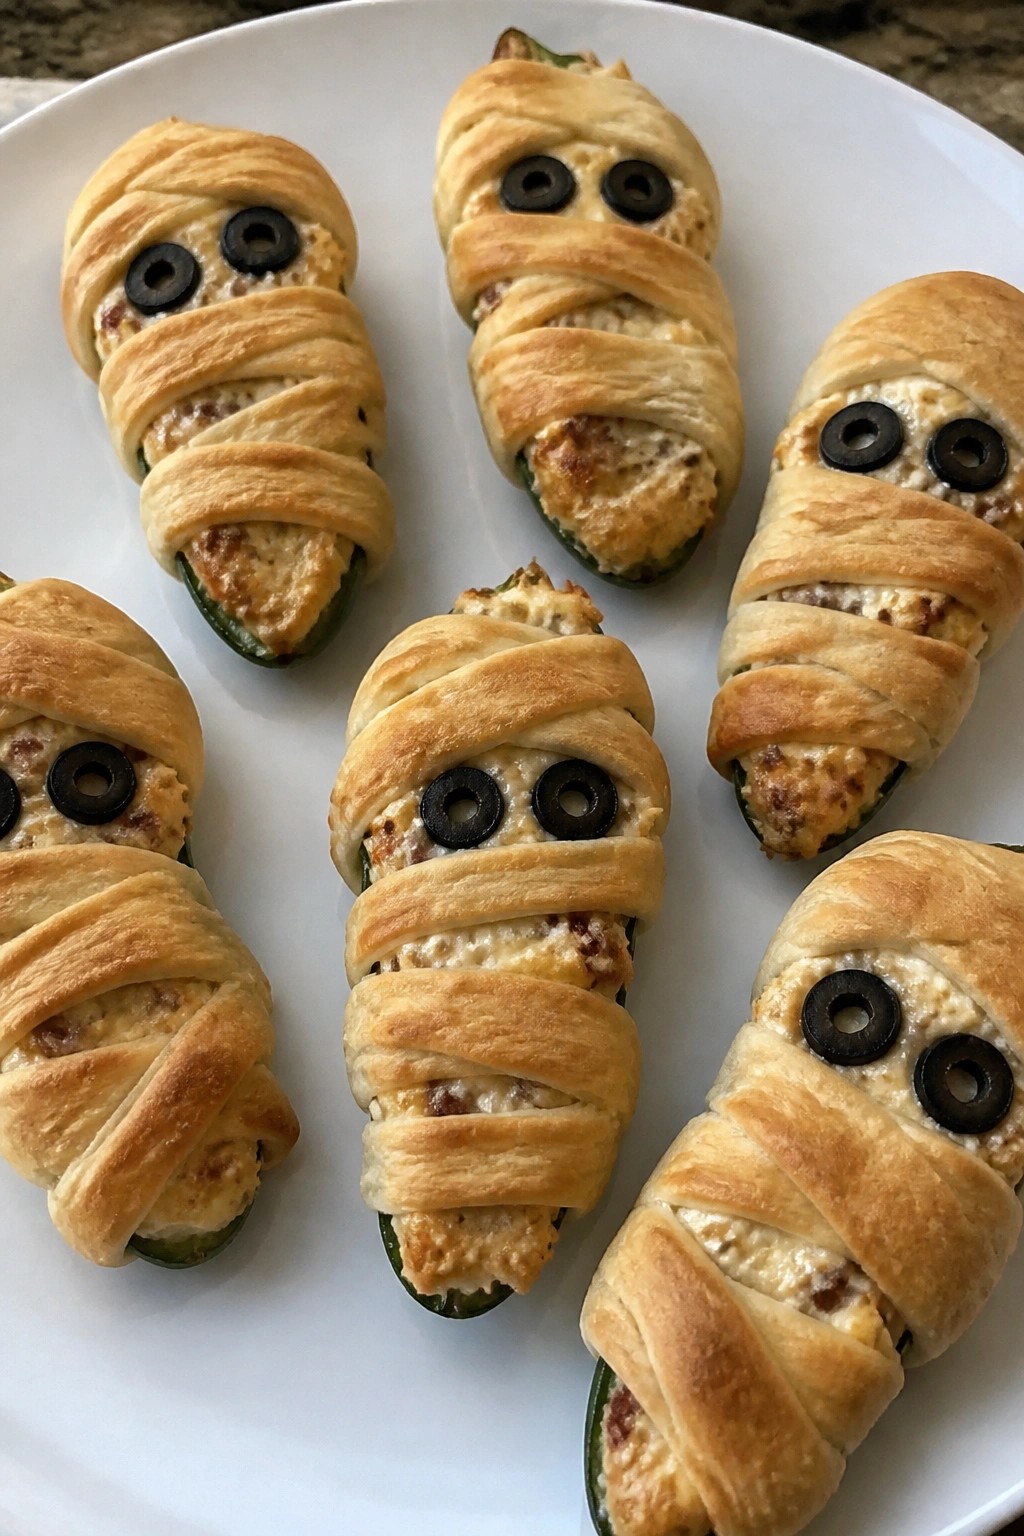
Mummy Jalapeño Poppers with Bacon
These jalapeño poppers bring a fun Halloween twist to a classic appetizer. The bacon adds smoky crunch while the cheese filling stays creamy inside. They work well for parties or casual gatherings where you want something easy but themed.
The mummies come together with simple strips of dough that bake up golden. Each bite gives a balance of heat, salt, and richness without much fuss.
Serves 4 people.
Ingredients
- 8 large jalapeño peppers
- 8 ounces cream cheese, softened
- 1 cup shredded cheddar cheese
- 8 slices bacon
- 1 can refrigerated crescent roll dough
- 16 small slices black olives
Instructions
- Preheat the oven to 375 degrees and line a baking sheet with parchment paper.
- Cut each jalapeño in half lengthwise and remove the seeds and membranes.
- Mix the cream cheese and cheddar cheese in a bowl until smooth.
- Spoon the cheese mixture into each jalapeño half.
- Cut the bacon slices in half crosswise and lay one piece over the filling in each popper.
- Unroll the crescent dough and cut it into thin strips. Wrap the strips around each popper to look like mummy bandages, leaving a small gap for the face.
- Place the wrapped poppers on the baking sheet and add two olive slices to each for eyes.
- Bake for 20 to 25 minutes until the dough is golden and the bacon is cooked through.
Extra Tips
Let the poppers cool for a few minutes before serving so the filling sets. If you want less heat, soak the halved jalapeños in cold water for 10 minutes after removing the seeds. Leftovers reheat well in a 350-degree oven for about 8 minutes to keep the bacon crisp. Course: Appetizer Cuisine: American Equipment: Baking Sheet, Mixing Bowl, Knife
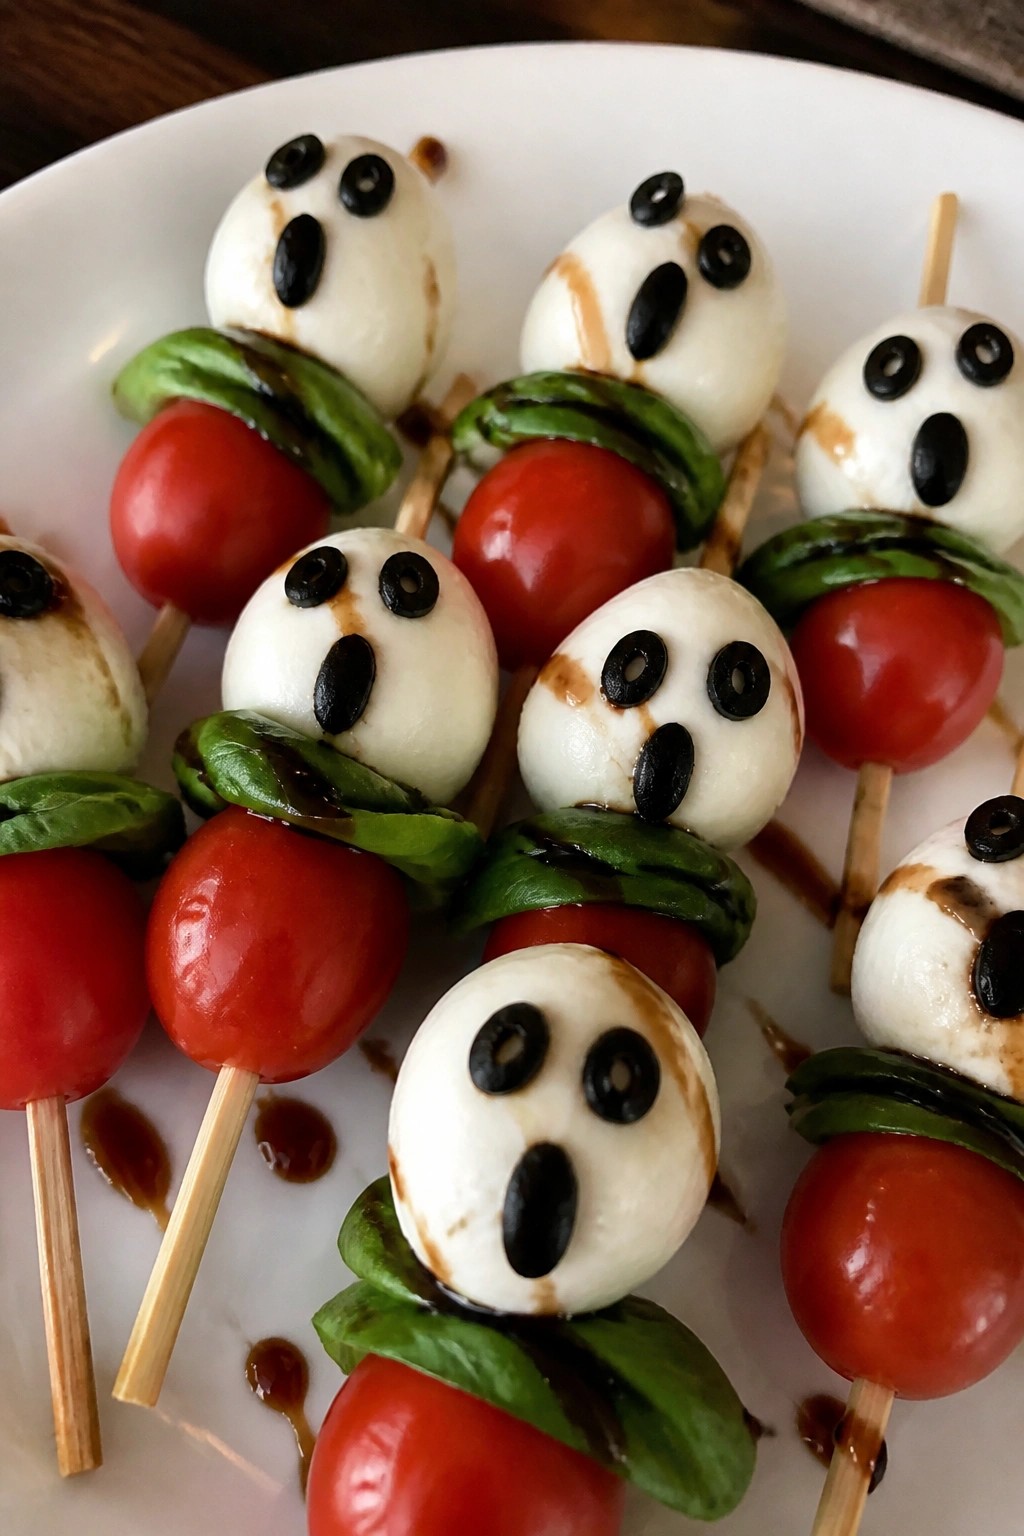
Ghostly Caprese Skewers with Balsamic Drizzle
These skewers turn a classic Caprese into a fun Halloween starter. The white mozzarella balls stand in as little ghosts, and a quick olive detail gives them faces. They need almost no cooking and come together fast for a party spread.
The flavors stay bright and familiar. Sweet tomatoes, creamy cheese, and fresh basil pair with a tangy balsamic finish that pulls everything together.
Serves 4 people.
Recommended Products

Material: The broom prop handle is made of plastic, smooth surface and comfortable to touch, and the halloween brooms tails is made of mesh, suitable for masquerade dance party haunted house decoration.

Adequate Quantity: you will get 12 pieces of colorful striped witch broom pencils, enough quantity can meet your different party needs and daily needs, you can share them with friends to have fun, draw together

Bat and pumpkin shaped pretzels packed in the perfect sized bags for handouts
Ingredients
- 12 cherry tomatoes
- 12 small mozzarella balls
- 12 fresh basil leaves
- 3 black olives, sliced into thin rounds
- 1/4 cup balsamic glaze
- 12 small wooden skewers
Instructions
- Thread one cherry tomato onto each skewer, followed by one basil leaf and one mozzarella ball.
- Use two olive slices to make eyes on the front of each mozzarella ball.
- Arrange the finished skewers on a serving plate.
- Drizzle the balsamic glaze lightly over the skewers just before serving.
Extra Tips
Make the skewers a few hours ahead and keep them covered in the fridge, but add the balsamic glaze right before guests arrive so it stays glossy. If you only have large mozzarella, cut it into bite-size pieces that still fit on the skewers. A thick balsamic glaze works best here because it clings without running. Course: Appetizer Cuisine: Italian Equipment: Wooden skewers, Small knife, Serving plate
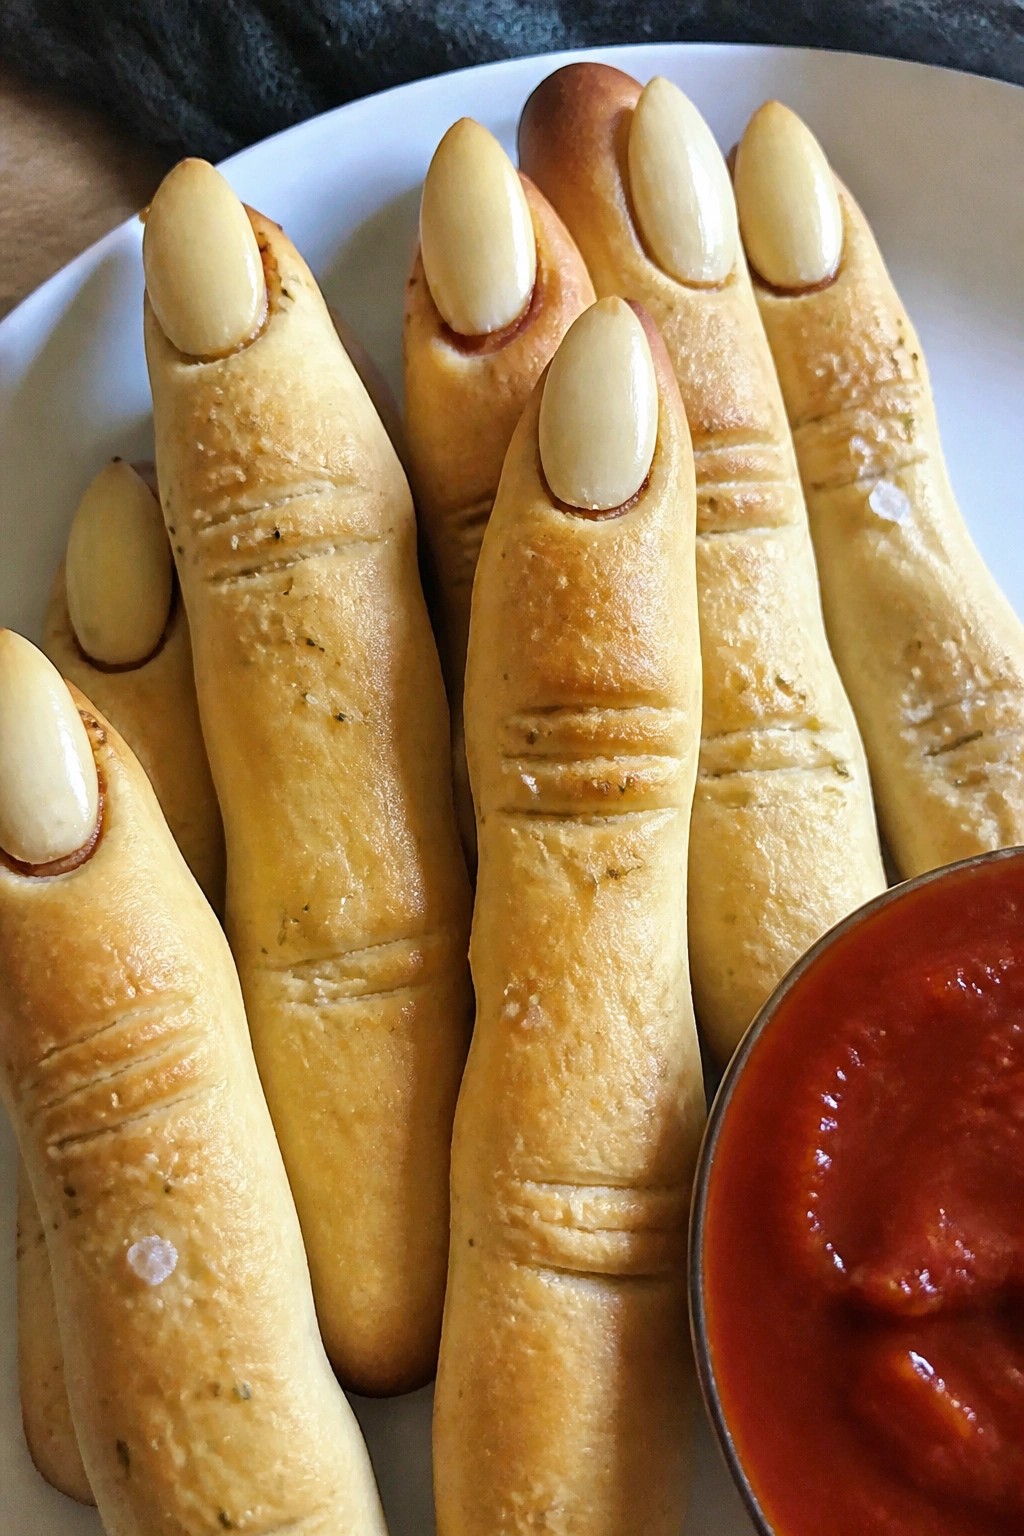
Witch Finger Breadsticks with Marinara
These breadsticks turn simple dough into a fun Halloween snack. Kids and adults both enjoy shaping them, and they bake up golden with a light crunch on the outside. The marinara adds a savory dip that balances the salt on top.
They work well for parties because you can shape them ahead and bake right before guests arrive. The finished breadsticks taste like soft, chewy pizza crust with a hint of garlic from the dough.
Serves 4 people.
Ingredients
- 1 (16-ounce) package refrigerated pizza dough
- 1 large egg
- 1 tablespoon water
- 20 blanched almonds
- 1 cup marinara sauce
- 1 teaspoon flaky sea salt
Instructions
- Preheat the oven to 400 degrees Fahrenheit and line a baking sheet with parchment paper.
- Roll the pizza dough into a rectangle about 1/2 inch thick on a lightly floured surface.
- Cut the dough into 20 strips, each about 4 inches long and 1/2 inch wide.
- Roll each strip into a finger shape, slightly tapering one end for the tip.
- Beat the egg with the water in a small bowl. Brush each breadstick with the egg wash.
- Press one almond onto the tapered end of each breadstick to form a fingernail.
- Sprinkle the breadsticks lightly with flaky sea salt.
- Bake for 12 to 15 minutes until golden brown.
- Warm the marinara sauce in a small saucepan or microwave and serve it alongside the breadsticks for dipping.
Extra Tips
Shape the dough a little thicker at the base so the fingers hold their form after baking. If the almonds slip during baking, press them in again right after the breadsticks come out of the oven while they are still soft. Leftovers reheat best in a 350-degree oven for five minutes to restore crisp edges. Course: Appetizer Cuisine: Italian Equipment: Baking sheet, Oven, Small bowl
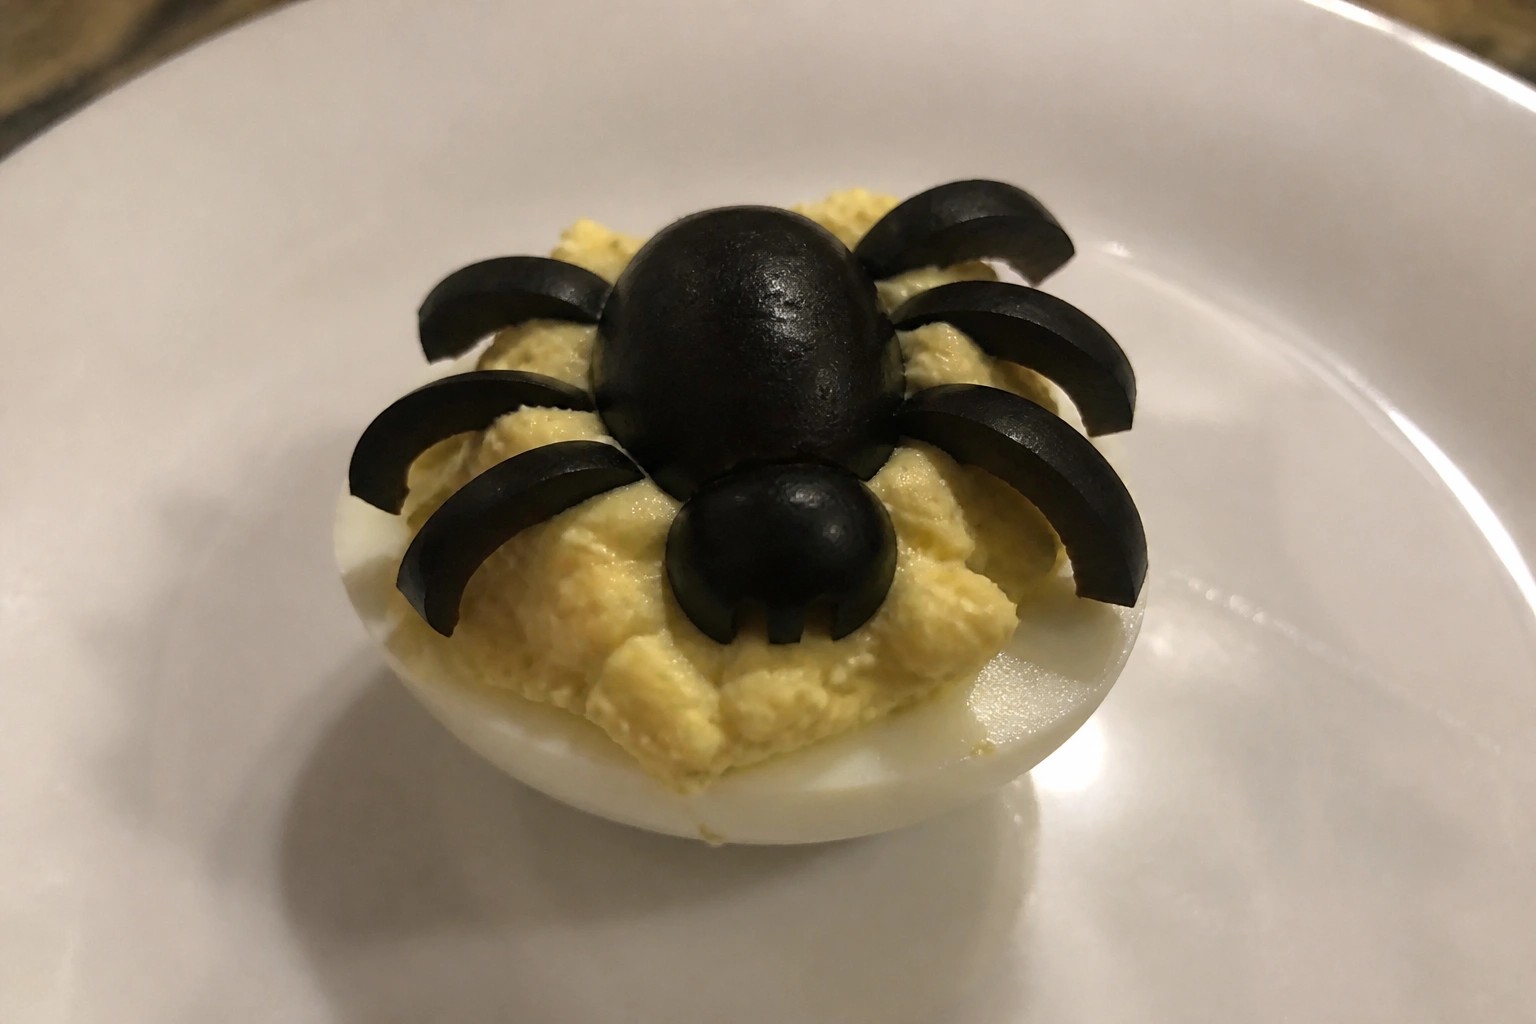
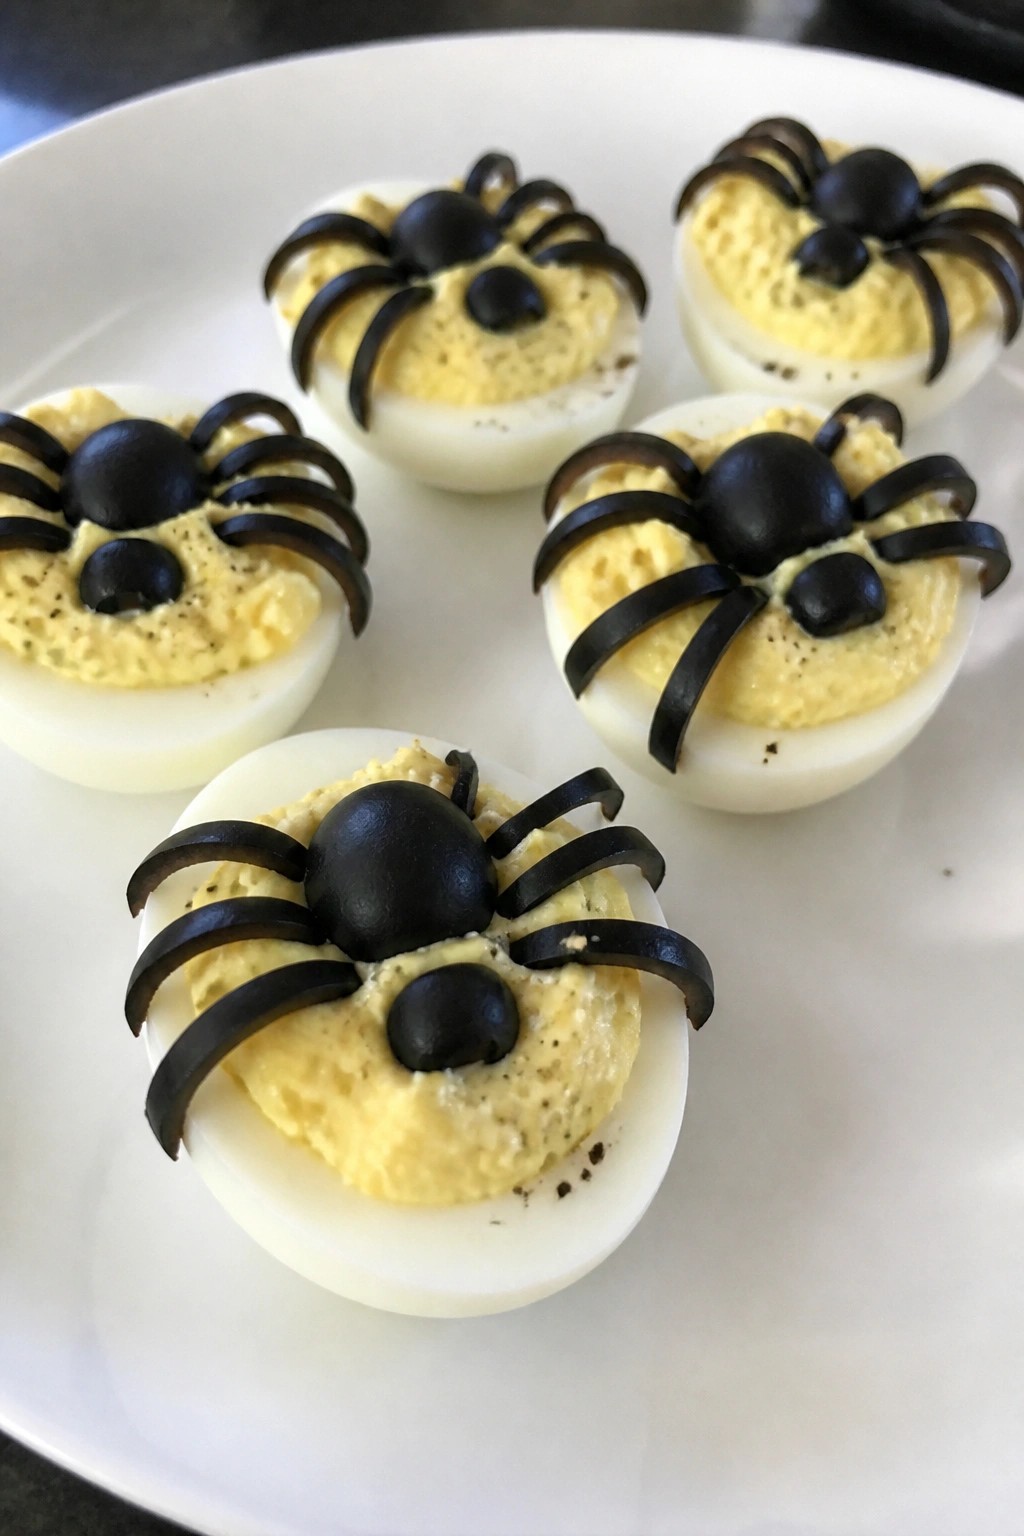
Deviled Egg Spiders with Cracked Pepper
These deviled eggs get a fun spider shape that fits right into a Halloween spread. They come together with basic pantry items and make a good choice for parties or casual get-togethers.
The eggs stay creamy from the filling while the cracked pepper adds a sharp bite. Olive slices create the spider legs and body without extra steps.
Serves 4 people.
Ingredients
- 6 large eggs
- ¼ cup mayonnaise
- 1 tablespoon yellow mustard
- 1 teaspoon white vinegar
- ½ teaspoon salt
- 2 teaspoons cracked black pepper, divided
- 12 black olives
Instructions
- Place the eggs in a pot and cover with water. Bring to a boil, then remove from heat and let sit covered for 12 minutes.
- Drain the eggs and move them to a bowl of ice water. Cool for 5 minutes, then peel and slice each egg in half lengthwise.
- Scoop the yolks into a mixing bowl. Add the mayonnaise, mustard, vinegar, salt, and 1 teaspoon of the cracked black pepper. Mash until smooth.
- Spoon or pipe the yolk mixture back into the egg white halves.
- Cut 6 olives in half for the spider bodies. Slice the remaining olives into thin strips for the legs. Place one olive half in the center of each filled egg and arrange 8 strips around it to form legs.
- Sprinkle the remaining teaspoon of cracked black pepper over the tops before serving.
Extra Tips
Make the eggs a day ahead and store the filled halves covered in the fridge, then add the olive spiders and final pepper right before guests arrive. If you want less heat, use only half the cracked pepper in the filling and save the rest for the top. The olives should be patted dry so they stay in place on the creamy filling. Course: Appetizer Cuisine: American Equipment: Pot, Mixing Bowl, Knife
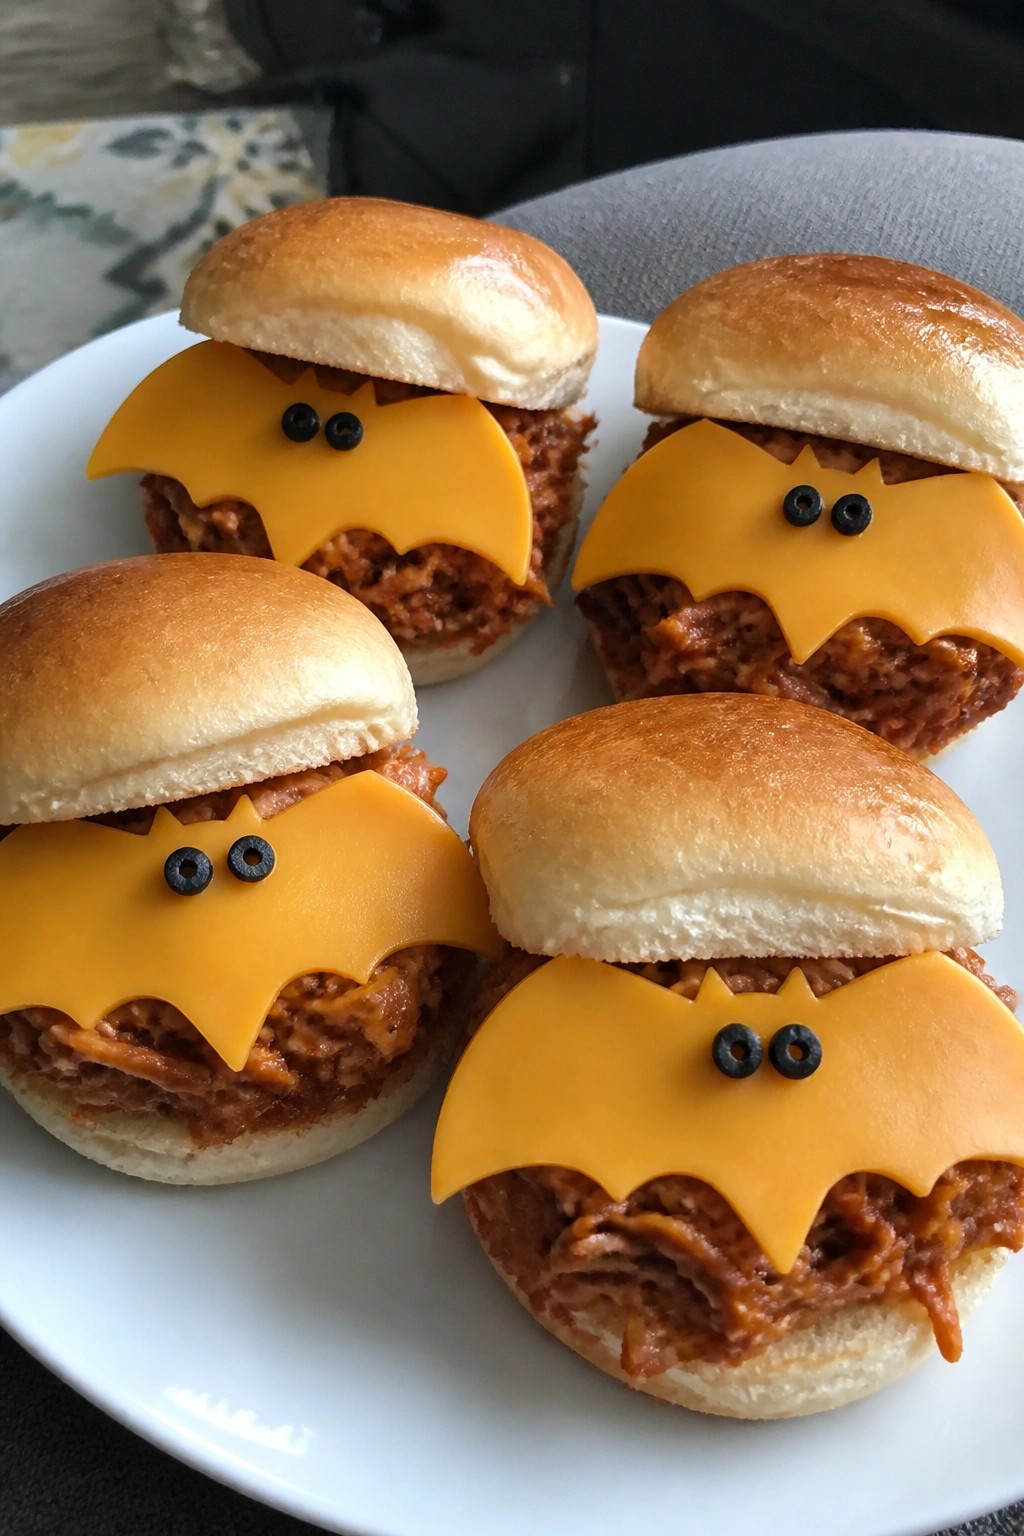
Bat-Shaped BBQ Chicken Sliders
These sliders bring a fun Halloween twist to a classic crowd favorite. Shredded chicken in barbecue sauce gets tucked into soft buns and topped with cheese cut into bat shapes. The result is a warm, savory bite with sweet and smoky notes that works well for parties or casual get-togethers.
The recipe keeps prep simple while adding a playful detail that fits the season. Kids and adults both enjoy the familiar flavors, and the bat cutouts make the dish feel festive without extra work.
Serves 4 people.
Ingredients
- 8 slider buns
- 2 cups shredded cooked chicken
- 1 cup barbecue sauce
- 8 slices cheddar cheese
- 2 tablespoons butter, melted
- ¼ cup sliced black olives
Instructions
- Preheat the oven to 350°F and line a baking sheet with parchment paper.
- Stir the shredded chicken and barbecue sauce together in a mixing bowl until evenly coated.
- Slice the slider buns in half and place the bottoms on the prepared baking sheet.
- Spoon the chicken mixture evenly onto each bun bottom.
- Cut four of the cheddar slices into bat shapes using a small cookie cutter and set the shapes aside.
- Place the remaining four whole cheddar slices over the chicken.
- Add the bun tops and brush them with the melted butter.
- Bake for 10 to 12 minutes until the cheese melts and the buns turn lightly golden.
- Remove from the oven, top each slider with a bat-shaped cheese piece, and add two olive slices to each for eyes.
Extra Tips
Use a firm cheddar that holds its shape after cutting so the bats stay intact when placed on the warm sliders. If you make the chicken mixture ahead, keep it in the fridge and assemble just before baking to avoid soggy buns. Leftovers reheat best in a 300°F oven for a few minutes rather than the microwave. Course: Appetizer Cuisine: American Equipment: Baking sheet, Mixing bowl, Oven, Small bat cookie cutter
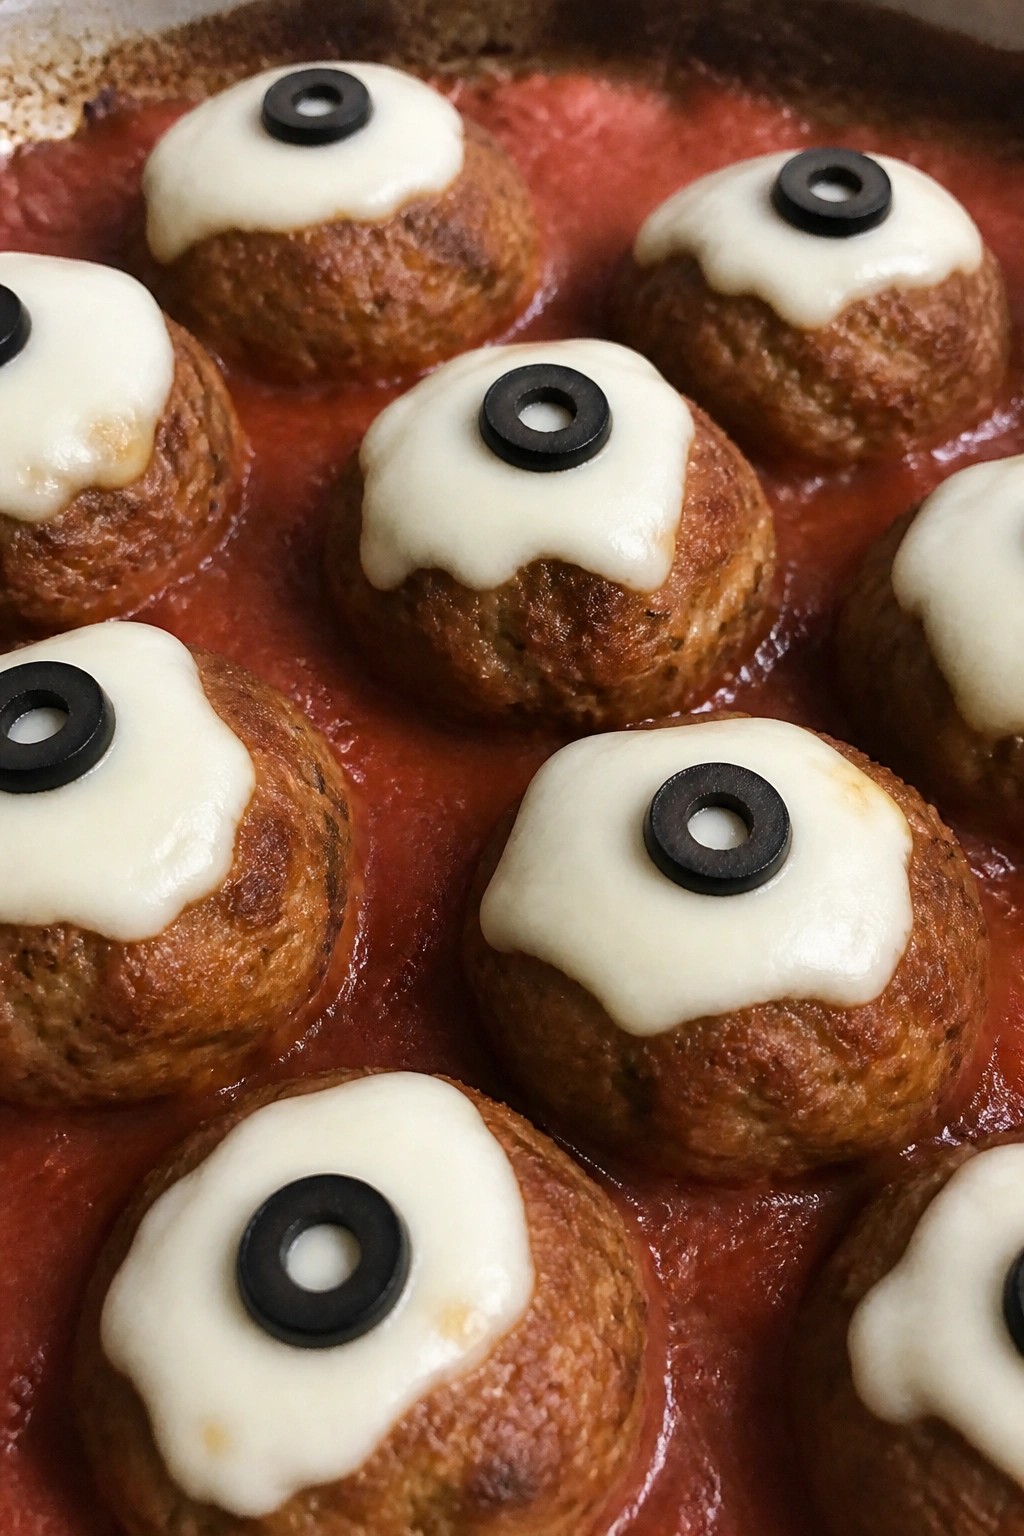
Monster Meatball Eyeballs with Olive Tops
These meatballs get a quick makeover with cheese and olive slices to look like eyeballs. They make a fun addition to a Halloween spread and come together with basic pantry items. The beef stays tender while the olives bring a salty contrast that balances the mild cheese.
They work best as a party starter or after-school snack when you want something a little playful without extra fuss. The texture stays soft in the center with a light crust on the outside.
Serves 4 people.
Ingredients
- 1 pound ground beef
- 1/2 cup plain breadcrumbs
- 1 large egg
- 1 teaspoon garlic powder
- 1/2 teaspoon salt
- 1/4 teaspoon black pepper
- 4 ounces mozzarella cheese, sliced into 12 pieces
- 6 black olives, each cut into 2 rounds
- 1 cup marinara sauce
Instructions
- Preheat the oven to 400 degrees F and line a baking sheet with parchment paper.
- In a mixing bowl, combine the ground beef, breadcrumbs, egg, garlic powder, salt, and black pepper. Mix with your hands until the ingredients are evenly distributed.
- Divide the mixture into 12 equal portions and roll each into a ball. Place the meatballs on the prepared baking sheet.
- Bake for 18 minutes until the meatballs are cooked through and lightly browned.
- Remove the sheet from the oven. Place one slice of mozzarella on each meatball and top with an olive round. Return the sheet to the oven for 2 minutes until the cheese just begins to melt.
- Serve the meatballs with marinara sauce on the side for dipping.
Extra Tips
Form the meatballs a few hours ahead and keep them covered in the fridge until you are ready to bake. Use regular black olives rather than flavored ones so the briny taste stays mild. If the cheese slides off after baking, press it down gently with the back of a spoon while it is still warm. Course: Appetizer Cuisine: American Equipment: Mixing Bowl, Baking Sheet, Oven
Candy Corn Veggie Platter with Ranch Dip
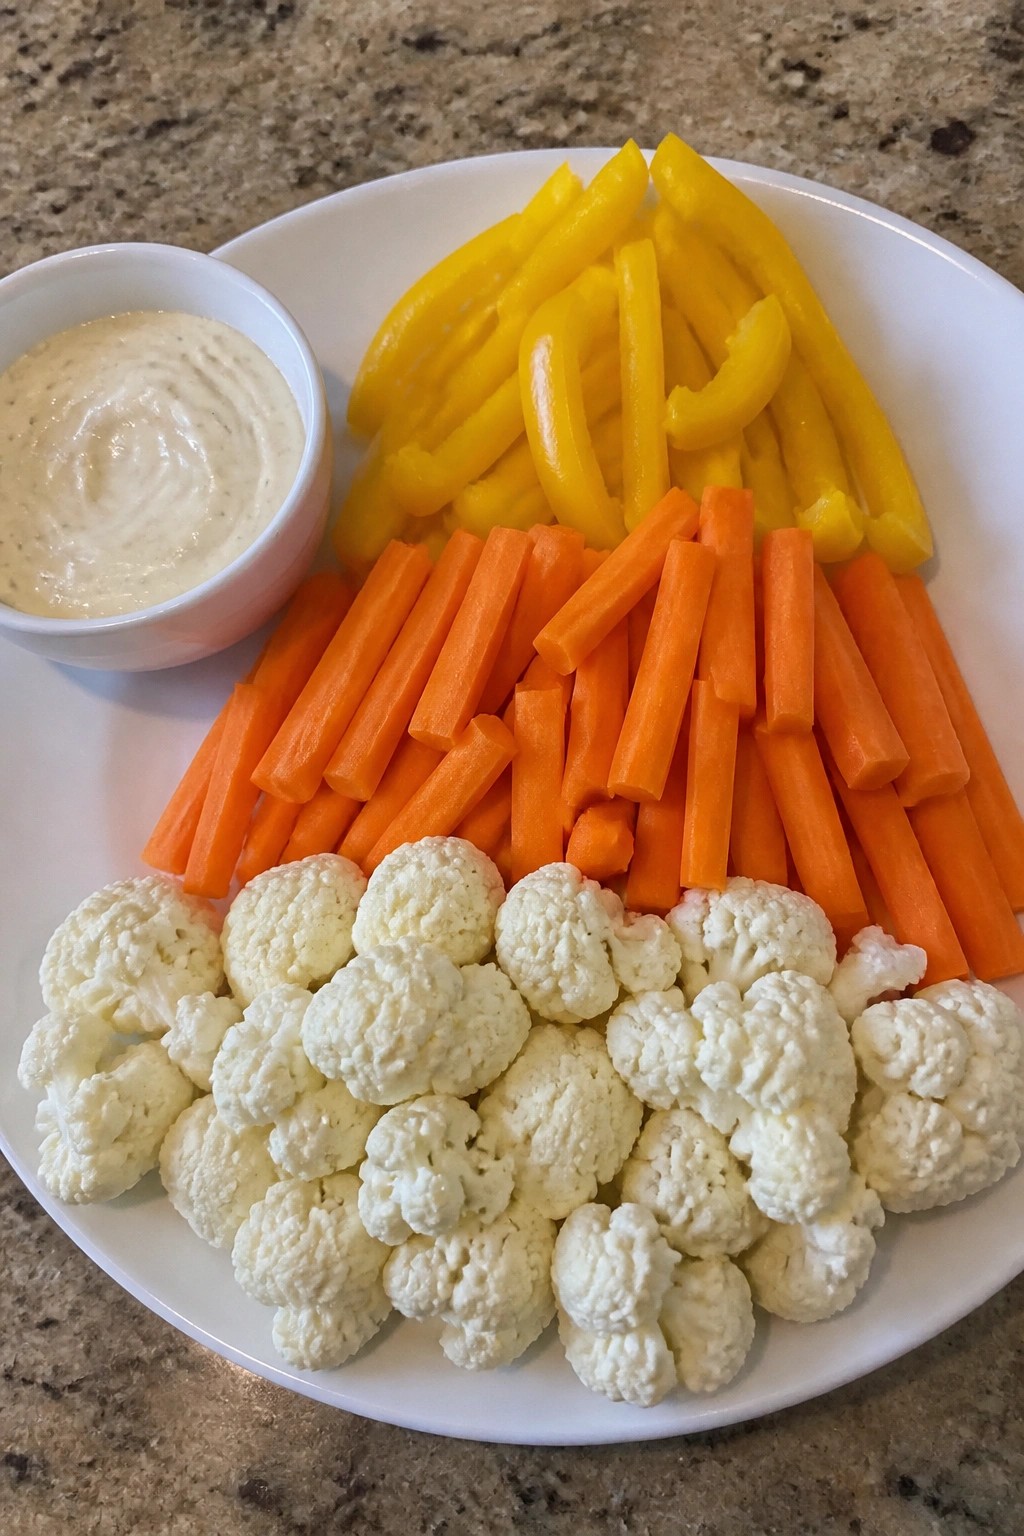
This platter arranges fresh vegetables in yellow, orange, and white layers to resemble candy corn. It offers a crisp texture and light flavor that balances richer party foods. The creamy ranch dip brings a savory element that complements the raw produce.
It works well for Halloween gatherings or casual get-togethers where you need a quick, eye-catching option. Kids and adults both reach for it because the colors stand out and the dip is familiar.
Serves 4 people.
Ingredients
- 2 yellow bell peppers, sliced into strips
- 3 large carrots, cut into sticks
- 1 small head cauliflower, cut into florets
- ½ cup mayonnaise
- ½ cup sour cream
- 1 packet (1 oz) ranch seasoning mix
Instructions
- Slice the yellow bell peppers into strips and set them aside.
- Peel and cut the carrots into sticks of similar length to the pepper strips.
- Break the cauliflower into small florets.
- In a mixing bowl, stir together the mayonnaise, sour cream, and ranch seasoning mix until smooth.
- On a large platter, place the yellow bell pepper strips in a curved row at the top.
- Arrange the carrot sticks in a row directly below the peppers.
- Add the cauliflower florets in a final row at the bottom to complete the candy corn shape.
- Spoon the ranch dip into a small bowl and place it beside the platter for serving.
Extra Tips
Arrange the vegetables on the platter just before guests arrive so the colors stay bright. If you need to prepare ahead, cut the vegetables and store them in separate containers in the fridge, then assemble and mix the dip right before serving. The dip can be thinned with a teaspoon of milk if it seems too thick. Course: Appetizer Cuisine: American Equipment: Mixing Bowl, Serving Platter, Knife
Graveyard Hummus Board with Pita Chips
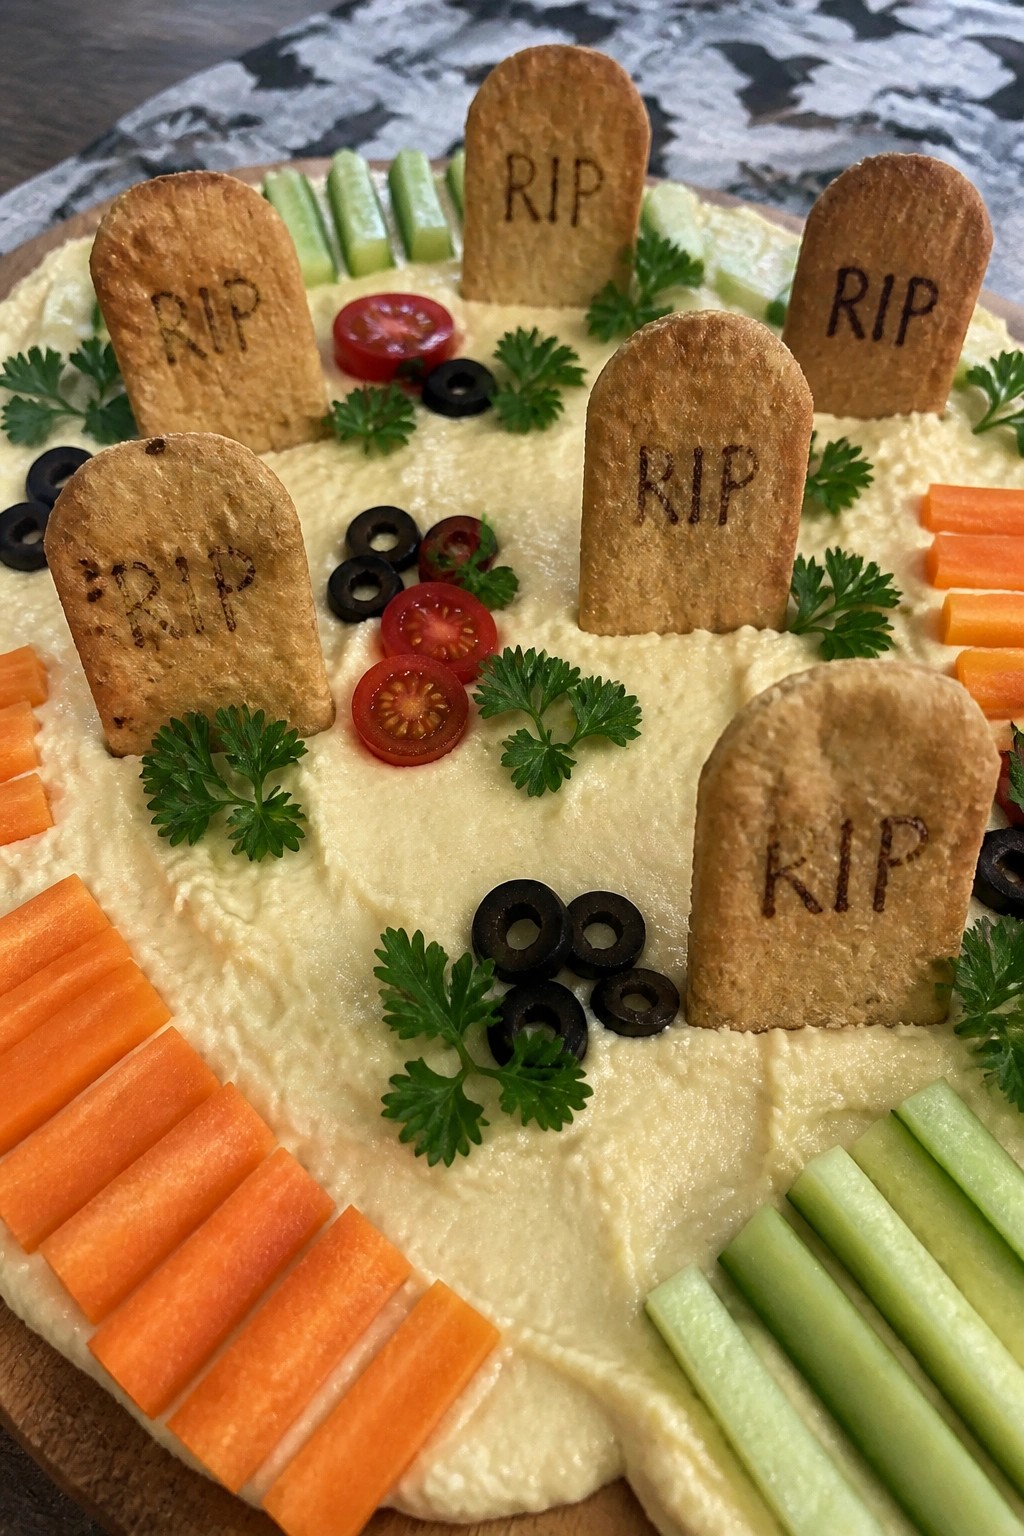
This Graveyard Hummus Board with Pita Chips turns a simple spread into a fun Halloween appetizer. The creamy hummus base holds up well for parties and gives guests something to scoop with crispy chips. It works best at casual gatherings where people can pick and share without plates.
The flavor stays mild and savory with a bit of crunch from the pita. The vegetable pieces add freshness and a nice contrast in texture.
Serves 4 people.
Ingredients
- 2 cups prepared hummus
- 3 pita breads
- 2 tablespoons olive oil
- 1 teaspoon sea salt
- 2 large carrots, peeled and cut into thin rectangles
- 1 cucumber, cut into thin rectangles
- 1/4 cup sliced black olives
- Fresh parsley sprigs
- 1/2 cup cherry tomatoes, halved
Instructions
- Preheat the oven to 375 degrees F. Cut each pita bread into 8 triangles and place them in a bowl.
- Drizzle the pita triangles with olive oil and sprinkle with sea salt. Toss to coat evenly.
- Spread the triangles in a single layer on a baking sheet. Bake for 10 to 12 minutes until golden and crisp. Remove and let cool.
- Spread the hummus in an even layer across a large board or platter.
- Press the carrot and cucumber rectangles upright into the hummus to create tombstone shapes.
- Scatter the black olives and cherry tomato halves around the board. Tuck in parsley sprigs between the vegetables.
Extra Tips
Bake the pita chips a few hours ahead and store them in a paper bag so they stay crisp. Press the vegetable tombstones in at an angle so they stand without falling. If the hummus feels too thick after spreading, add a teaspoon of olive oil on top to help the vegetables stick better. Course: Appetizer Cuisine: Mediterranean Equipment: Baking sheet, Large platter or board, Knife
Caramel Apple Nachos with Pretzel Crunch
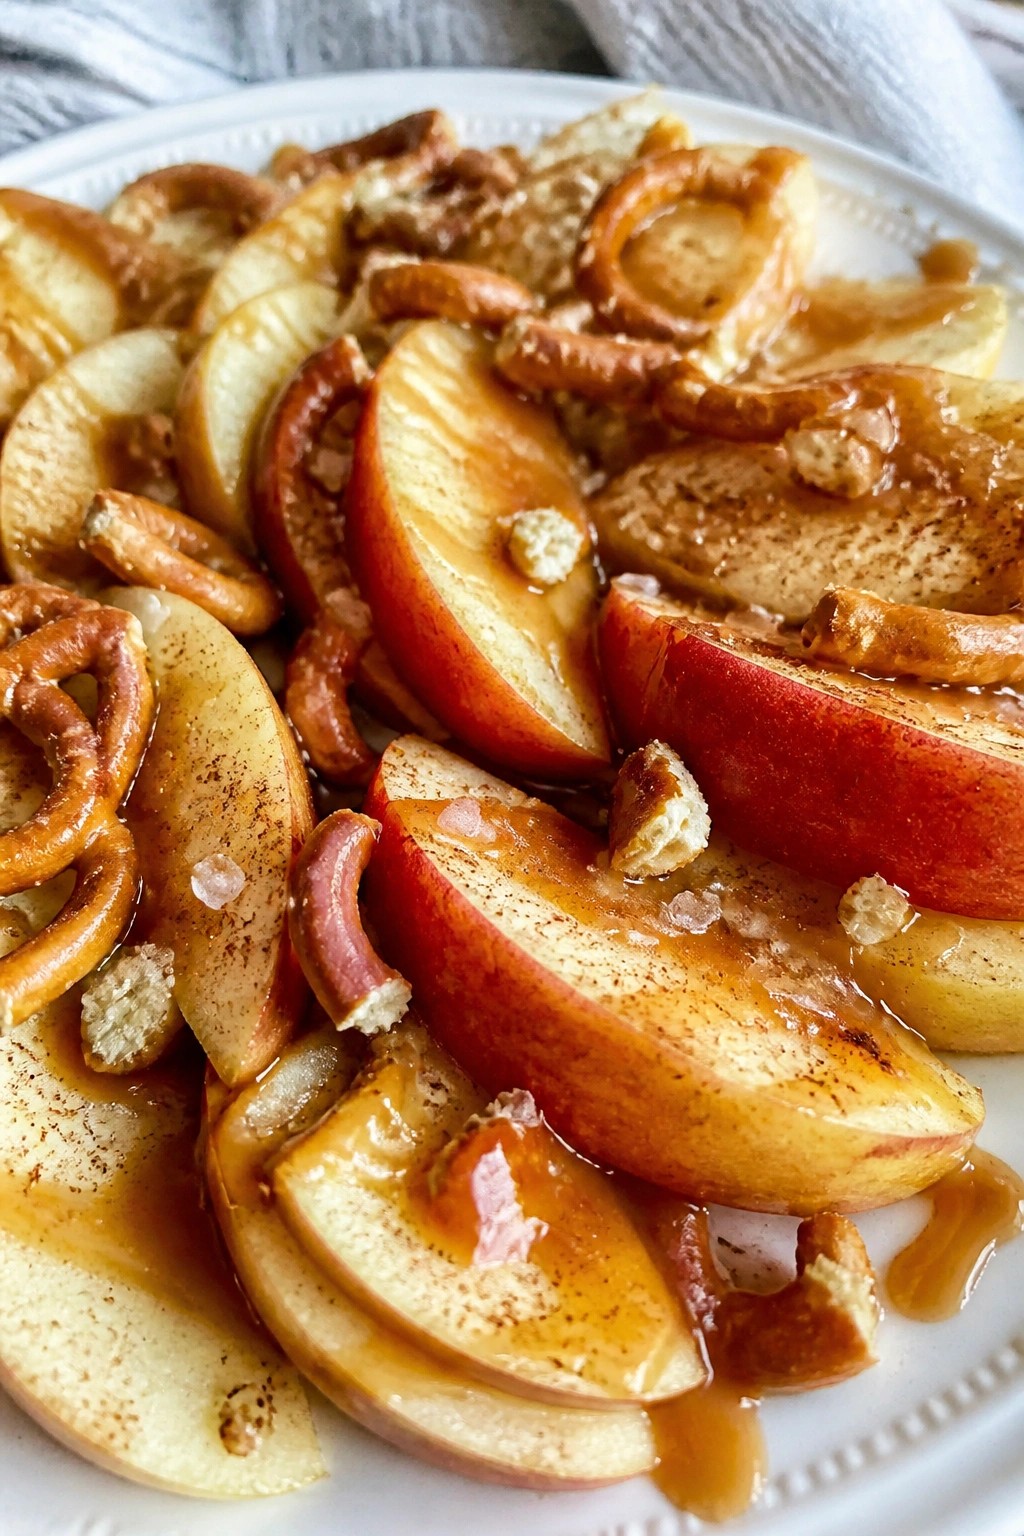
This recipe turns fresh apple slices into a quick party snack that balances sweet caramel with salty crunch. It suits Halloween gatherings because it needs almost no cooking and lets guests help themselves from one platter. The mix of crisp fruit, gooey caramel, and broken pretzels gives a satisfying sweet-salty bite.
The dish works best when the apples stay cold and the pretzel topping stays crisp until serving. It stays simple yet feels a little special for an appetizer table.
Serves 4 people.
Ingredients
- 4 large apples
- ½ cup caramel sauce
- 1½ cups pretzels
- ½ teaspoon ground cinnamon
- Pinch of sea salt
Instructions
- Core the apples and cut them into thin wedges. Arrange the slices in a single layer on a large platter.
- Warm the caramel sauce in a microwave-safe bowl for 15 seconds if it is too thick to drizzle.
- Drizzle the warmed caramel evenly over the apple slices.
- Place the pretzels in a zip-top bag and crush them with a rolling pin until they form small pieces and crumbs.
- Stir the cinnamon and sea salt into the crushed pretzels.
- Sprinkle the pretzel mixture over the caramel-covered apples right before serving.
Extra Tips
Warm the caramel just enough to pour smoothly so it coats the apples without soaking them. A mix of red and green apples adds color to the platter. If you make the pretzel topping ahead, store it in a sealed bag so it stays crunchy until you scatter it on top. Course: Appetizer Cuisine: American Equipment: Platter, Microwave-safe bowl, Rolling pin