

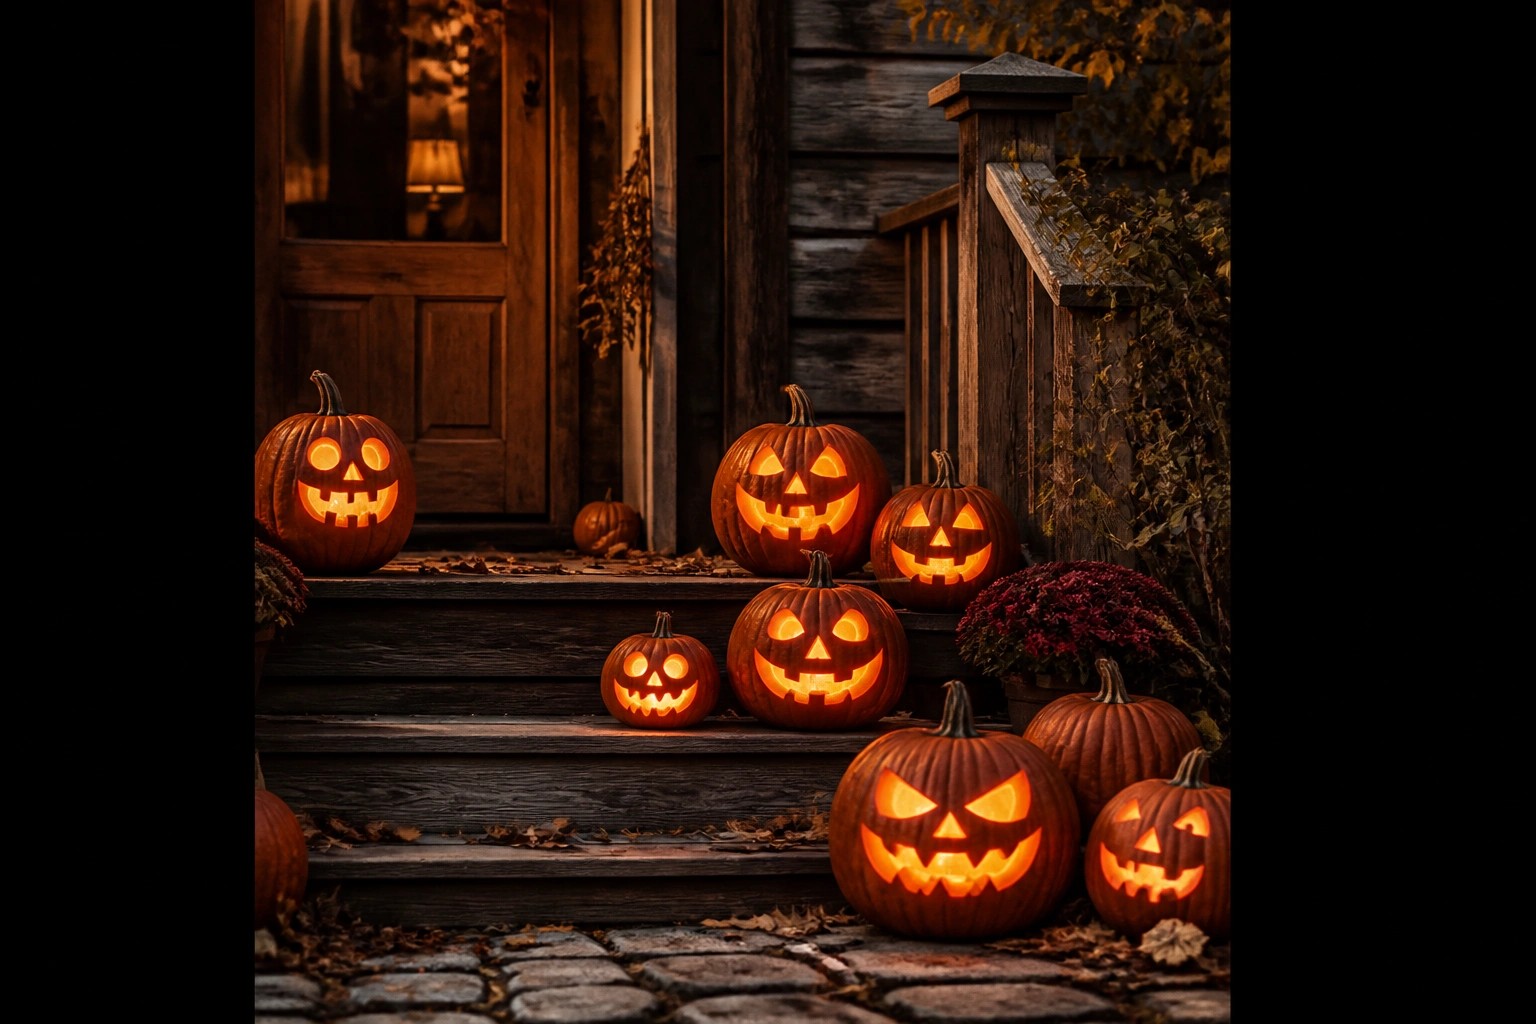
I often end up looking for quick ways to mark Halloween when the date catches me off guard. Carving pumpkins into jack-o’-lanterns lets me create one clear focal point near the door without rearranging the rest of the house. My preference is to stick with basic patterns that I can finish in an evening rather than anything that requires special tools or extra time. A few well-placed carved pumpkins tend to read as intentional even when the rest of the yard stays untouched. Simple designs are what actually get used.
Group Jack O Lanterns Across The Porch Steps
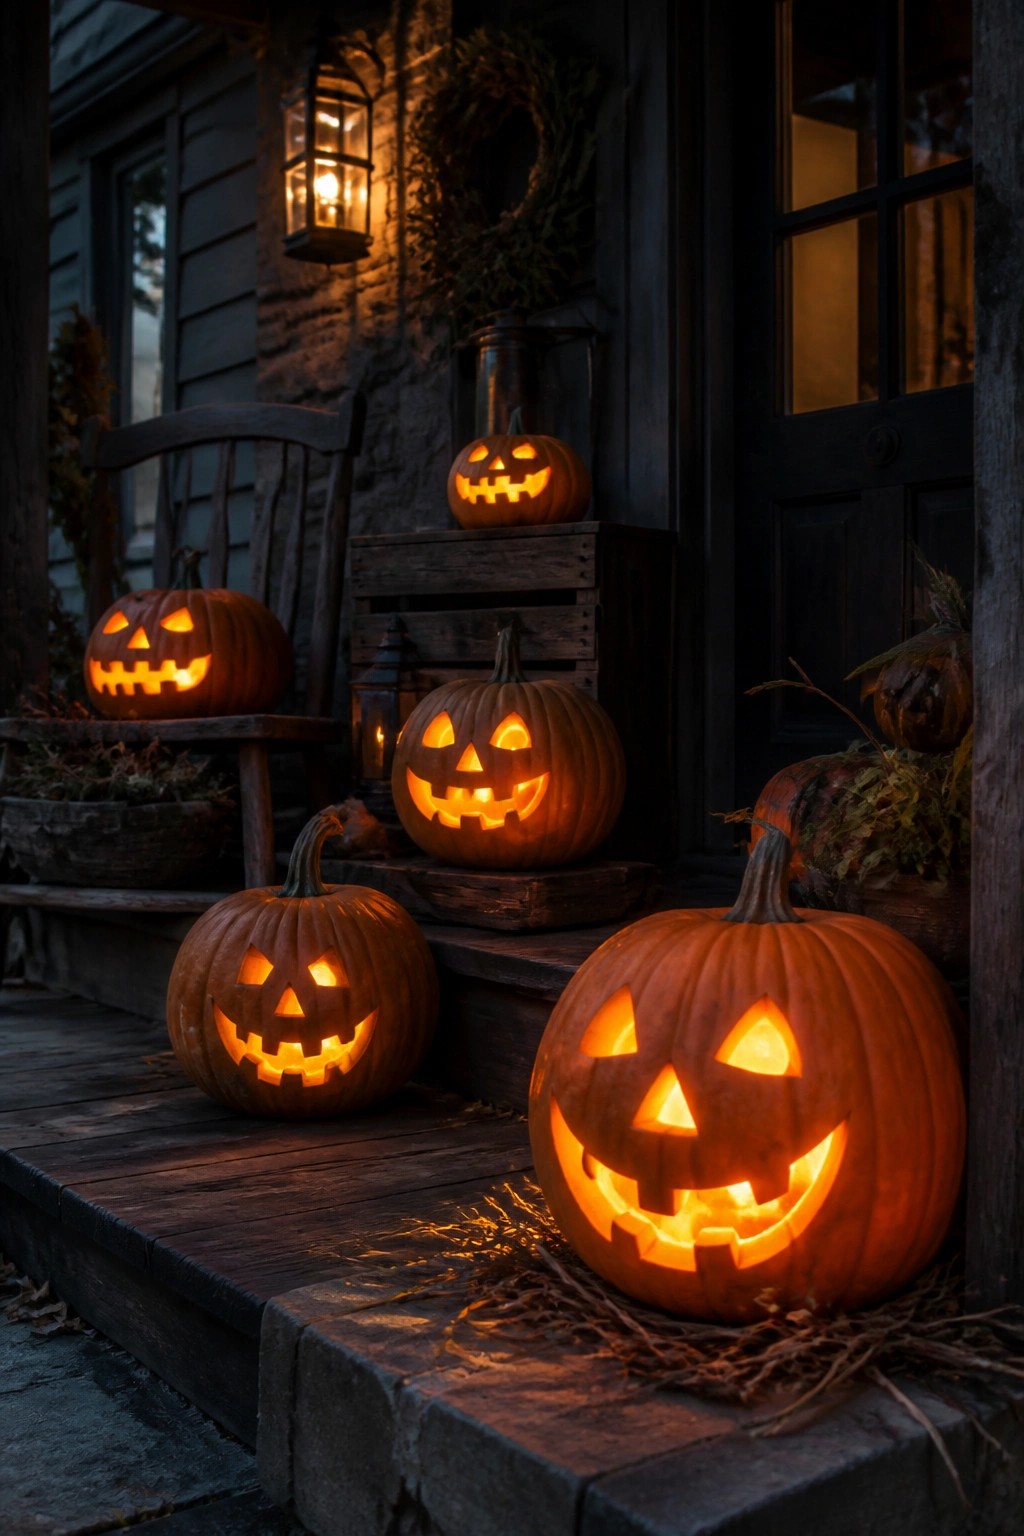
Placing several carved pumpkins together on the porch steps makes a strong Halloween statement without much effort. The different sizes and face designs keep the display interesting while the glowing candles inside give it that classic nighttime effect.
You can recreate this look with any number of pumpkins you have on hand. Set the largest ones on the lower steps and work upward with smaller ones, mixing in a few on nearby crates or chairs for balance.
Group Jack O Lanterns On The Mantel
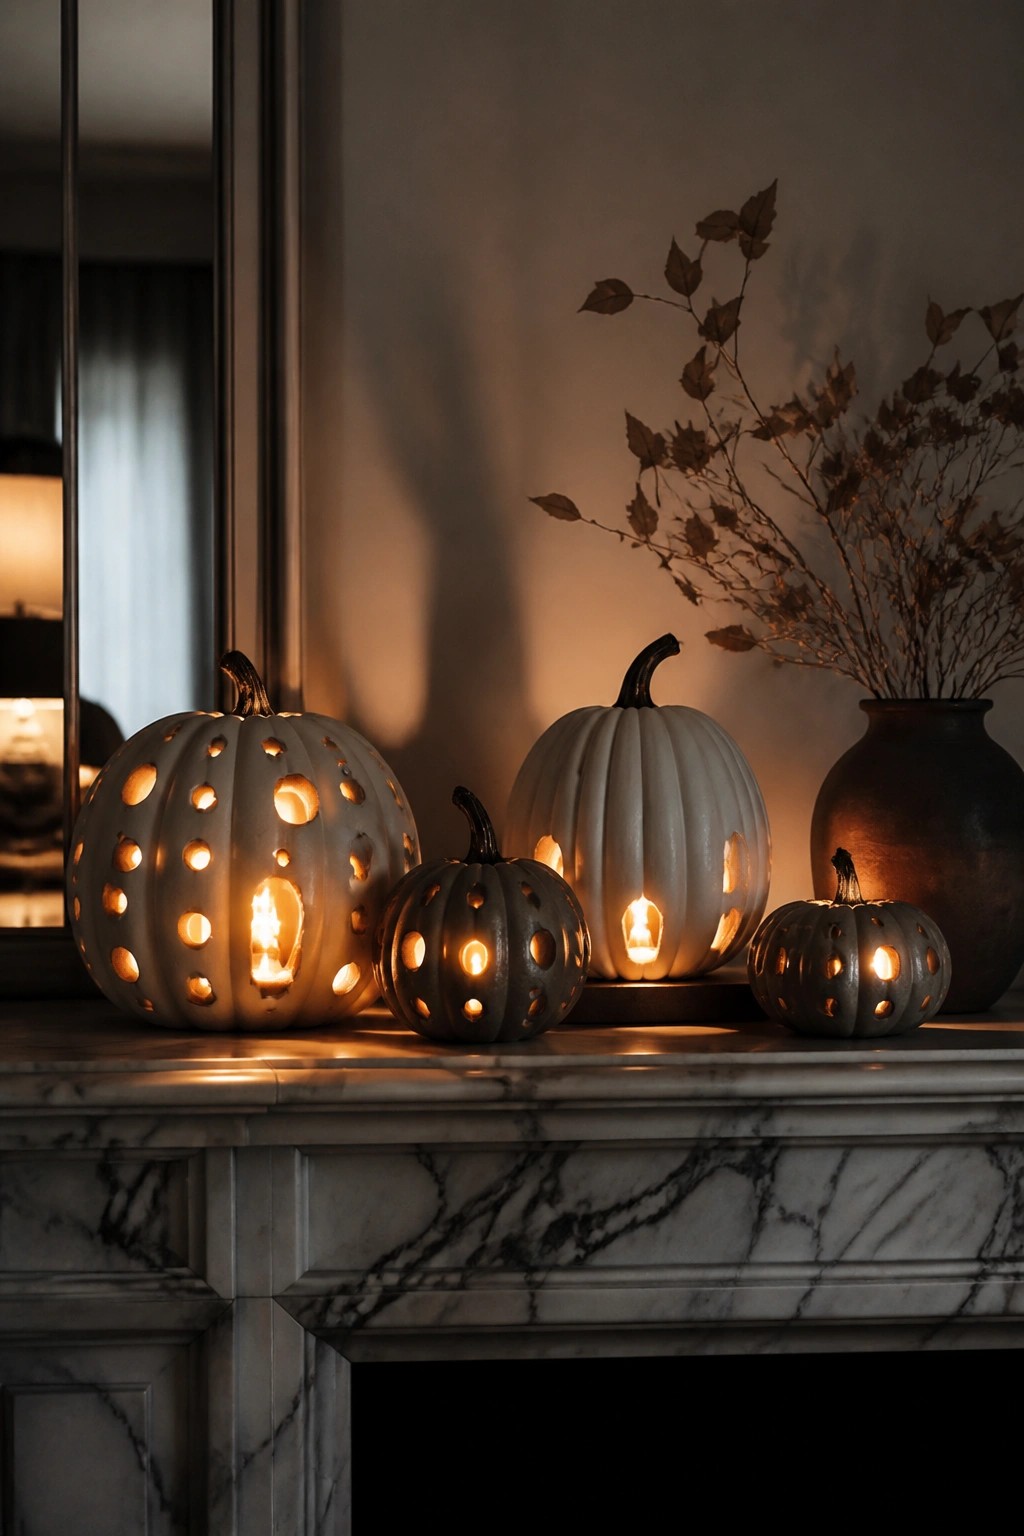
Placing several carved pumpkins together on the mantel makes a simple and effective Halloween display. The different cutout patterns catch the light from the candles inside and create a warm glow across the surface without needing much else.
This works well when you have limited time because you can carve a few pumpkins the same day. Use basic shapes like circles, ovals, or vertical slits so each one looks different but still matches the group. Set them in a loose row and add small battery candles so the light shows through the cuts.
Stack Jack O Lanterns For A Quick Table Display
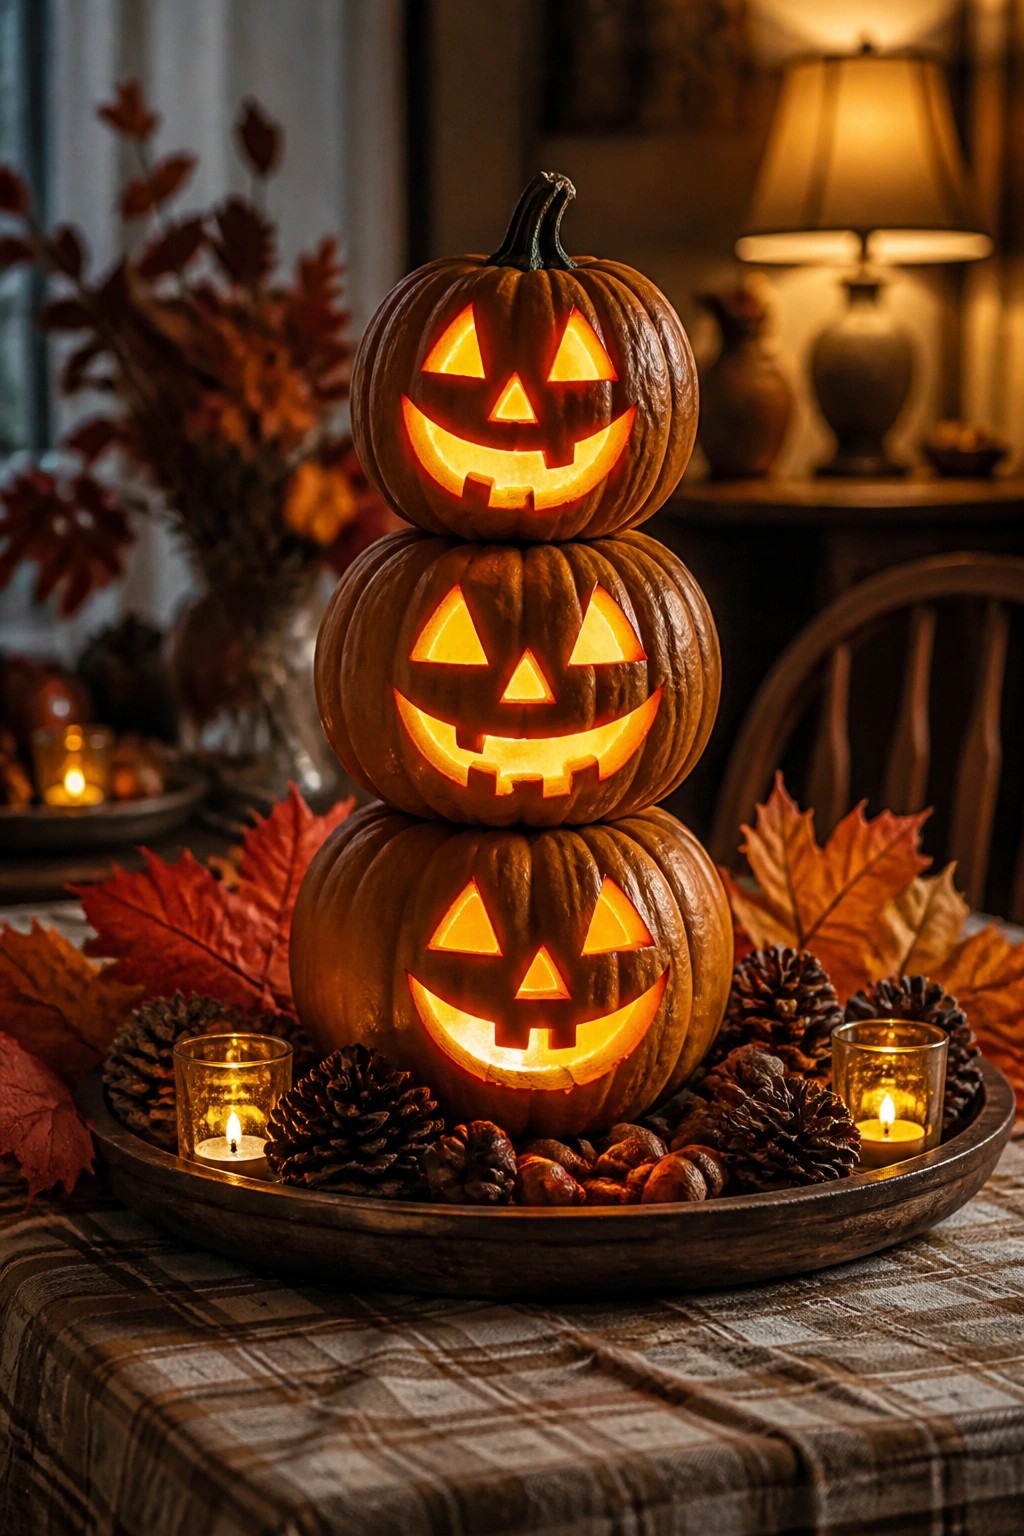
Stacking three carved pumpkins creates a simple but noticeable centerpiece that works well for last-minute setups. The different sizes and matching carved faces give it height and make the display feel complete without extra pieces.
Set the pumpkins on a wooden tray and add a few pinecones and small candles around the base. This arrangement fits on a dining table or entry surface and only needs three pumpkins plus items you may already have at home.
Cluster Jack O Lanterns Along The Entry Console

Placing several carved pumpkins together near the front door creates a quick Halloween welcome. The glowing faces stand out against the darker wood and make the space feel ready for the holiday without filling every surface.
You can copy this by setting three or four pumpkins on a console or nearby bench at slightly different heights. Keep the faces simple so the whole group reads as one strong display instead of scattered pieces.
Place Jack O Lanterns Along The Stairs
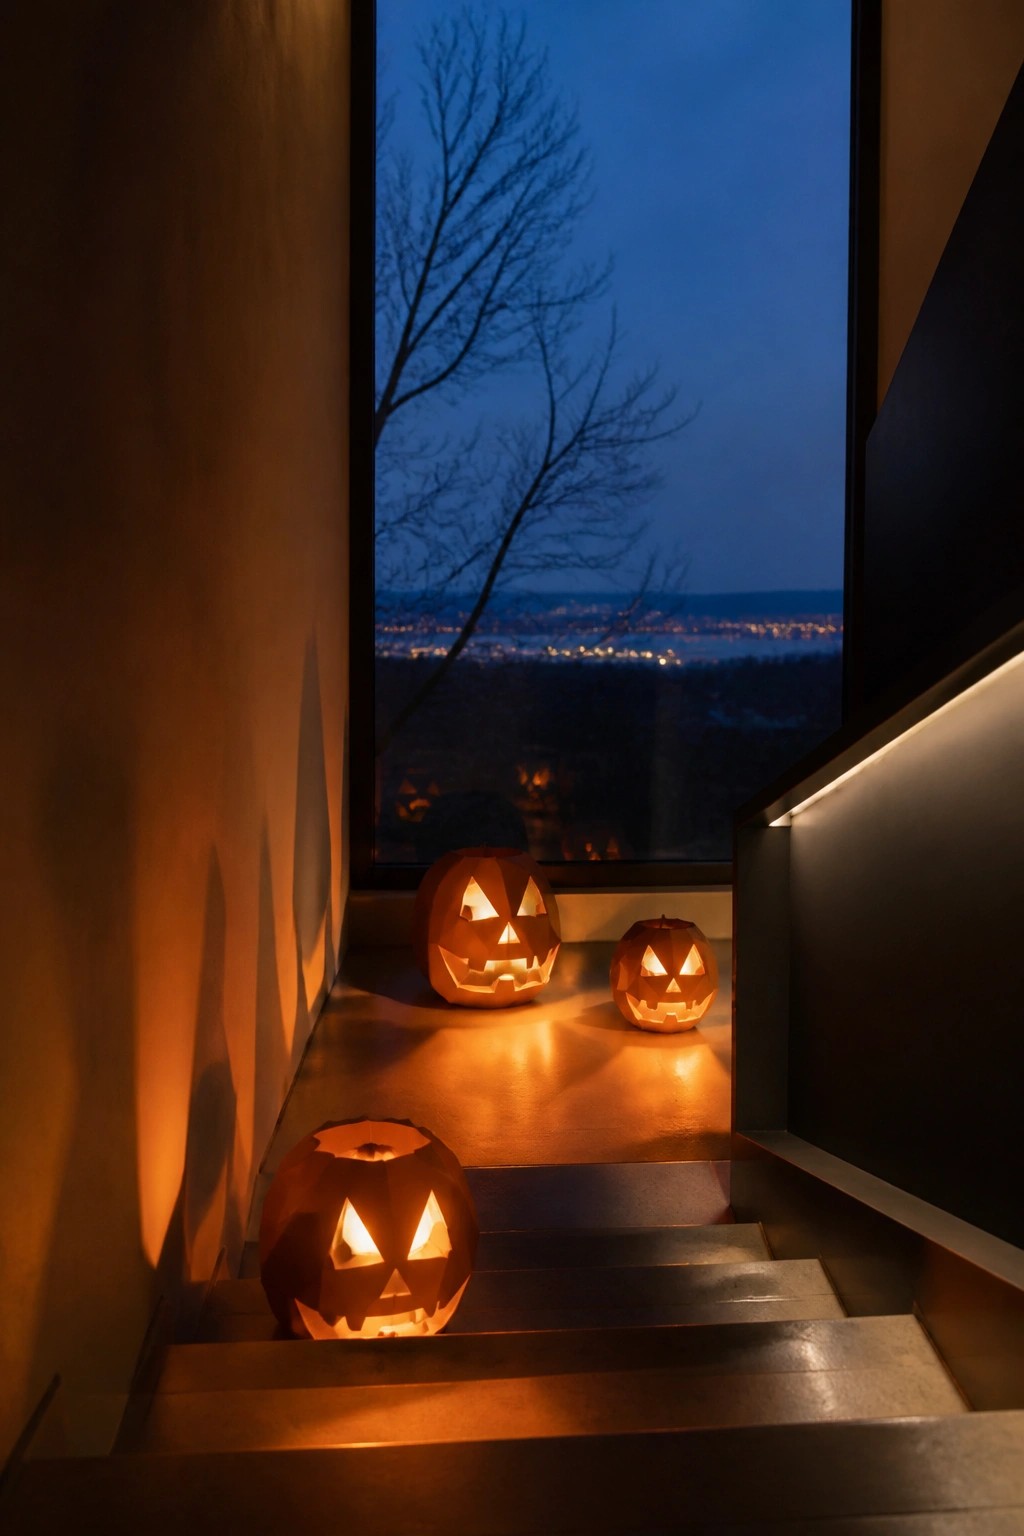
A small group of carved pumpkins set on different steps turns an ordinary staircase into a clear Halloween focal point. The lit faces stand out against the dark window and give the whole area a warm glow without needing extra decorations.
This idea works well with three or four pumpkins that have simple carved expressions. Set them on the lower steps so they stay visible from the bottom and use battery candles inside for safety on wood surfaces.
Arrange Jack O Lanterns On The Porch Steps
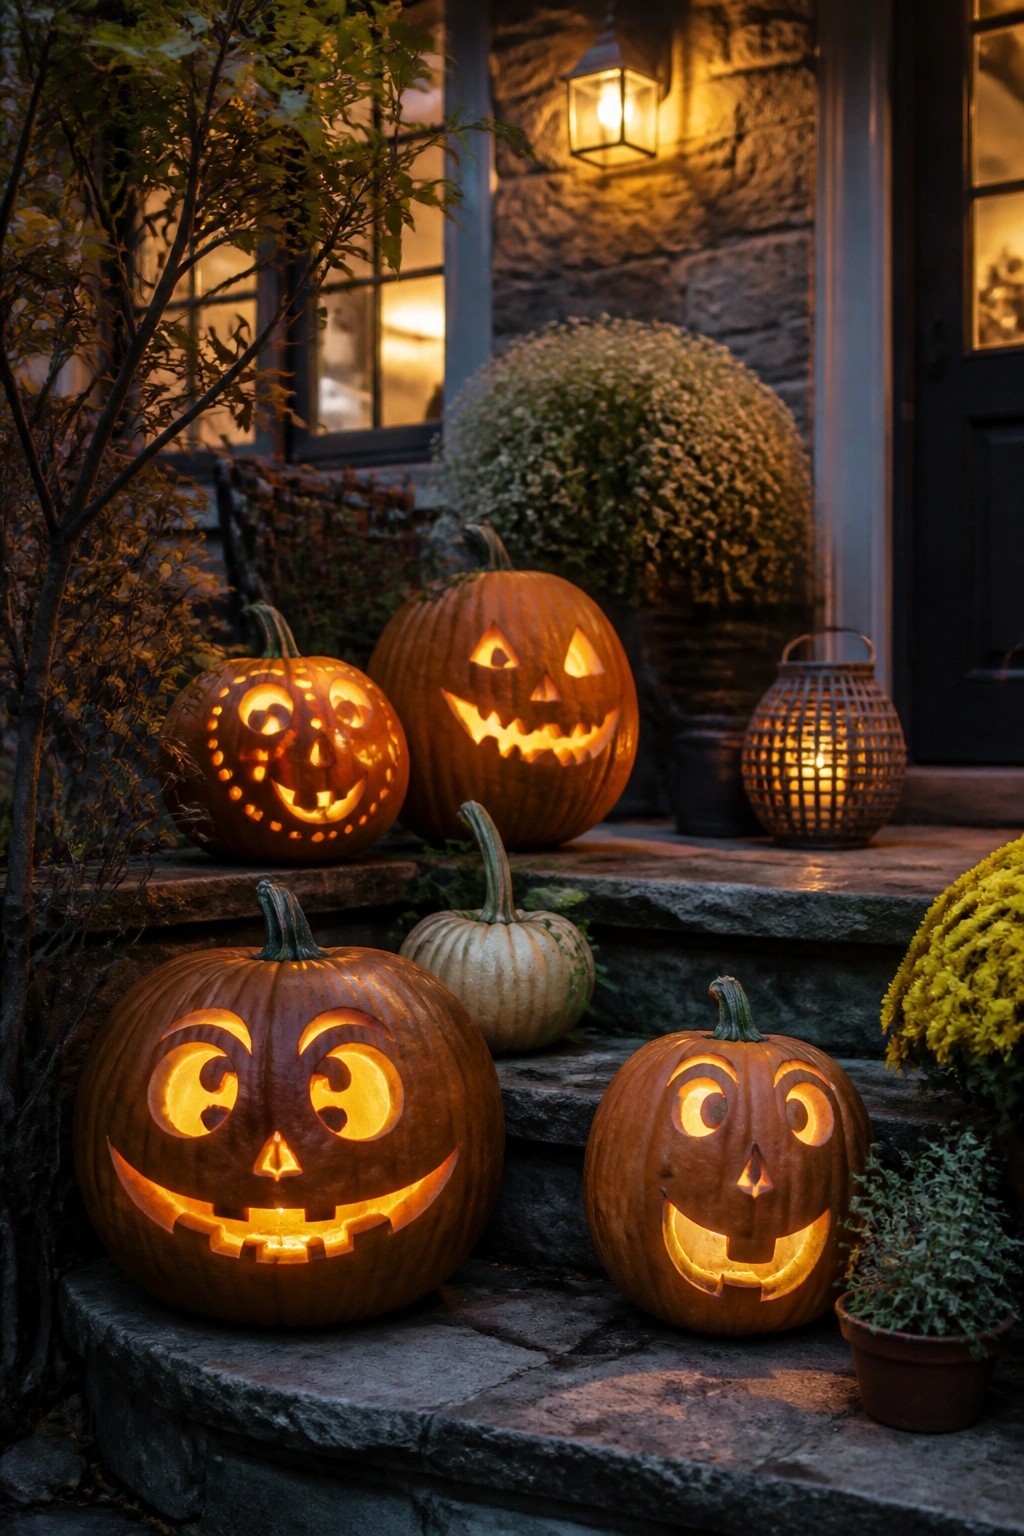
Carving a handful of pumpkins with different faces and setting them along the front steps makes a simple but strong Halloween display. The glowing eyes and mouths stand out at night and need almost no other decorations to feel complete.
Pick pumpkins in a few sizes so the arrangement feels balanced, then carve quick designs that you can finish in one evening. Line the largest ones on the bottom step and work upward so each face stays visible from the street.
Group Jack O Lanterns Along The Mantel
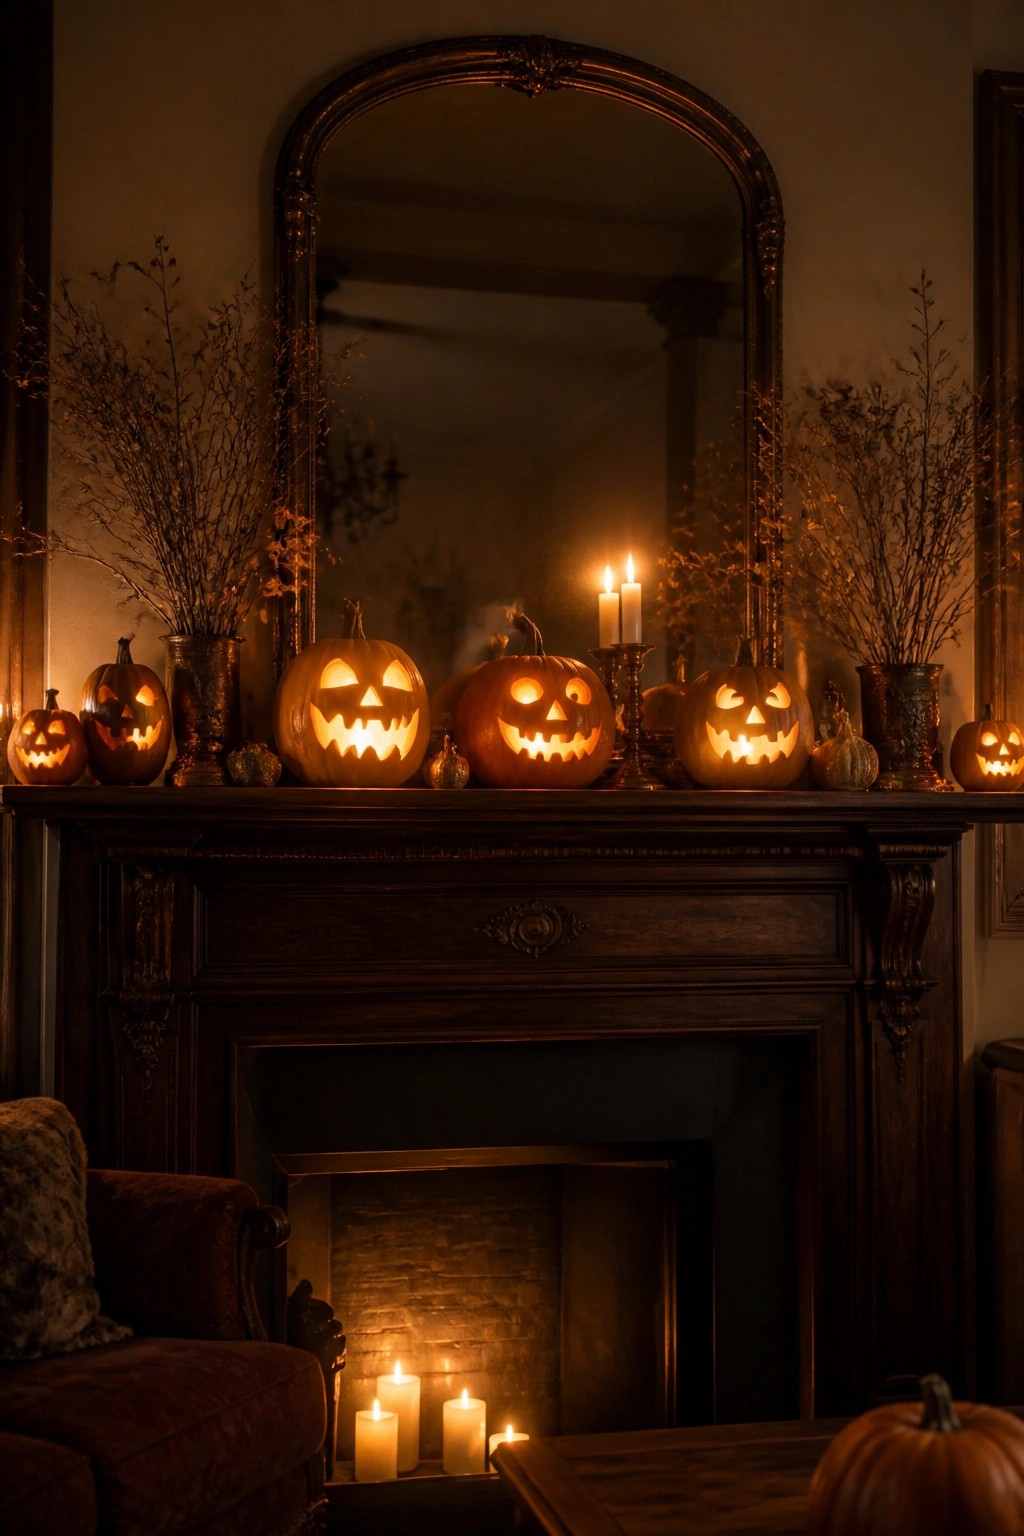
Placing several carved pumpkins together on a mantel creates a strong focal point without much extra effort. The simple faces and warm glow from inside make the display feel festive right away, and it works especially well when you need something quick for last-minute decorating.
Carve three or four pumpkins with basic triangle eyes and jagged mouths, then set them in a row with a few smaller ones tucked around the edges. Battery candles keep the look safe and easy to adjust, while a couple of dried branches add height without distracting from the pumpkins themselves.
Group Jack O Lanterns Along A Path
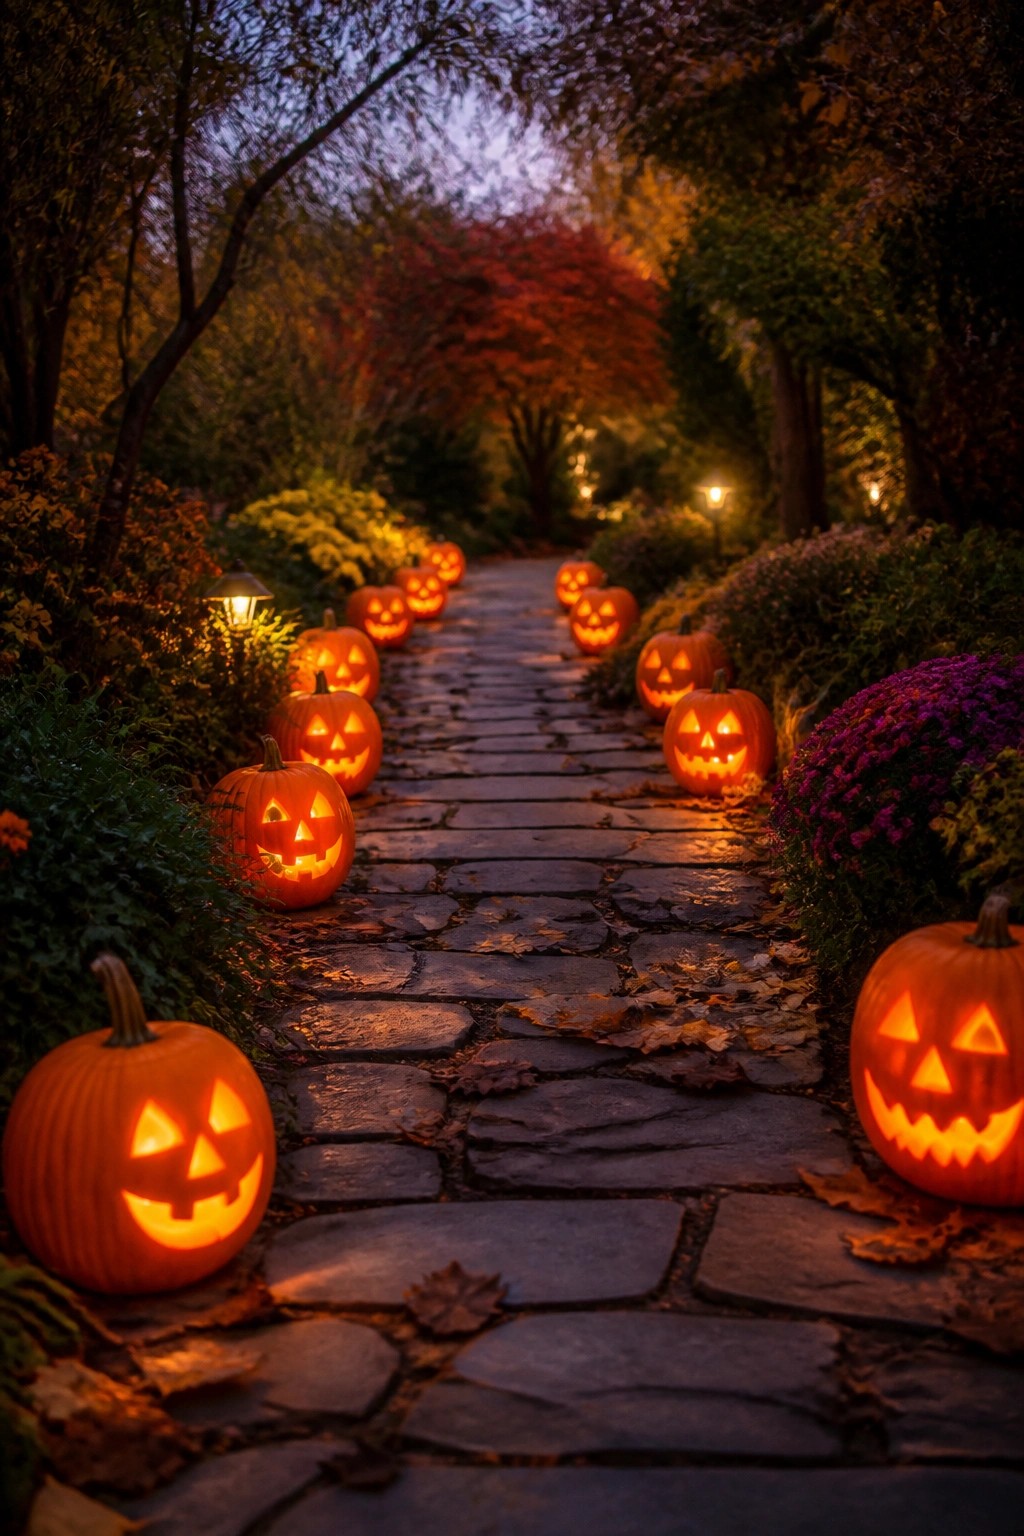
Placing carved pumpkins along a stone walkway turns an ordinary route into a clear Halloween feature. The glowing faces stand out at night and make the path itself feel part of the display without needing extra props.
You can copy this with any number of pumpkins and basic carved faces. Space them along both sides of the path, keep the designs simple so they read from a distance, and swap in battery lights if you want the display to last past midnight. It works on any garden path or side walkway.
Arrange Jack O Lanterns Down The Table
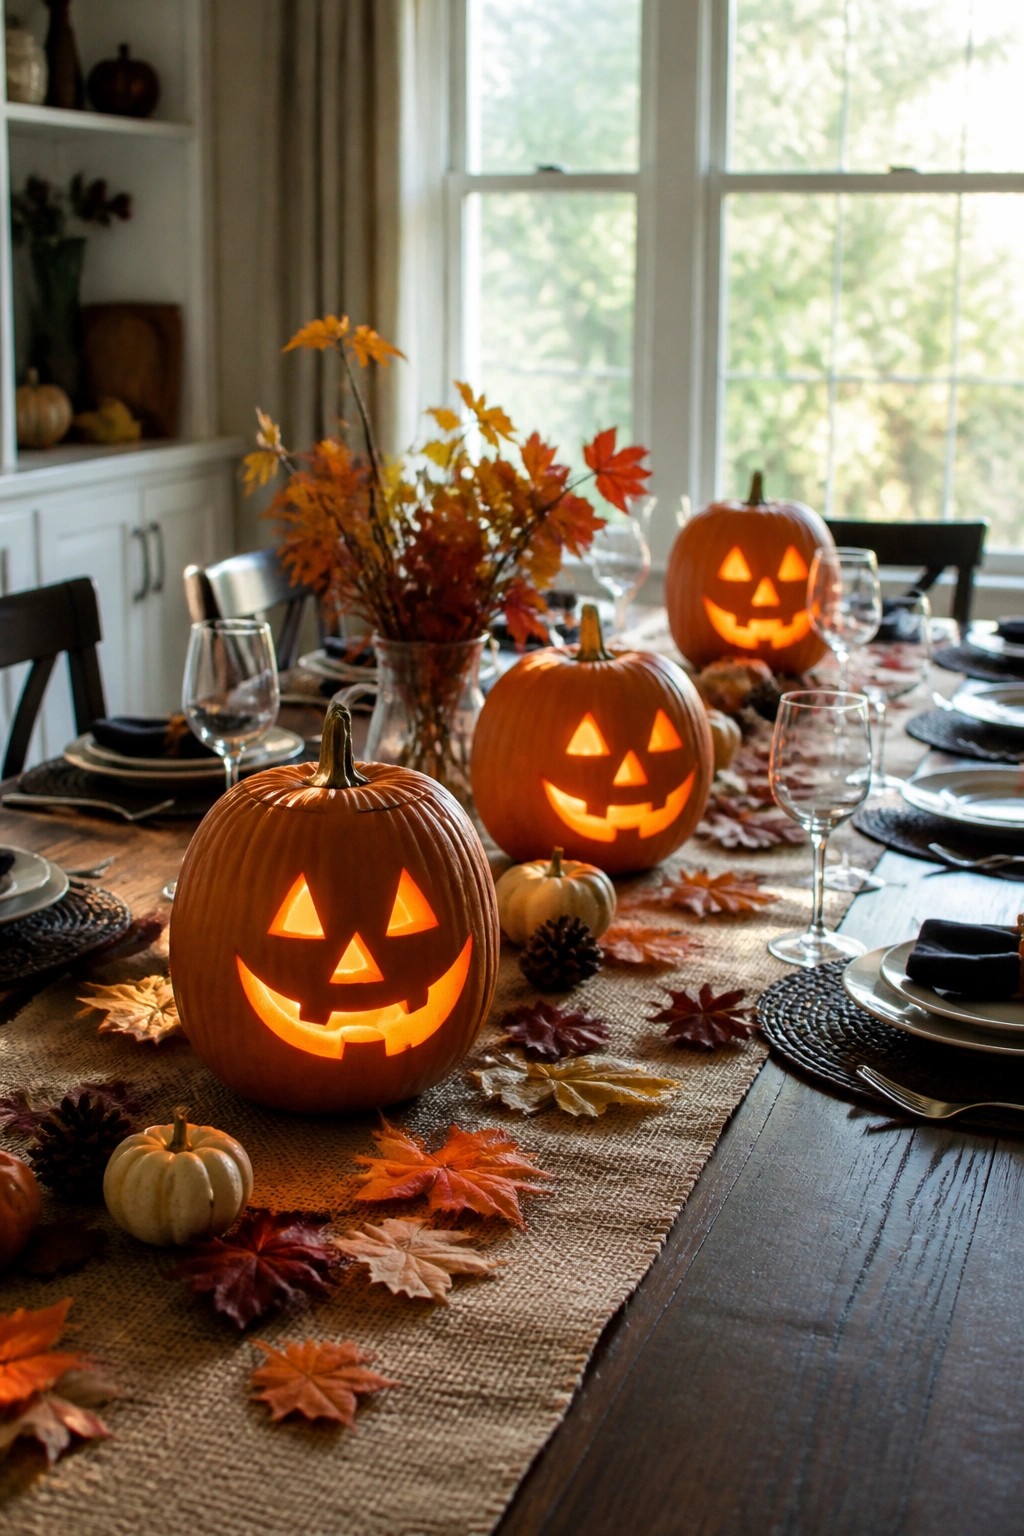
Carving a few pumpkins with classic triangle faces and lining them along a dining table gives an instant Halloween focal point. The glowing cutouts stand out against the simple runner and scattered leaves without needing extra props or complicated setups.
This approach works well when you want the pumpkins to be the main feature rather than background decor. Use three to five carved pumpkins spaced evenly down the center, mix in a couple of small uncarved ones for contrast, and keep plates and glassware understated so the faces stay visible.
Group Jack O Lanterns On A Console Table
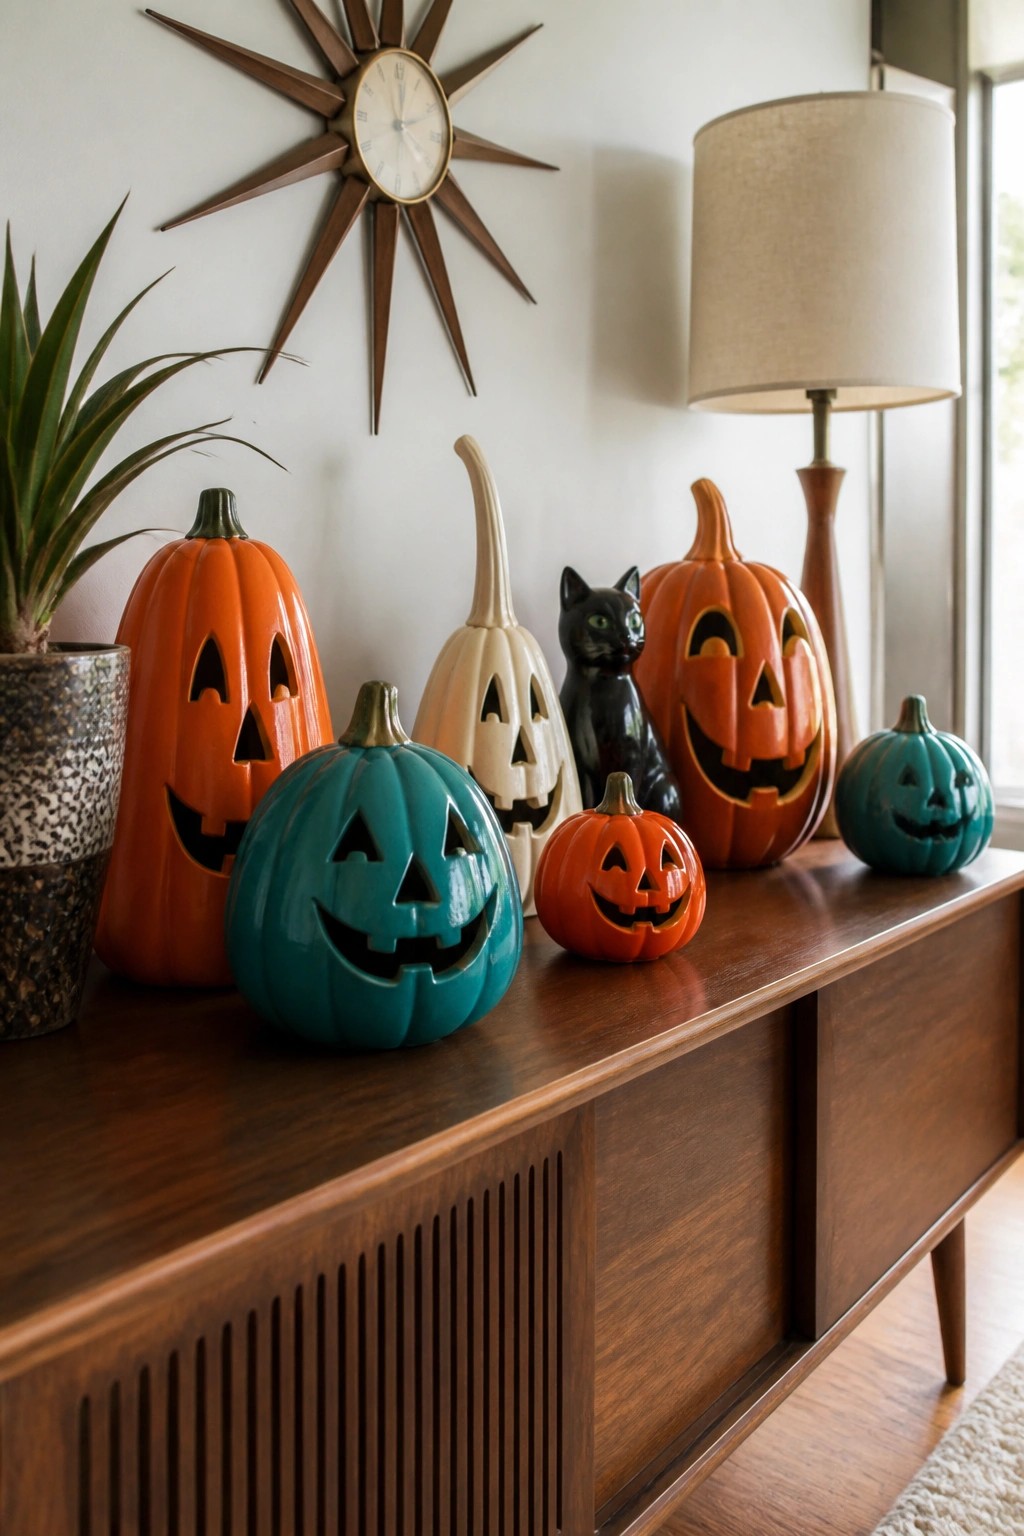
Placing several carved jack o lanterns together on one surface makes the display feel complete without much extra effort. The mix of sizes and colors keeps the group interesting while the carved faces do most of the work.
Set this up on any console or sideboard where you already have a lamp or plant. Use four or five pumpkins in different shades and add one small accent like a black cat figure to tie the look together quickly.
Cluster Jack O Lanterns With Varied Faces
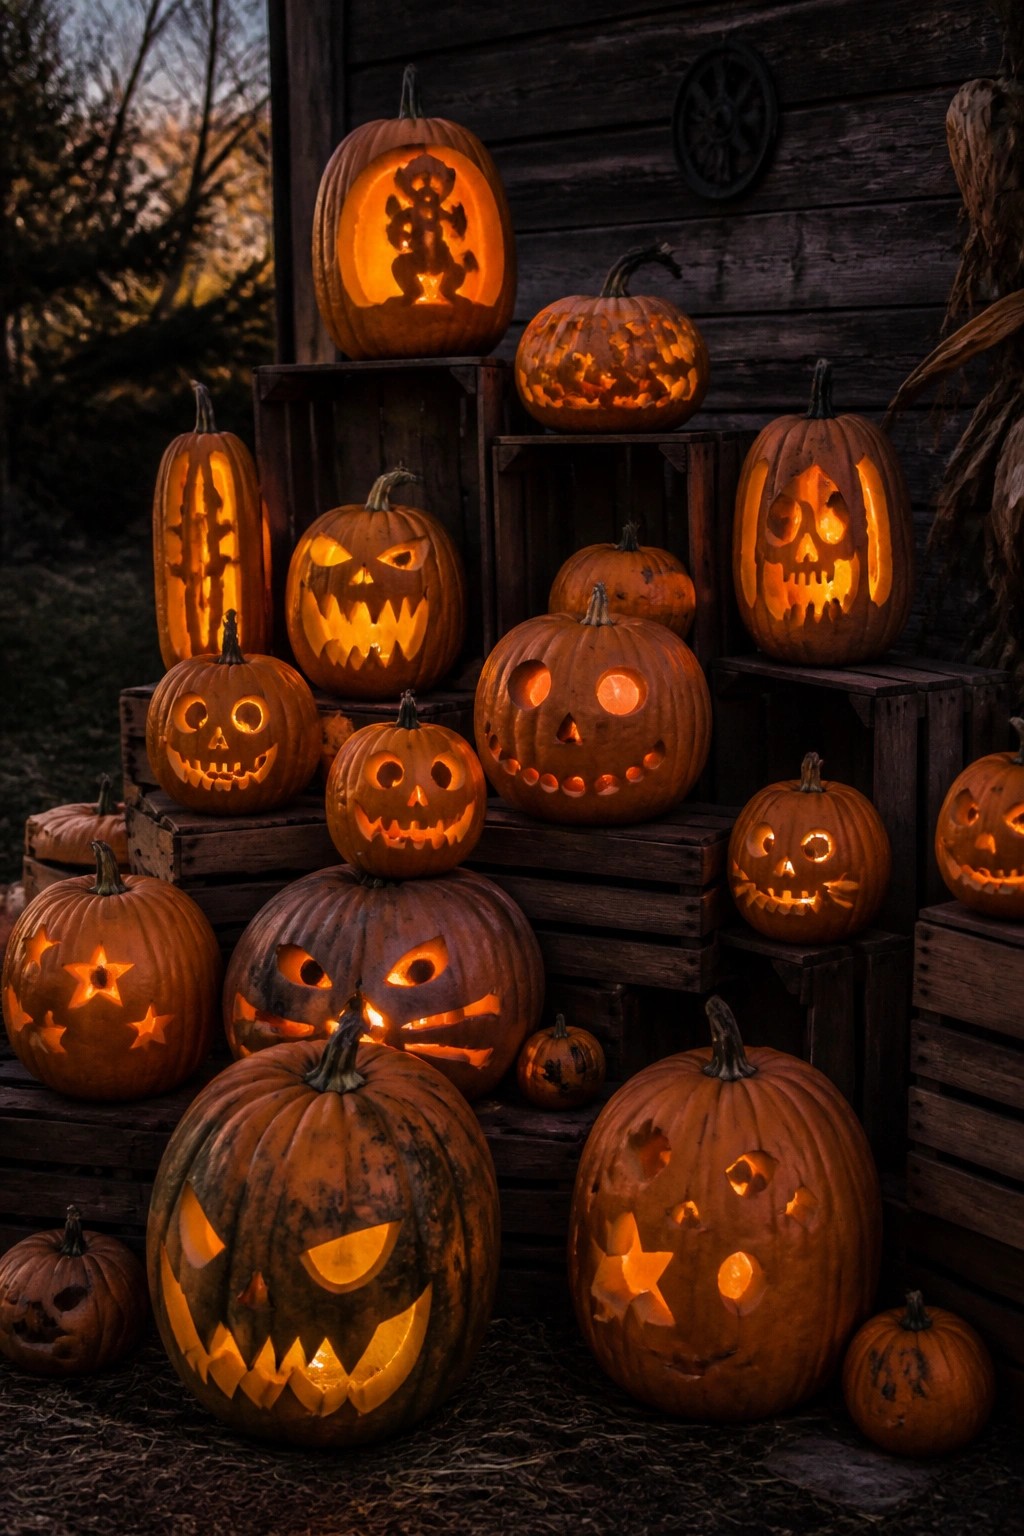
One simple way to get a strong Halloween look is to gather many jack o lanterns in one area instead of spreading them out. Different carving styles placed side by side make the whole group more noticeable than any single pumpkin would on its own.
Set them on wooden crates or low steps near the house. Use a mix of simple shapes and bolder faces, then add battery candles so they glow after dark. This works well even if you carve most of them the same day.
Group Jack O Lanterns On Your Porch Steps
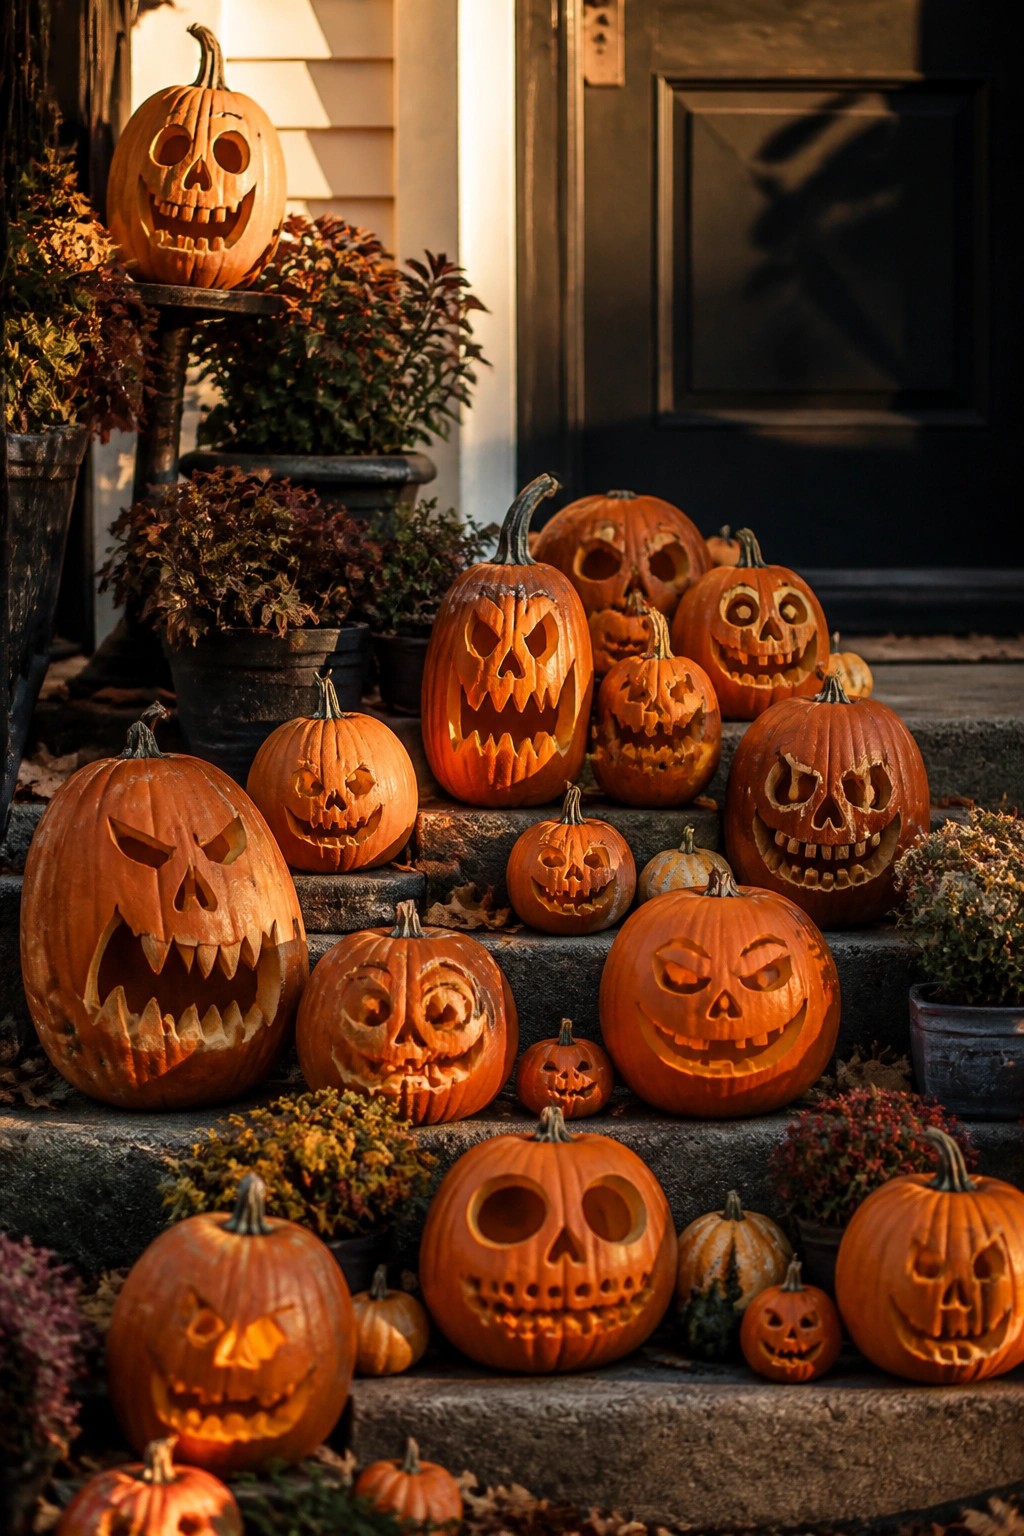
Placing a big mix of carved pumpkins together on the steps makes an instant Halloween statement. The different sizes and face styles keep the display lively without needing extra props or complicated arrangements.
You can pull this off in one evening by carving whatever pumpkins you have on hand and setting the largest ones near the bottom. Work upward with smaller ones so the whole group stays visible from the sidewalk.
Group Jack O Lanterns Together On The Table
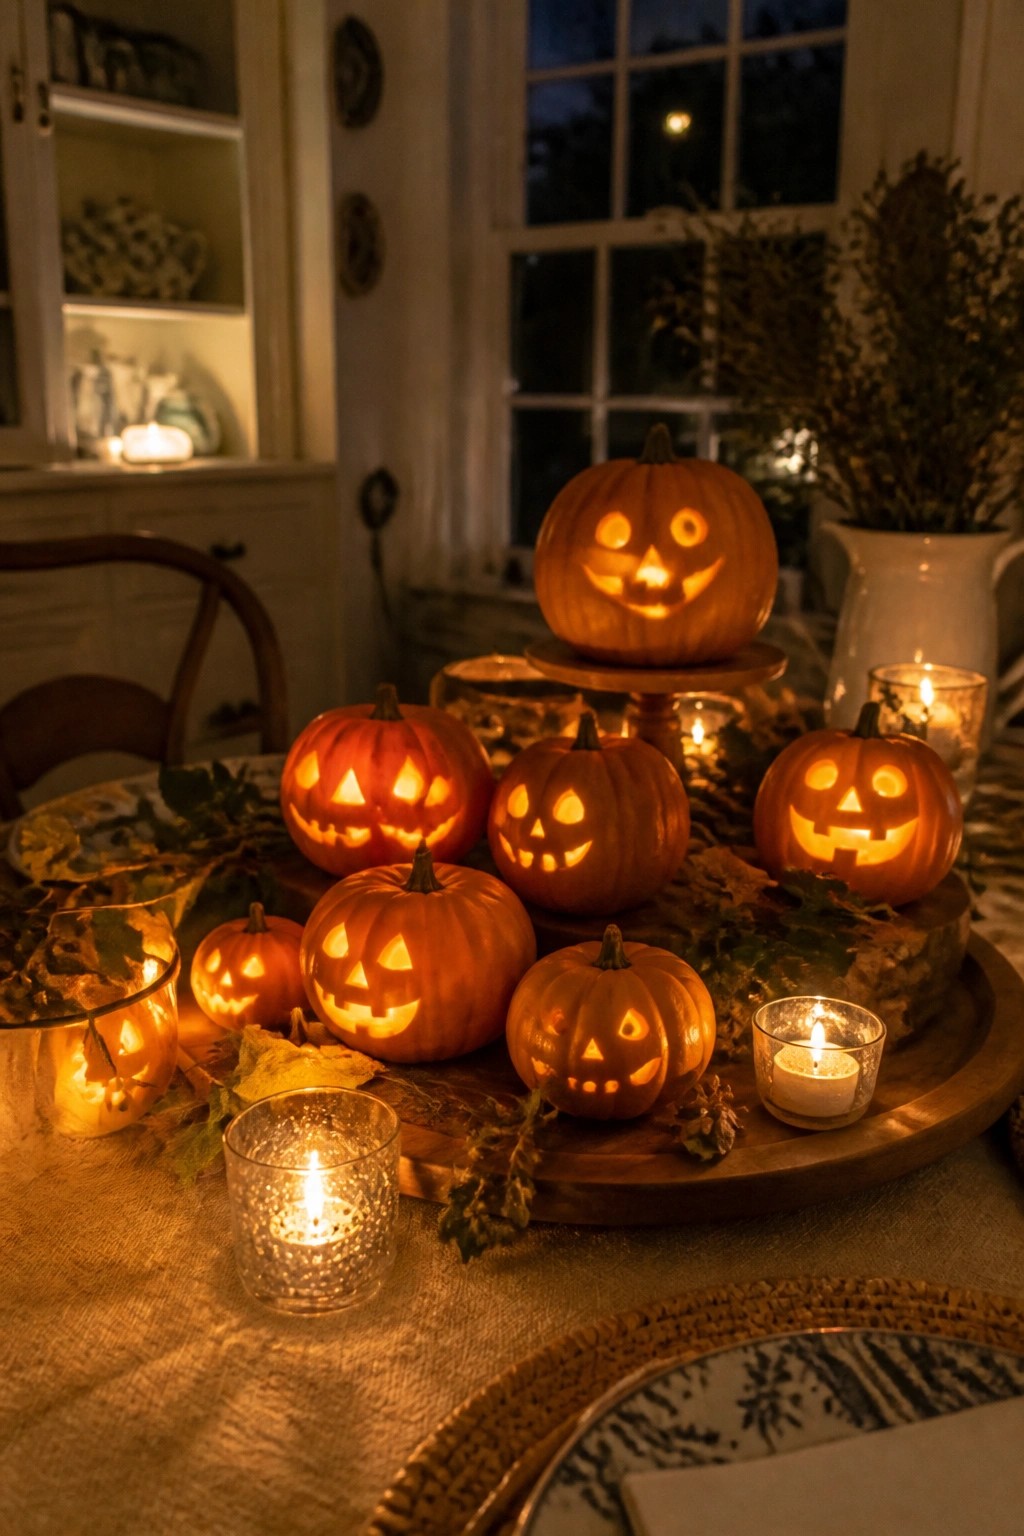
One simple way to make a strong impact is to gather several carved pumpkins in a single cluster. Setting them on a wooden tray or low stand lets the faces sit at different heights so the whole group reads as one clear display.
This approach works well on a dining table because it stays contained and does not need much else. Use whatever pumpkins you already have, mix the expressions, and add a couple of candles only if you want extra light.
Group Jack O Lanterns Along A Bench
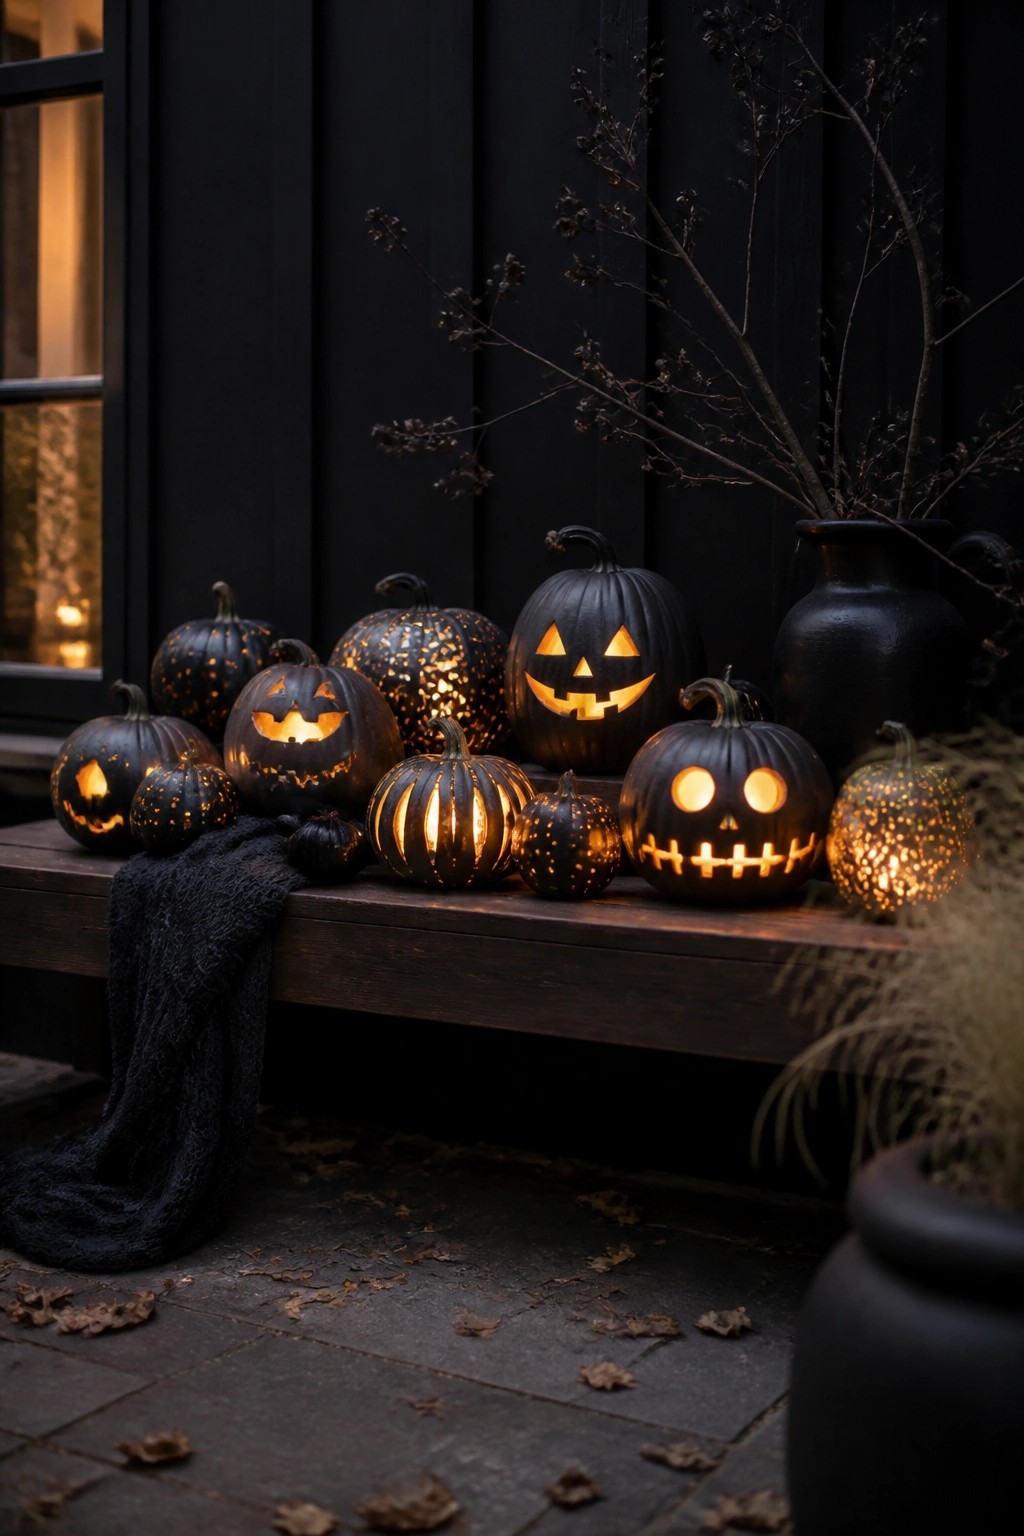
Placing several carved pumpkins together on a bench creates a strong focal point without needing much else. The different face styles and cut patterns make the display interesting even when the pumpkins are all the same dark color.
This setup works well near an entry or on a porch where people pass by. Use whatever pumpkins you already have, carve them quickly with basic shapes or simple patterns, and set them in a row. A dark cloth underneath helps the glowing faces stand out more.
Group Jack O Lanterns On The Steps
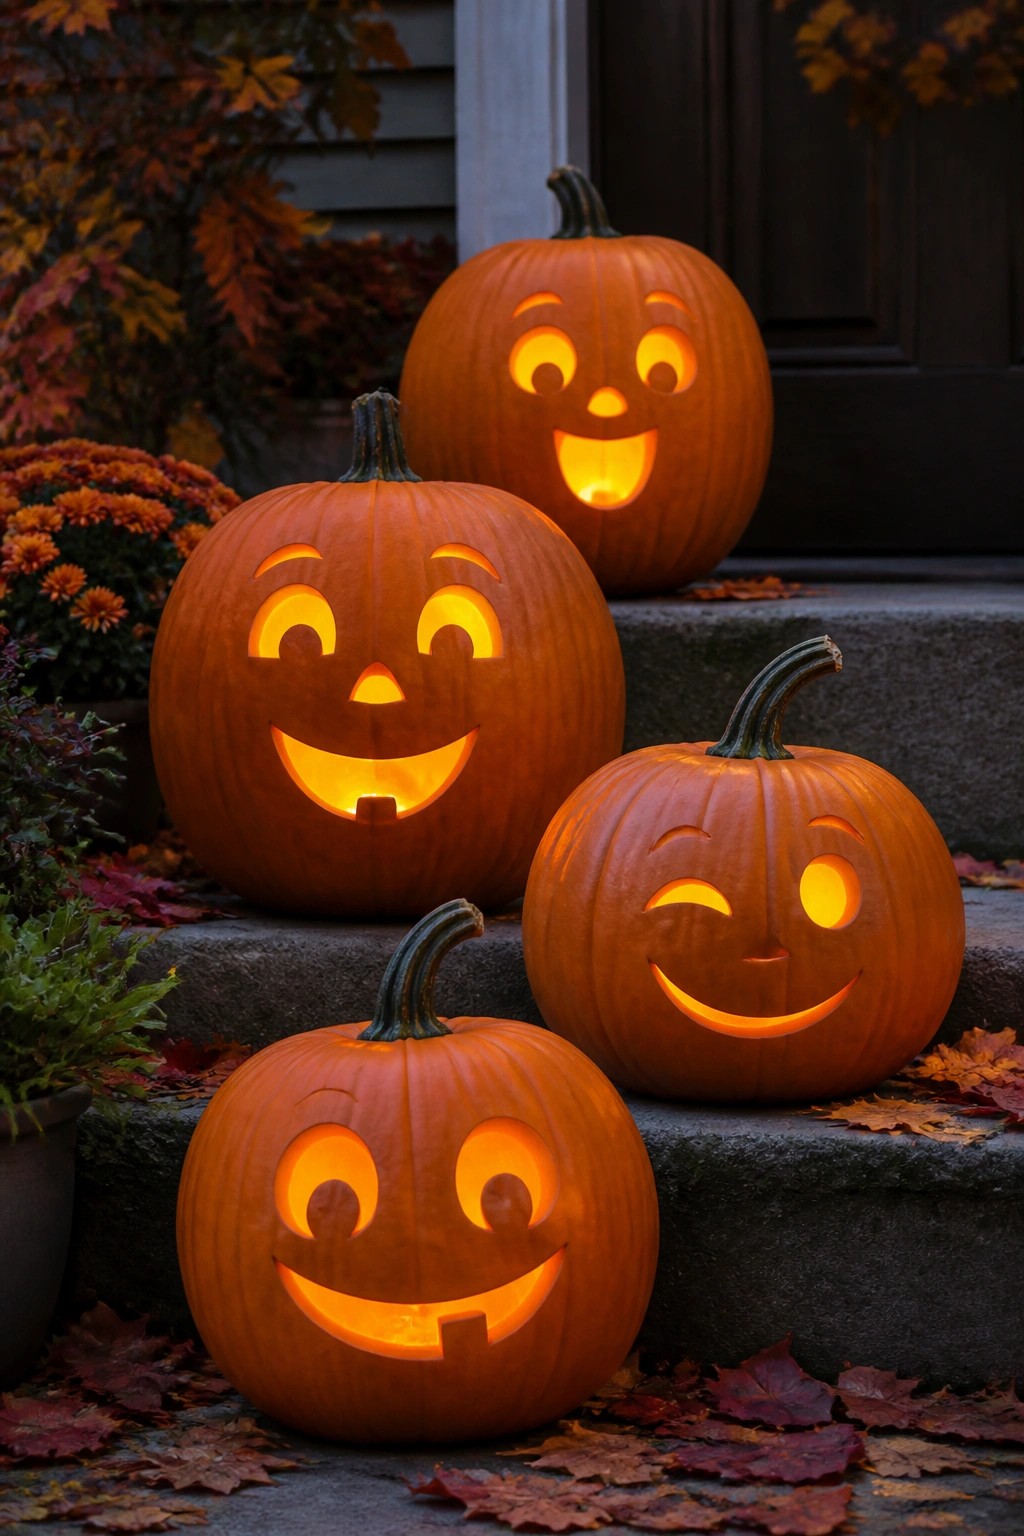
Carving several pumpkins with simple smiling faces and lining them up on the front steps creates an easy and welcoming Halloween display. The different expressions give the group personality without needing extra props or complicated setups.
This works well because the lit carvings stand out at night and make the entrance feel ready for trick or treaters. Use pumpkins in a few sizes, keep the faces friendly and basic, and set them close together so the glow carries across the whole arrangement.
Cluster Jack O Lanterns On The Porch
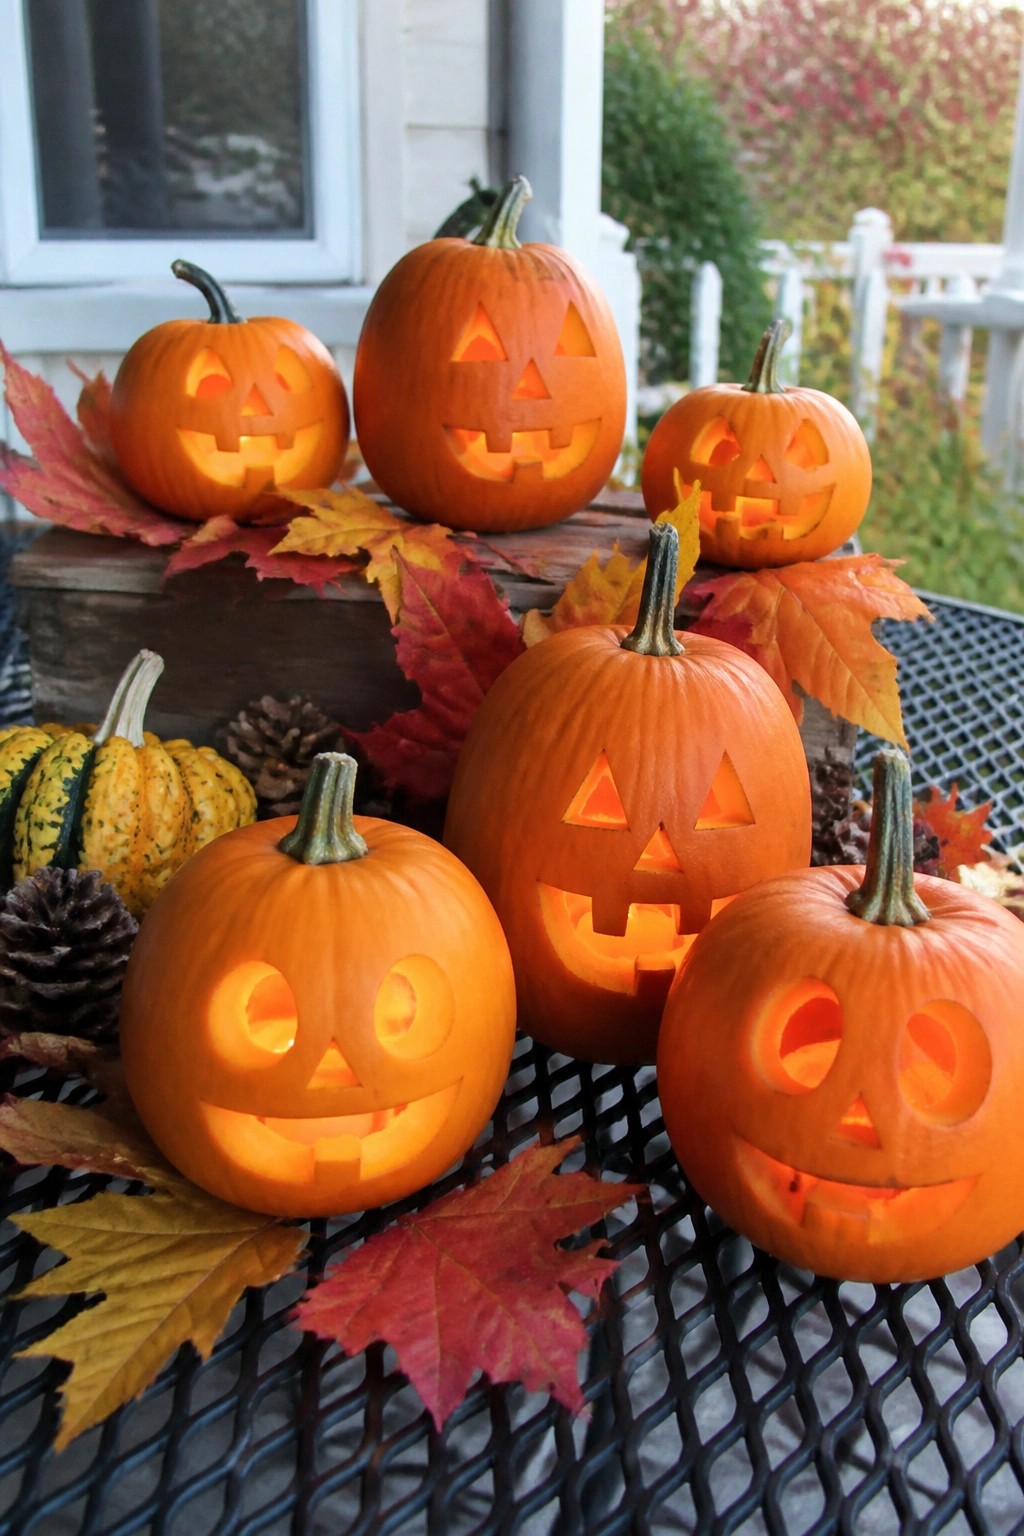
Carving a handful of pumpkins and grouping them together gives an instant Halloween look without much extra effort. The different faces stand out better when they sit side by side, and the lit openings create a warm glow once the sun goes down.
Place the group on a low table, crate, or the porch floor near the door. A few fallen leaves around the base are enough to tie it together. Keep the rest of the porch simple so the carved pumpkins stay the main focus.
Cluster Jack O Lanterns On Hay Bales
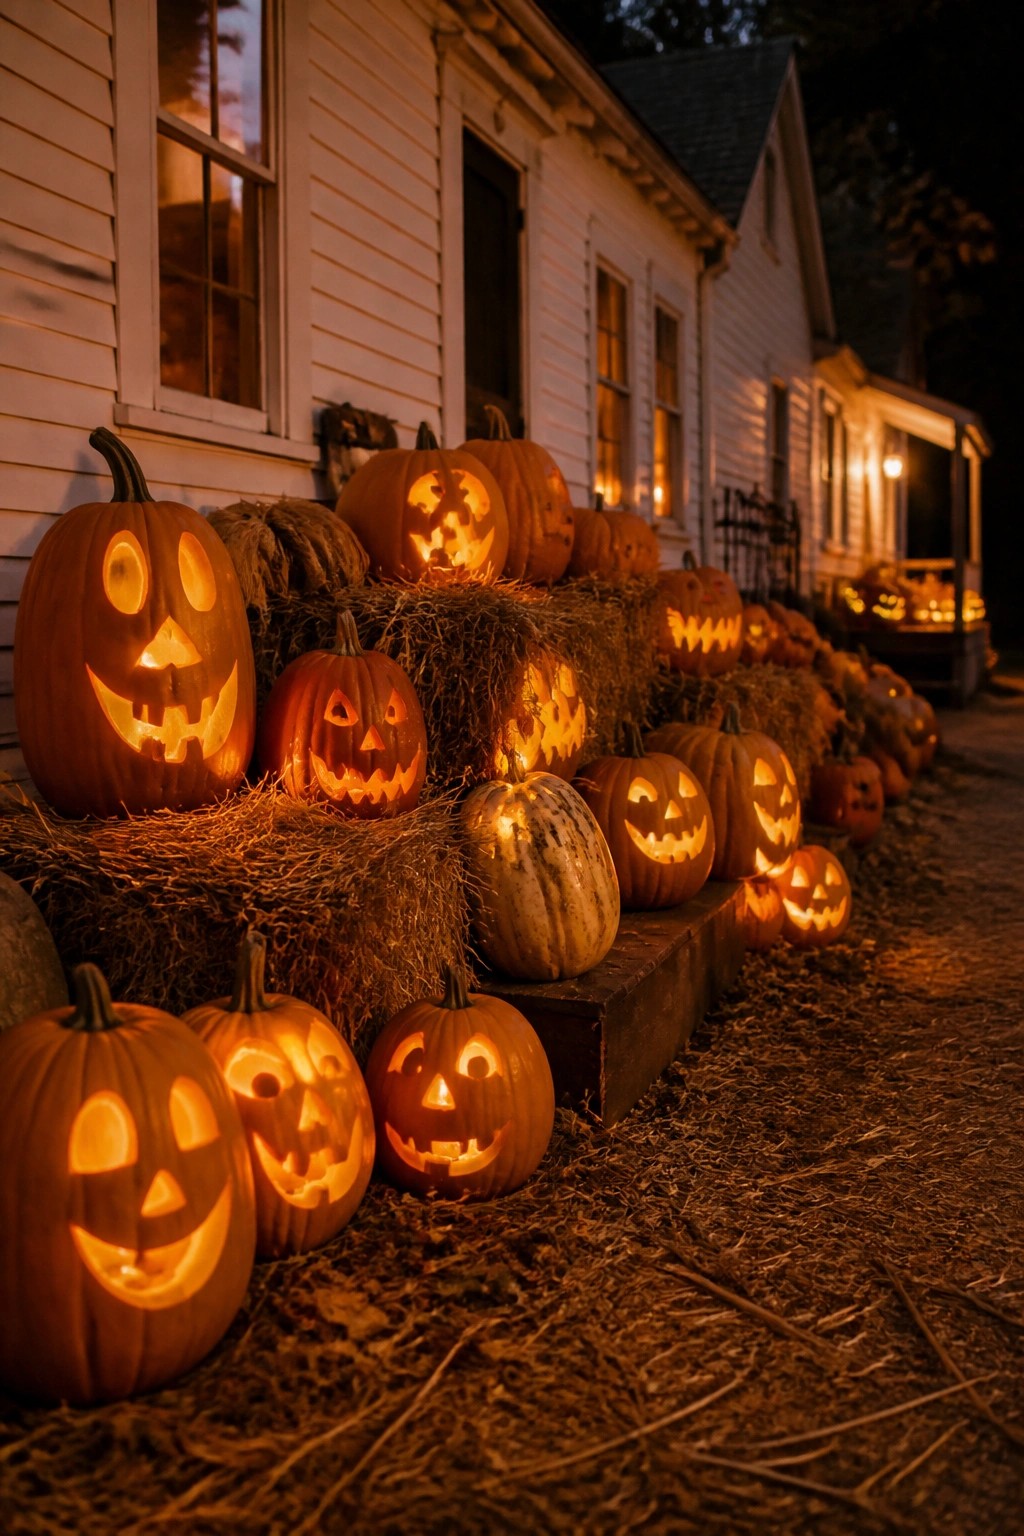
Carving several pumpkins and placing them together creates an easy, eye-catching display that works well for last-minute decorating. The mix of simple and more detailed faces adds interest without requiring perfect carving skills.
Set the pumpkins on hay bales or line them along porch steps so they stay visible from the street. This approach works with any number of pumpkins and keeps the focus on the carved designs rather than extra props.
Arrange Jack O Lanterns Across Open Shelves
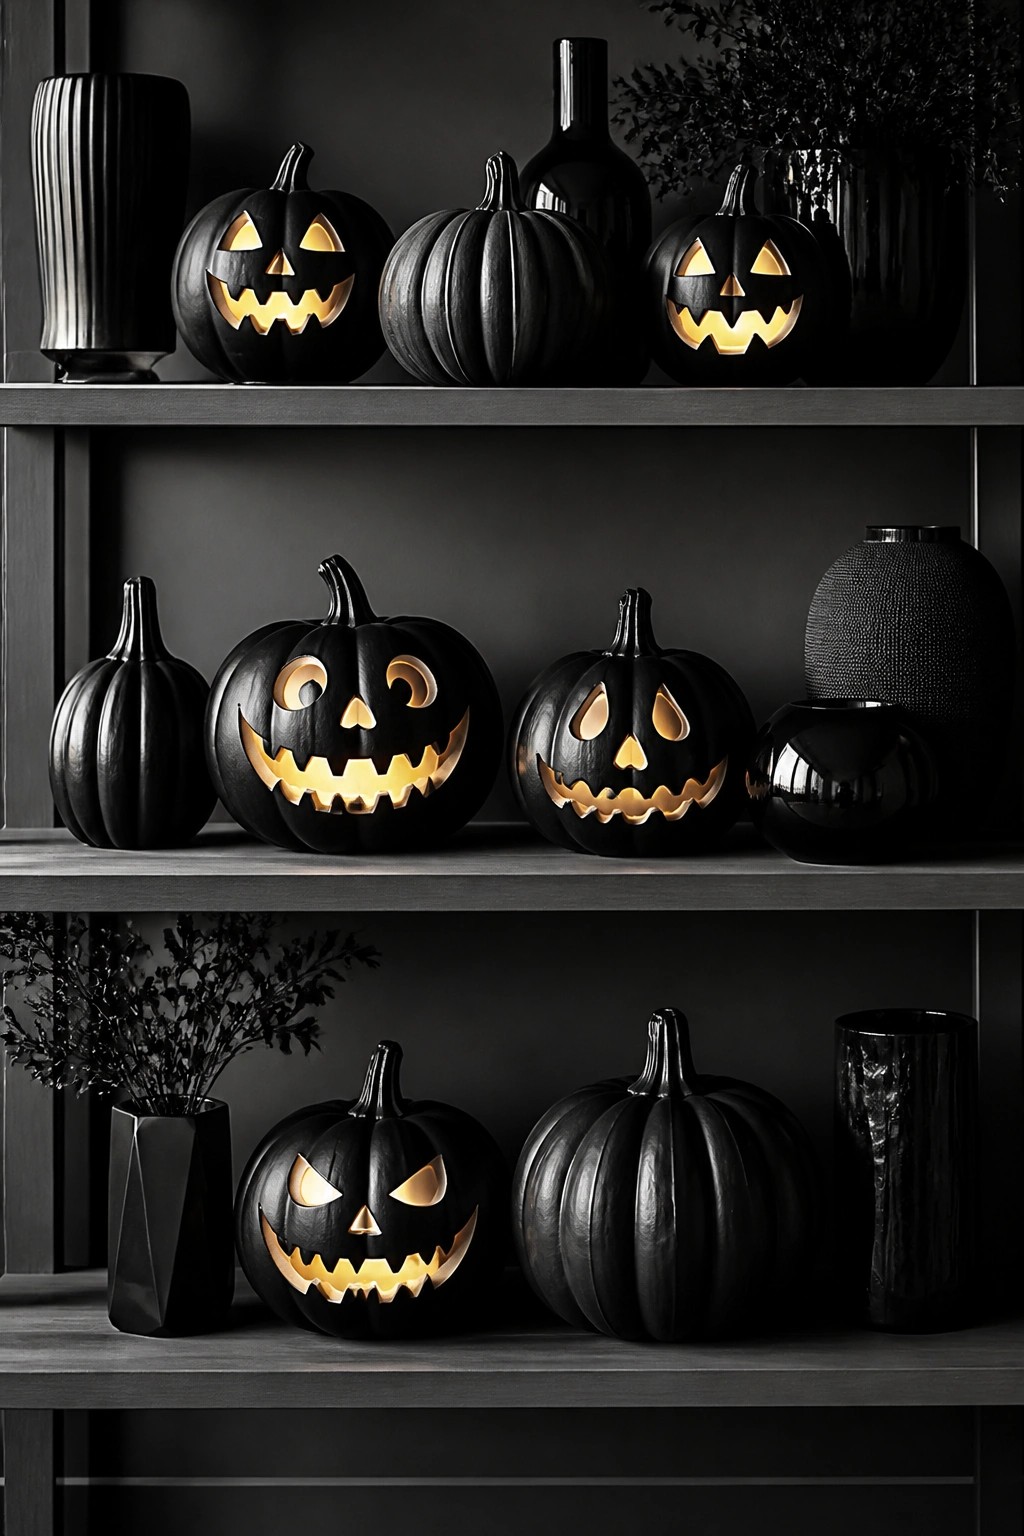
Carving a handful of pumpkins with different faces and setting them together on shelves gives you a strong Halloween display without much extra work. The mix of expressions stands out against the dark background and turns a basic shelf into the main seasonal feature.
This idea works in any room with open shelving because you can add or swap pumpkins easily. Use battery candles inside each one so the carved details show up at night, and keep the number of pieces small enough that the arrangement stays simple to put away after the holiday.
Group Jack O Lanterns On A Nightstand
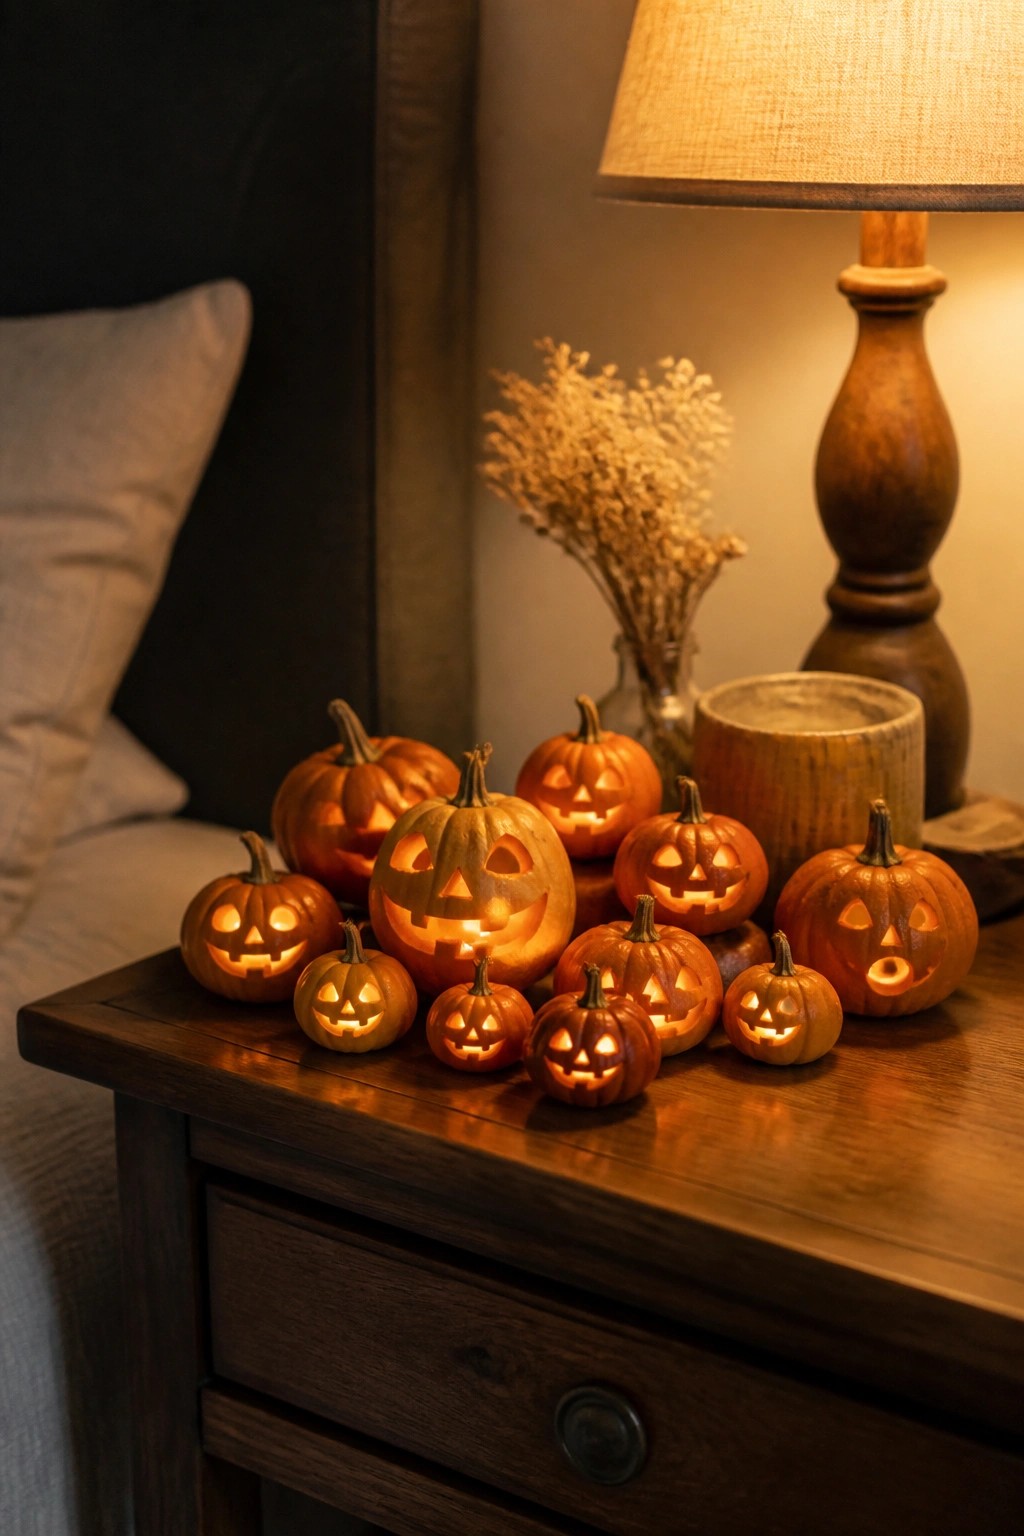
Placing several carved pumpkins together on a bedside table makes a simple and effective Halloween accent. The different sizes and basic carved faces give the display a friendly look without needing much extra decoration.
This works well in a bedroom or any small corner where you want a quick seasonal touch. Carve a handful of pumpkins the night before, set them close together on the table, and let the warm glow from inside do the rest.
Frequently Asked Questions
Q: What kitchen tools can I use if I don’t own carving kits?
A: A regular serrated knife cuts through the pumpkin skin smoothly. Use a large spoon to scrape out the insides fast. These everyday items handle most of the simple designs without issues.
Q: How can I make the carved pumpkin last longer outdoors?
A: Keep it in a cool spot away from direct sun. Spray the inside with a mix of water and bleach to fight mold. This step adds a couple days to its life.
Q: What if the design comes out uneven?
A: Trim away extra bits with small cuts until it looks balanced. The simple patterns hide small mistakes well.