

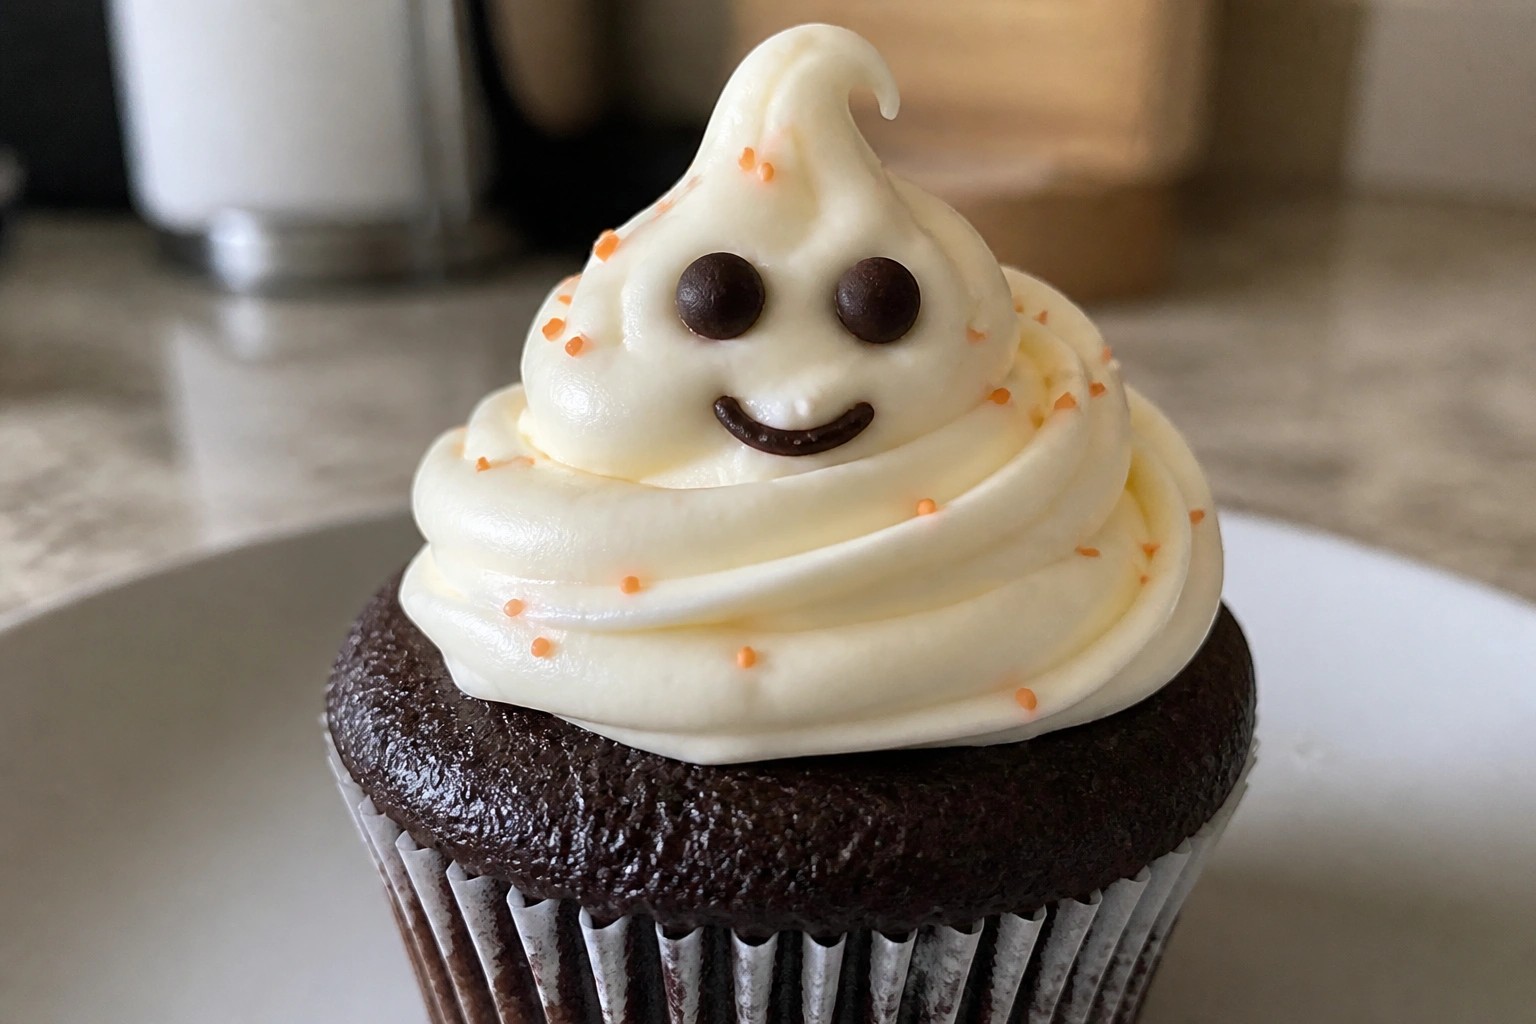
Halloween is coming up and it is a good time to try some themed desserts.
These ideas focus on creepy cute looks that still taste good and appeal to both kids and adults.
The recipes use everyday ingredients and straightforward steps that work for home bakers.
You will see a range of treats from simple no-bake options to a few that require basic baking.
Pick the ones that match the time and supplies you have on hand.
Helpful Tips Before You Start
A few small adjustments can help these desserts look polished without extra stress.
Recommended Products

🍰【Package Included】: 24Pcs White Boo Cupcake Toppers. These White Ghost Cupcake Toppers are very nice and enough quantity for your use. Perfect for Halloween party!

Halloween Cupcake Decorations: The set has pumpkin cupcake toppers*4, ghost cake decorations*8, edible knife cake toppers*12, and witch hats cupcake toppers*15. It's perfect for your Halloween party

Comes with 12 Pieces of Edible Halloween Candy Sprinkles & Tombstone Cake Cupcake Toppers , Pumpkin cookie decoration , Ghost Dessert Sprinkle,Bat Sprinkle for Daily Cake Decorating. 20 g.
Use Gel Coloring
Gel food coloring gives bright Halloween shades without thinning batters or frostings. Add it a little at a time until you reach the shade you want.
Chill Before Decorating
Pop cut cookies or shaped treats in the fridge for 15 minutes before adding faces or details. This keeps edges clean and stops decorations from sliding.
Keep Decorations Simple
Candy eyes, melted chocolate, and colored sprinkles create most creepy cute looks. Skip complicated piping unless you already have steady hands with a bag.
Make One Batch First
Test a single recipe before doubling it. This lets you check timing and color strength so the rest of the batch turns out the same.
Spiderweb Swirl Cheesecake Bites
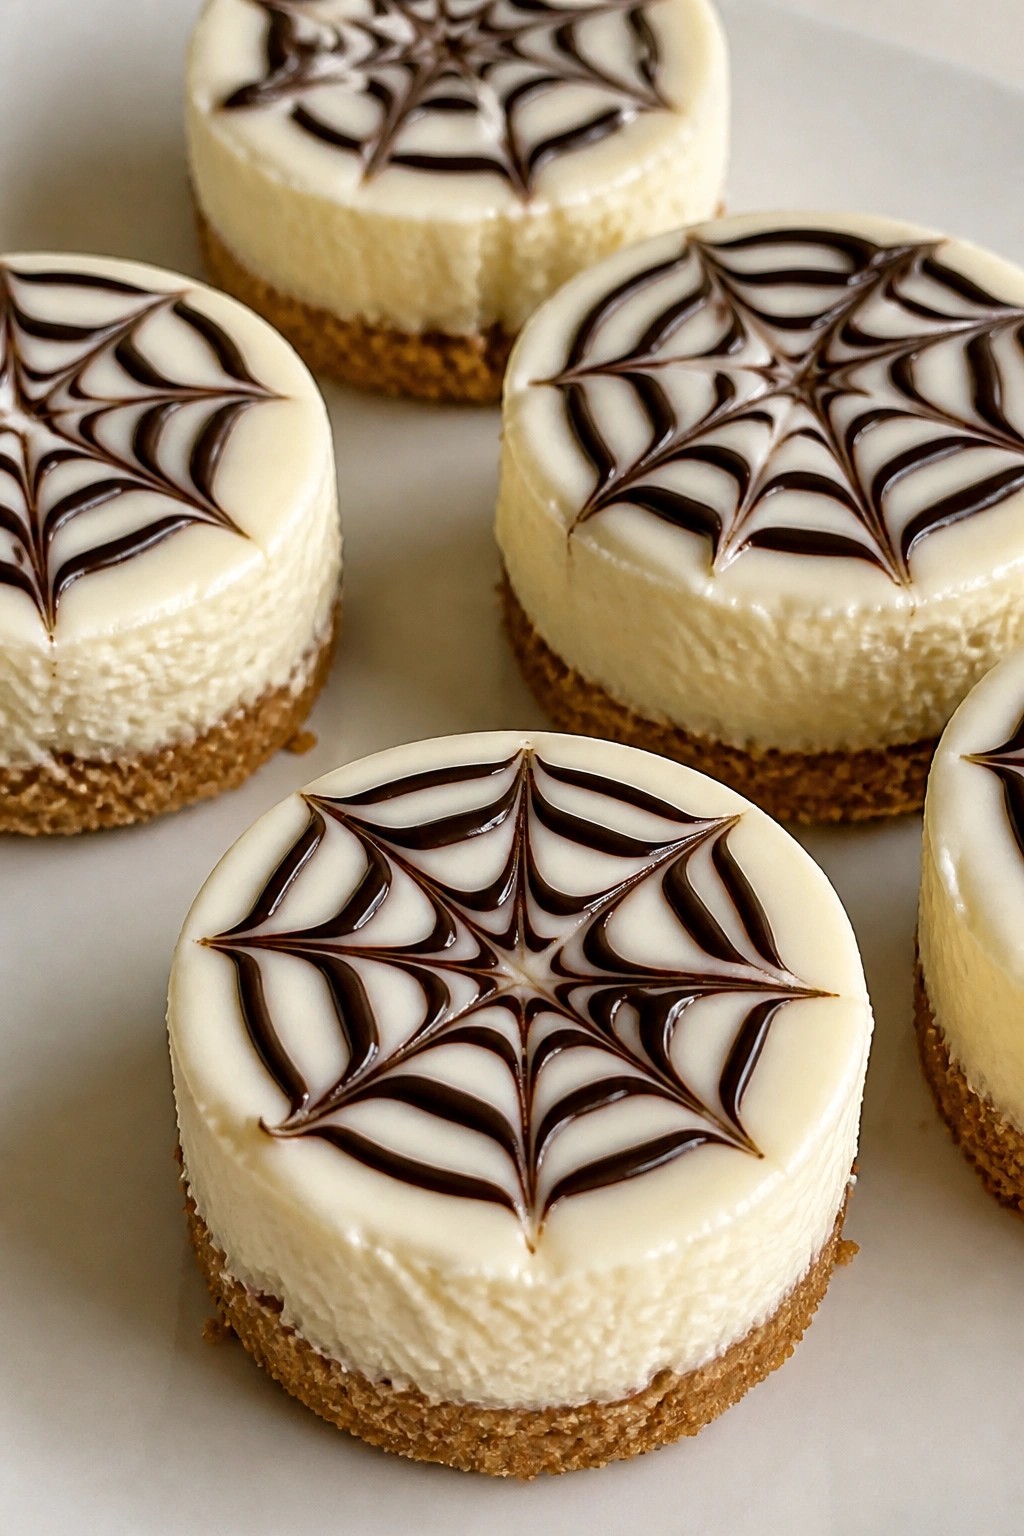
These mini cheesecakes bring a playful spiderweb pattern to the top of each bite. They make a fun addition to a Halloween dessert table and give guests something creamy to enjoy without committing to a full slice.
The filling stays smooth and lightly sweet while the graham crust adds a bit of crunch. A simple chocolate design on top keeps the look festive but still approachable for kids and adults alike.
Serves 4 people.
Recommended Products
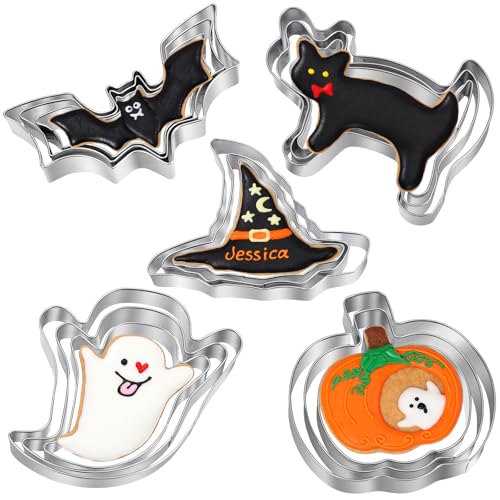
15-Piece Halloween Cookie Cutter Set (Baking & Decorating Kit): If you are looking for some Halloween cookie cutters, and this set of cookie molds basically meets all your needs, their size and details are good, you can make delicious Halloween cookies and then have a great holiday with your family.

Small Halloween Gingerbread Cookie House Kit

Ingredients
- 1 cup graham cracker crumbs
- 3 tablespoons unsalted butter, melted
- 8 ounces cream cheese, softened
- 1/4 cup granulated sugar
- 1 large egg
- 1 teaspoon vanilla extract
- 1/4 cup semi-sweet chocolate chips
Instructions
- Preheat the oven to 325°F and line a mini muffin tin with 12 paper liners.
- Stir the graham cracker crumbs and melted butter together in a bowl until the crumbs are evenly coated. Press about 1 teaspoon of the mixture into the bottom of each liner and set the tin aside.
- Beat the cream cheese and sugar in a mixing bowl until smooth. Add the egg and vanilla extract, then mix until just combined.
- Spoon the cream cheese mixture over the crusts, filling each liner nearly to the top.
- Bake for 15 minutes until the centers are set. Remove the tin from the oven and let the bites cool completely at room temperature.
- Melt the chocolate chips in a small saucepan over low heat, stirring until smooth. Transfer the melted chocolate to a piping bag or zip-top bag with one corner snipped off.
- Pipe thin concentric circles on top of each cooled cheesecake bite, then drag a toothpick through the circles from the center outward to create the spiderweb pattern.
Extra Tips
Pipe the chocolate webs only after the bites have cooled fully so the lines stay sharp instead of melting into the filling. Store leftovers in an airtight container in the refrigerator for up to three days. If you want a slightly darker web, use bittersweet chocolate chips in place of semi-sweet. Course: Dessert Cuisine: American Equipment: Mixing Bowl, Mini Muffin Tin, Saucepan
Ghostly Meringue Kisses with Chocolate Dip
These small meringue ghosts bring a light and airy touch to any Halloween spread. Pipe them with simple faces and pair them with a warm chocolate dip for dipping or drizzling. The result looks playful without much fuss.
The meringues bake up crisp on the outside with a soft center. The chocolate adds a rich contrast that balances the sweetness. They work well for a party table or as a quick make-ahead treat for kids and adults alike.

Serves 4 people.
Ingredients
- 2 large egg whites
- ½ cup granulated sugar
- ¼ teaspoon cream of tartar
- ½ teaspoon vanilla extract
- 2 tablespoons mini chocolate chips
- 4 ounces semisweet chocolate chips
- ¼ cup heavy cream
Instructions
- Preheat the oven to 200°F and line a baking sheet with parchment paper.
- In a clean bowl, beat the egg whites and cream of tartar with an electric mixer on medium speed until soft peaks form.
- Gradually add the sugar while beating on high speed until stiff, glossy peaks form. Mix in the vanilla extract.
- Spoon the meringue into a piping bag fitted with a round tip. Pipe small ghost shapes onto the prepared sheet, leaving space between each one.
- Press two mini chocolate chips into each ghost to form eyes.
- Bake for 1 hour and 30 minutes, then turn off the oven and let the meringues cool inside with the door closed for another hour.
- While the meringues cool, heat the heavy cream in a small saucepan until it just begins to steam. Remove from heat, add the semisweet chocolate chips, and stir until smooth.
- Transfer the chocolate dip to a small bowl and serve alongside the cooled meringue ghosts.
Extra Tips
Pipe the ghosts with a slight taper at the bottom so they stand upright on the tray. Store any leftovers in an airtight container at room temperature to keep them crisp. If the chocolate dip thickens, warm it gently over low heat and stir in a splash of cream to loosen it. Course: Dessert Cuisine: American Equipment: Electric mixer, Piping bag, Baking sheet, Small saucepan
Mummy-Wrapped Pumpkin Hand Pies
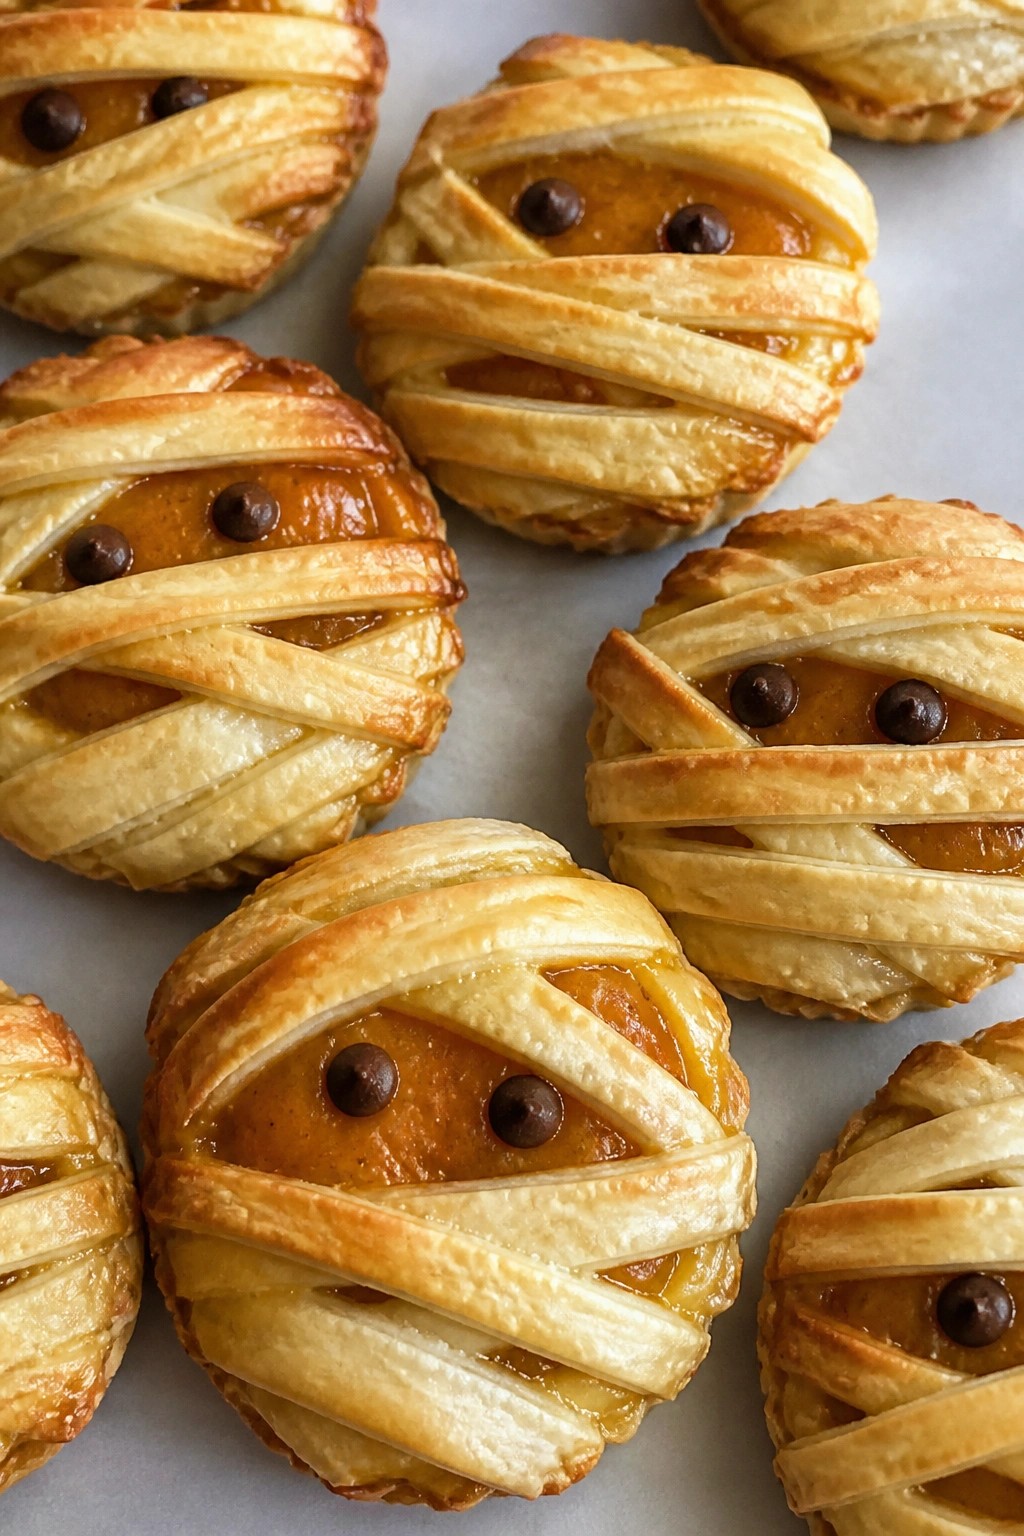
These hand pies wrap a spiced pumpkin filling in strips of flaky crust to create a simple mummy shape. The result is a dessert that feels festive without much extra effort.
They suit Halloween gatherings or after-school snacks. The crust turns golden and crisp while the filling stays soft and warmly spiced.
Serves 4 people.
Recommended Products

FOOD-GRADE SILICONE: BPA-free, reusable, and non-stick. Designed for direct contact with food and easy release of your baked goods for cooling.

This non-stick pan bakes a frightfully fun Jack-o-lantern cake with its features already cut out.

【FOOD GRADE SILICONE MATERIAL】Webake silicone pumpkin cupcake molds are made of high quality and food grade silicone, BPA free, odorless, safe and flexible and reusable.
Ingredients
- 2 refrigerated pie crusts
- 3/4 cup pumpkin puree
- 3 tablespoons granulated sugar
- 1 teaspoon ground cinnamon
- 1/4 teaspoon ground nutmeg
- 1 large egg
- 8 mini chocolate chips
Instructions
- Preheat the oven to 375 degrees and line a baking sheet with parchment paper.
- Unroll both pie crusts on a lightly floured surface. Cut each crust into four rectangles to make eight pieces total.
- Mix the pumpkin puree, sugar, cinnamon, and nutmeg in a bowl until smooth.
- Place four rectangles on the baking sheet. Spoon about 3 tablespoons of filling into the center of each.
- Beat the egg in a small bowl. Brush the edges of the filled rectangles with egg wash.
- Cut the remaining four rectangles into thin strips. Lay the strips across each filled rectangle in a crisscross pattern to resemble mummy bandages.
- Brush the tops with more egg wash. Press two mini chocolate chips into the filling area of each pie to form eyes.
- Bake for 20 to 25 minutes until the crust is golden. Cool on the sheet for a few minutes before serving.
Extra Tips
Use the second pie crust fully for the strips if you want thicker bandages. Store cooled pies in an airtight container at room temperature for up to two days. Reheat briefly in a 300-degree oven to restore crispness. For a milder flavor, reduce the nutmeg by half. Course: Dessert Cuisine: American Equipment: Baking sheet, Parchment paper, Mixing bowl, Pastry brush, Knife
Bat Wing Chocolate Macarons
These chocolate macarons bring a fun Halloween twist with dark shells and simple bat wing accents made from piped chocolate. They work well for parties or as a make-ahead treat because the shells stay crisp while the filling adds a smooth, rich center.
The flavor is straightforward chocolate with a light sweetness from the shells and a creamy ganache that balances the cocoa. Texture comes from the delicate, slightly chewy shells paired with the soft filling.
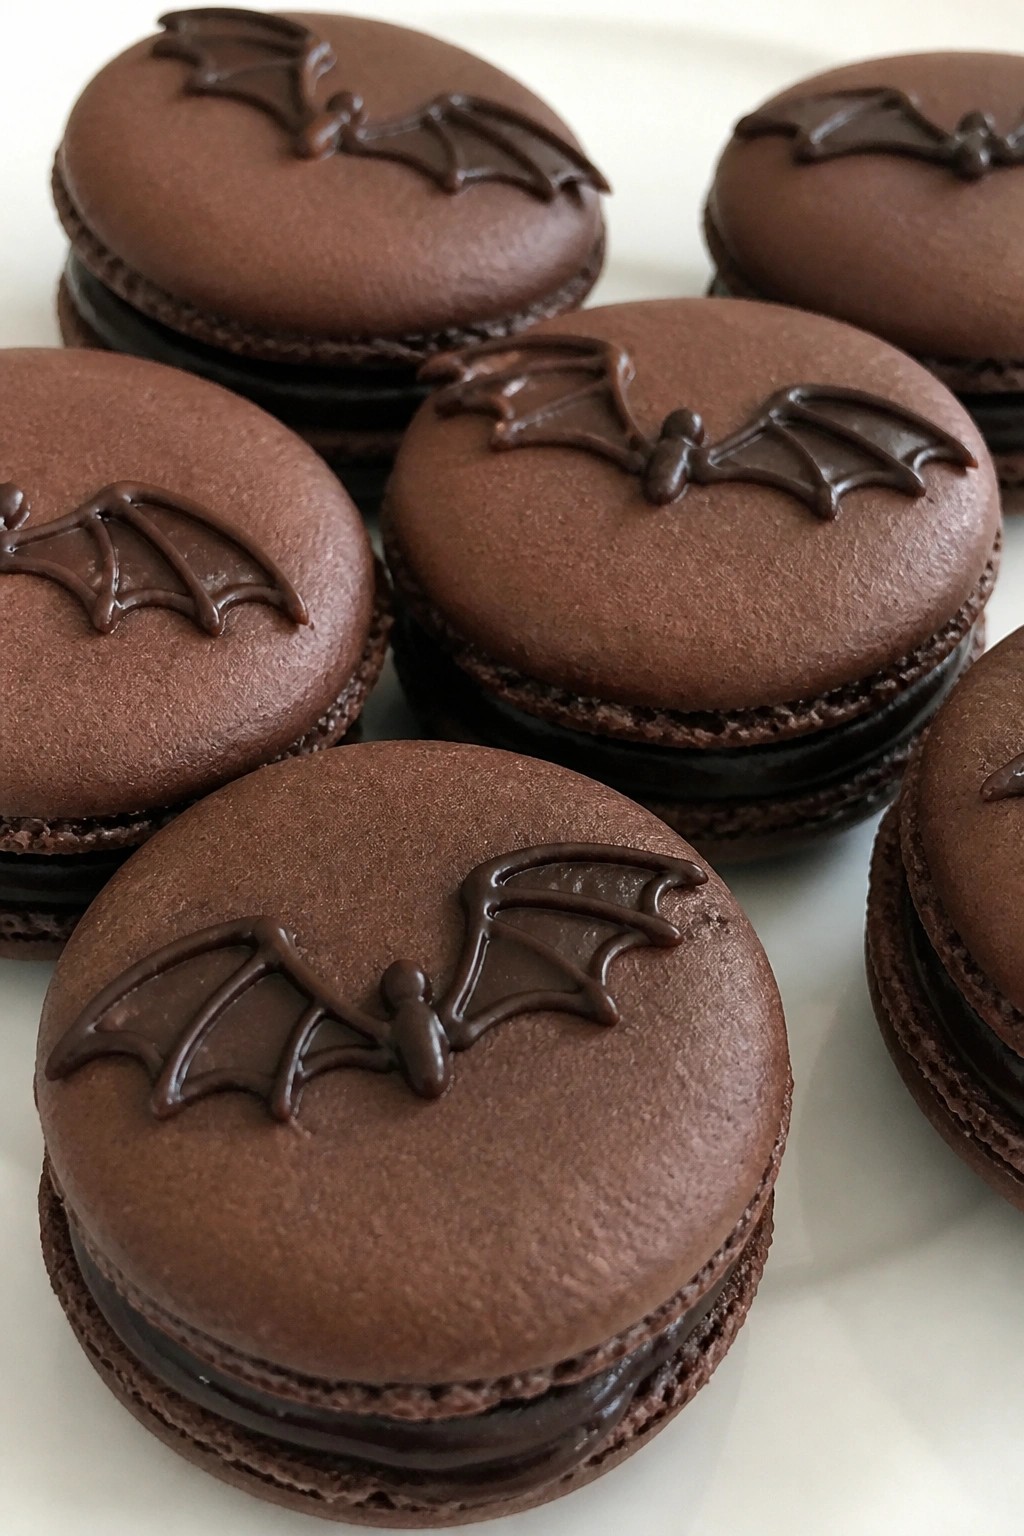
Serves 4 people.
Ingredients
- 100 grams almond flour
- 100 grams powdered sugar
- 15 grams unsweetened cocoa powder
- 2 large egg whites
- 50 grams granulated sugar
- 100 grams dark chocolate, chopped
- 60 ml heavy cream
- 30 grams dark chocolate, melted (for bat wing decorations)
Instructions
- Sift the almond flour, powdered sugar, and cocoa powder into a bowl and set aside.
- Whip the egg whites with the granulated sugar until stiff peaks form.
- Fold the dry ingredients into the whipped egg whites in stages until the batter flows smoothly and holds a figure-eight shape when dropped from the spatula.
- Pipe the batter into small rounds on a lined baking sheet and let the shells rest until a skin forms on top.
- Bake the shells at 150°C for 14 to 16 minutes, then cool completely on the sheet.
- Heat the heavy cream until steaming, pour it over the chopped dark chocolate, and stir until smooth to make the ganache. Let it thicken slightly.
- Pipe the ganache onto half the shells and sandwich with the remaining shells.
- Pipe the melted dark chocolate into small bat wing shapes on parchment paper, let them set, then attach one to each side of the filled macarons.
Extra Tips
Pipe the bat wings a day ahead and store them in a cool spot so they stay firm when attached. If the ganache feels too soft, chill it for ten minutes before piping. Keep finished macarons in an airtight container in the fridge for up to two days and bring them to room temperature before serving. Course: Dessert Cuisine: French Equipment: Mixing Bowls, Electric Mixer, Piping Bag, Baking Sheets
Candy Corn Layered Pudding Parfaits
These parfaits copy the bright stripes of classic candy corn with simple colored pudding layers. They come together fast and look festive on a dessert table for Halloween parties or family nights. The result is a cool, creamy treat with sweet vanilla flavor and a light finish from the whipped topping.
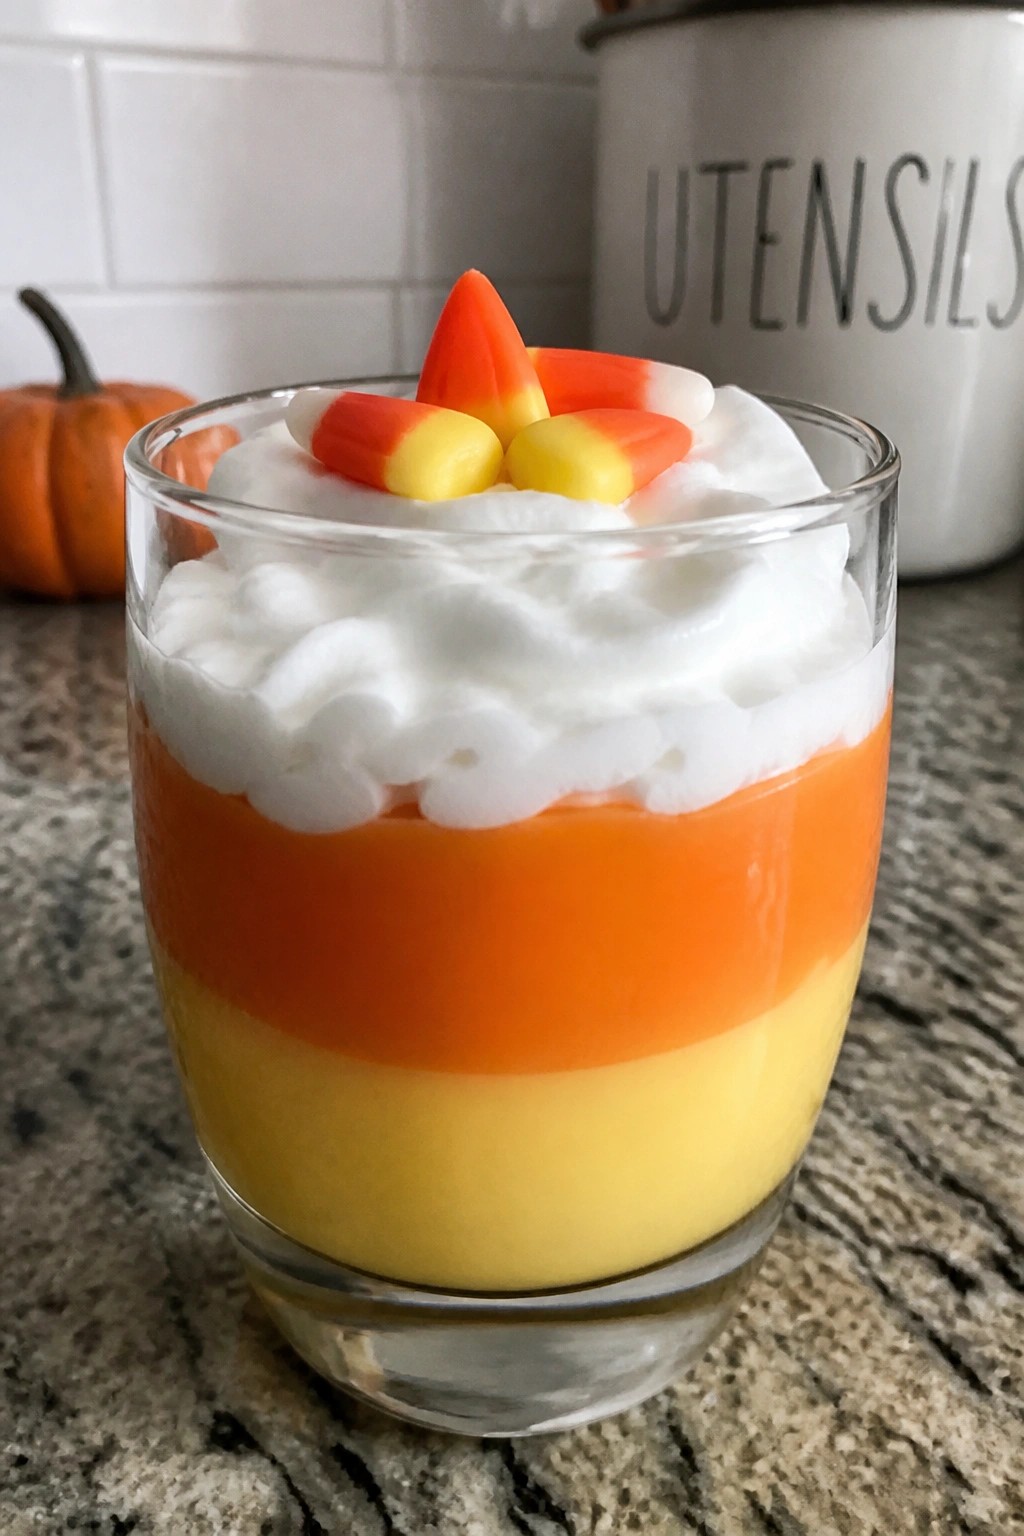
Serves 4 people.
Ingredients
- 2 (3.4-ounce) packages instant vanilla pudding mix
- 4 cups cold milk
- Yellow food coloring
- Orange food coloring
- 2 cups whipped topping, thawed
- Candy corn, for garnish
Instructions
- Whisk both packages of pudding mix with the cold milk in a large bowl until the mixture thickens, about two minutes.
- Divide the pudding evenly into two separate bowls. Add several drops of yellow food coloring to one bowl and stir until the color is uniform. Add several drops of orange food coloring to the second bowl and stir until the color is uniform.
- Spoon a layer of the yellow pudding into the bottom of each of four clear glasses. Follow with a layer of the orange pudding.
- Top each parfait with a layer of whipped topping. Add a few candy corn pieces on the whipped topping for garnish.
Extra Tips
Chill the assembled parfaits for at least 30 minutes before serving so the layers set and the colors stay distinct. If you want a thicker white layer, fold a little extra whipped topping into the top section right before adding it. Leftovers keep covered in the refrigerator for one day, though the candy corn garnish softens over time. Course: Dessert Cuisine: American Equipment: Mixing bowls, Whisk, 4 parfait glasses, Spoon
Frankenstein Brownie Ice Cream Sandwiches
These Frankenstein Brownie Ice Cream Sandwiches bring a playful Halloween touch to any dessert table. They work well for parties or after-school treats because the faces are simple to put together and the sandwiches hold up nicely once frozen. The fudgy brownie layers pair with cool vanilla ice cream for a mix of chewy and creamy textures.
The green frosting gives each sandwich a clear Frankenstein look while the candy eyes and chocolate details add the creepy cute factor without extra fuss.
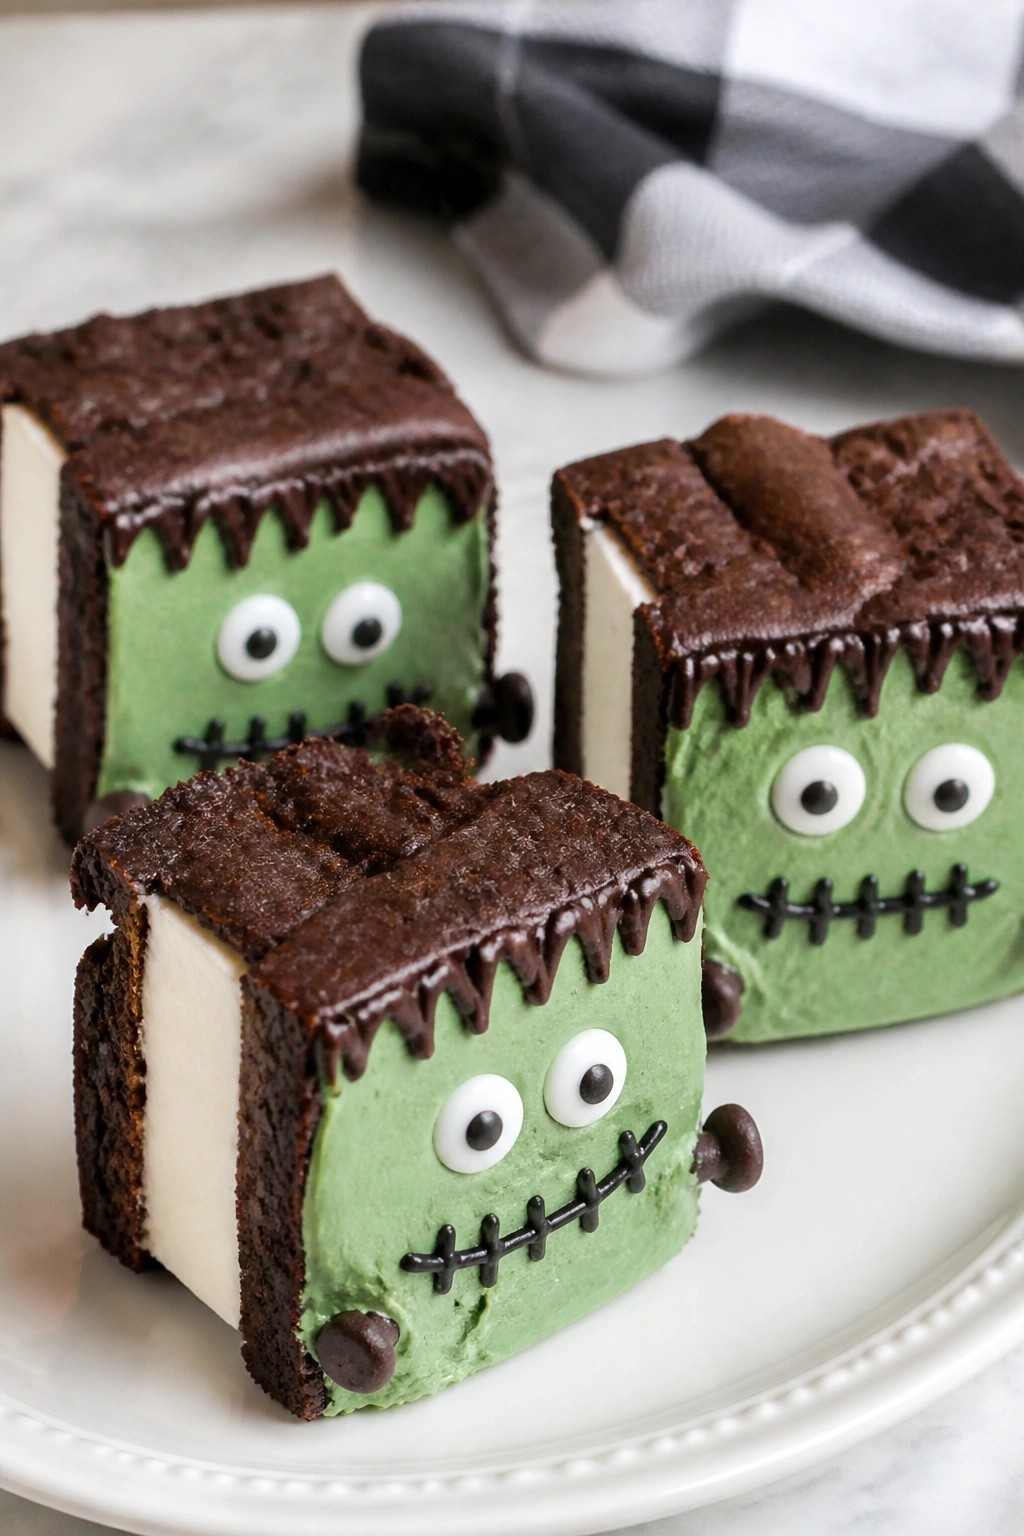
Serves 4 people.
Ingredients
- 8 rectangular brownies
- 4 cups vanilla ice cream, softened
- ½ cup green frosting
- 8 edible candy eyes
- ¼ cup mini chocolate chips
Instructions
- Place one brownie rectangle on a flat surface and spread about ½ cup of softened vanilla ice cream evenly across the top.
- Set a second brownie rectangle on the ice cream to form a sandwich and press down gently. Repeat with the remaining brownies and ice cream to make four sandwiches.
- Place the sandwiches on a baking sheet and freeze for at least 30 minutes until the ice cream firms up.
- Spread a thin layer of green frosting over the top of each frozen sandwich.
- Press two candy eyes into the frosting on each sandwich.
- Add a few mini chocolate chips near the sides of each face to look like bolts.
Extra Tips
Freeze the assembled sandwiches before adding the frosting so the ice cream stays firm while you decorate. If the ice cream starts to melt during assembly, return the sandwiches to the freezer for 10 minutes before continuing. Store any leftovers in an airtight container in the freezer for up to three days. Course: Dessert Cuisine: American Equipment: Baking pan, Mixing bowl, Freezer
Witch Hat Strawberry Shortcake Stacks
These stacks give classic strawberry shortcake a Halloween twist by shaping the layers into pointed witch hats. They work well for a party dessert table or a simple family night when you want something festive without much fuss. The result is light and creamy with juicy berries and a touch of chocolate that adds just enough contrast.
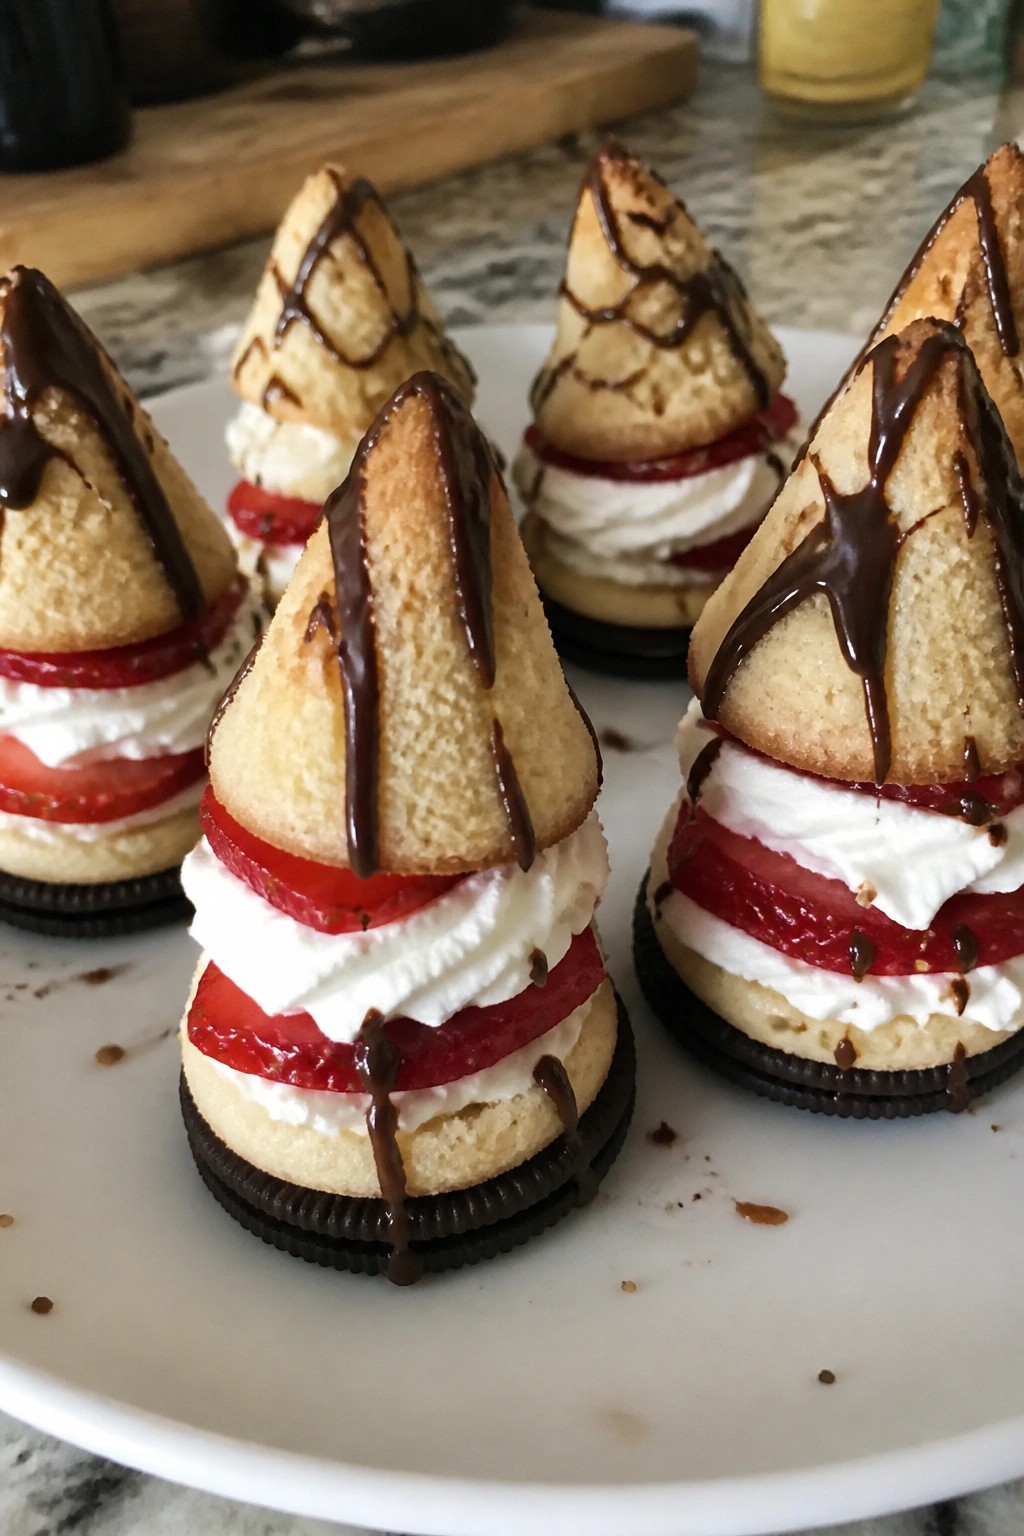
Serves 4 people.
Ingredients
- 4 chocolate sandwich cookies
- 8 plain shortcake biscuits
- 2 cups sliced strawberries
- 1 cup heavy whipping cream
- 3 tablespoons granulated sugar, divided
- 1/2 teaspoon vanilla extract
- 1/4 cup melted dark chocolate
Instructions
- Place the chocolate sandwich cookies on four small plates to form the brim of each hat.
- Split four shortcake biscuits in half horizontally and set the tops aside.
- In a mixing bowl, beat the heavy whipping cream with 2 tablespoons sugar and the vanilla extract until soft peaks form.
- Place one biscuit bottom on each cookie, then spoon a layer of whipped cream over it.
- Add a few sliced strawberries on the cream, then set the biscuit top in place to create height.
- Pile more sliced strawberries on top of each stack to form the pointed crown of the hat.
- Drizzle the melted dark chocolate over the strawberries and around the base to create a hat band effect.
- Finish each stack with a small dollop of the remaining whipped cream and a light sprinkle of the last tablespoon of sugar.
Extra Tips
Chill the assembled stacks for 10 minutes before serving so the chocolate firms up and holds the shape. If the shortcake biscuits are very sweet, reduce the sugar in the whipped cream by one tablespoon. Leftovers keep in the fridge for a few hours, but the berries soften quickly so they are best eaten the same day. Course: Dessert Cuisine: American Equipment: Mixing Bowl, Electric Mixer, Plates
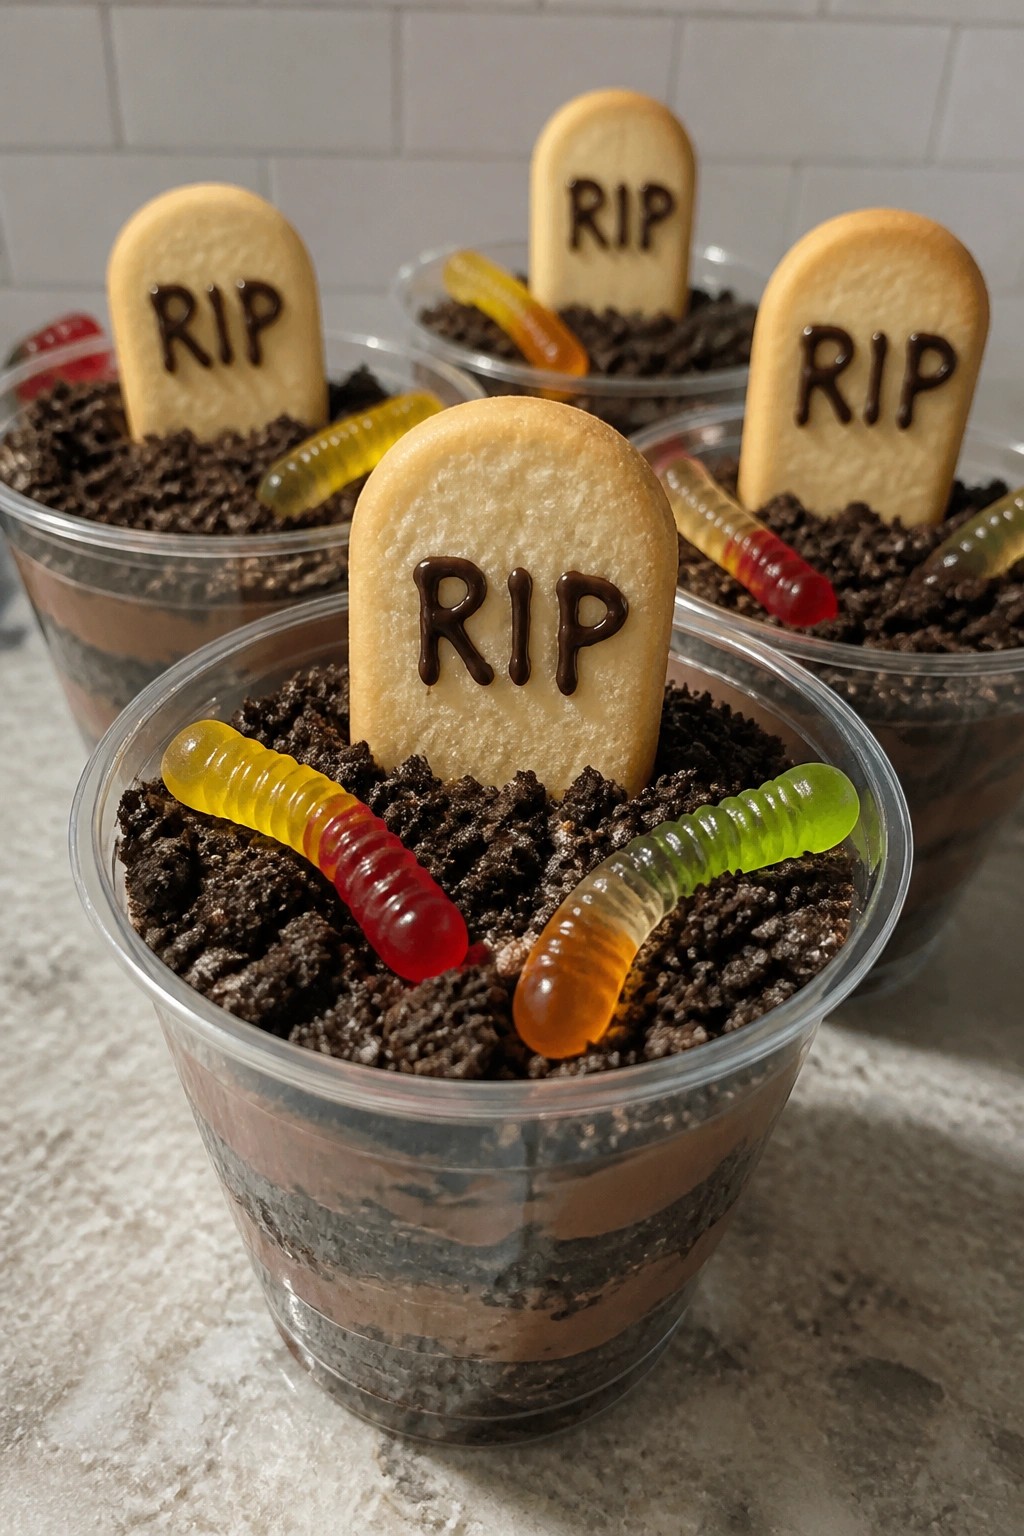
Graveyard Dirt Cake Cups with Cookie Tombstones
These individual cups turn a classic chocolate dessert into a fun Halloween project. They work well for parties or family nights because each person gets their own serving with a built-in cookie tombstone. The flavor is rich chocolate pudding layered with crushed cookies, and the texture mixes creamy filling with crunchy bits throughout.
Serves 4 people.
Ingredients
- 20 chocolate sandwich cookies, divided
- 1 (3.9 oz) package instant chocolate pudding mix
- 2 cups cold milk
- 4 oz cream cheese, softened
- 1 cup whipped topping
- 4 rectangular shortbread cookies
- 4 gummy worms
- Black edible marker
Instructions
- Place 16 chocolate sandwich cookies in a zip-top bag and crush them into fine crumbs with a rolling pin. Set the remaining 4 cookies aside for topping.
- In a medium bowl, whisk the instant chocolate pudding mix with the cold milk for 2 minutes until it begins to thicken. Let it sit for 5 minutes to set.
- In a separate bowl, beat the softened cream cheese with an electric mixer until smooth. Fold in the whipped topping until fully combined.
- Gently fold the pudding into the cream cheese mixture until no streaks remain.
- Spoon a layer of the chocolate mixture into the bottom of each of 4 clear cups. Add a layer of cookie crumbs, then repeat with another layer of the chocolate mixture.
- Use the edible marker to write "RIP" on each rectangular shortbread cookie. Press one cookie upright into the top of each cup to stand as a tombstone.
- Sprinkle the remaining cookie crumbs around the base of each tombstone. Top each cup with one gummy worm placed on the crumbs.
Extra Tips
Make the cups a few hours ahead and chill them so the layers set firmly before adding the tombstones. If the cream cheese is too cold it will leave lumps, so let it soften fully at room temperature first. Swap the gummy worms for candy bones if you prefer a different spooky detail. Course: Dessert Cuisine: American Equipment: Mixing bowls, Whisk, Electric hand mixer, Rolling pin, 4 clear cups
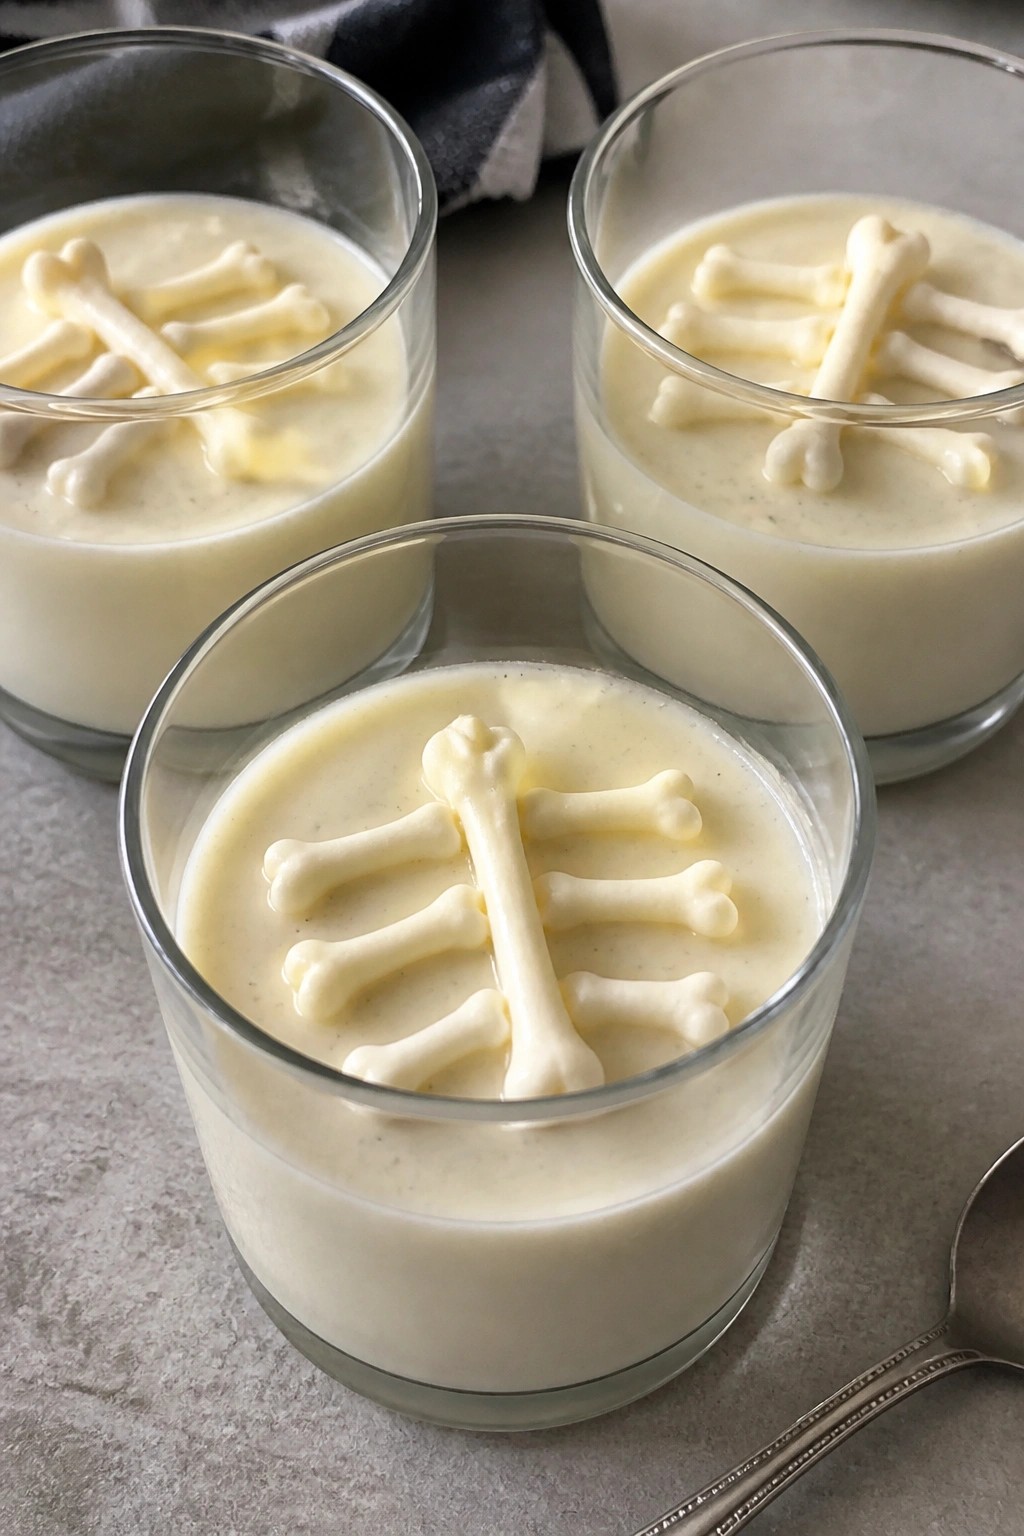
Skeleton Bone Vanilla Panna Cotta Pots
These vanilla panna cotta pots offer a simple way to add a Halloween touch to dessert. The creamy base pairs with white chocolate bone decorations that give each serving a skeleton theme without much extra work. They work well for parties or a quiet night in when you want something light yet themed.
The texture stays smooth and silky once set, with a mild vanilla flavor that appeals to most guests. The white chocolate bones add a bit of crunch and visual interest on top.
Serves 4 people.
Ingredients
- 2 cups heavy cream
- 1/2 cup whole milk
- 1/4 cup granulated sugar
- 2 teaspoons vanilla extract
- 2 1/4 teaspoons unflavored gelatin
- 3 tablespoons cold water
- 4 ounces white chocolate
Instructions
- Sprinkle the gelatin over the cold water in a small bowl and let it sit for 5 minutes to bloom.
- Combine the heavy cream, whole milk, and granulated sugar in a saucepan over medium heat. Stir until the sugar dissolves and the mixture just begins to steam. Do not let it boil.
- Remove the saucepan from heat and stir in the vanilla extract along with the bloomed gelatin until fully dissolved.
- Divide the mixture evenly among four small pots or ramekins. Let them cool to room temperature, then cover and refrigerate for at least 4 hours until set.
- Melt the white chocolate in a microwave-safe bowl in 20-second intervals, stirring between each until smooth. Transfer to a piping bag or zip-top bag with a small corner cut off.
- Pipe the melted white chocolate into bone shapes on a parchment-lined tray. Let the bones harden at room temperature.
- Place two or three white chocolate bones on top of each chilled panna cotta before serving.
Extra Tips
Make the panna cotta base a day ahead and store the pots covered in the fridge, then pipe and set the white chocolate bones the same day you plan to serve so they stay crisp. If the white chocolate thickens while piping, warm the bag briefly in your hands. Swap the white chocolate for candy melts if you want a faster set time. Course: Dessert Cuisine: Italian Equipment: Saucepan, Whisk, Ramekins, Piping bag
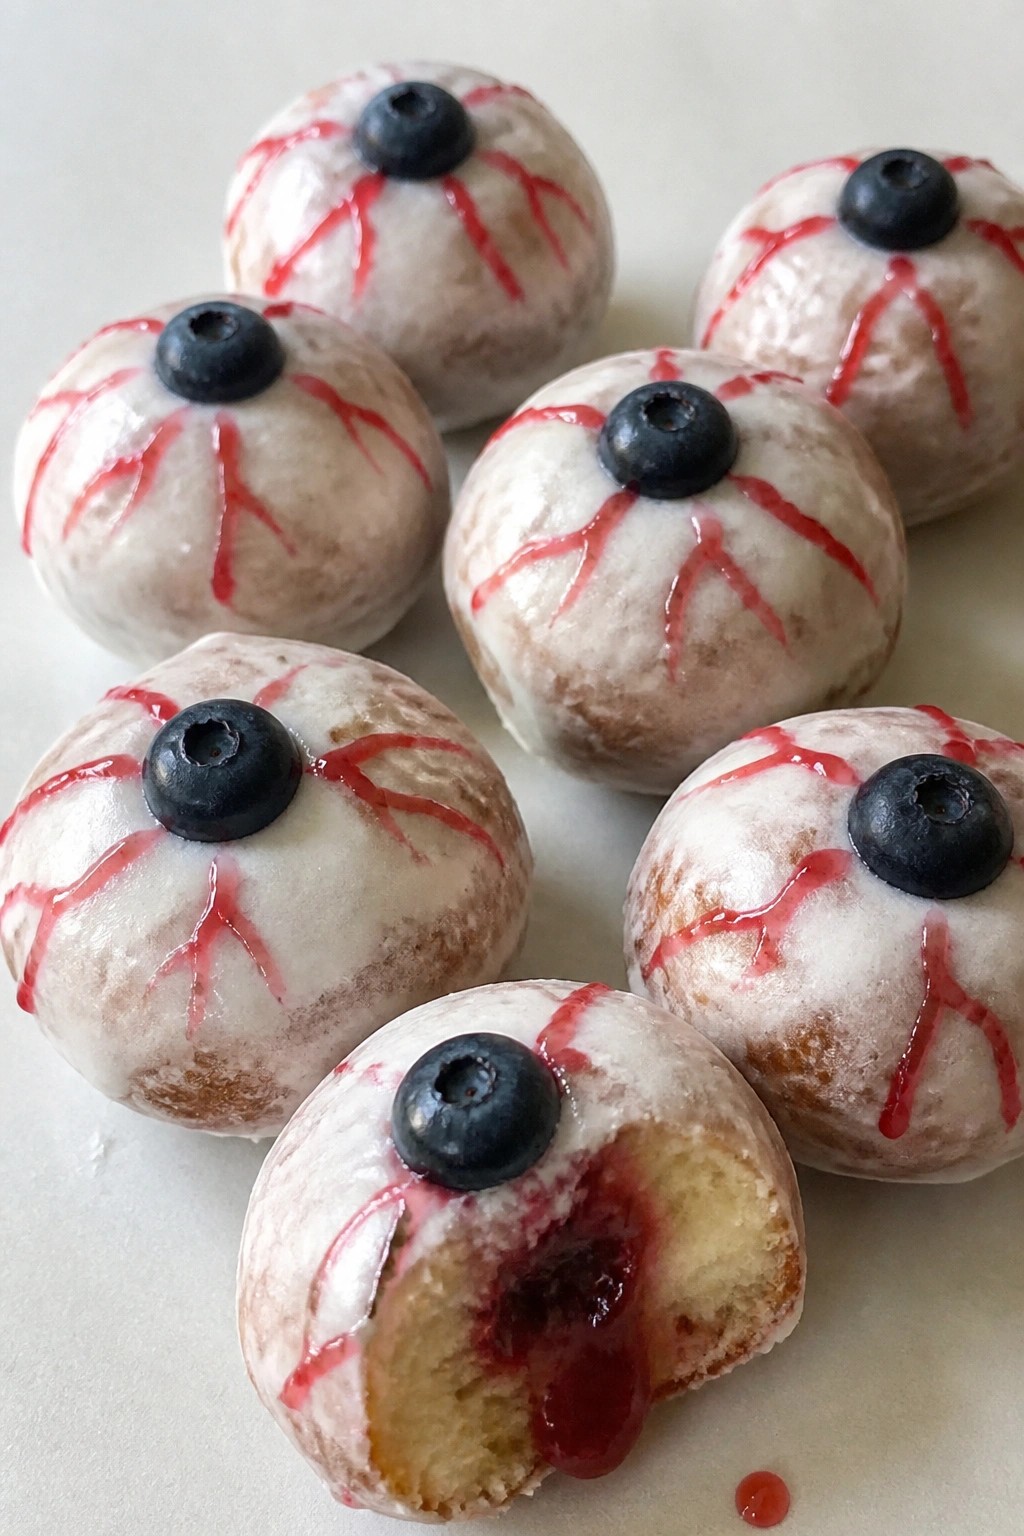
Bloody Eyeball Jelly Donut Holes
These donut holes get filled with strawberry jelly that spills out like blood when bitten. The white glaze and dark center turn them into simple eyeball shapes that fit right into a Halloween dessert spread. They work well for parties or handing out at home because they come together with basic pantry items and store-bought dough.
The inside stays soft while the outside turns lightly crisp from frying. The sweet jelly balances the mild dough and sugary coating without being too rich.
Serves 4 people.
Ingredients
- 1 can (8 count) refrigerated biscuit dough
- 1 quart vegetable oil
- 1/2 cup strawberry jelly
- 1 cup powdered sugar
- 3 tablespoons milk
- 1/2 teaspoon vanilla extract
- 8 fresh blueberries
- Red decorating gel
Instructions
- Cut each biscuit into quarters and roll the pieces into smooth balls. Heat the oil in a deep pot to 350 degrees. Fry the dough balls in batches until golden on all sides, about 2 minutes per batch. Drain them on paper towels.
- Spoon the strawberry jelly into a piping bag fitted with a small tip. Insert the tip into each donut hole and squeeze in a small amount of jelly until it just starts to fill the center.
- Stir the powdered sugar, milk, and vanilla in a bowl until smooth. Dip the tops of the filled donut holes into the glaze and set them on a rack to let the excess drip off. Place one blueberry in the center of each glazed top to form the pupil. Use the red decorating gel to draw short lines around the blueberry for veins.
Extra Tips
Pipe the jelly slowly so it stays inside rather than bursting through the dough. If the glaze thickens while you work, add a few drops of milk to loosen it. These keep best the day they are made, but you can store leftovers in a single layer in an airtight container for one more day. Course: Dessert Cuisine: American Equipment: Deep pot, piping bag, mixing bowls