

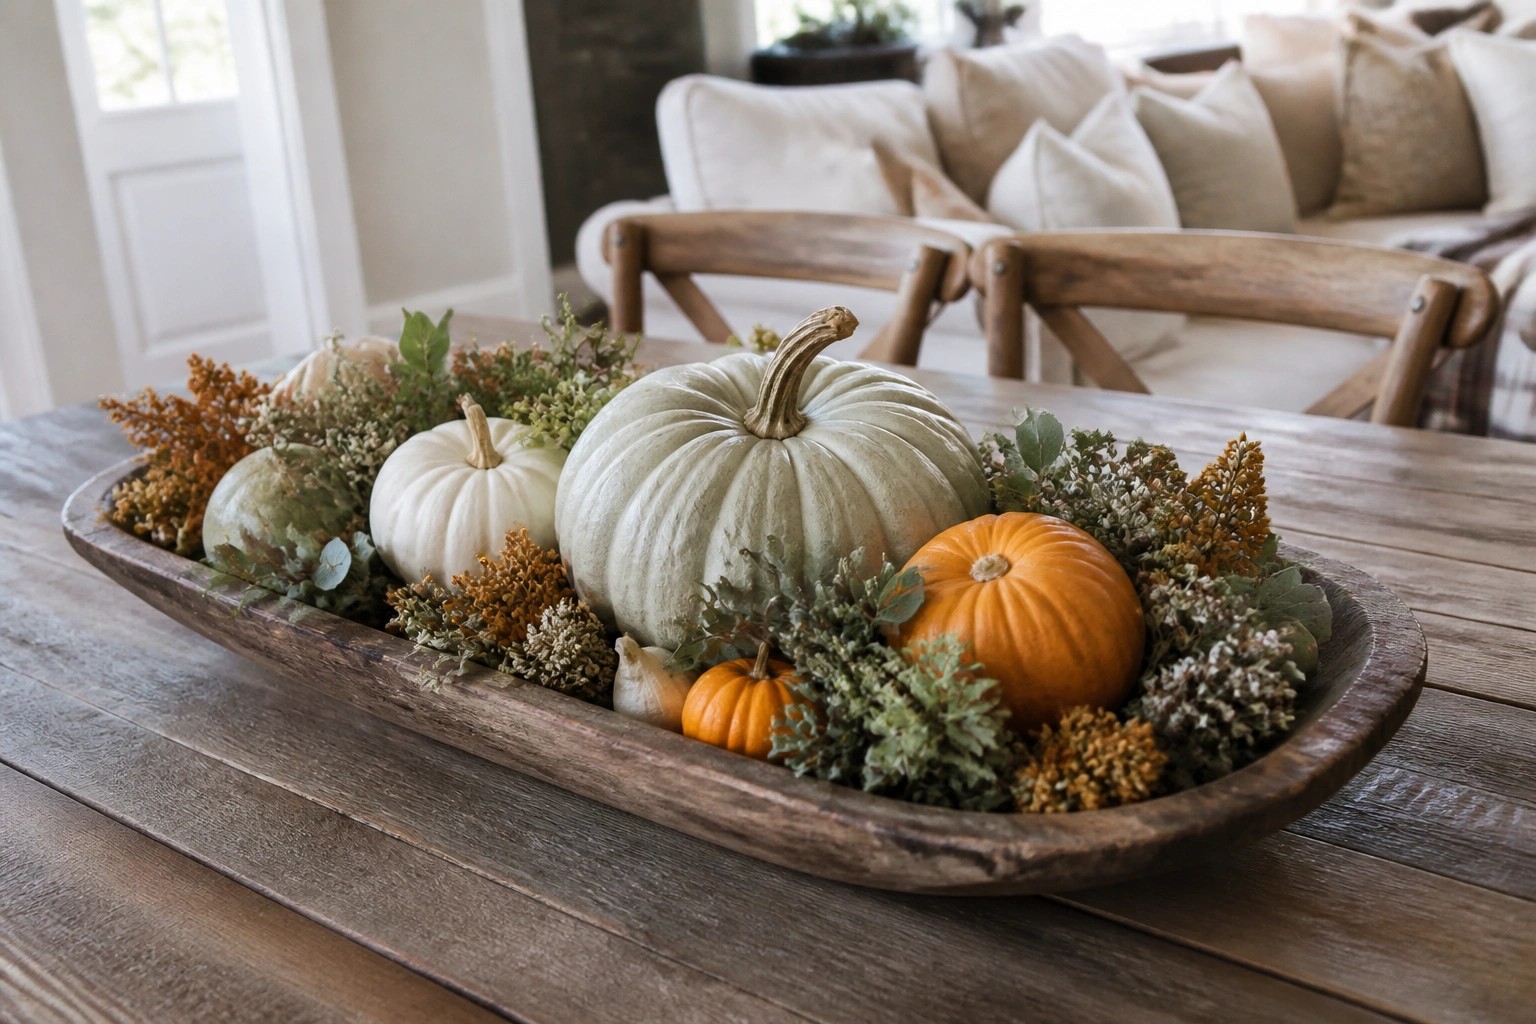
I have found that pumpkins give me an easy way to mark the house for Halloween without needing to overhaul every room.
Focusing on just a few strong placements tends to draw more notice than spreading decorations everywhere.
I like how one or two clusters near the entry or on a main surface can shift the feel of the space while leaving the rest of the home untouched.
One well-sized pumpkin often does more work than a dozen smaller accents.
That approach keeps the decorating practical and still unmistakably seasonal.
Arrange White Pumpkins In A Long Tray
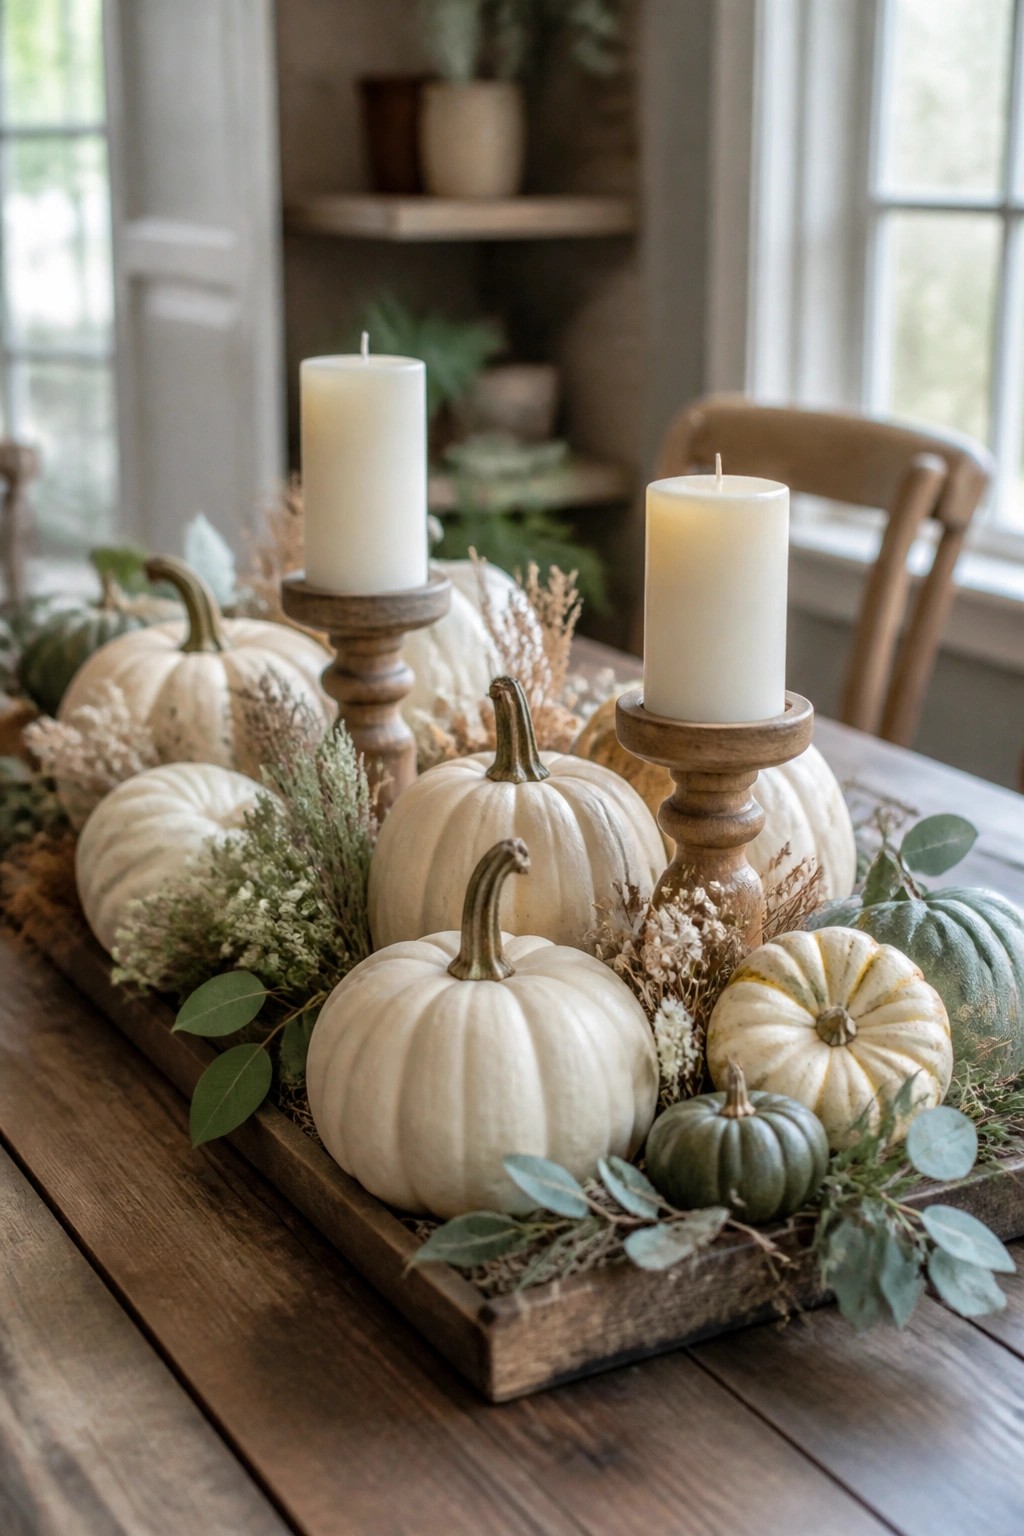
A simple row of white pumpkins down the center of the dining table creates a clean focal point without much effort. The neutral color keeps things light while the mix of sizes adds just enough shape and interest to feel intentional.
Place the pumpkins inside a wooden tray or box to contain the look, then tuck in a couple of pillar candles on stands. This works best on a long table where the arrangement can stretch out without crowding the space for plates and serving dishes.
Group White Pumpkins On The Mantel
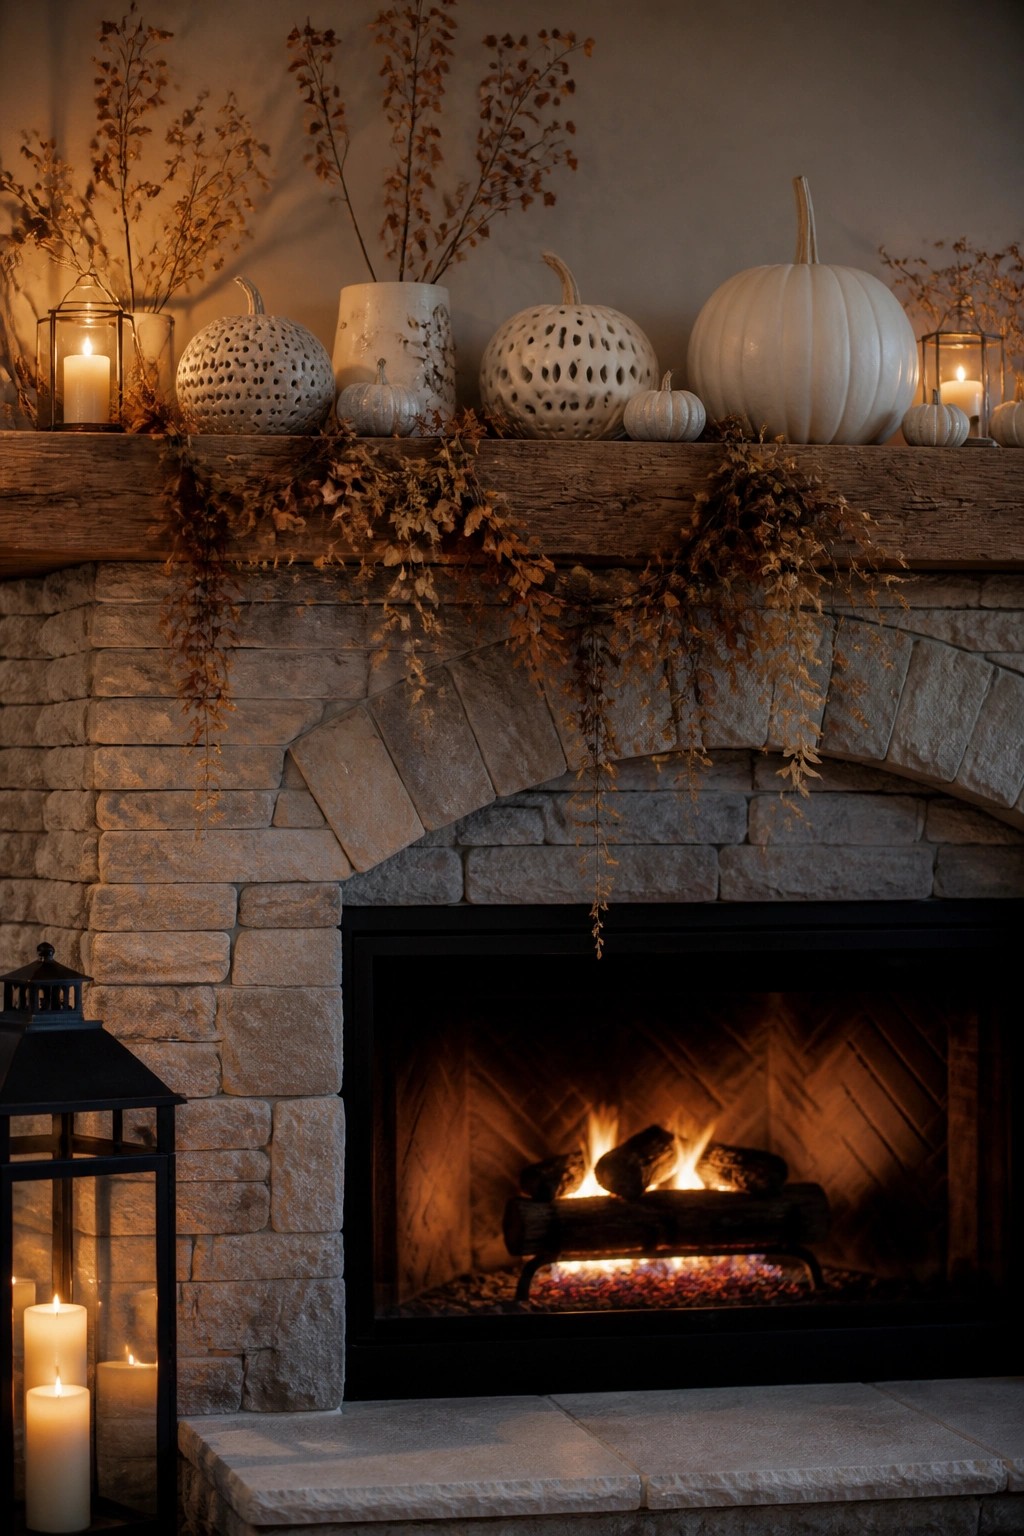
White pumpkins can make a mantel feel finished without adding a lot of color. Placing them in a loose row across the wood lets the different shapes and textures do the work, and the neutral tone keeps the look calm even when the fire is lit below.
To copy the idea, mix a few smooth pumpkins with one or two that have cutout patterns. Add a couple of lanterns at the ends and let some dried stems trail down the front. The whole setup stays simple and works best when the rest of the room stays quiet.
Group Pumpkins Along An Entry Console
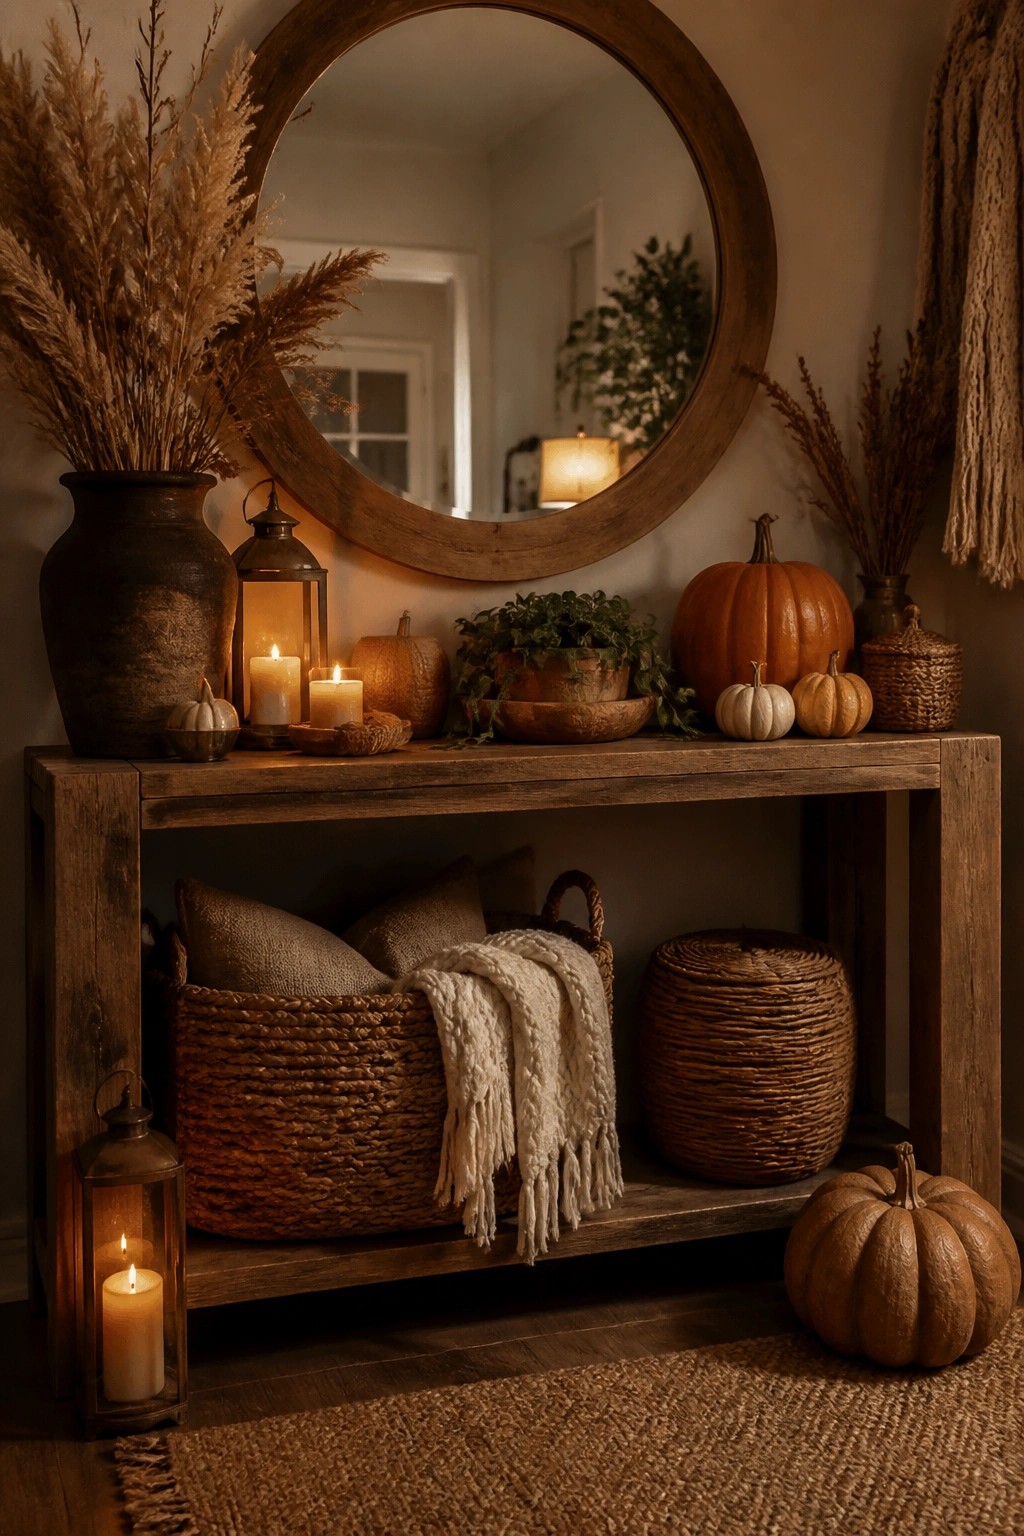
Pumpkins work well as the main decor in an entry because they need almost no extra styling. Just set out several in different sizes and a few shades of orange and white along the top of the console. The mix of smooth and slightly textured skins keeps the look interesting without any other props.
Start with three larger pumpkins spaced across the surface, then tuck two or three smaller ones in the gaps. One or two can sit on the floor beside the table if you want to stretch the display. Swap them out for fresh ones as they start to soften and you are done.
Group Pumpkins On The Front Steps
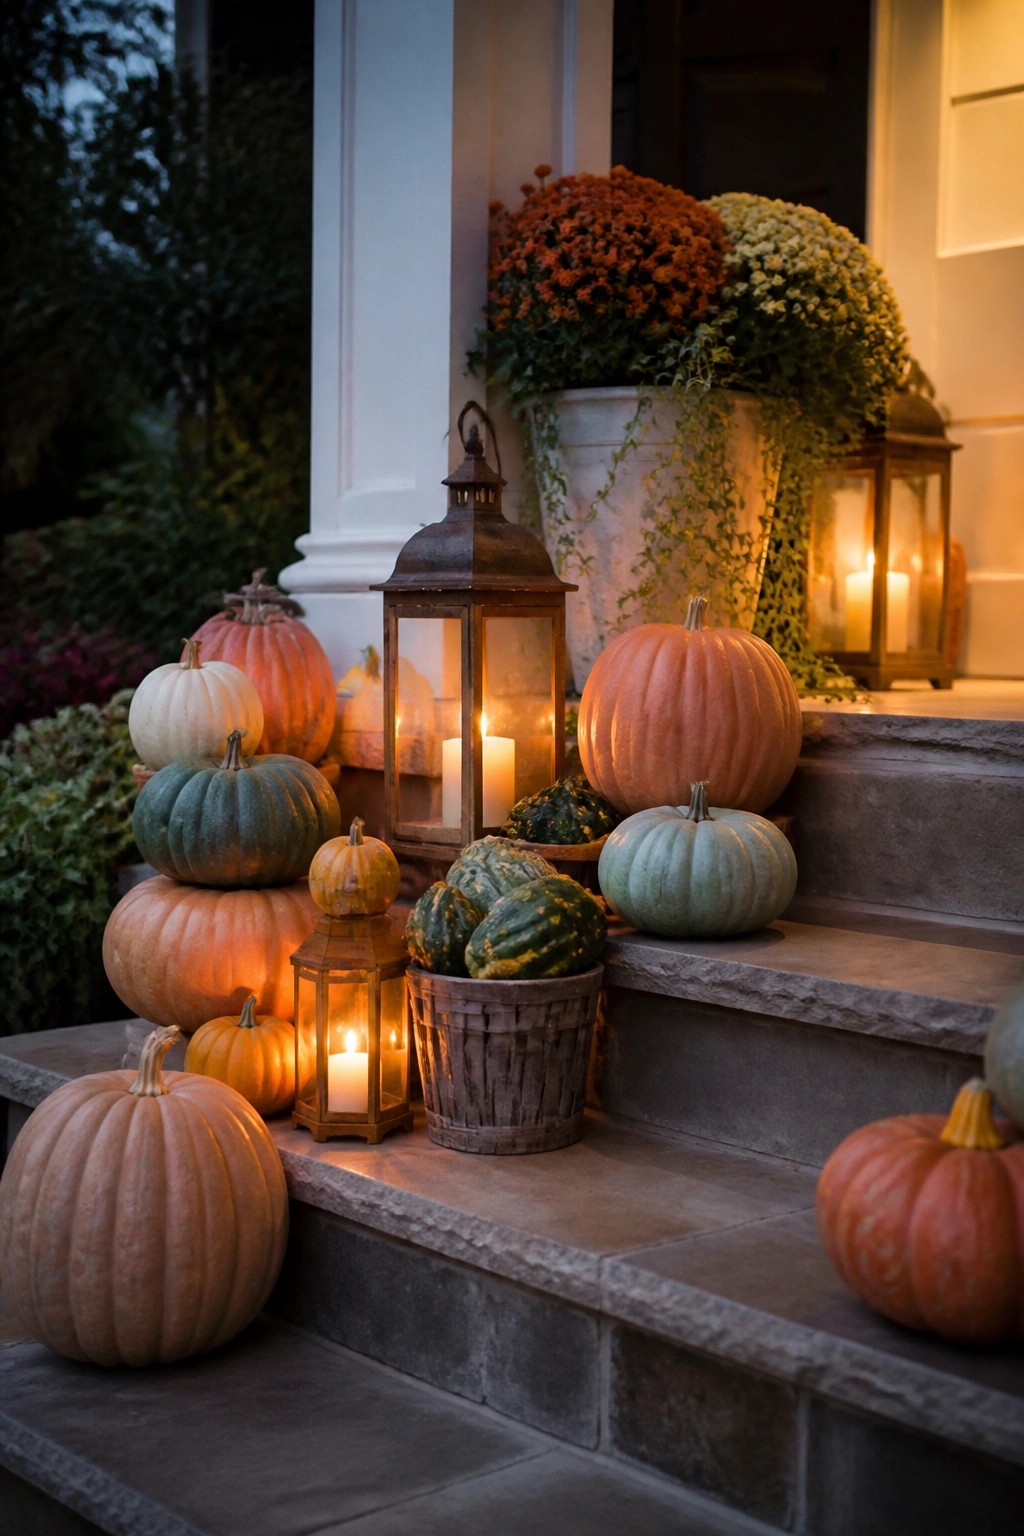
Placing pumpkins of different sizes and shades along the front steps creates a simple but noticeable seasonal display. The mix of orange, white, and green tones keeps it from looking too uniform, while a few lanterns tucked between them add a soft glow after dark.
You can copy this look with whatever pumpkins you already have on hand. Start at the bottom step and work upward, letting a few larger ones sit on the ground and smaller ones rest higher up. One or two lanterns are enough to tie the arrangement together without crowding the walkway.
Group White Pumpkins On A Tray
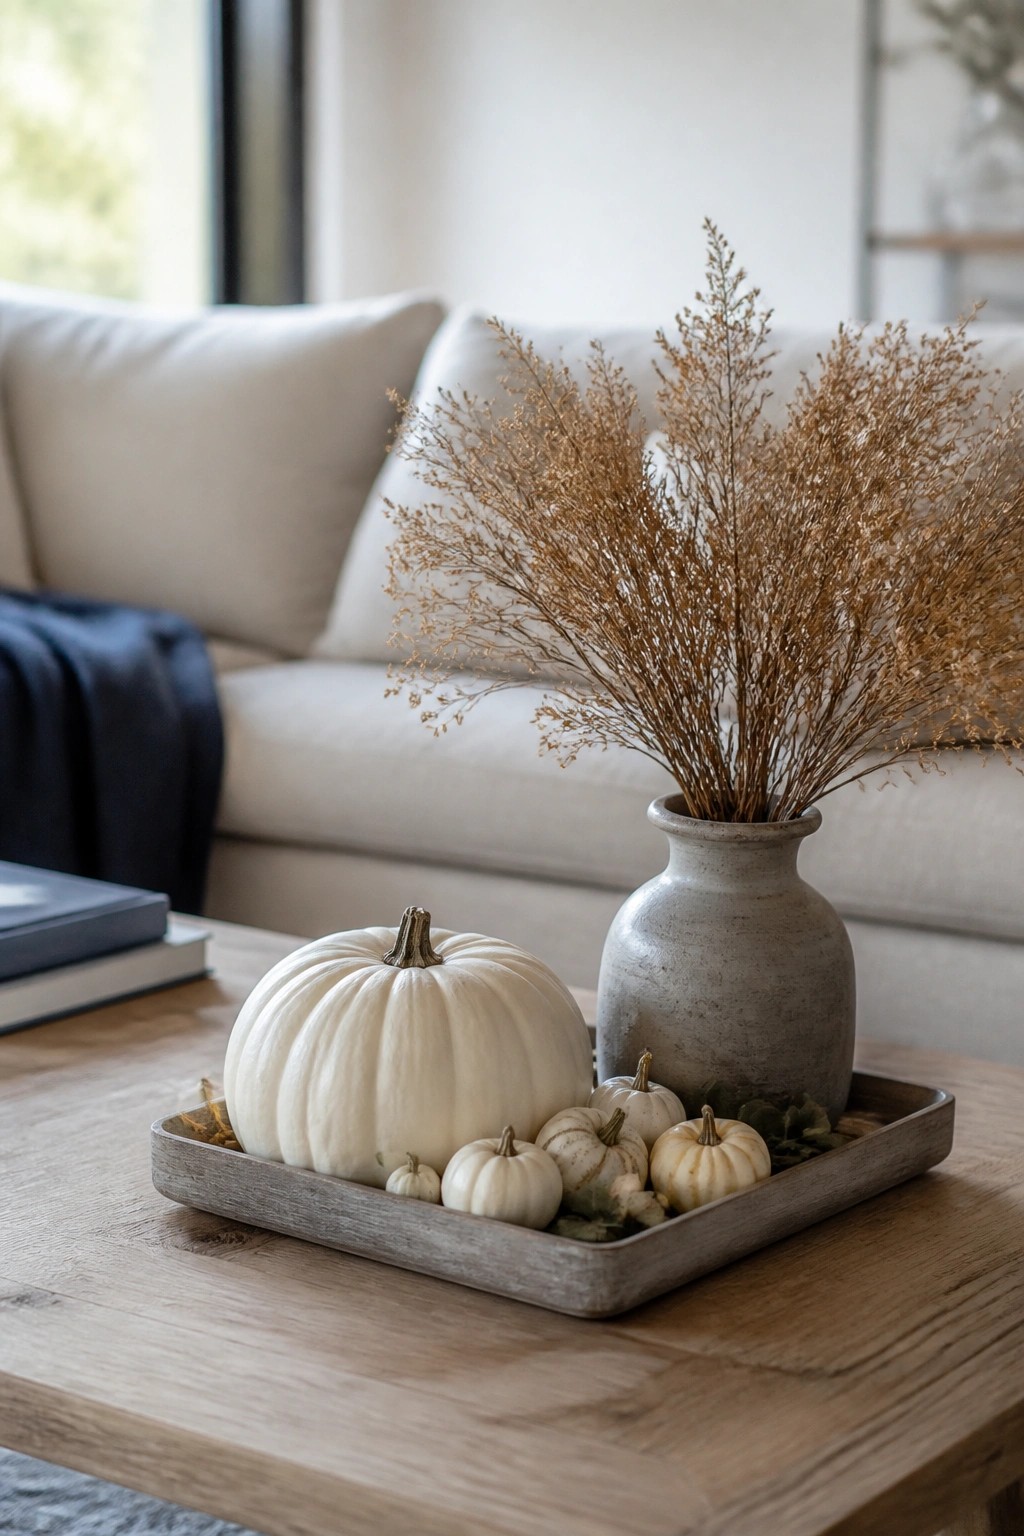
A simple tray filled with white pumpkins of different sizes makes an easy Halloween accent for any tabletop. The neutral color keeps the look calm while still reading as seasonal.
Set the tray on a coffee table or console and add just a few small pumpkins to fill gaps. Dried stems in a vase give a bit of height without crowding the arrangement. This works best in rooms with light furniture where you want a clean seasonal touch.
Arrange Pumpkins On Open Shelves
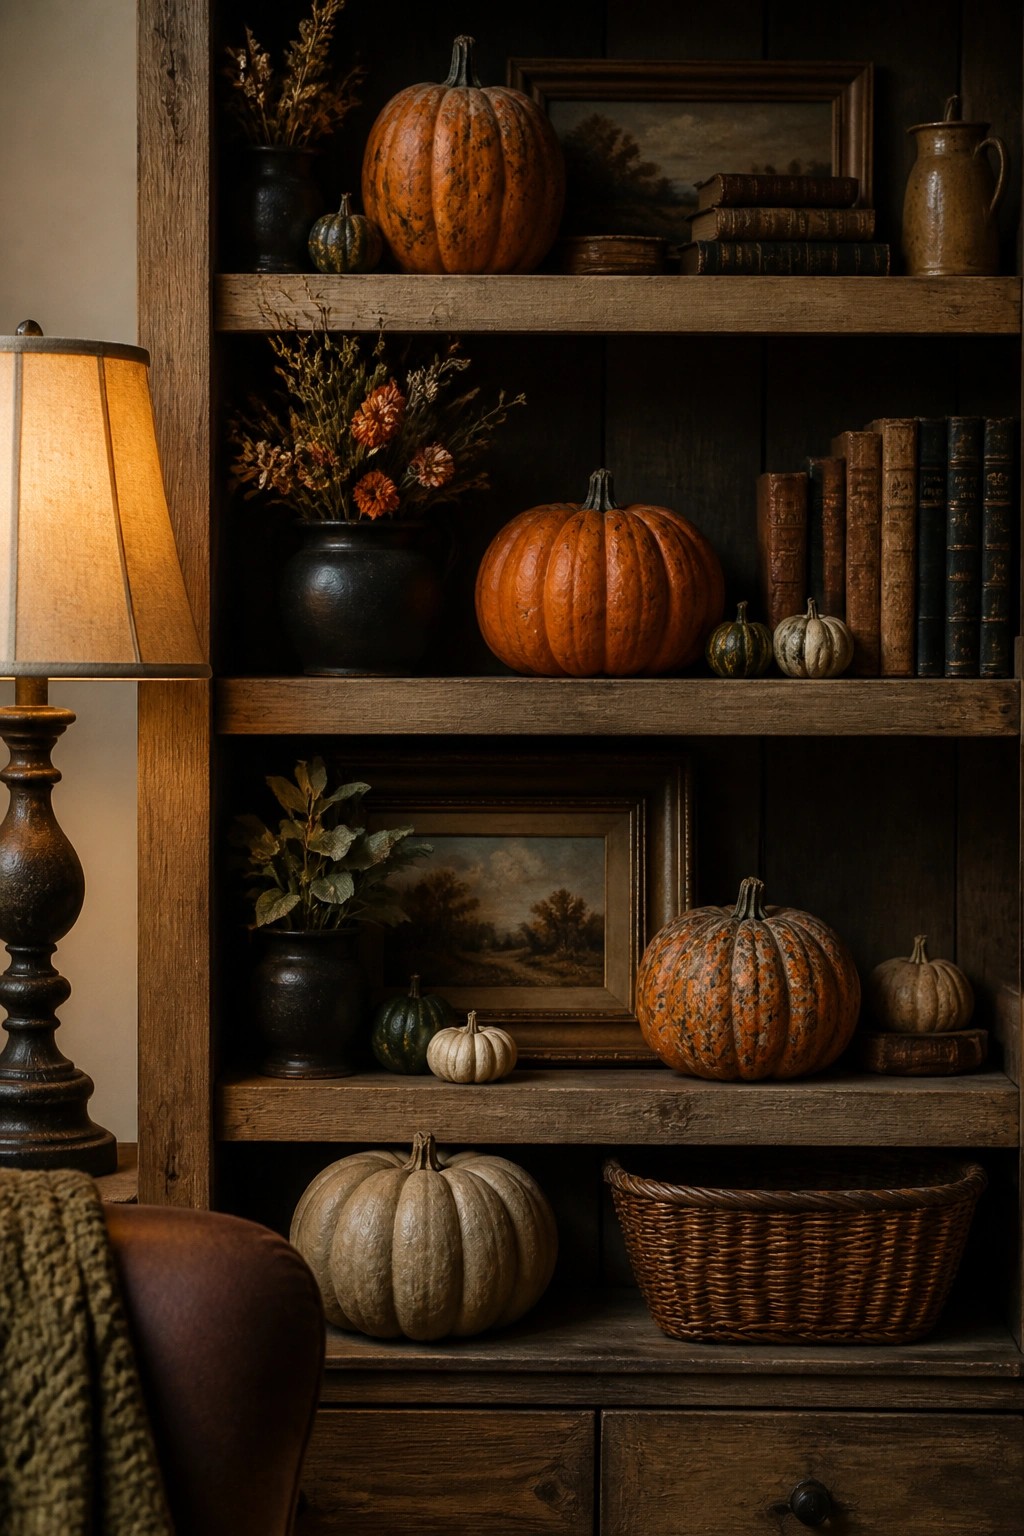
One simple way to make pumpkins stand out is to spread them across open shelves in different sizes and shades. The mix of deep orange and pale ones gives the display weight while still keeping it relaxed and seasonal.
Place the largest pumpkins on the lower shelves and work upward with smaller ones to fill the space without crowding it. A few neutral books or vases between them help the arrangement feel balanced rather than overdone.
Group Pumpkins Along The Kitchen Counter
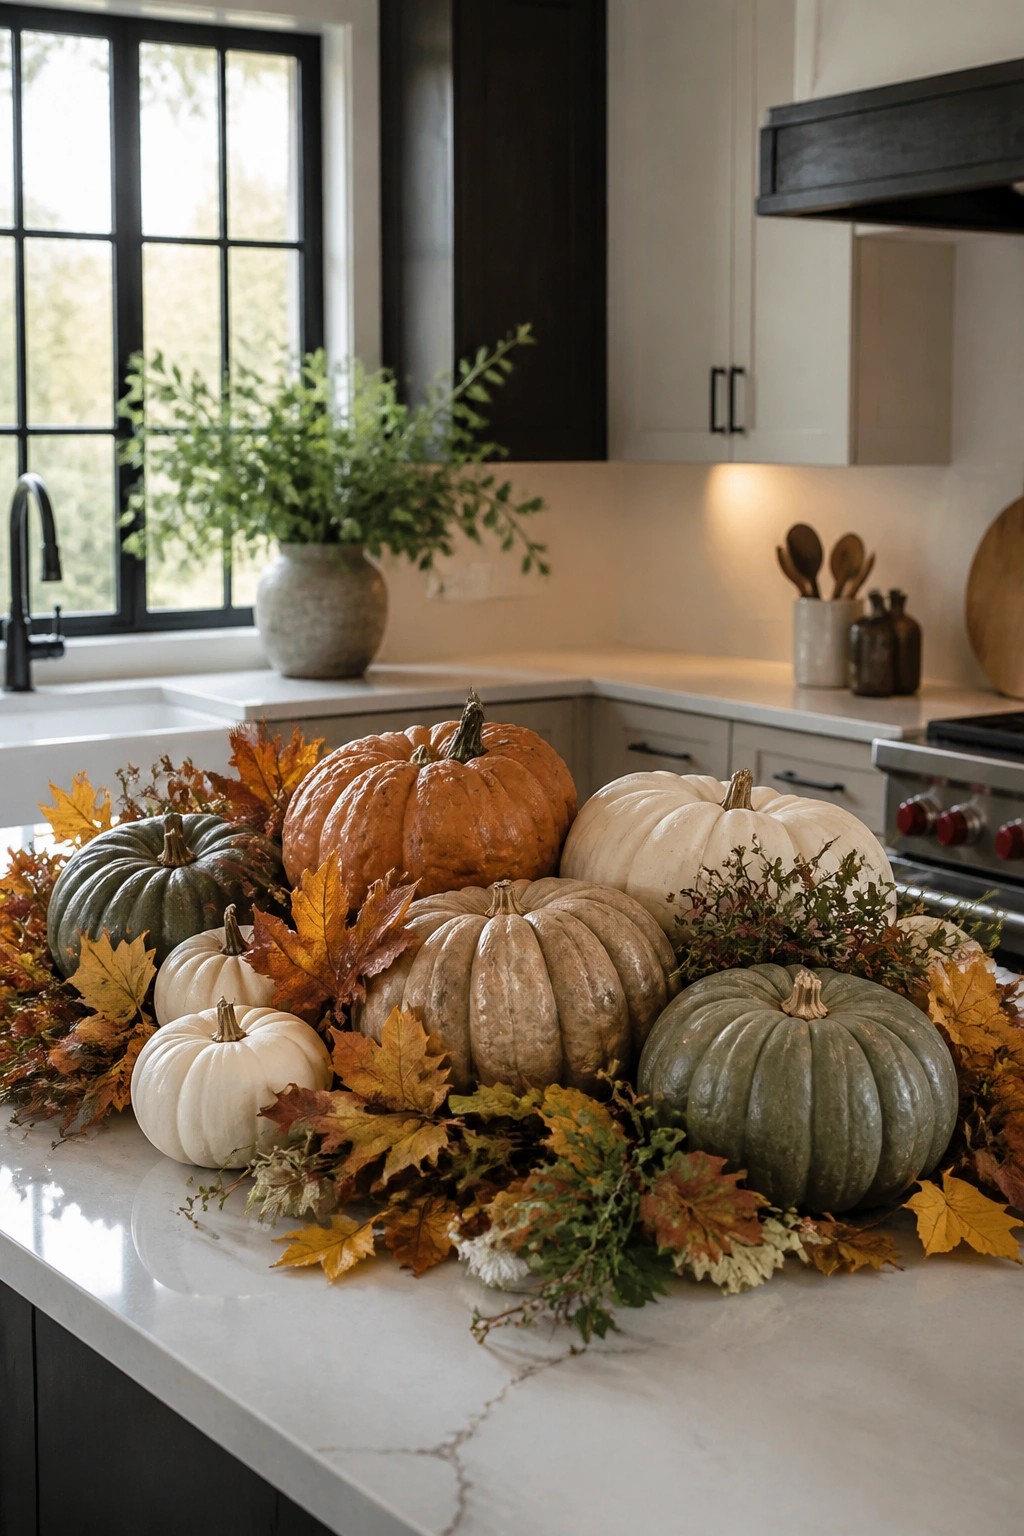
A big cluster of pumpkins in different sizes and shades makes a strong focal point on the kitchen counter. The mix of orange, white, and green tones keeps it interesting without needing extra props or bright colors.
Place the largest pumpkins in the middle and work smaller ones toward the edges. Tuck in a few autumn leaves if you want, but keep the focus on the pumpkins so the display stays simple and easy to update each year.
Group Pumpkins Down The Center Of The Table

A long row of pumpkins mixed with a few leaves makes a simple but effective table centerpiece. The varying sizes and colors keep it from looking flat, and the candles tucked in between add a little glow without extra work.
This setup works best on a long dining table where you want something seasonal but not overwhelming. Use whatever pumpkins you already have, add a few battery candles, and stop there. It stays easy to clear when the meal is over.
Group Pumpkins Around A Porch Bench
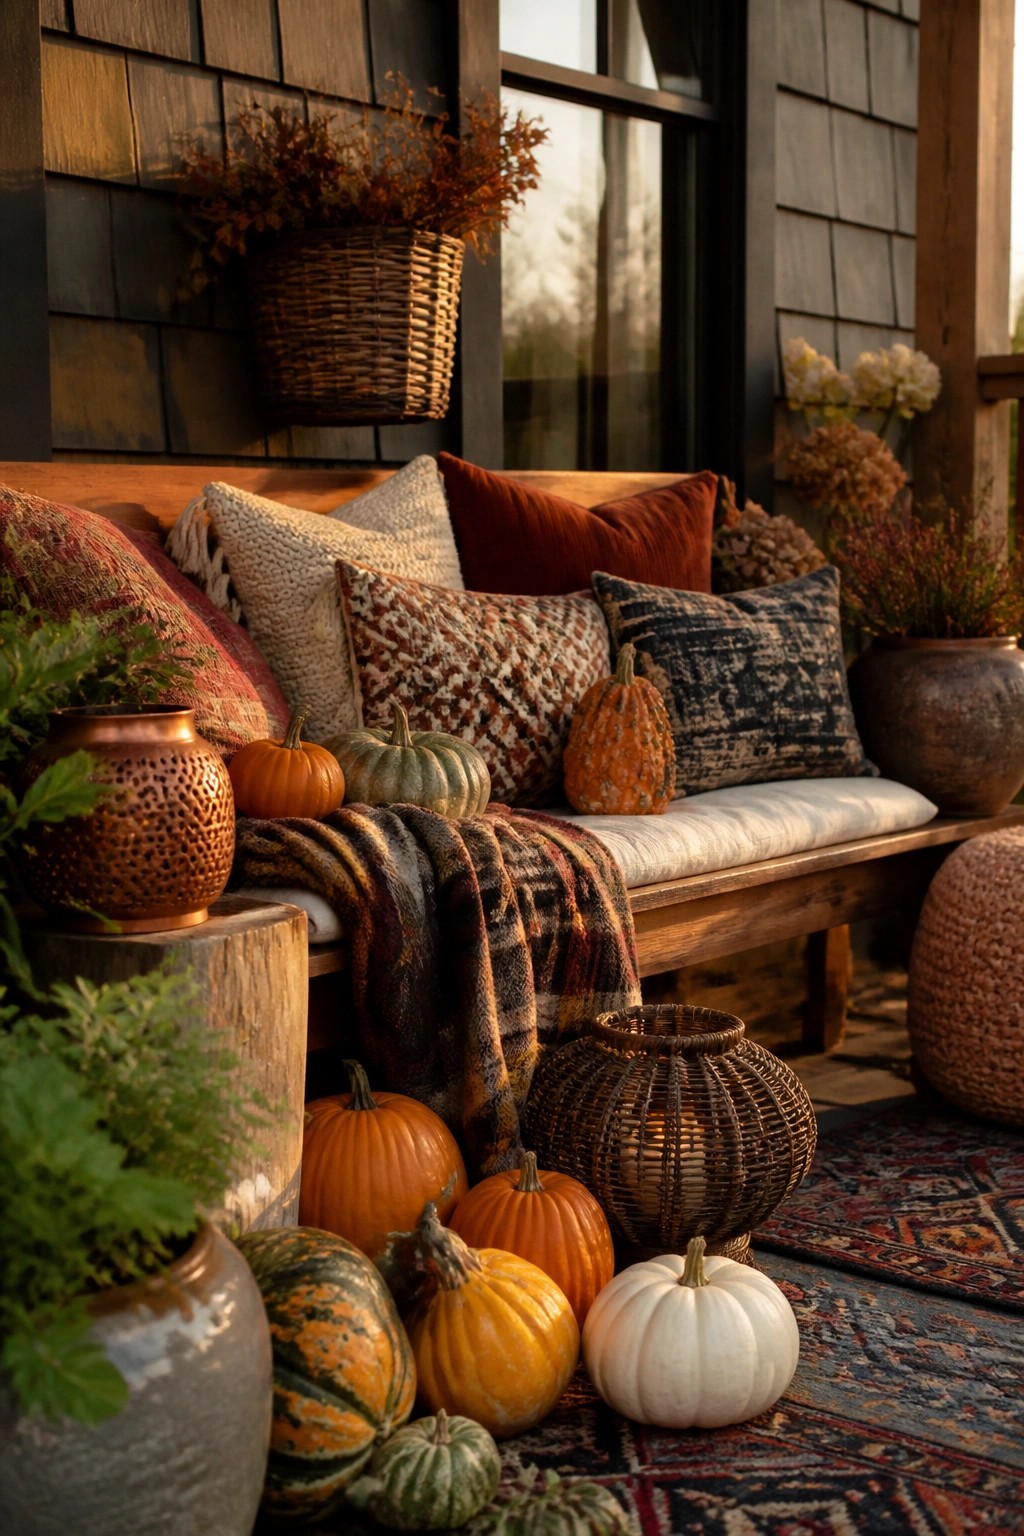
Pumpkins make an easy focal point when you gather them in different sizes and shades right around a bench. The mix of orange, white, and green varieties creates a simple layered look that feels seasonal without needing much else.
Place a few larger pumpkins on the floor in front and tuck smaller ones in between. Add one or two lanterns nearby if you want a little light at night. This setup works well on any porch because it stays contained and uses only one main element.
Group Pumpkins Along A Windowsill
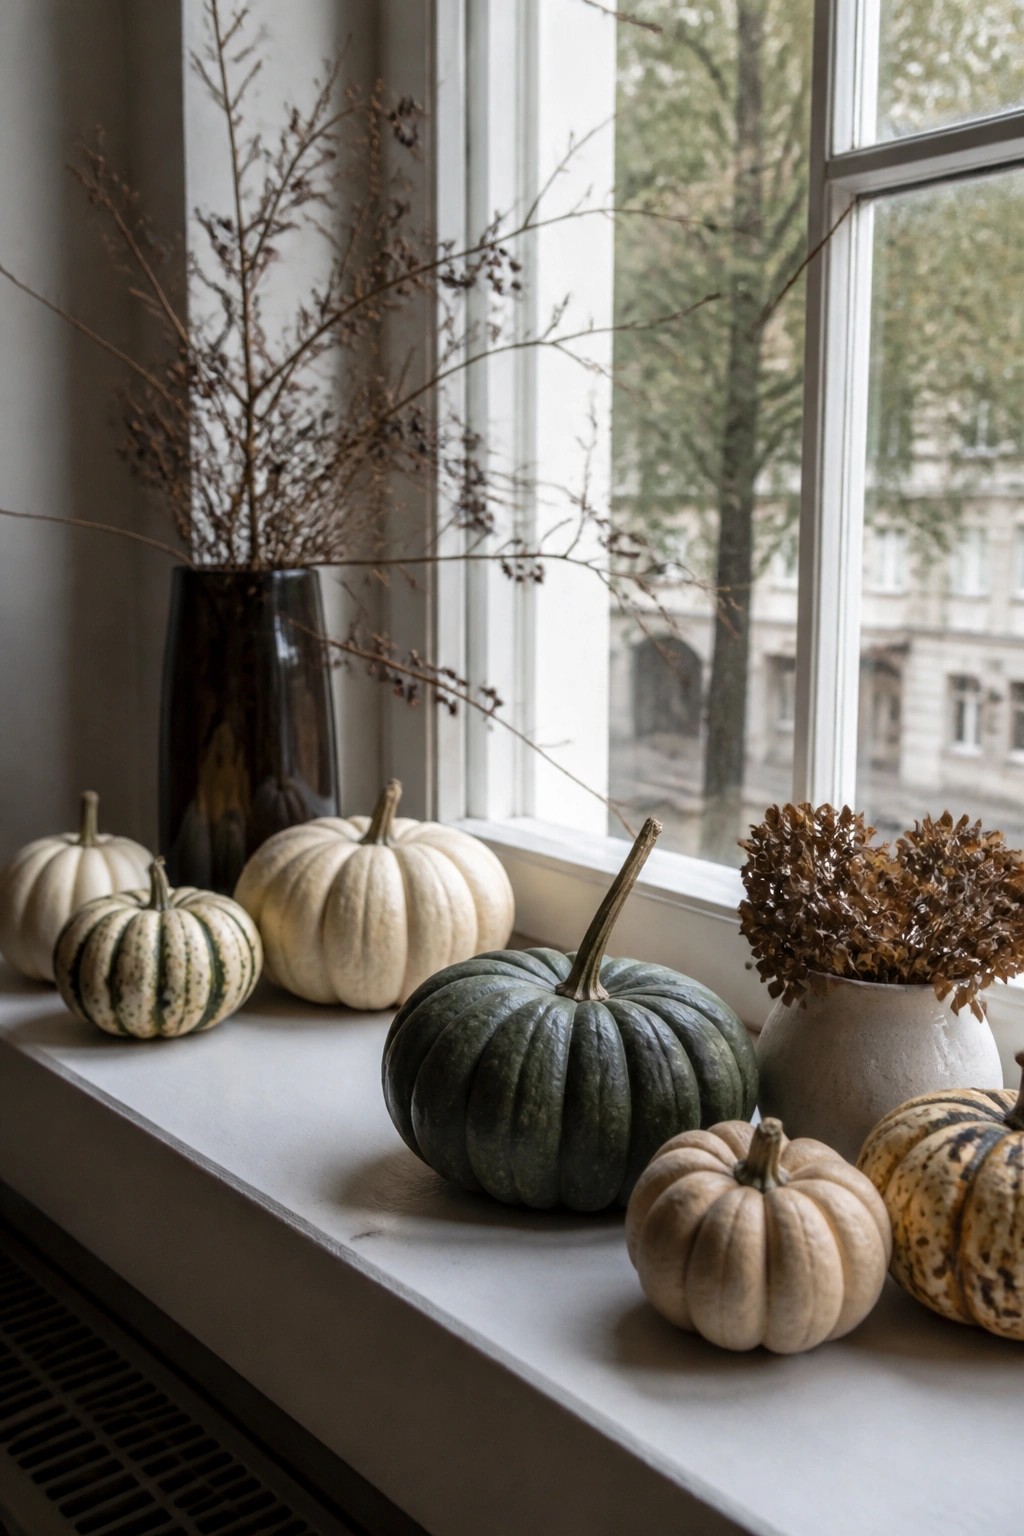
Line up pumpkins in different sizes and finishes right on a windowsill. The mix of smooth white ones, striped varieties, and the big green one in the center creates a simple display that still feels full without any extra pieces.
This works well in any room with a wide ledge because it needs almost nothing else. Use what you already have or pick up a few inexpensive pumpkins in neutral tones, and let the shapes do the work. Keep the rest of the sill clear so the grouping stays easy to notice.
Line Pumpkins Along The Staircase
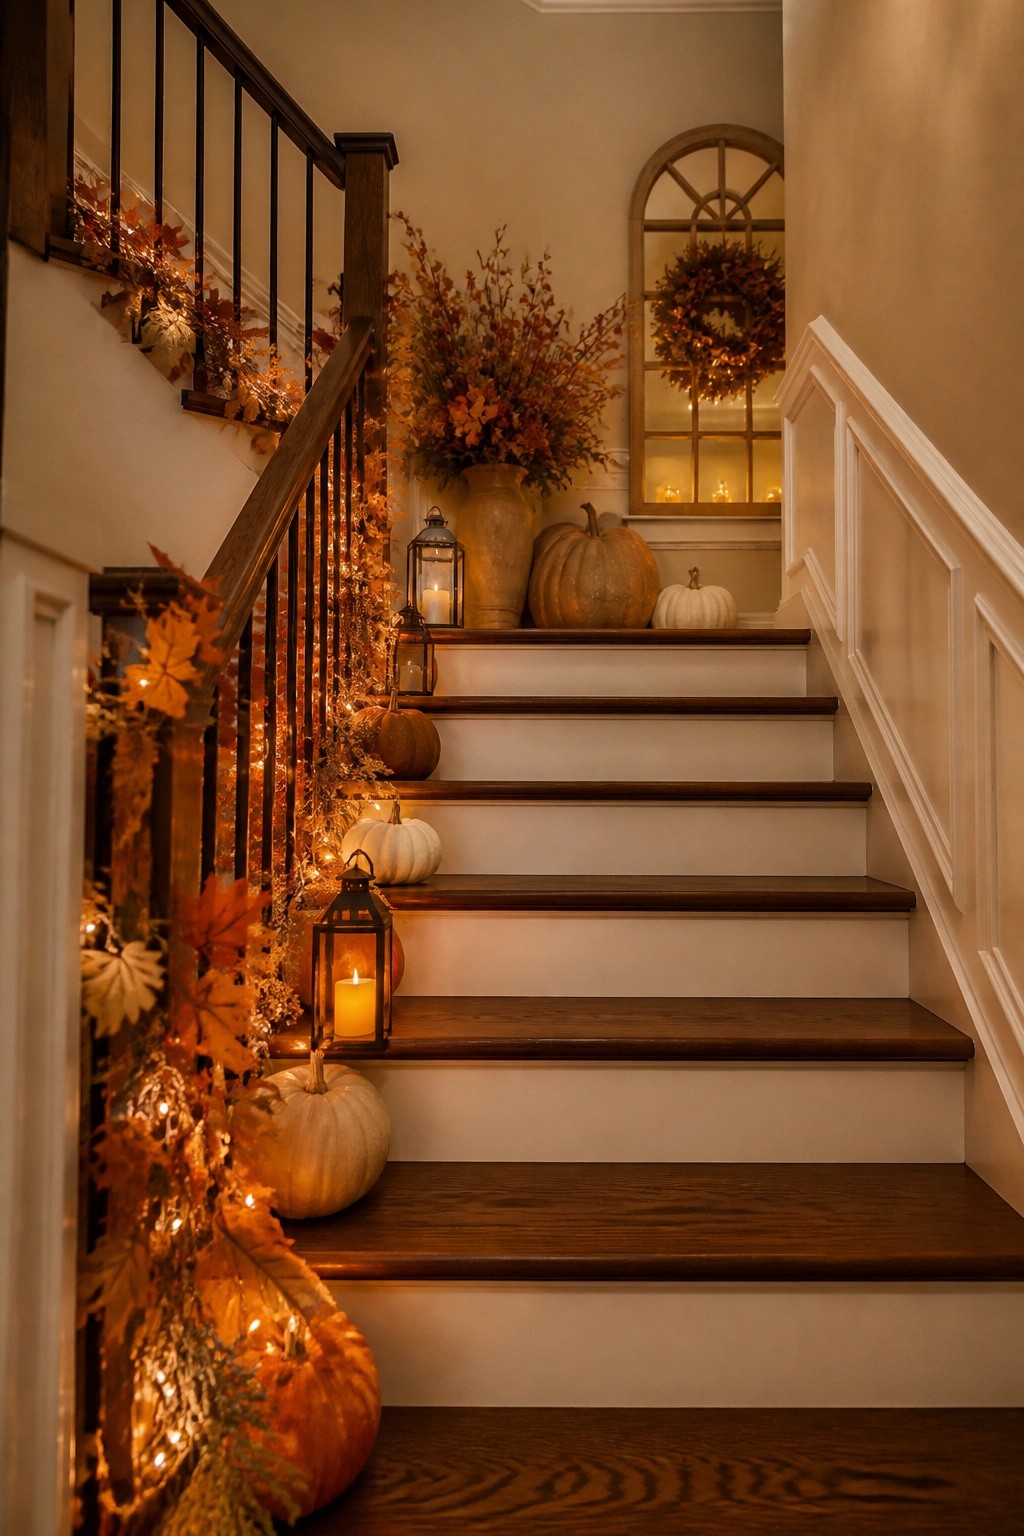
Placing pumpkins on the steps turns a plain staircase into a simple seasonal display. Different sizes and colors keep it interesting without much effort, and the lanterns add a soft glow that works well at night.
This idea works best on wider stairs where the pumpkins will not get in the way. Start with a few larger ones near the bottom and add smaller ones as you go up, then tuck in a couple of lanterns so the whole run feels connected.
Group Pumpkins Along The Porch Steps
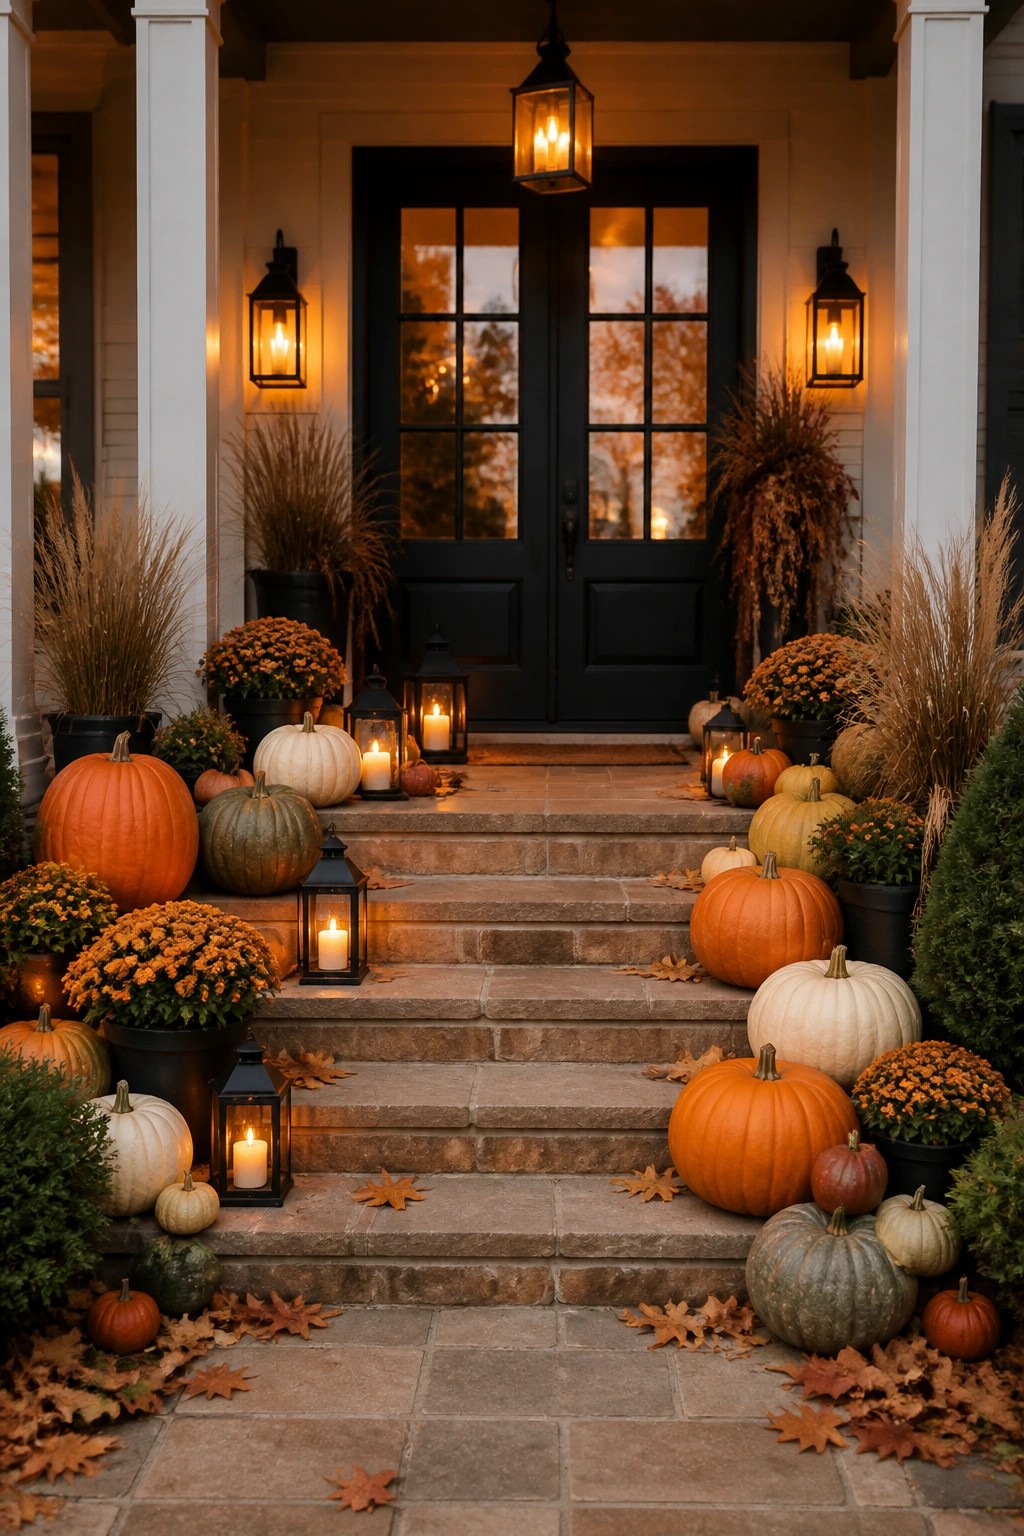
Placing a big mix of pumpkins on the front steps creates an easy and eye-catching display that feels festive without much effort. Different sizes and colors keep the look varied while still letting the pumpkins do most of the work.
Start with a few larger pumpkins at the base of the steps and work your way up with smaller ones tucked between them. Add a couple of lanterns with candles so the arrangement stays visible after dark. This setup works well on any porch or entry with steps and can be put together in an afternoon.
Group Metallic Pumpkins On A Nightstand
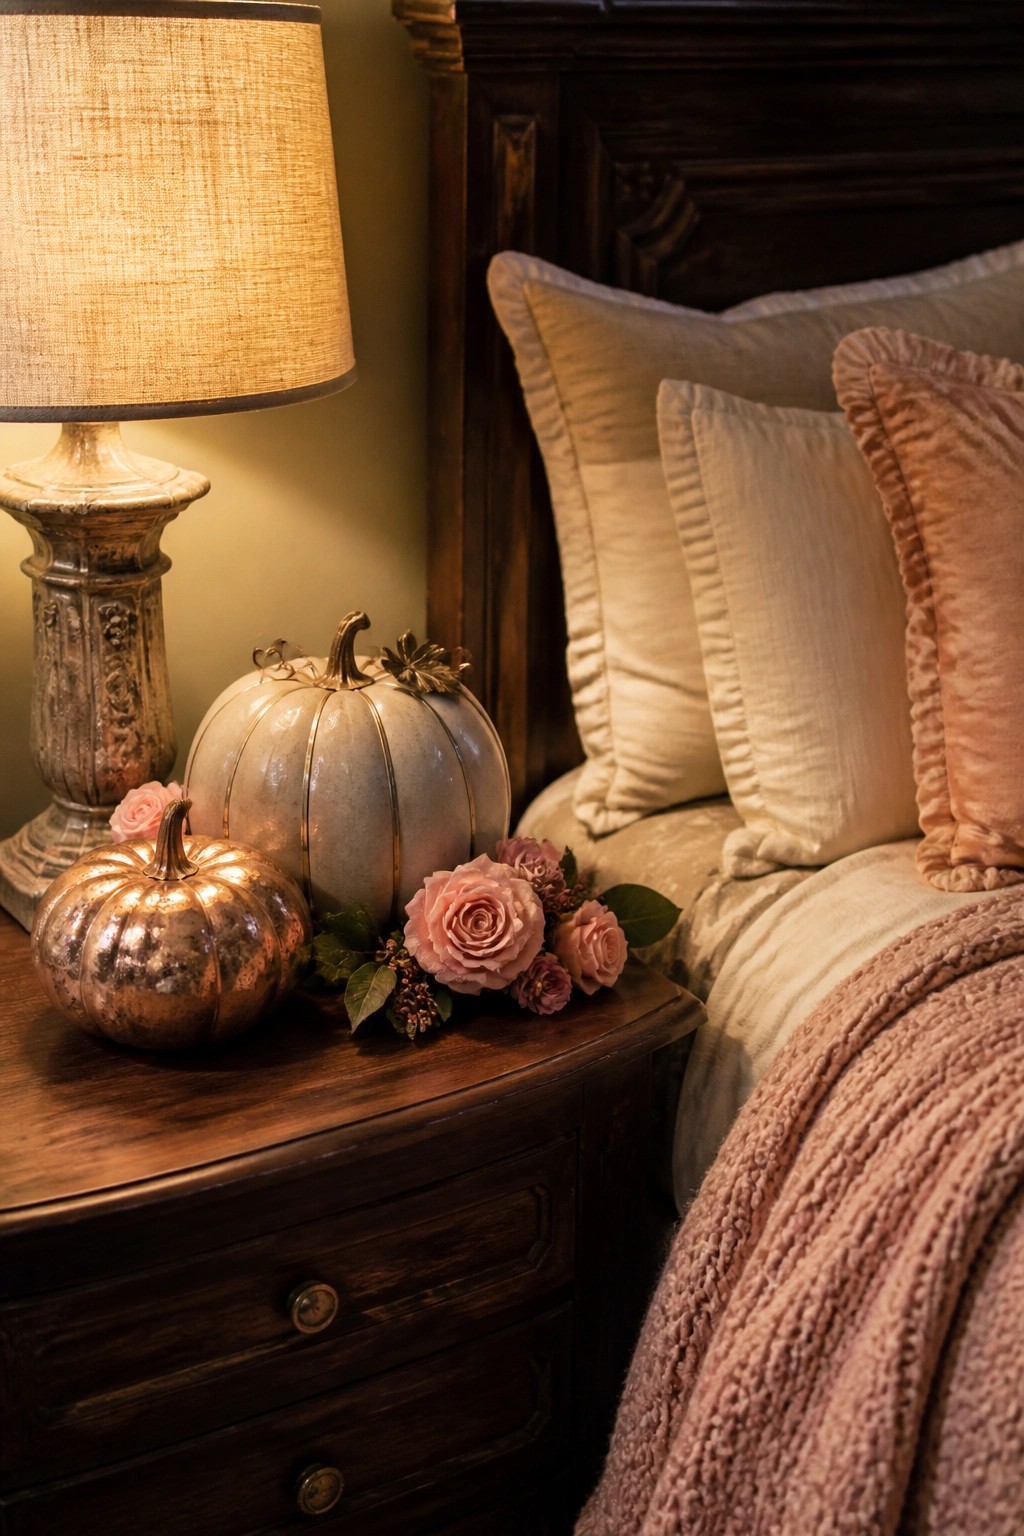
A small cluster of metallic pumpkins on a nightstand gives the bedroom a simple Halloween accent. The shiny finishes stand out against the wood and keep the look polished while still reading as seasonal.
Use two or three pumpkins in different sizes and tones. Place them near a lamp so the surfaces catch the light, and add just a few flowers if you want. The whole setup takes almost no time and comes down easily after the holiday.
Group Pumpkins Along The Mantel
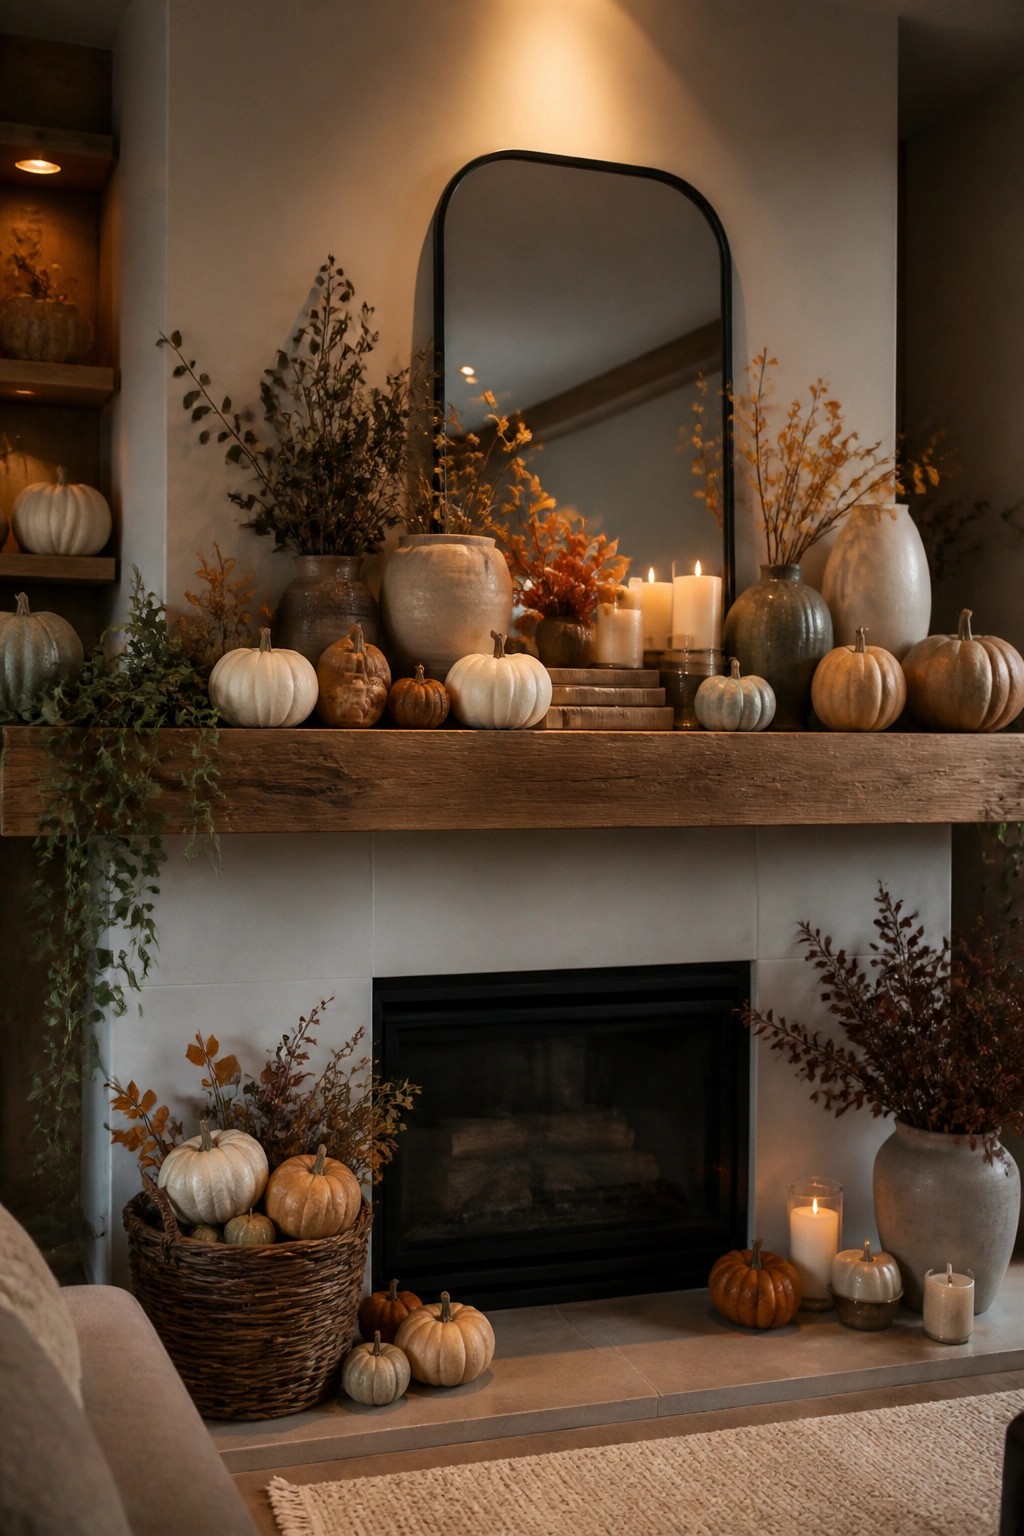
Placing pumpkins of different sizes and shades across a mantel creates a simple Halloween display that still feels full. The mix of white and orange tones stands out against the wood without needing extra props or bright colors.
This works best when you keep the arrangement loose rather than perfectly lined up. Start with a few larger pumpkins in the center and tuck smaller ones toward the sides. A basket of extra pumpkins on the hearth adds more impact without crowding the space.
Group Pumpkins Along The Porch Steps
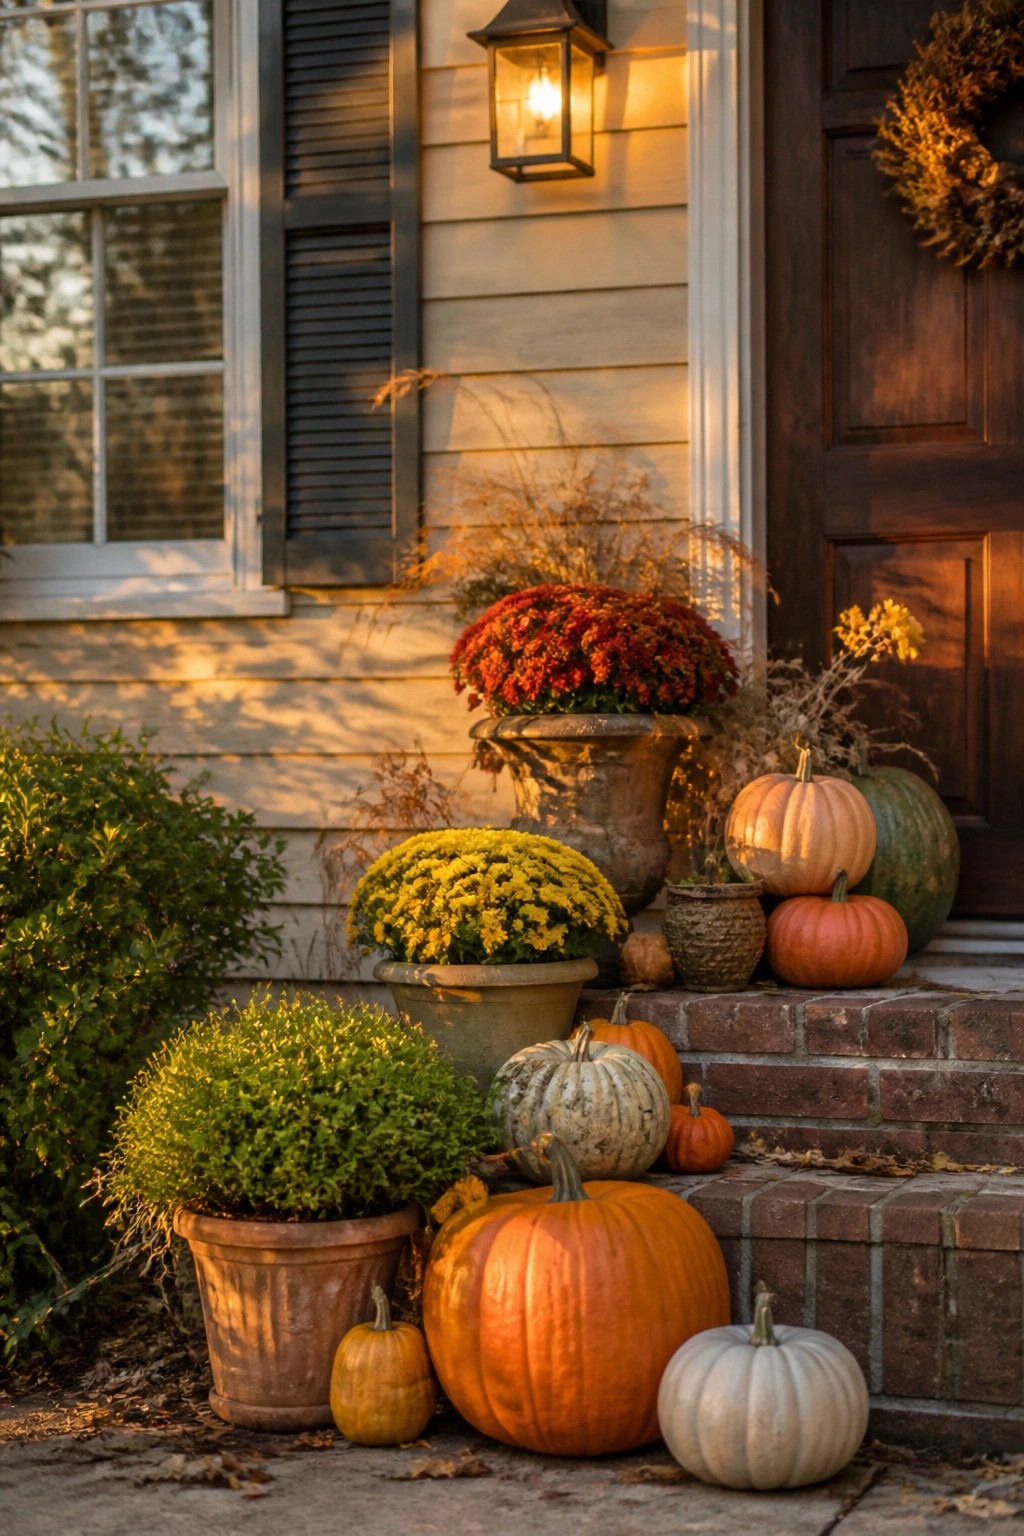
A simple way to make an impact is to line up pumpkins of different sizes and colors along the front steps. The mix of large orange ones, smaller white and green pumpkins, and a few tucked near the door keeps the look full without feeling crowded.
Start with the biggest pumpkins at the bottom and work upward with smaller ones so the arrangement feels balanced. Add a couple of potted mums if you want a bit of color, but the pumpkins do most of the work on their own.
Cluster Pumpkins On A Console Table
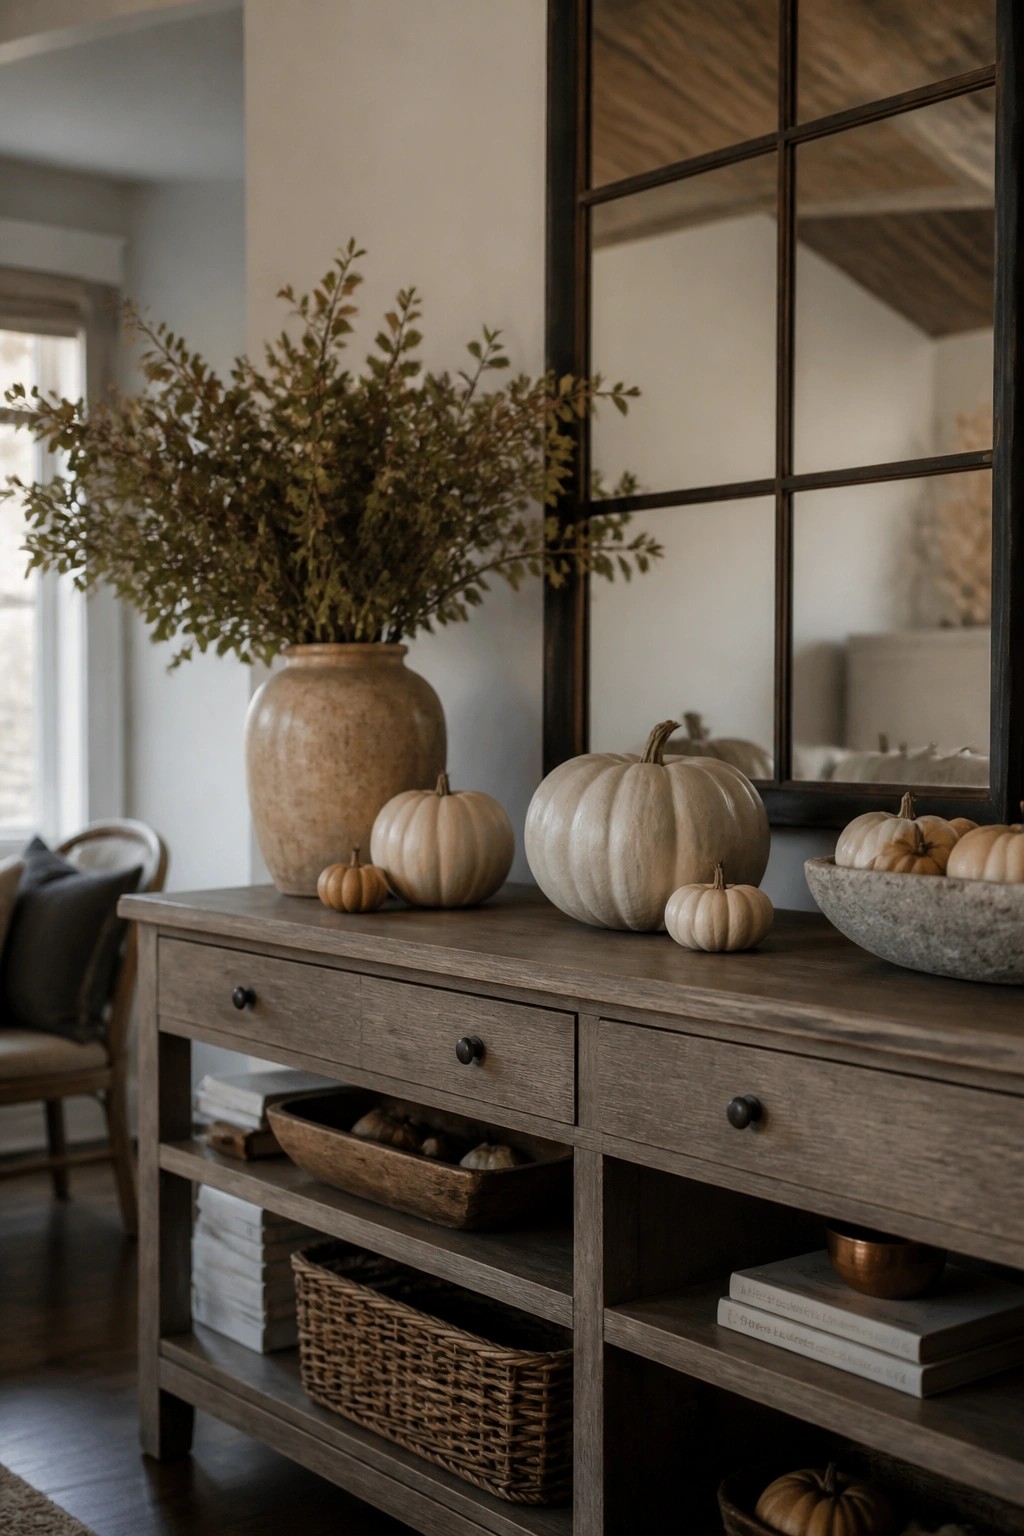
A simple way to make pumpkins feel more like Halloween decor is to group several together on one surface. Placing them in different sizes along a console creates a clear focal point without needing extra props or bright colors. The neutral tones keep it from feeling busy while the repeated shape makes the theme easy to spot.
This works well in an entry or living area where the table already gets attention. Start with three or four pumpkins and add a couple more only if the space feels empty. Keep the rest of the surface light so the pumpkins stay the main feature.
Create A Pumpkin Tray Display
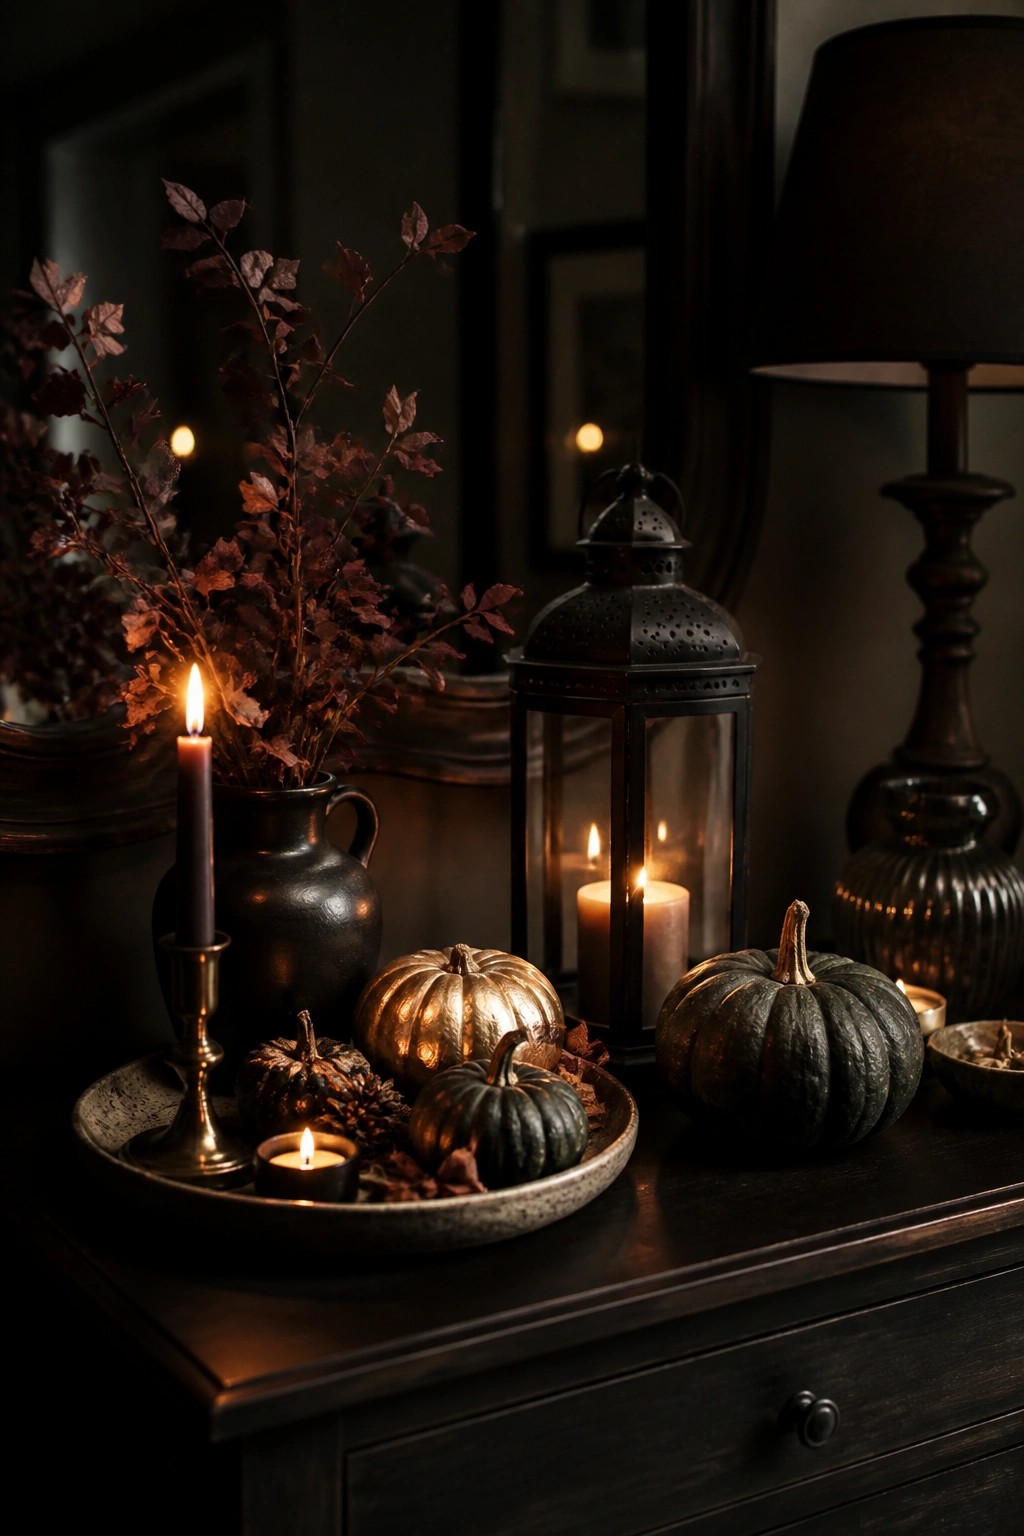
A simple tray filled with a mix of pumpkins makes an easy focal point for any surface. The contrast between metallic gold and deep green pumpkins adds just enough interest without needing extra pieces. Adding a few candles keeps the arrangement from feeling flat.
Place the tray on a console, sideboard, or coffee table where it can catch the light. Use three to five pumpkins in different sizes and finishes, then tuck in one or two small candle holders. This setup works in almost any room and takes only minutes to change when the season ends.
Group Pumpkins In Soft Colors On A Console
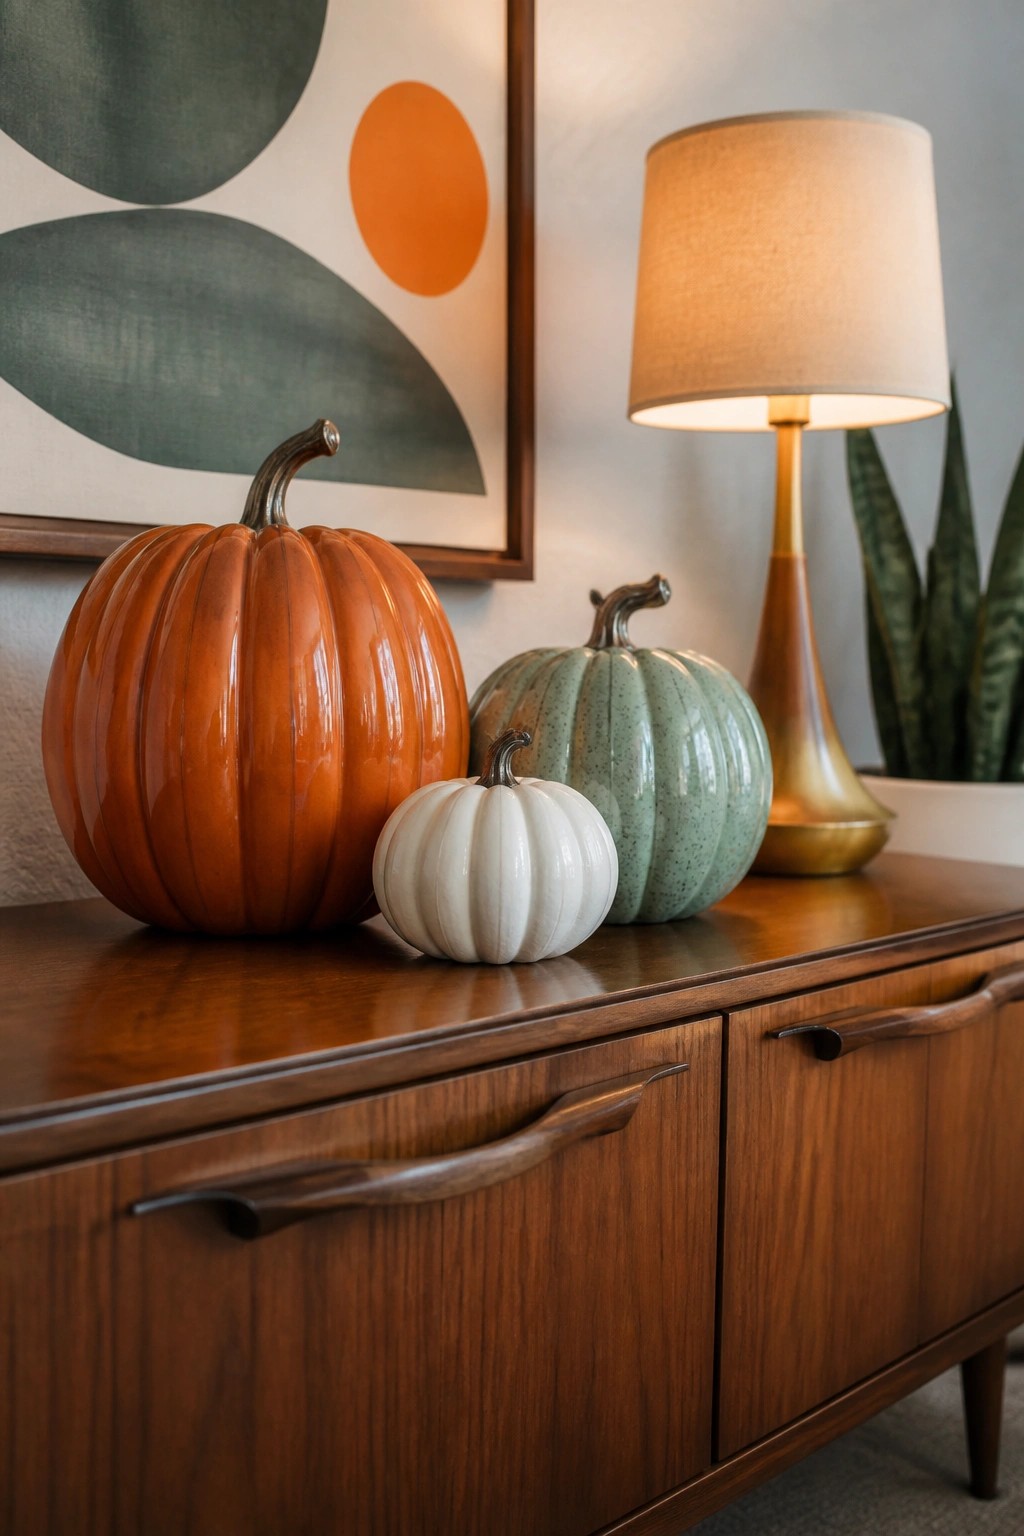
A simple mix of pumpkins in different sizes and finishes can turn a plain console into a quiet Halloween focal point. Here the large orange one sits next to a small white pumpkin and a speckled green one, keeping the look seasonal without feeling busy.
This works well in an entry or living room because it needs almost no extra pieces. Choose three or four pumpkins in similar tones, line them up on any table or cabinet, and stop there. The neutral palette lets the shapes stand out while still reading as Halloween.
Cluster Pumpkins Along The Porch Steps
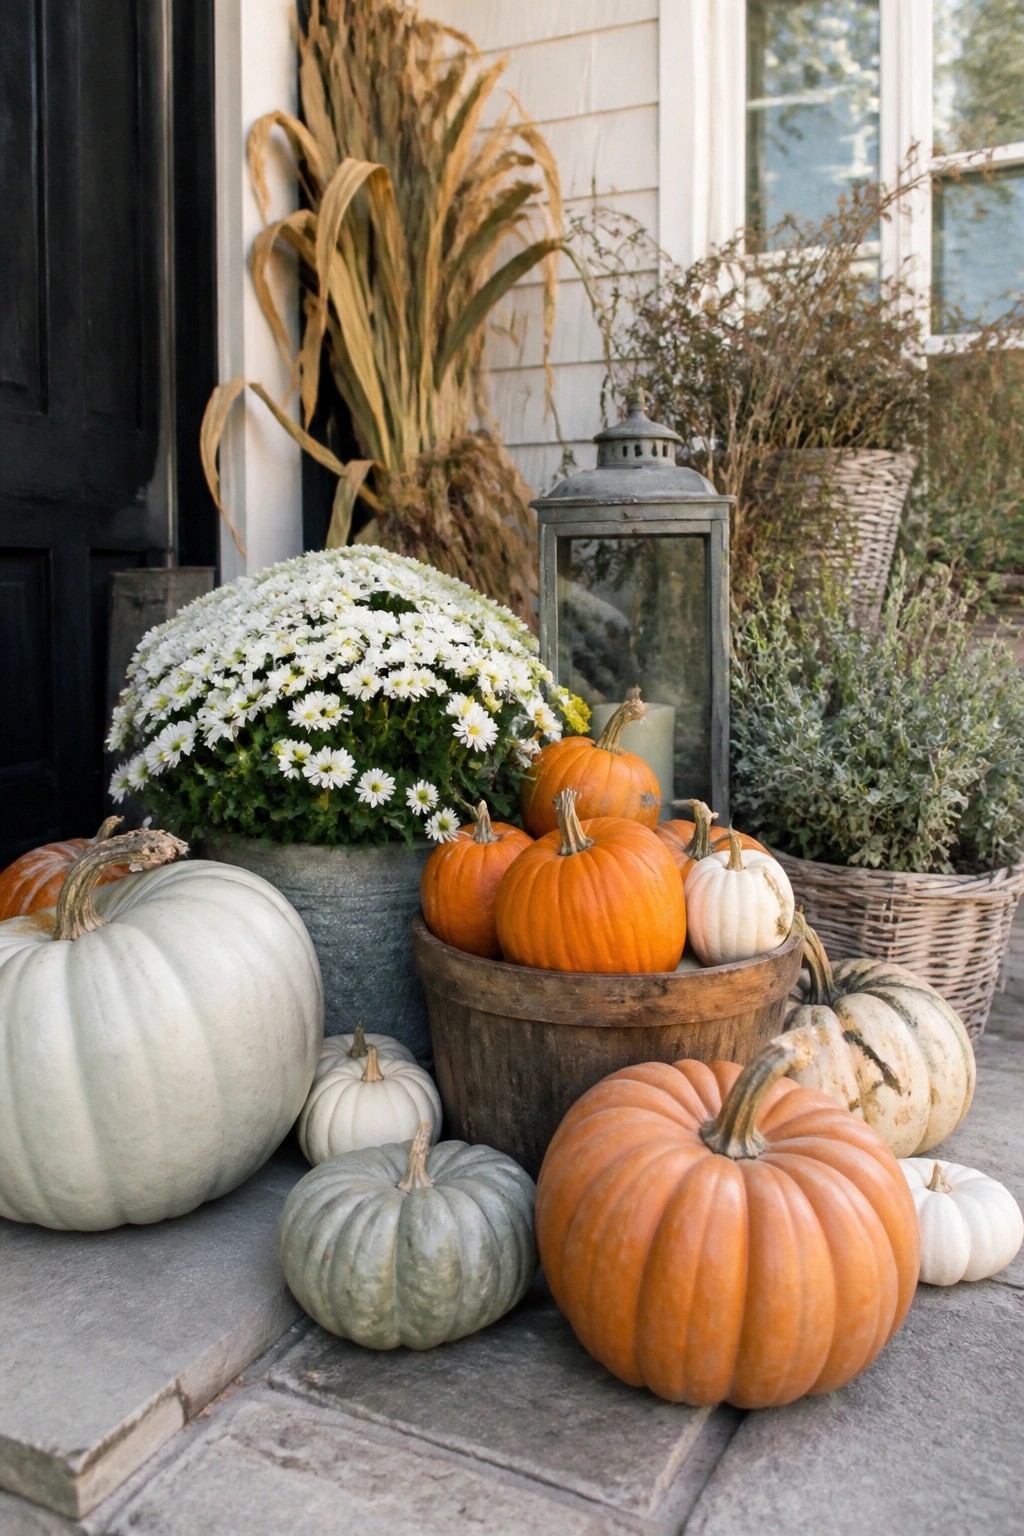
Pumpkins in different sizes and colors create a simple focal point when grouped together on the steps. Mixing bright orange with white and pale green varieties gives the display more interest while keeping the overall look understated.
Set a few larger pumpkins on the ground first, then fill in around them with smaller ones and a low wooden bucket. This approach works on any front porch and requires little beyond the pumpkins themselves.
Group Pumpkins On A Tray
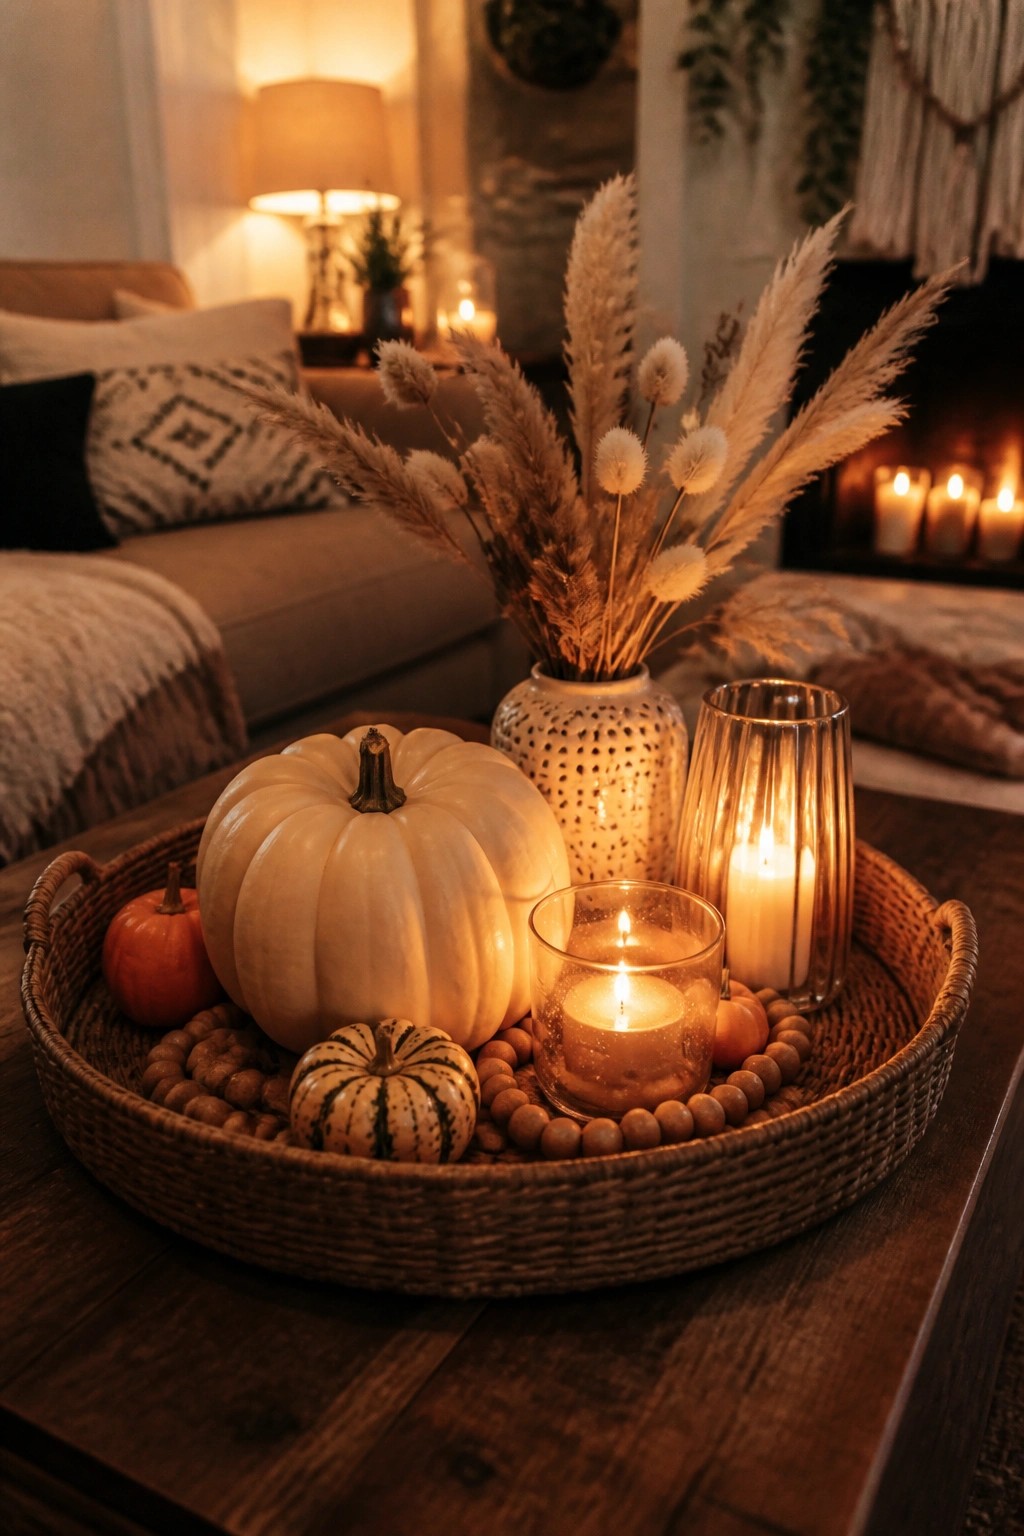
A tray makes it easy to gather several pumpkins in one spot without them looking scattered. The mix of sizes and colors keeps the arrangement interesting while the tray itself gives the whole thing a finished look.
Set the tray on a coffee table or side table where it can be seen from the main seating area. Use three to five pumpkins of different shapes and add a couple of candles or a small vase of dried stems if you want extra height. This works well in any room because you can move the tray or swap out the pumpkins when the season changes.
Group Pumpkins Along The Mantel
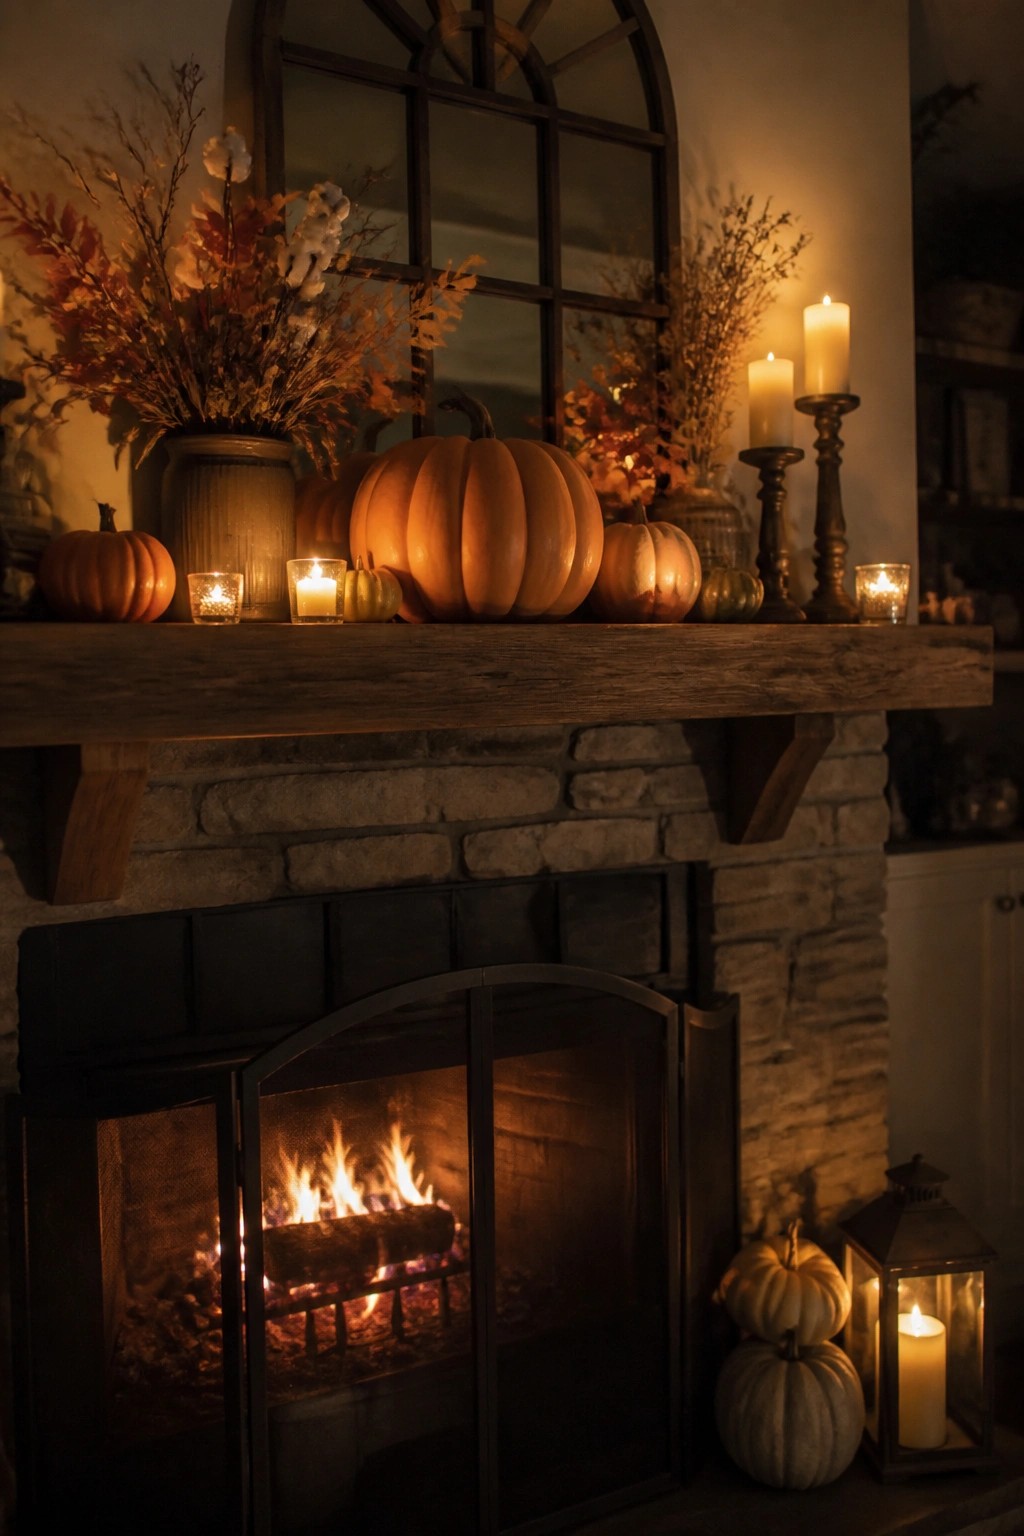
Placing pumpkins of different sizes along a mantel gives the fireplace an instant seasonal focus without much effort. The mix of large orange pumpkins in the center with smaller ones tucked around them creates a simple layered look that reads as Halloween right away.
This works best on a wide mantel where you can spread the pumpkins out rather than crowding them. Start with one or two bigger ones as the main shape, then fill gaps with smaller pumpkins and a few candles for light. Keep the rest of the mantel light so the pumpkins stay the main feature.
Arrange Pumpkins Along An Entry Console
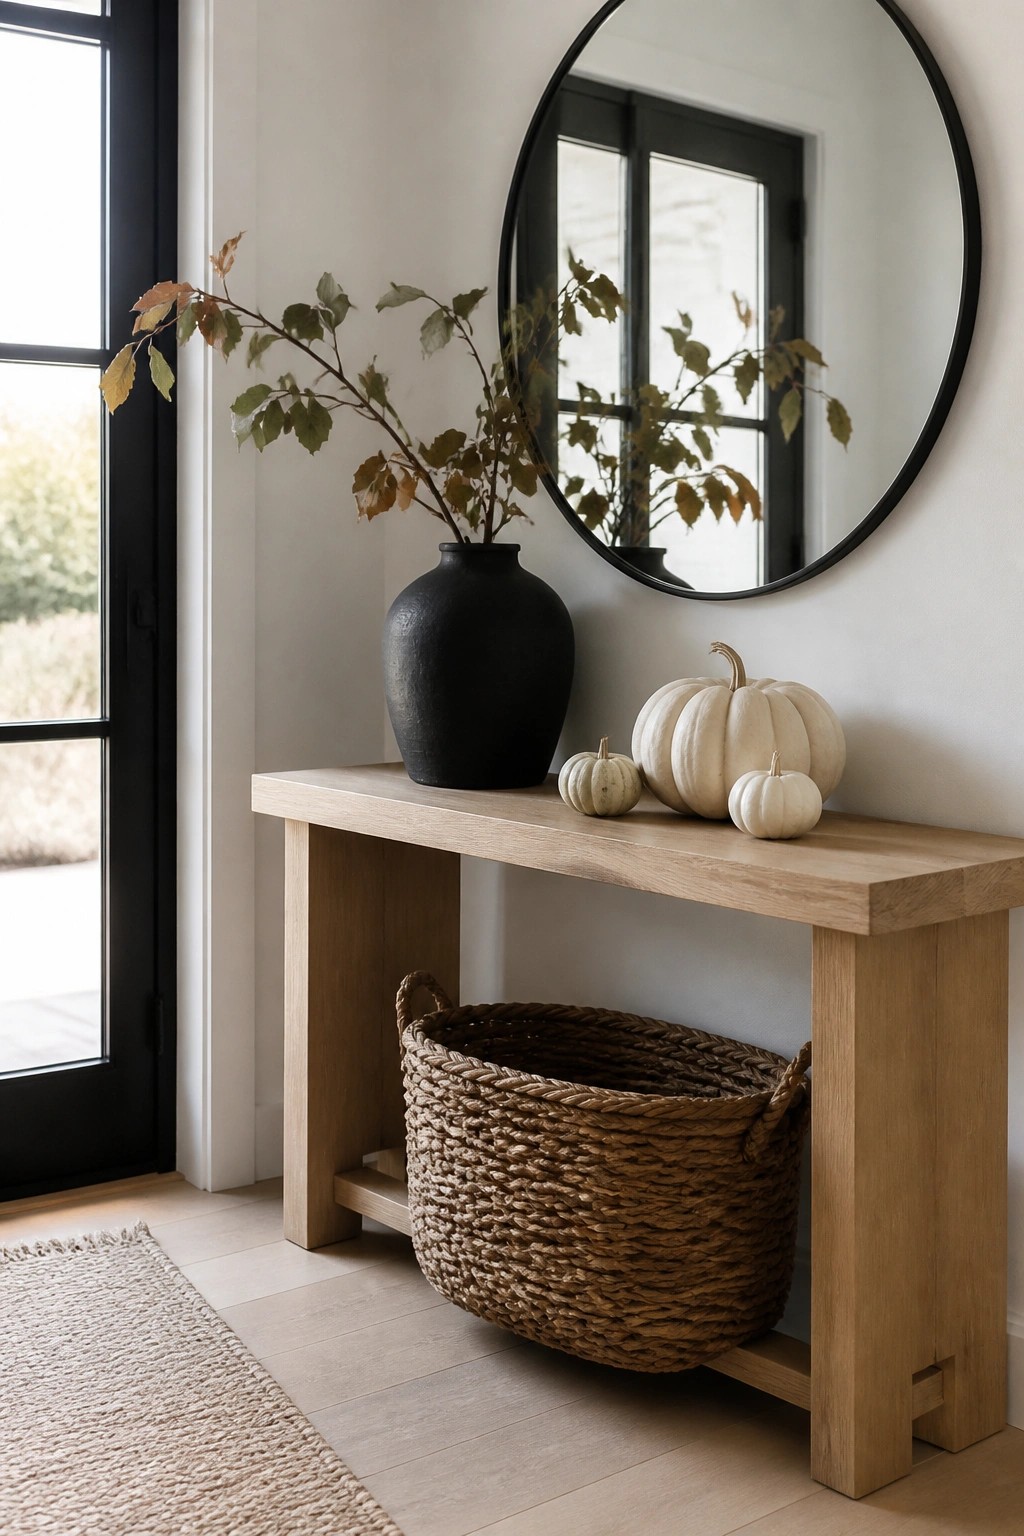
A simple row of white pumpkins in different sizes makes an easy Halloween accent for an entryway. The mix of large and small shapes draws the eye without needing extra props or bright colors.
Place them on a console table near the door and keep the rest of the surface fairly clear. This approach works in small spaces and takes almost no time to set up or take down after the season.
Hollow Out Pumpkins For Table Centerpieces
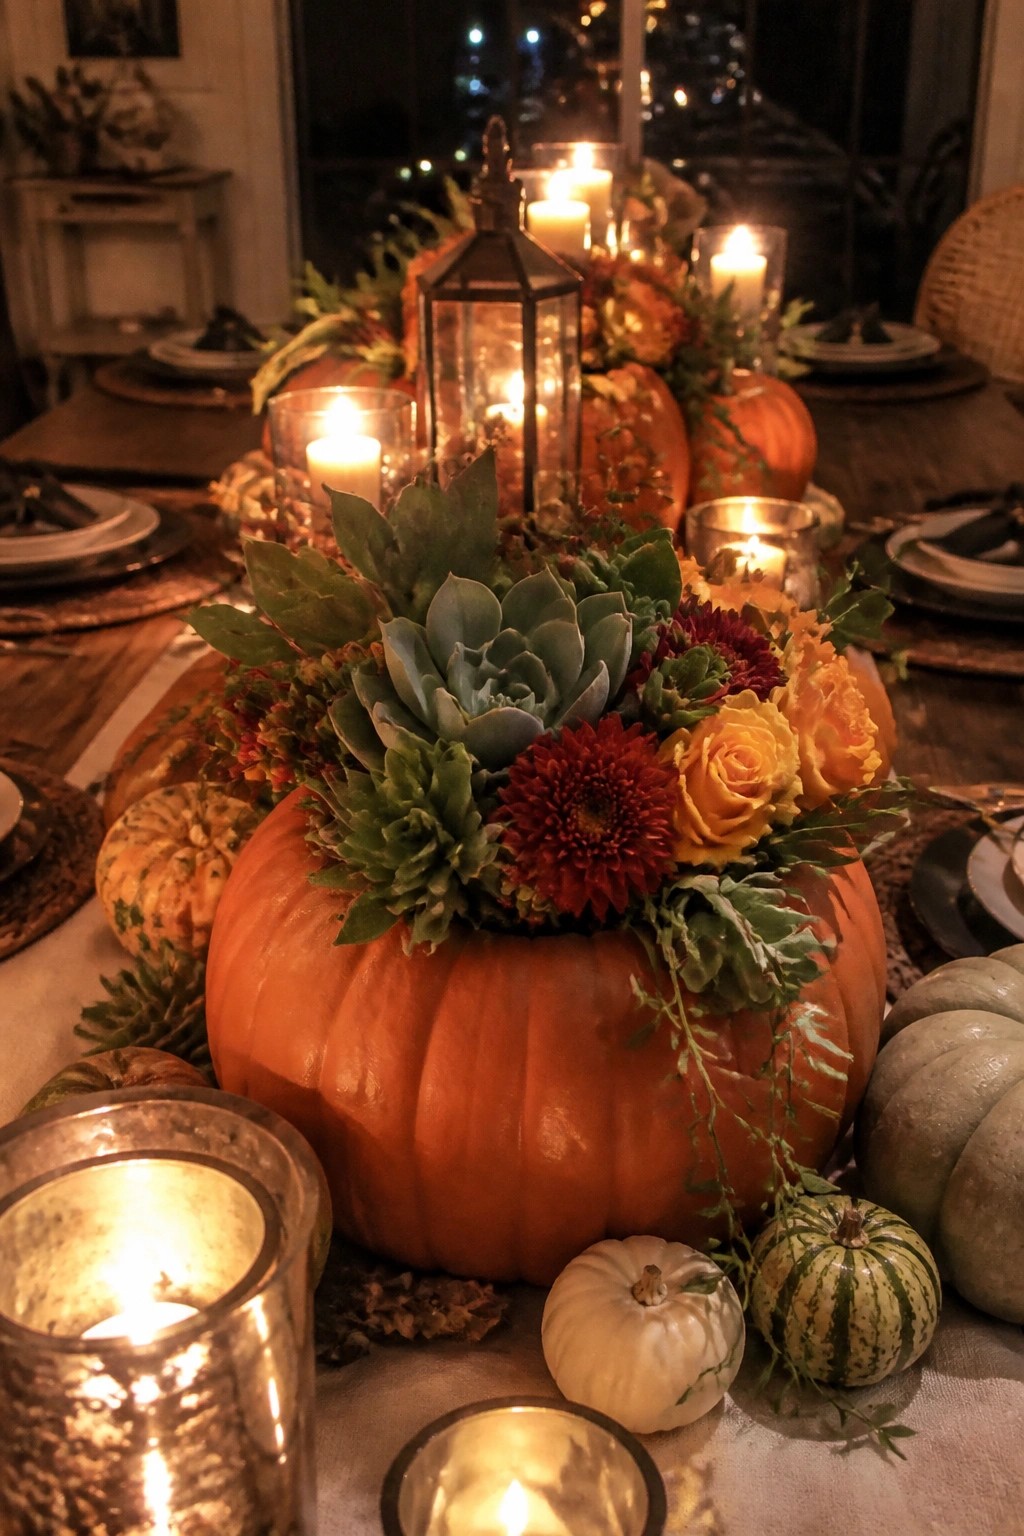
A large pumpkin works well as a natural vase when you cut off the top and scoop out the inside. Fill it with a mix of succulents and a few fresh flowers so the arrangement stays low and balanced on the table. This keeps the focus on the pumpkin itself while still adding color and texture.
Set one big pumpkin in the center of a dining table and add smaller ones around it if you want more impact. The whole setup takes only a few minutes to put together and works in both everyday meals and holiday dinners. Just line the inside with a small container or plastic to protect the pumpkin from water.
Mix Pumpkins In Different Finishes On Shelves

Placing pumpkins in a mix of colors and finishes across open shelves gives a simple Halloween look that still feels full. The black glossy ones, metallic finishes, and checkered patterns stand out together without needing extra props or complicated arrangements.
Start with a few larger pumpkins on the bottom shelves and work up with smaller ones. Keep the spacing loose so each piece shows clearly. This approach works in any room with built-ins and takes almost no time to change out after the season.
Group Pumpkins On The Front Steps
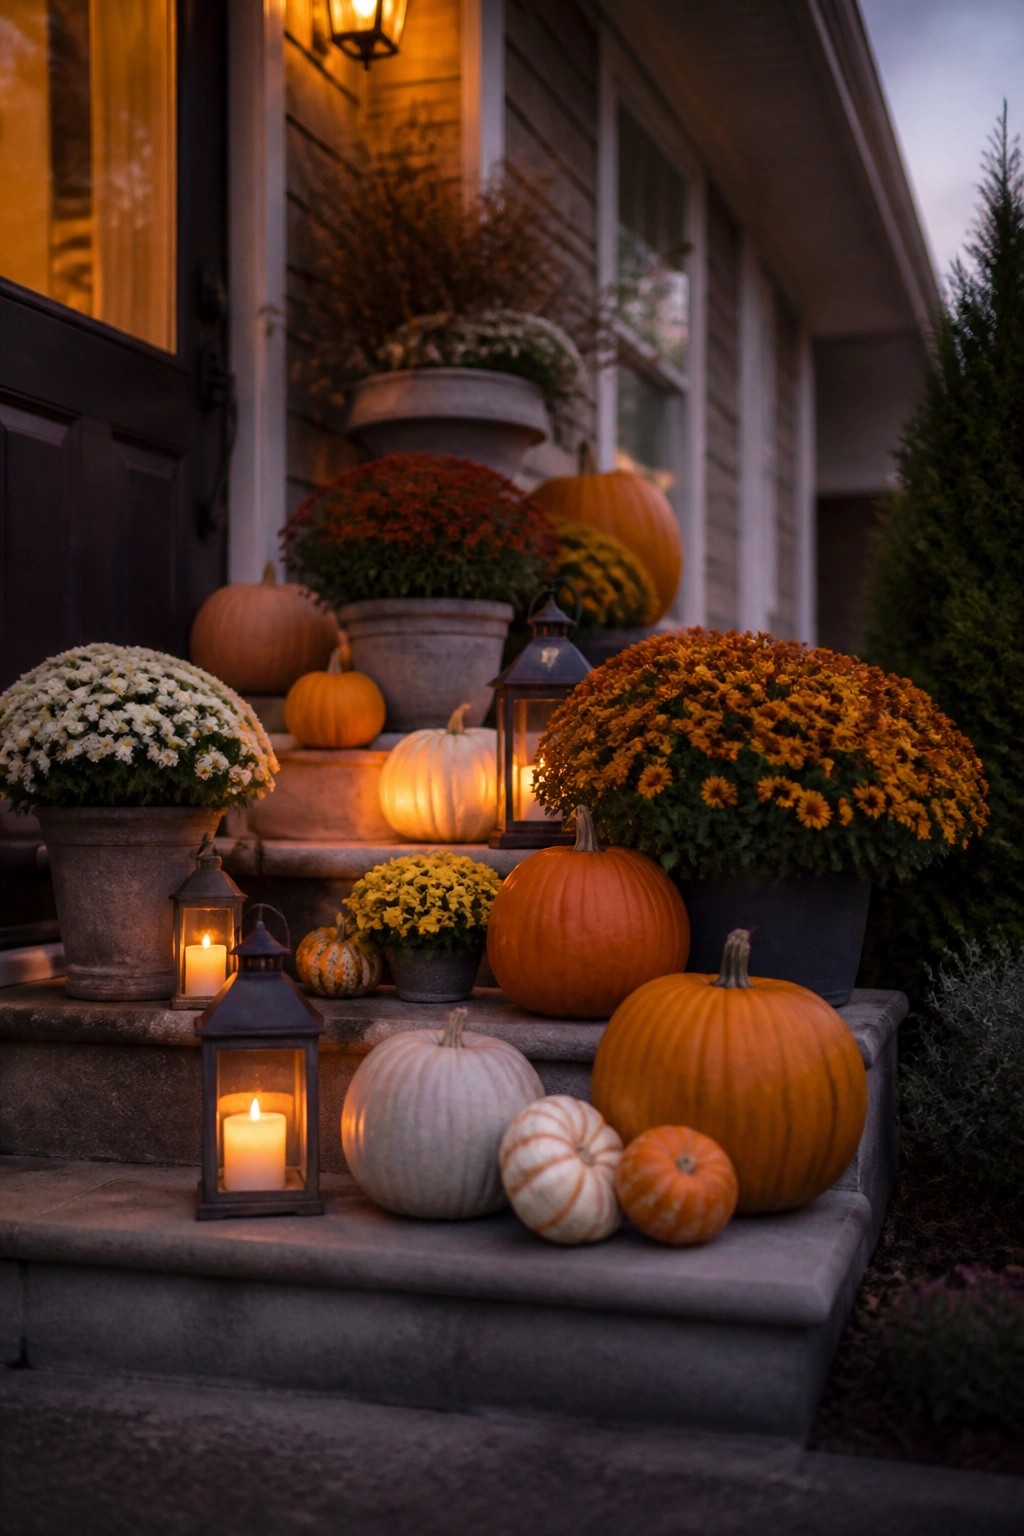
Placing pumpkins of different sizes and colors along the porch steps creates an easy outdoor display that feels festive without much effort. The mix of orange, white, and striped pumpkins keeps the look varied while the lanterns add a soft glow at night.
Start with three or four larger pumpkins on the lower steps and fill in with smaller ones higher up. Add a couple of lanterns nearby so the light hits the pumpkins after dark. This works well on any set of steps and takes only a few minutes to set up each season.
Frequently Asked Questions
Q: How can I make these pumpkin ideas last longer outside?
A: Pick a shady spot away from direct sun. Mist the pumpkins lightly with water each day to keep them fresh. This simple step slows down the drying process.
Q: What should I do with the pumpkins once the season ends?
A: Compost them if they are real. Many towns have programs that turn them into soil. Just remove any paint or glitter first.
Q: Can kids help with these pumpkin projects?
A: Yes, let them paint or add stickers. Supervision keeps things safe and fun.