


I often notice that stacked pumpkins catch attention faster when they sit right at eye level rather than resting low on the ground.
When I plan my own Halloween displays I like using one clear focal point so the rest of the space does not feel crowded.
This method keeps the arrangement simple yet noticeable whether it sits on a porch step or inside an entryway.
I have found that varying the pumpkin sizes in each stack adds height without needing extra decorations around the base.
Stability matters here since the whole point is to make the display last through the season.
Stack Pumpkins Into Tall Towers By The Door
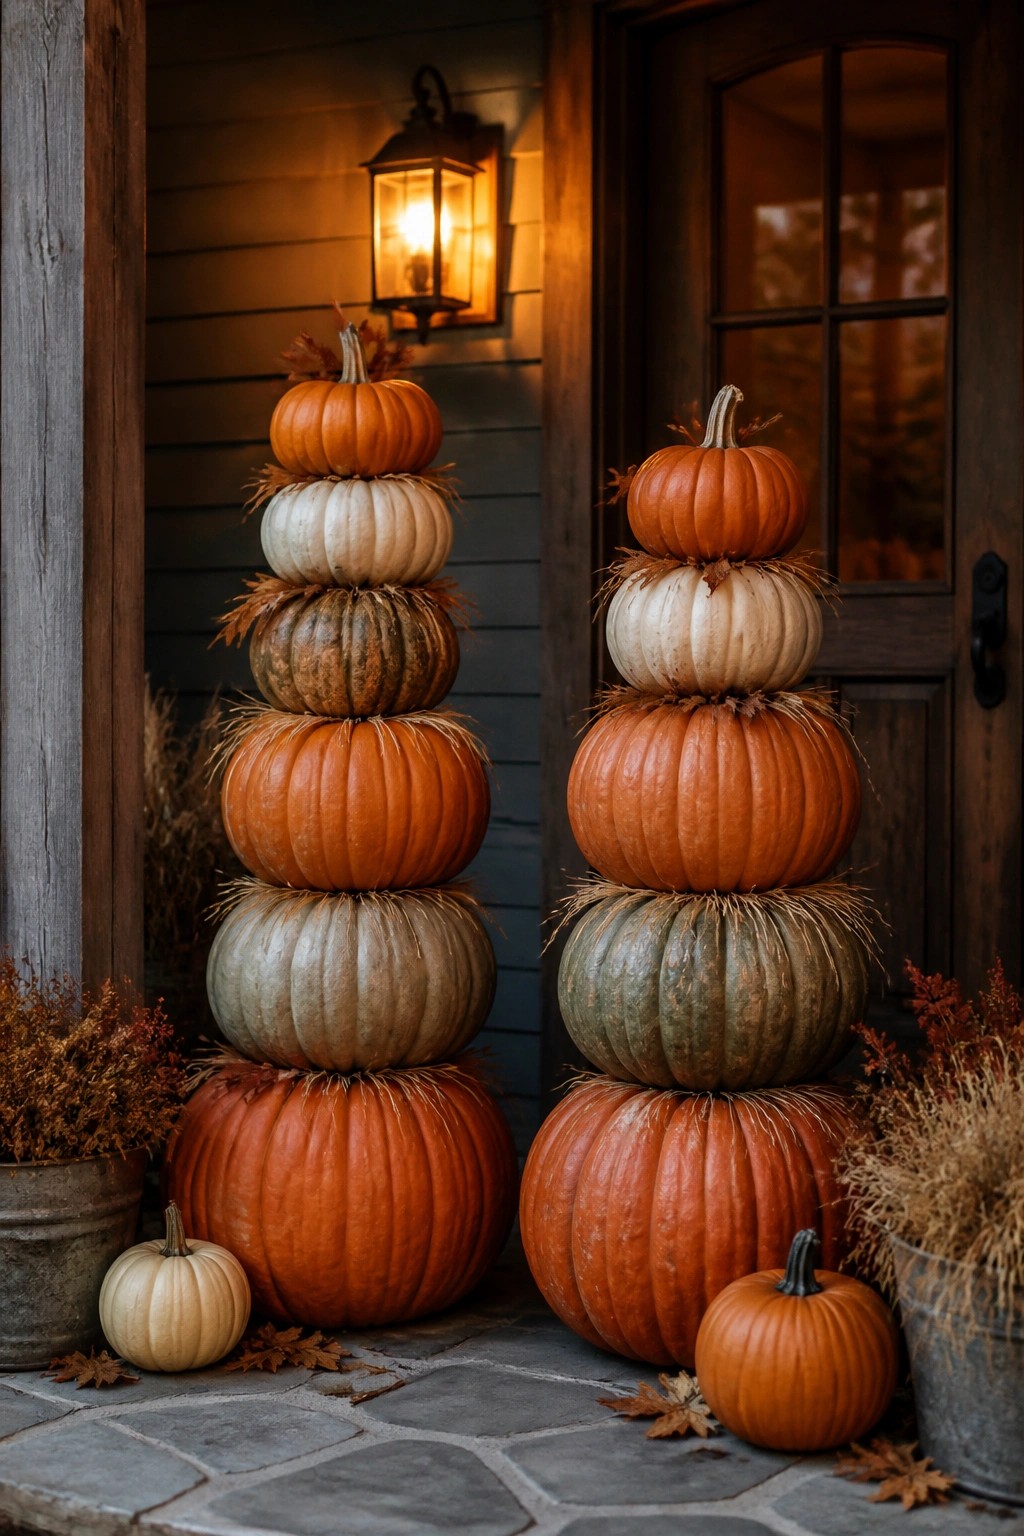
Stacking pumpkins into vertical towers gives the display real height and makes it stand out from flat porch arrangements. The two towers here reach well above eye level by using larger pumpkins at the base and smaller ones on top, with a few leaves tucked between layers for a finished look.
This works best on a front porch or entry where people walk past at close range. Start with three or four pumpkins of decreasing size, keep the colors varied but still in the orange and white range, and place one tower on each side of the door so the stacks frame the entrance without blocking it.
Stack Pumpkins In Tall Towers On The Mantel

Stacking pumpkins in different sizes creates quick vertical impact on a mantel without needing much else. The neutral colors keep the look calm while the height makes the display stand out at eye level.
Place the largest pumpkins at the bottom of each stack and work upward with smaller ones. Two or three towers spaced across the mantel usually feels balanced, and you can tuck a little dried grass between them if you want extra texture.
Stack Pumpkins In Colorful Tiers On A Console

Stacking pumpkins of different sizes and colors creates an easy focal point that draws the eye upward without needing extra pieces. The mix of white, soft orange, and muted green gives the display more interest than a single color run, and the wooden rounds underneath add just enough lift to keep the stacks balanced.
Set the towers on a console or sideboard where people will see them at eye level as they walk by. Keep the accents light, such as a few dried stems tucked between the pumpkins, so the shape of the stacks stays the main feature. Two or three towers are usually enough for this look.
Stack Pumpkins On A Console Table
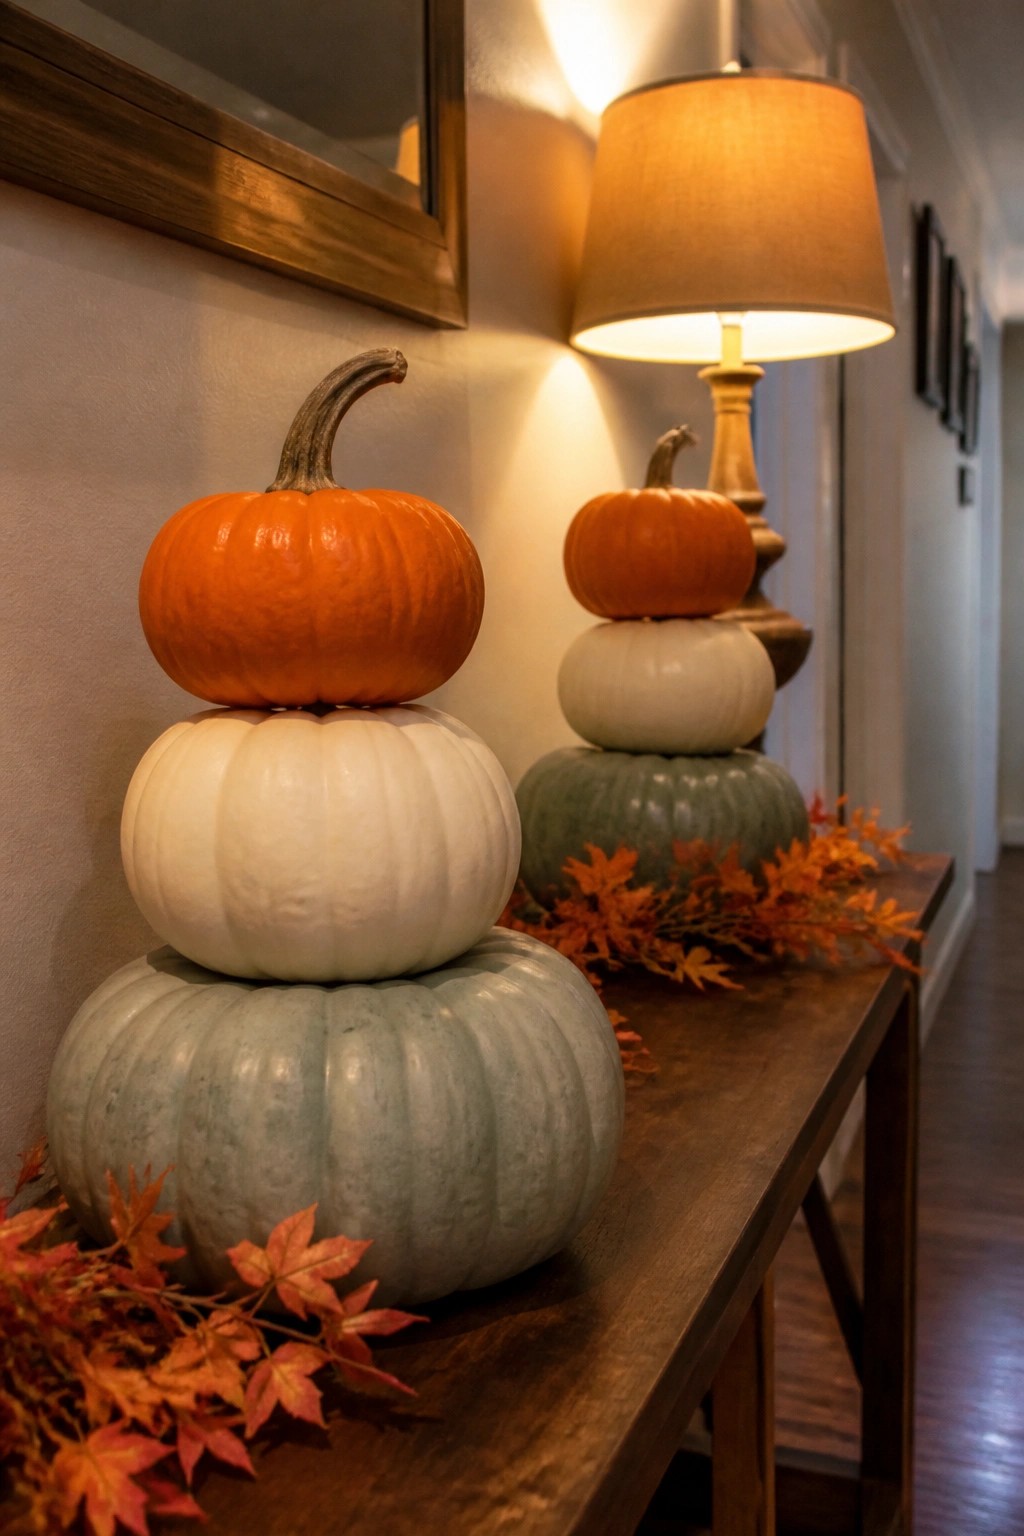
Stacking pumpkins in different sizes and colors makes a clean display that still reads as seasonal. Setting the stacks on a console table keeps them at eye level so they stand out without needing extra props.
Use three pumpkins per stack and keep the colors simple so nothing feels busy. A few scattered leaves around the base are enough to finish the look.
Recommended Products

🎃BRIGHT FALL OUTDOOR DECORATIONS - When you start to feel the crispness in the air and see the leaves changing colors, it’s officially time to welcome fall in all its glory. This adorable set of pumpkin Garden Stakes will add the perfect charm to your planters, raised garden or landscape beds. Vibrant metal pumpkin set will bring a boost of color to any fall yard or garden! Guests in your garden won't be able to miss these beautiful and unique metal pumpkin garden stakes!

STACKED PUMPKIN DESIGN: Create a cozy autumn entryway with this lighted stacked pumpkin fall door decor with 3 seasonal plaques. Featuring interchangeable wooden signs, warm LED lights, and layered pumpkin shapes, it adds seasonal charm to front doors, porches, walls, and mantels.
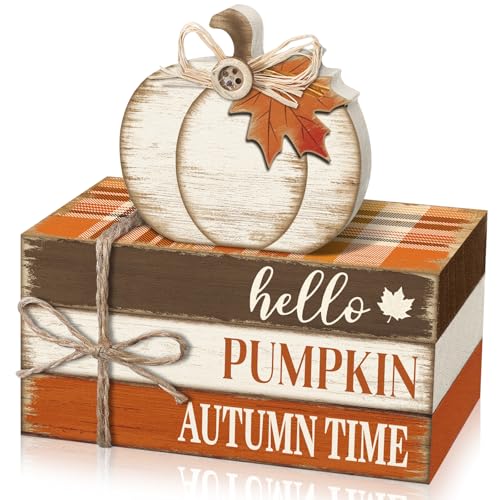
Package Includes: you will receive a fall wooden book decoration, including one pumpkin sign with maple leaf and three wooden decorative books; When stacked, the three books measure 4.72 x 2.95 x 2.36 inches (L x W x H); This autumn tiered tray decor will make your fall table centerpiece stand out and enhance the festive atmosphere
Stack Pumpkins For Eye Level Impact
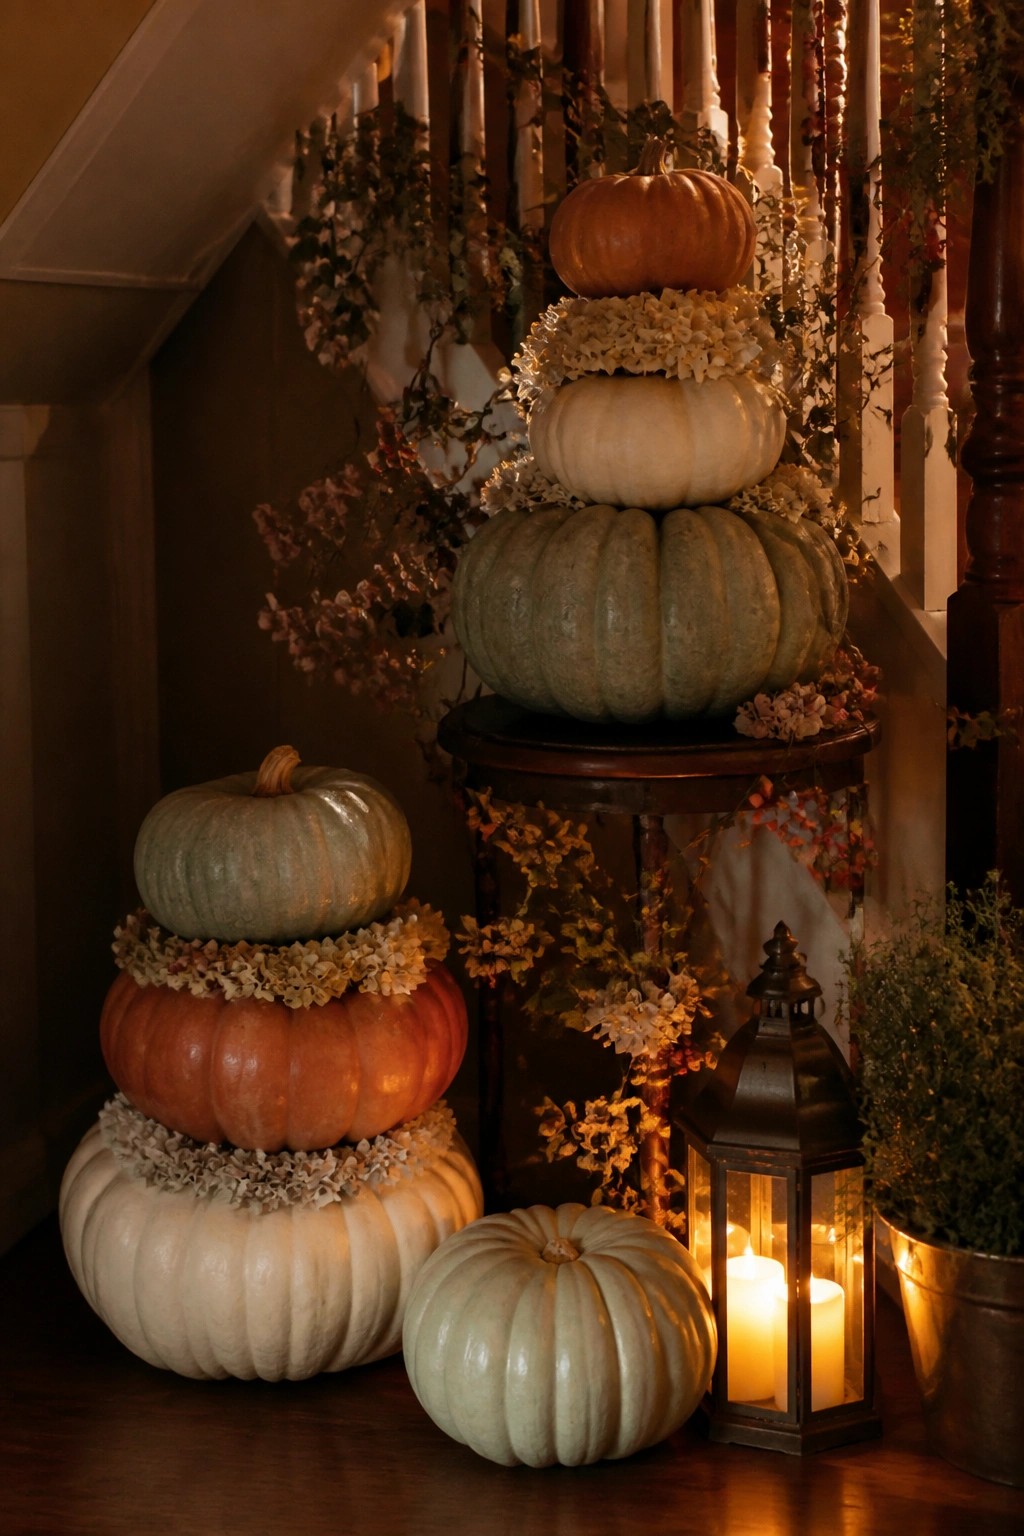
Stacking pumpkins of different sizes and colors creates a simple vertical display that draws attention without much extra effort. The rings of dried flowers between each pumpkin add a soft layer that keeps the look from feeling too plain while still letting the pumpkins do the main work.
Place the tallest stack on a small table or stand near a staircase or entry so it sits at eye level when people walk by. A shorter stack on the floor next to it helps the whole arrangement feel balanced and easy to put together with just a few pumpkins you already have.
Recommended Products

SPOOK YOUR HOME THIS HALLOWEEN - Place the pumpkin lights into Halloween pumpkins - Two modes to choose by remote control: FLICKER (flickering effect) & STEADY (steady glow) - In FLICKER mode, emit eerie orange glow against a diabolical grin on the pumpkin to send an electrifying chill down the spine - In STEADY mode, light up the pumpkin to welcome the ghoulish guests and create a spooky Halloween - Cluster the lighted pumpkins together or scatter them around to spook your home this Halloween!

Light up your Halloween pumpkins: The battery-operated LED pumpkin lights are designed for Halloween Jack-O'-Lantern pumpkins. Put the bright LED lights into a real pumpkin or a fake pumpkin and light them up. These battery pumpkin lights are your first choice for Halloween decorations, and they are also your first choice for Halloween gifts.

Lighting Modes with Remote Control: Candle Mode: the lights will flicker looks like candles; Light Mode: the lights will keep steady on. And the dim of the lights can be adjusted via remote.
Stack Pumpkins In Tiers On Porch Steps

Stacking pumpkins in graduated sizes creates a tall display that draws the eye upward without needing much else. Different shades of white, orange, and green keep the look interesting while still feeling simple and seasonal.
Place the largest pumpkins at the base on the steps and work upward, tucking a little dried foliage between each layer for separation. One or two small accents like a lantern nearby are enough to finish the setup. This works well on any front porch where you want height without crowding the space.
Stack Pumpkins Into A Tall Vertical Tower

Stacking pumpkins of different sizes and colors into one tall column creates strong eye-level impact without needing much else. The mix of smooth orange, pale green, and striped white pumpkins gives the stack natural variety while the height draws attention straight to the front door area.
Start with the largest pumpkin at the bottom and work upward, using smaller ones near the top for balance. A few dried vines draped over the sides help hold everything together and add texture. This works best right beside the entry on a porch or step where people walk past it daily.
Stack Painted Pumpkins On The Mantel

Stacking pumpkins in different sizes and finishes gives the mantel a simple but noticeable Halloween look. The two towers here use metallic copper and sage tones that catch the light without feeling loud, and the dark trays keep everything steady while adding a bit of weight at the base.
Place the tallest stack toward the center or slightly off to one side, then add a shorter one beside it. Mix matte and shiny pumpkins so the display reads as intentional rather than random. This works best on a mantel that already sits at eye level, and you only need four to six pumpkins total to make the stacks feel full.
Stack Pumpkins On An Entry Console
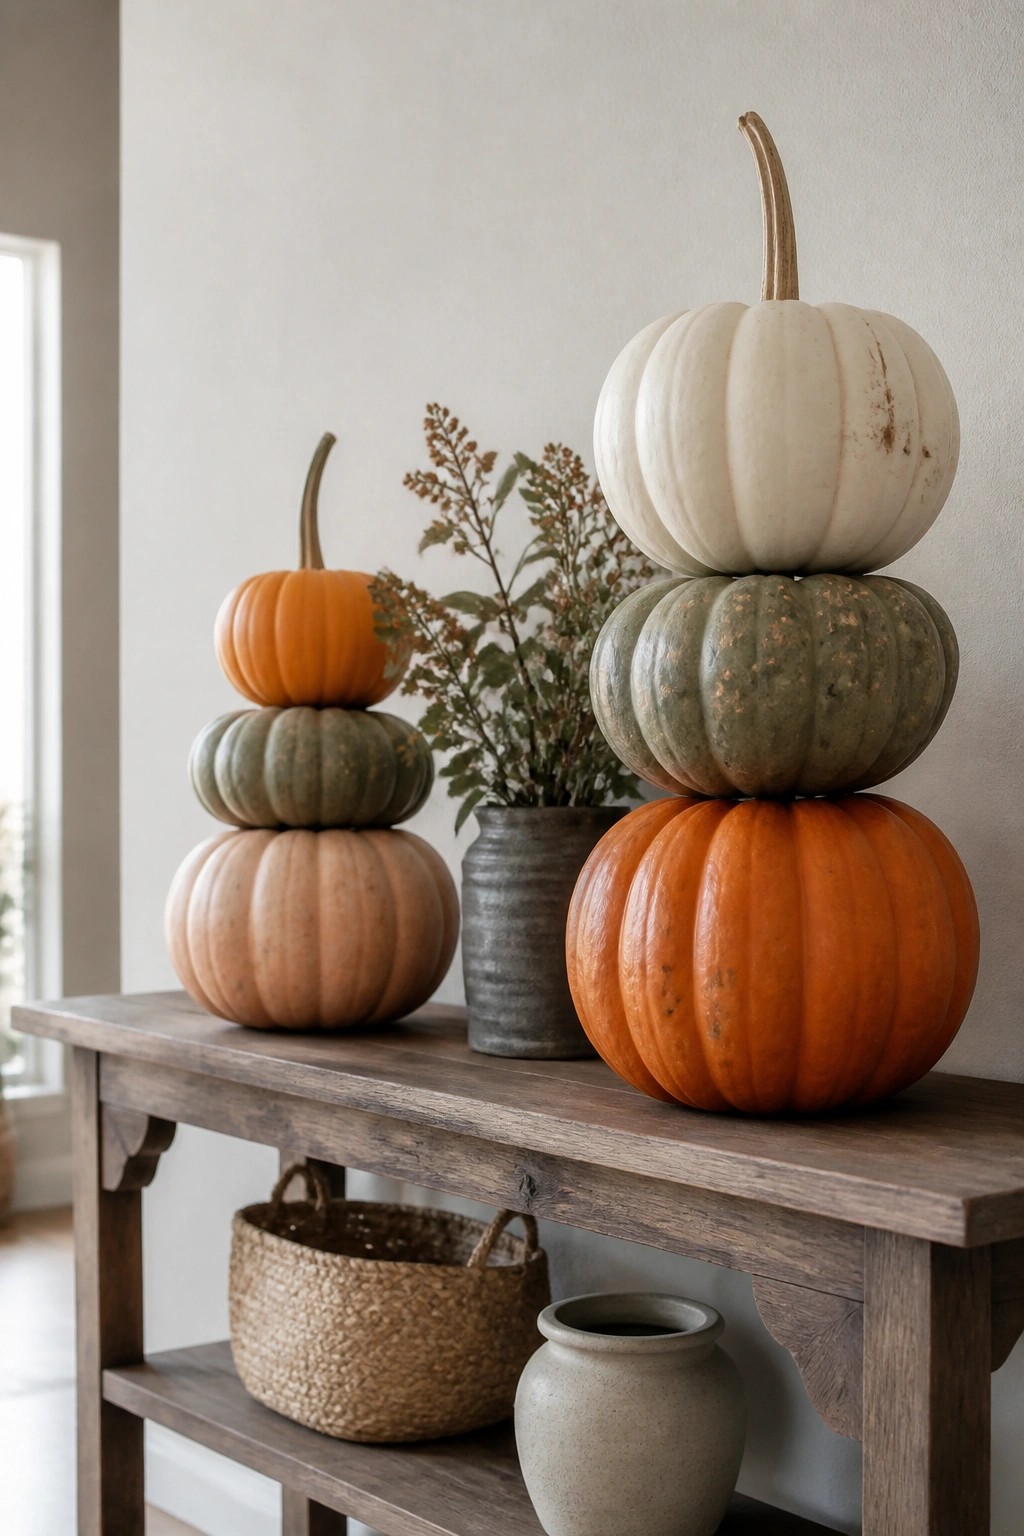
Stacking pumpkins in groups of three gives the console instant height and makes the display the first thing people notice when they walk in. The neutral colors keep it simple while the stacked shapes create the eye level focus the arrangement needs.
Place one tall stack toward the back and a slightly shorter one beside it so both can be seen clearly from the doorway. This works best on a long table where the stacks have room to stand without crowding the rest of the surface.
Stack Pumpkins In Tall Towers Along The Porch
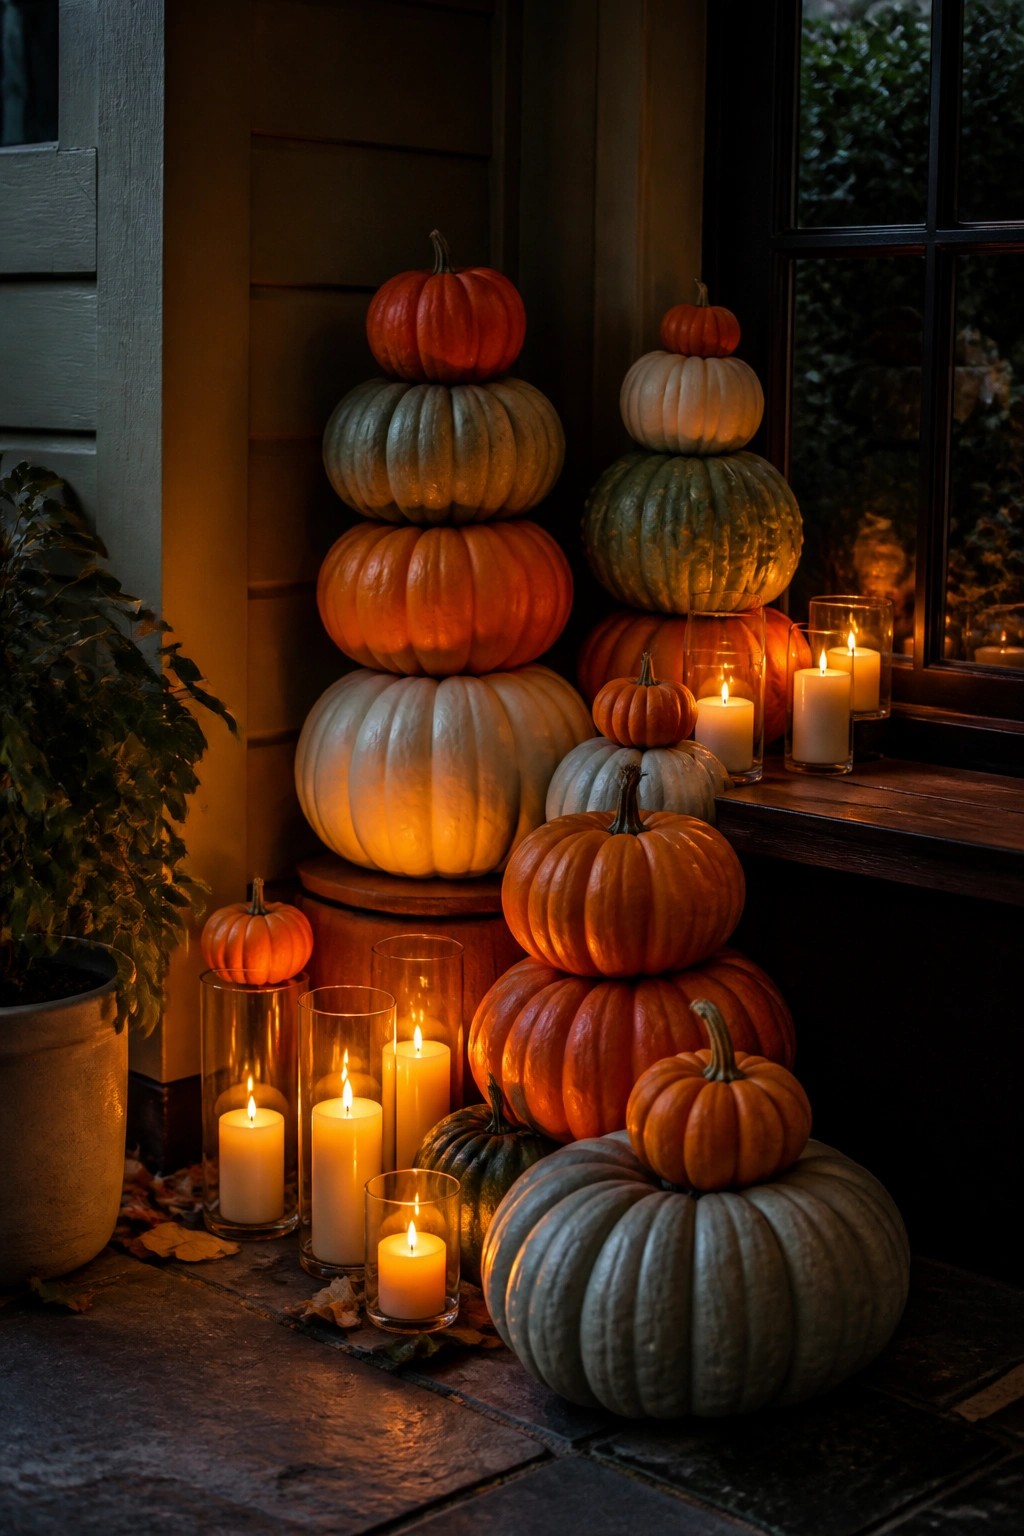
Stacking pumpkins in graduated sizes creates quick vertical displays that catch attention right at eye level. The mix of orange, white, and green pumpkins keeps the look varied while the simple stacking method makes each tower feel solid and intentional.
Place the tallest stacks near the door or steps so they stand out as you walk up. A few glass candle holders tucked around the base add a soft glow at night without crowding the arrangement.
Stack Pumpkins Into Tall Table Towers

Stacking pumpkins of different sizes and colors creates height that draws the eye without needing extra props. The two towers here use a mix of orange, white, green, and peach pumpkins to form balanced columns that sit nicely on a dining table runner.
Place the largest pumpkins at the base and work upward, choosing shapes that sit flat against each other. This works well on a dining table or sideboard where the stacks can be viewed from across the room and taken apart quickly after the season.
Stack Pumpkins On Porch Railings
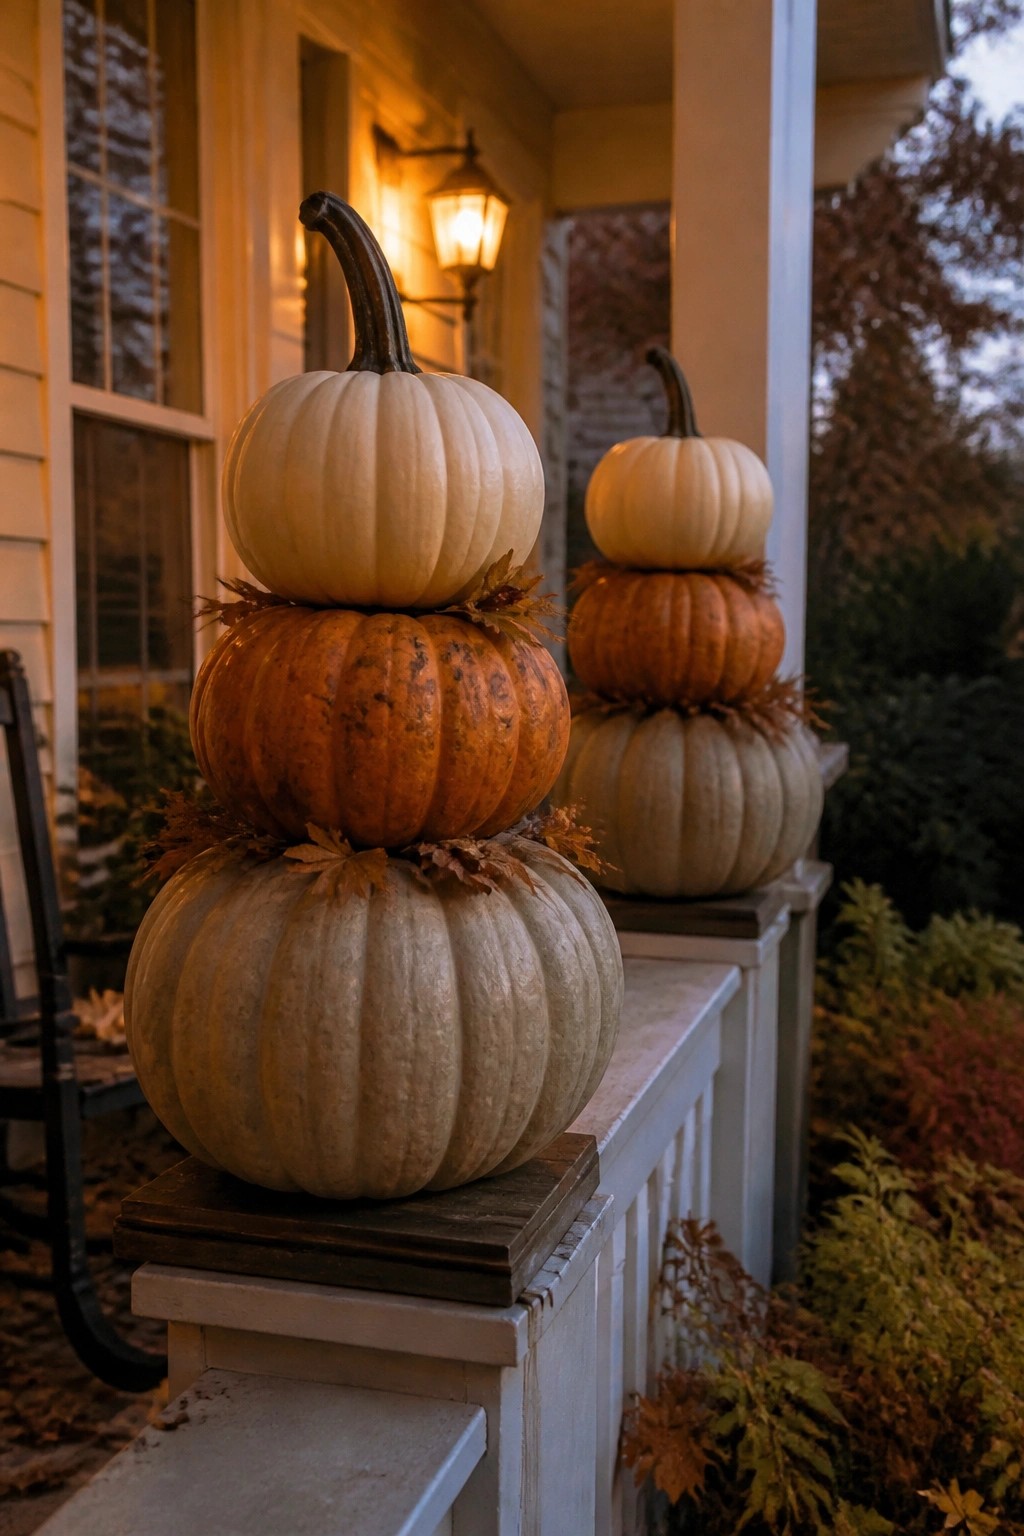
Stacking pumpkins of different sizes and colors creates a simple but effective display that sits right at eye level. Placing the towers on the railing and posts makes them the first thing people notice when they approach the house.
Start with the largest pumpkin at the bottom and work up to a smaller one on top. Use a mix of white and orange pumpkins and add a few leaves between the layers to help them sit steady. This setup works on most porches as long as the surfaces are flat and sturdy enough to hold the weight.
Recommended Products

60 PURPLE LEDS - 60 ghost ornaments spaced on black cord, total length 26.6 ft. 4 inch spacing, 6.6 feet lead, 4 inch tail. A string of lights, a collection of soft purple white lights, create a stunning pattern of light

【Stacked Pumpkin Ghost Design for Spooky Impact】This 7.55ft Halloween inflatable features a three-tier stacked pumpkin ghost look with different creepy faces and a tall witch hat on top. The black-and-white color contrast makes it stand out clearly in your yard, garden, lawn, or porch, creating a bold Halloween focal point for guests and trick-or-treaters.

10 LED Lights with 2 Cute Halloween Designs: This battery-operated Halloween string features 10 LED lights. The lights follow a fixed repeating pattern of pumpkins, ghosts, creating a charming, playful vibe for your Halloween decorations. The total length is 4.9 FT, perfect for adding a festive touch to any space.
Stack Pumpkins Into Eye Level Towers
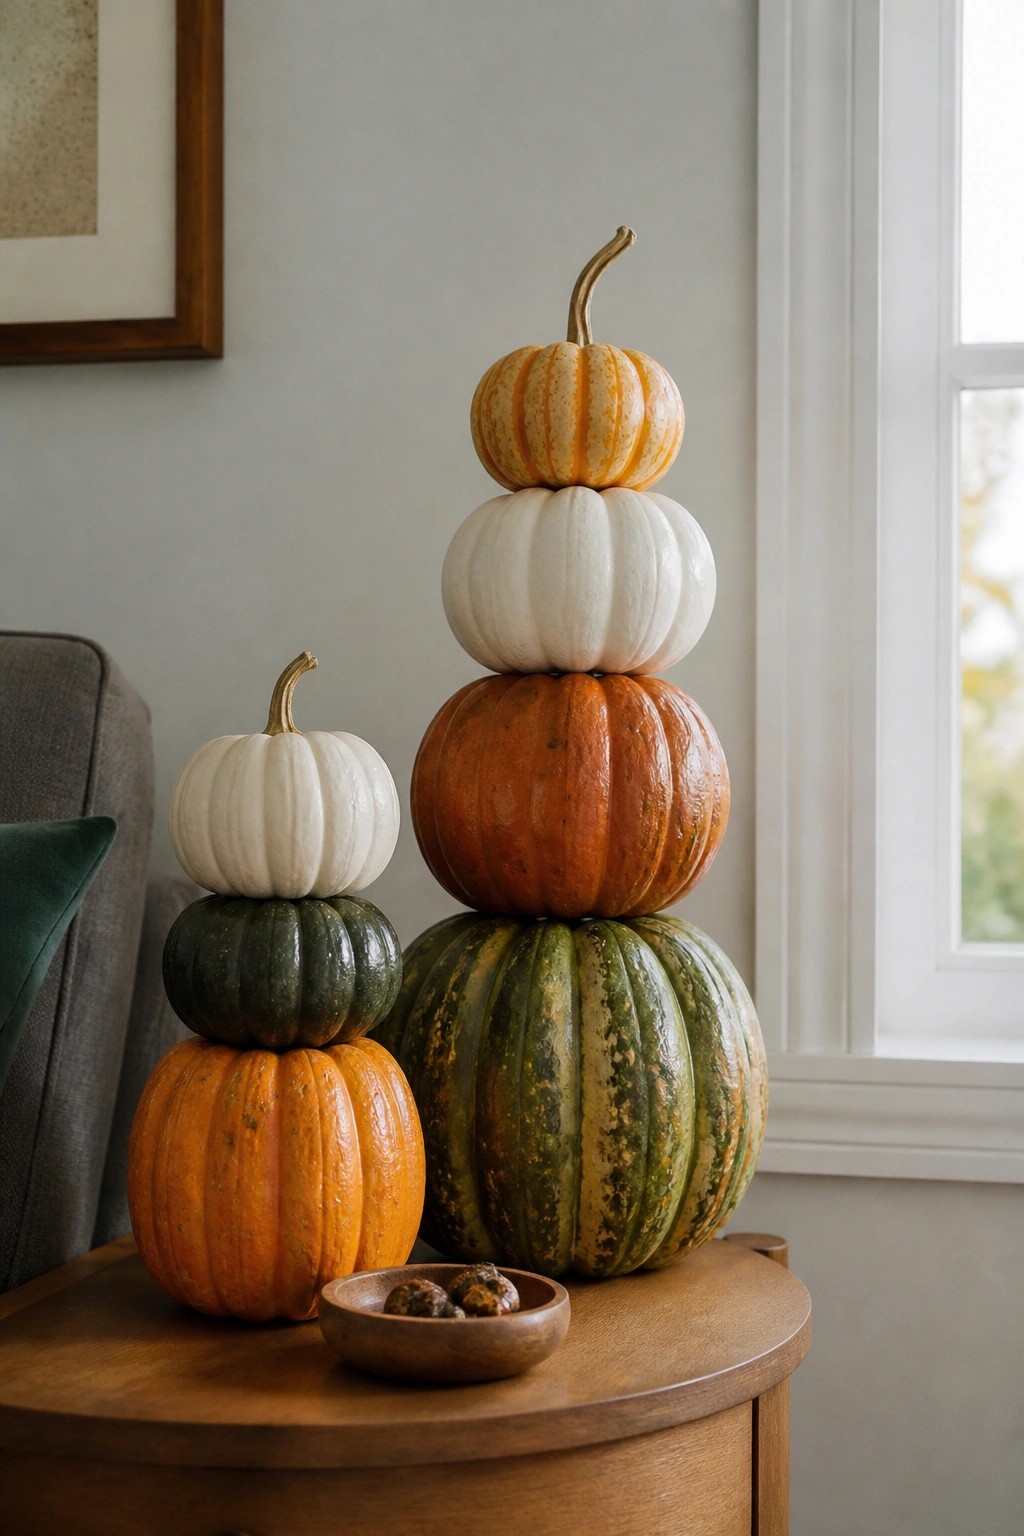
Stacking pumpkins of different sizes and colors creates simple vertical displays that draw the eye upward. The mix of white, orange, and green striped pumpkins here forms several towers on one small table, giving height without needing extra props or wall decor.
Place the stacks on a side table or console where people naturally look across the room. Use three or four pumpkins per tower and vary the order so the shapes feel balanced. A few small accents like a wooden bowl nearby keep the focus on the height.
Stack Pumpkins Tall Beside The Front Door

Stacking pumpkins in tall vertical columns next to the front door creates strong eye level impact without much extra effort. The repeated shapes and changing sizes build height quickly and make the entrance feel more finished.
Use tiered plant stands or simple wooden crates on each side of the door to hold the pumpkins. Mix white, orange, and green varieties and tuck a few leaves between layers to fill space. Keep the arrangement balanced so both sides match in height.
Stack Pumpkins On A Console Table
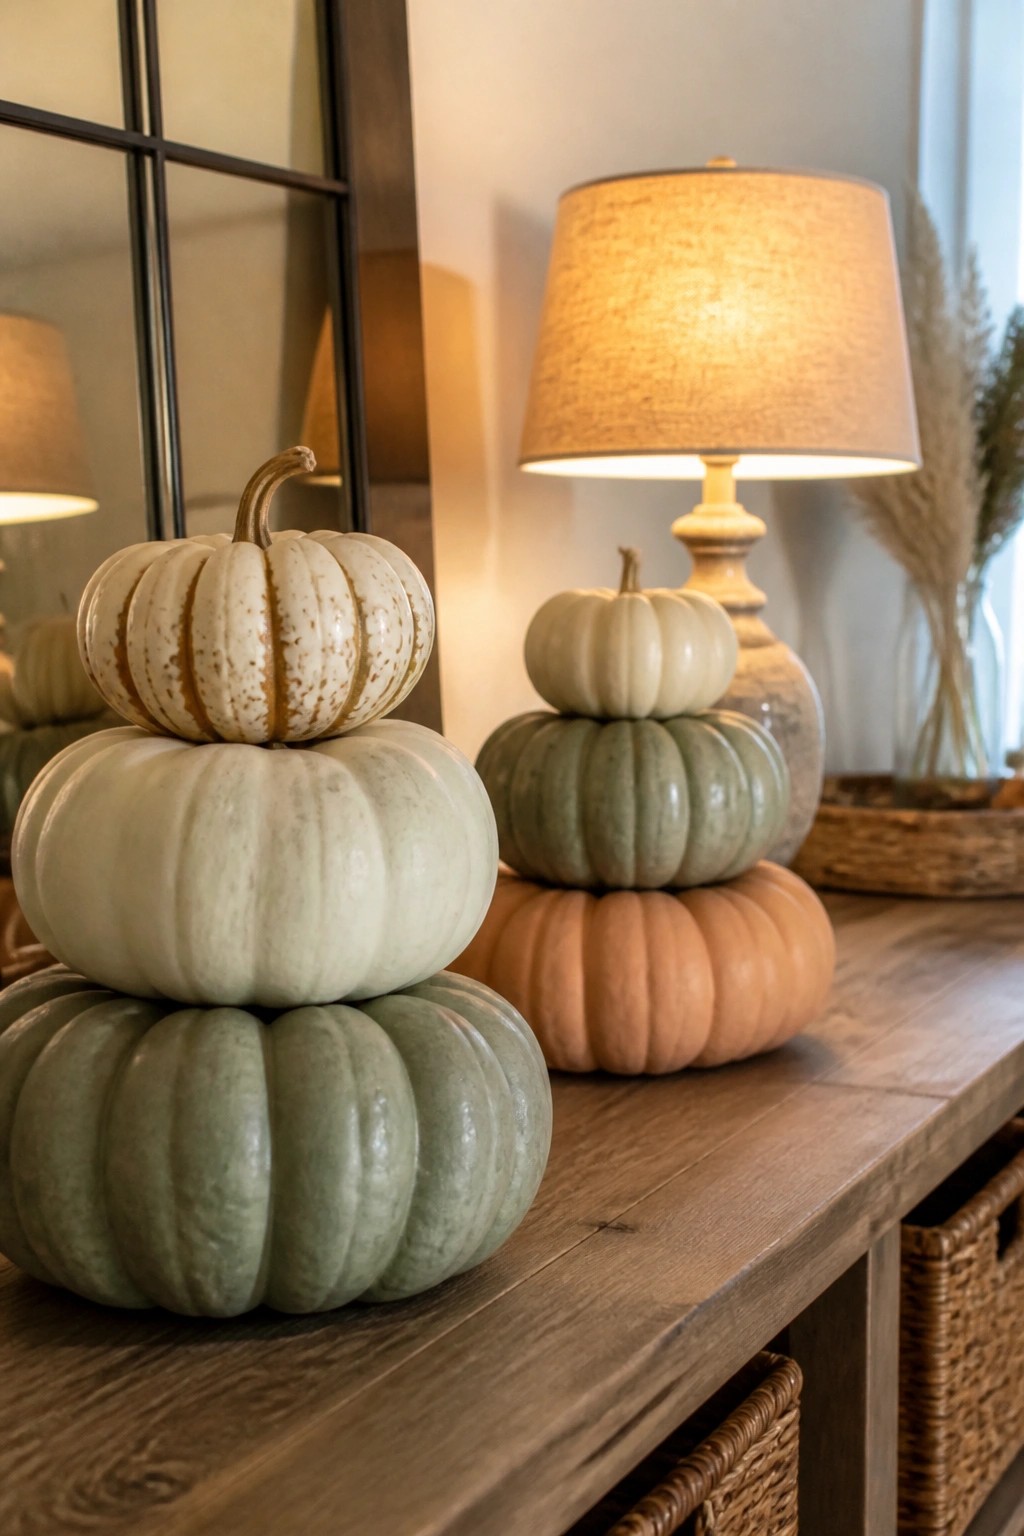
Stacking pumpkins in a few neutral shades gives you a simple Halloween display that still feels seasonal. The varying sizes and soft colors draw the eye without needing extra props or bright orange tones.
Place the tallest stack toward the back of the console and add one or two smaller stacks beside it. This works well in an entryway or hallway where the arrangement sits at eye level as you walk past.
Stack Pumpkins In Soft Tones On A Vanity

Stacking pumpkins in soft colors gives a vanity or dresser an easy focal point without much effort. The graduated sizes create height quickly, and the neutral palette keeps the look calm while still reading as seasonal.
Choose three pumpkins per stack and paint them in shades that match your room. Add a few dried stems on top to finish each tower, then place the stacks side by side so they sit at eye level. This setup works best on a flat surface with little else around it.
Stack Pumpkins On The Stair Post
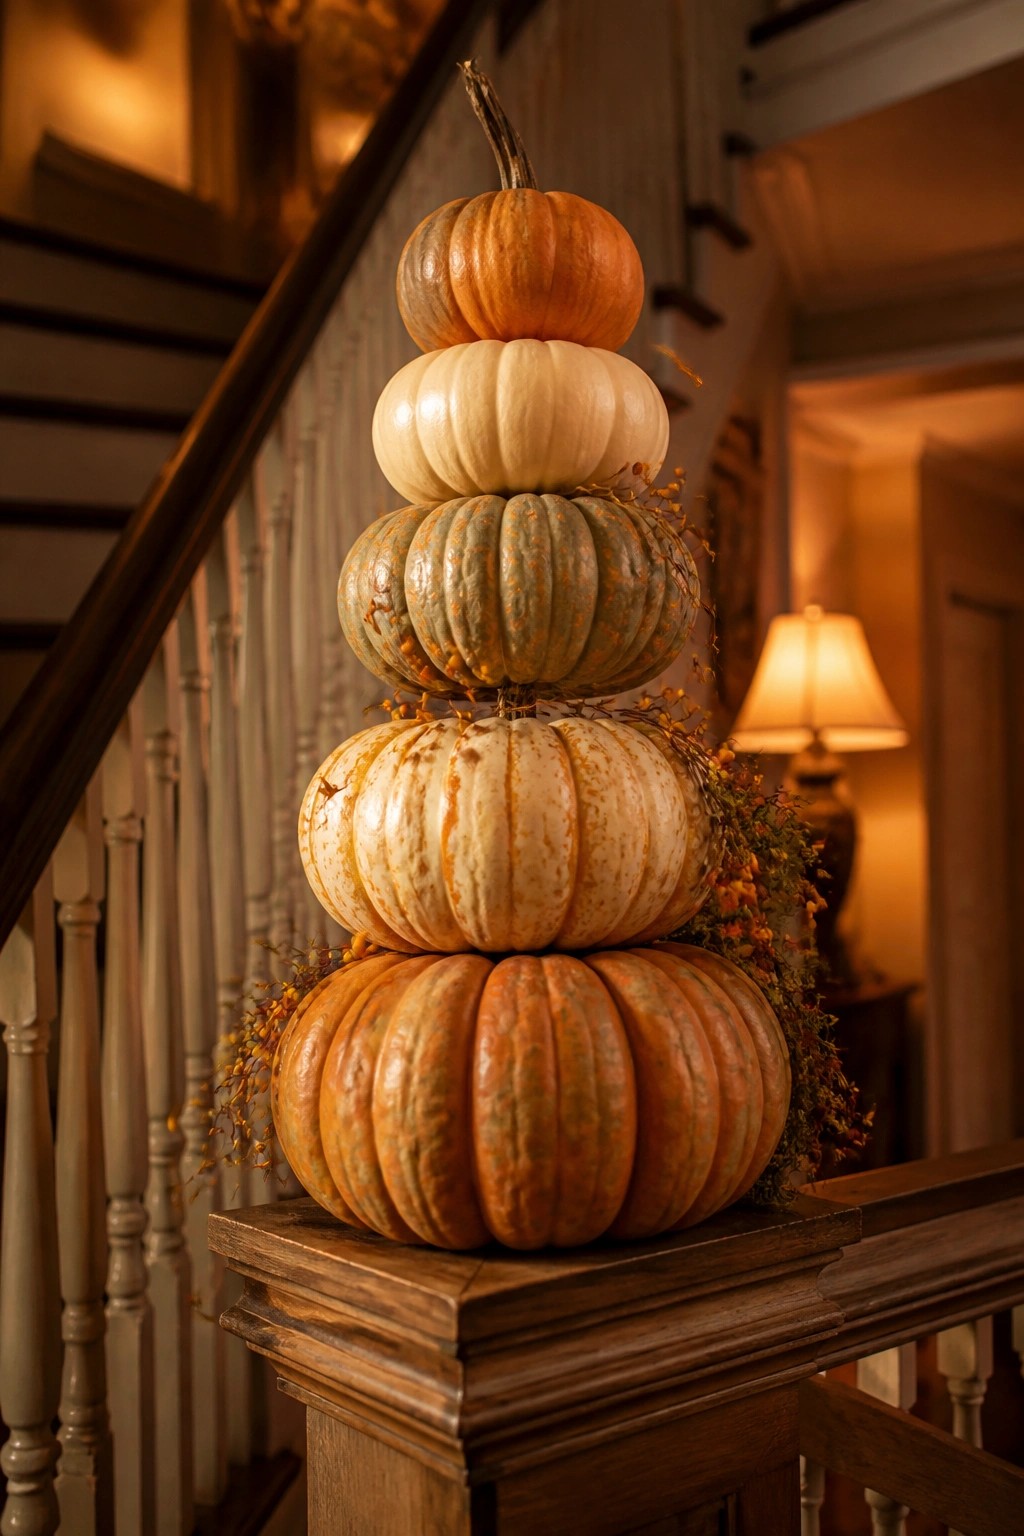
A tall stack of pumpkins placed on the stair post creates a strong vertical display that sits right at eye level. The different colors and sizes help the tower stand out against the railing without needing much else around it.
Use five or six pumpkins and balance them carefully so the stack stays steady. A few berry sprigs tucked between them add a bit of color, but the main impact comes from the height and the simple arrangement on the post.
Stack Pumpkins In Mixed Colors For Height

Stacking pumpkins in different sizes and shades creates an easy way to add height without extra props. The two towers here use white, orange, and green pumpkins layered from largest at the bottom to smallest on top, which draws the eye upward and makes the display feel more finished than a single row of pumpkins.
Place the stacks on a porch ledge or bench and add a strip of burlap underneath to keep them steady. Use real or faux pumpkins and keep the top simple with a few stems of dried foliage so the focus stays on the stacked shapes. This setup works best near an entry where people walk past at eye level.
Stack Pumpkins Into Tall Columns Near The Door

Stacking pumpkins of different sizes and colors creates quick vertical displays that catch the eye at porch level. The mix of white, orange, and green pumpkins here forms several stable towers that feel balanced without needing extra props.
Place the largest pumpkins at the base and work upward with smaller ones to keep each stack steady. This approach works well on steps or beside an entry because it uses vertical space and stays simple to adjust as pumpkins are swapped or added.
Stack Pumpkins On A Tiered Metal Stand
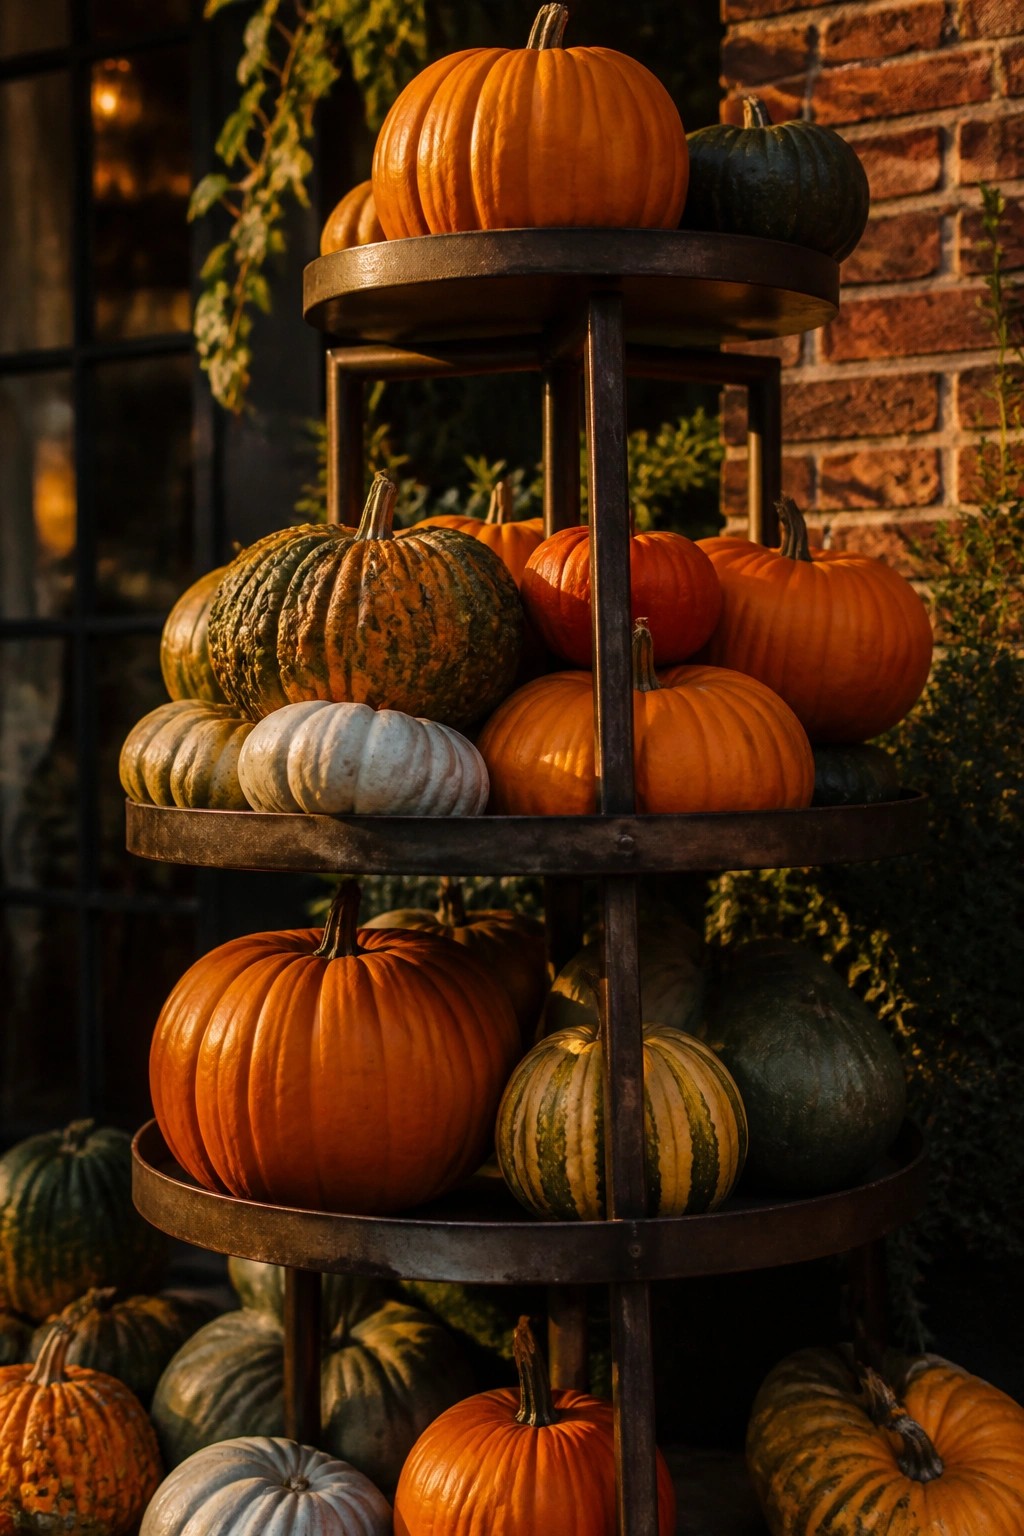
A tiered stand turns a simple group of pumpkins into a strong vertical display. The different levels let you mix sizes and colors without crowding one surface, and the height brings the arrangement up to eye level where it reads better from a distance.
Place the stand near an entry or on a porch where people walk past it. Use mostly orange pumpkins on the lower tiers for weight, then add a few green or white ones higher up to break the pattern. Keep the rest of the area simple so the stacked pumpkins stay the main focus.
Stack Pumpkins Up A Porch Column

Stacking pumpkins in two separate groups on a single porch column gives the display real height without taking up floor space. The mix of orange, white, and green pumpkins creates contrast while the greenery tucked between layers keeps the stacks from looking too plain.
This works best on any front porch post or column that sits at eye level. Start with the largest pumpkins at the base of each section, then build upward with smaller ones. A few stems of greenery between the layers helps hold everything in place and softens the look.
Frequently Asked Questions
Q: How do I stop the top pumpkin from tipping when the stack reaches eye level? A: Place the biggest pumpkin on a flat surface first and twist each one slightly as you add it so the surfaces grip. Check the balance by nudging the stack gently from the side. If it wobbles swap the middle pumpkin for one with a flatter top.
Q: What works best if I want the display to last past the first week outside? A: Set the stack on a tray or board to keep moisture from soaking the bottom pumpkin. Turn the whole thing every couple of days so one side does not rot faster in the sun. Skip carving if you want the look to hold for more than a few nights.
Q: Can I move the stack after I build it without everything falling? A: Build it on a sturdy tray or piece of wood so you can lift the whole thing at once. Keep one hand on the middle pumpkin while you carry it. Move it before the pumpkins start to soften or they will shift.
Q: How many pumpkins do I really need for the eye level effect? A: Three usually does the job if the bottom one is wide and the top one sits at your line of sight. Add a fourth only if the lower ones are small.