Tired of staring at those grimy, cracked bathroom tiles? Ever wondered how to give your space a fresh new look without breaking the bank? You’re not alone. Picture this: you step into your bathroom, and instead of feeling relaxed, you’re met with discolored grout lines that scream for attention. But fret not, as help is on the way.
In this article, we’ll guide you through the simple yet transformative process of regrouting your bathroom tiles. Imagine stepping into a beautifully revamped space where every tile gleams with newfound radiance. With our easy-to-follow tips and tricks, you’ll soon be on your way to achieving a bathroom worthy of a home decor magazine spread. So, why settle for dull and dingy when you can revitalize your bathroom with just a little effort?
Key Takeaways
- Regrouting your bathroom tiles can enhance the appearance, prevent water damage, and improve hygiene by removing mold and mildew.
- Essential tools for regrouting include a grout saw, margin trowel, grout float, sponge, safety goggles, and dust mask.
- Follow a step-by-step process of removing old grout carefully and applying new grout at a 45-degree angle for professional results.
- Maintain newly regrouted tiles by daily cleaning with mild cleaners, periodic check-ups for wear or cracks, and prompt touch-ups to ensure longevity.
Understanding the Need for Regrouting Bathroom Tiles
Recommended Products
Use In Bathroom Tile and Grout, Bathtub, Soap Scum, Showers, Drywall, Wood, Fences, Decks, Vinyl Sidng, Concrete Floors, Kitchen, Brick Walls, and other areas where mold and mildew can grow

Powerful grout & tile cleaning formula: Goo Gone Grout & Tile Cleaner effectively removes tough stains, dirt, mold, mildew, soap scum, and hard water stains from bathroom and kitchen surfaces. Perfect for deep cleaning shower tiles, bathroom floors, tub surrounds, and countertops without harsh scrubbing.

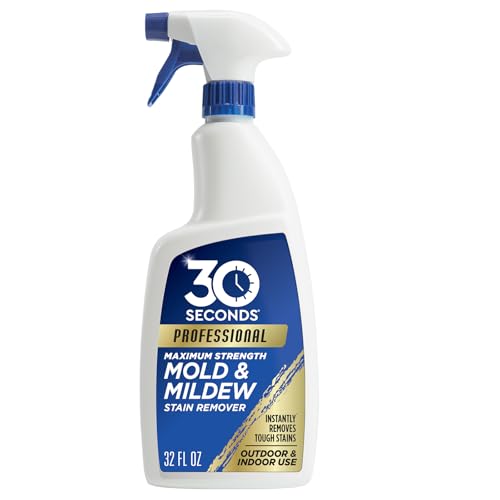
Fast and Effective: ACTIVE Seal & Grout Stain Remover is a Powerful Whitening Deep Cleaner. Mildew Stain Remover has an Instant Effect in Minutes to Quickly Clean Mold Stain and Eliminate Unwanted Musty Dirt and Grime
Signs Your Grout Needs Replacement
- Discoloration: When your grout starts changing color or darkening, it’s a clear sign that it needs attention.
- Cracks and Missing Grout: Visible cracks and gaps in the grout lines not only look unsightly but also indicate potential water damage.
- Mold and Mildew: The presence of mold or mildew in the grout signifies moisture penetration and poor sealing.
- Enhanced Appearance: Regrouting can instantly refresh the look of your bathroom tiles, making them appear cleaner and more aesthetically pleasing.
- Water Damage Prevention: By fixing cracks and gaps through regrouting, you can prevent water from seeping into the walls or floors, avoiding costly repairs.
- Improved Hygiene: Removing mold and mildew during the regrouting process contributes to a healthier environment in your bathroom.
Essential Tools and Materials for Regrouting
When it comes to regrouting your bathroom tiles, having the right tools and materials is crucial for a successful outcome. Here’s what you’ll need:
Recommended Products

V Shape Design: V grout cleaner brush fits precisely into each groove, and reaches deeply into narrow joints. The three-row design also cleaning the area next to the grout
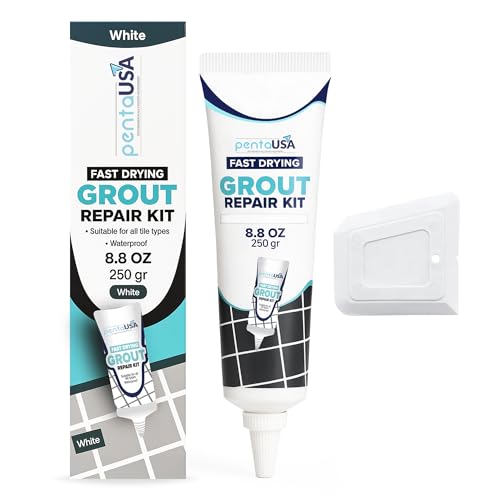
Acrylic Sanded Grout Filler That Cures Into Solid Grout - This premixed tile grout repair contains acrylic sanded grout material in a clean white tone that fills cracks, missing sections, and damaged joints, curing into solid grout-like material that bonds to existing grout and tile for durable structural repair on floors, walls, and countertops. Designed for DIY tile grout repair, suitable for first-time users, homeowners, and handyperson-level work.

For use between shower tiles, on sink or bathtub surrounds, kitchen counters and vanities
Choosing the Right Grout and Tools
To begin with, select the appropriate grout for your bathroom tiles. Opt for sanded or unsanded grout based on the width of your tile joints.
For tools, make sure you have the following:
- Grout saw or removal tool: Used to remove old grout.
- Margin trowel: Helps in mixing new grout.
- Grout float: Essential for applying new grout smoothly.
- Sponge and bucket of water: For cleaning excess grout during application.
Safety Gear and Preparation
Before starting the regrouting process, ensure your safety by wearing protective gear such as:
- Safety goggles: Protects your eyes from grout dust.
- Dust mask: Prevents inhalation of dust particles while removing old grout.
Additionally, prepare the work area by:
- Cleaning the tiles thoroughly before regrouting.
- Allowing enough ventilation in the bathroom during the process to avoid inhaling fumes from grout products.
By having these essential tools, materials, and safety precautions in place, you’re ready to tackle regrouting your bathroom tiles efficiently.
Step-by-Step Guide to Regrouting Bathroom Tiles
Regrouting your bathroom tiles is a straightforward process that can give your bathroom a fresh and polished look. Here’s how you can do it:
Recommended Products

【Tips】Here's a quick tip for achieving that smooth, one-handed gliding sensation with your grout tool: consider loosening the screws on the backside ever so slightly.While a bit of loosening can enhance the user experience, be careful not to overdo it. We're aiming for a perfect balance, so keep it within the range where the tool feels comfortably snug in your hand, providing that silky-smooth maneuverability.
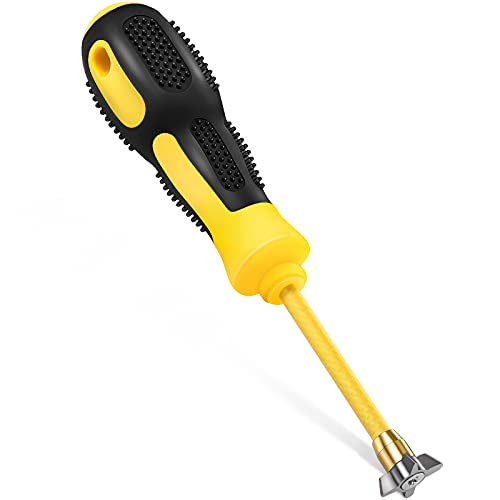
Cleaning tool: you will receive a 4-in-1 grout removal tool, which measures about 7.1 x 1.3 inch, mainly applied for cleaning tile joints, so you can recommend it to people in need

❤️【Multifunctional Caulking Tools】The 5 in 1 upgraded caulking remover tools can not only help you repair the gap and clean the residual glue, but also help you fill the caulk with glue. It will improve the agglutinating quality and the aesthetic sense of surface.
Removing Old Grout
To start regrouting your bathroom tiles, you’ll first need to remove the old grout. Follow these steps:
- Tools Needed: Get a grout saw or rotary tool with a grout removal bit.
- Process:
- Carefully run the grout saw along the grout lines, ensuring not to damage the tiles.
- Use a vacuum cleaner to remove the loose grout debris.
- Clean the area with water and let it dry completely before proceeding.
Applying New Grout
Once you’ve removed the old grout, it’s time to apply new grout. Here’s how you can do it:
- Materials Required: Purchase high-quality grout in the color of your choice, a rubber float, and a bucket for mixing.
- Steps:
- Prepare the new grout according to the manufacturer’s instructions.
- Using a rubber float, spread the new grout over the tile surface at a 45-degree angle.
- Press firmly to ensure that all gaps are filled with grout.
- Wipe off excess grout using a damp sponge diagonally across the tiles.
By following these simple steps, you can regrout your bathroom tiles efficiently and achieve professional-looking results.
Maintenance Tips for Newly Regrouted Tiles
After successfully regrouting your bathroom tiles, it’s essential to maintain them properly to ensure their longevity and appearance. Here are some practical tips to help you keep your newly regrouted tiles in top condition.
Daily Care and Cleaning
To preserve the fresh look of your regrouted tiles, incorporate simple daily cleaning habits into your routine. Use a mild pH-neutral cleaner or a mixture of water and vinegar to wipe down the tiles regularly. Avoid harsh chemicals that can damage the grout. Additionally, quickly address any spills or stains on the tiles to prevent them from setting in.
Periodic Check-ups and Touch-Ups
Regularly inspect your regrouted tiles for any signs of wear, discoloration, or cracking. Address small issues promptly by applying a thin layer of grout over damaged areas using a grout float. This proactive approach can prevent minor problems from escalating into more significant repairs later on.
By following these maintenance tips for your newly regrouted tiles, you can extend their lifespan and keep your bathroom looking fresh and well-maintained. Remember that consistent care is key to preserving the beauty of your tiled surfaces for years to come.
Conclusion
You’ve learned about the benefits of regrouting your bathroom tiles and how it can transform the appearance of your space. By recognizing signs like discoloration, cracks, and mold early on, you can maintain a clean and hygienic environment. Remember to follow the step-by-step guide provided in this article for efficient regrouting. Daily cleaning with mild cleaners and regular inspections are key to prolonging the lifespan of your newly regrouted tiles. With consistent care and maintenance, your bathroom tiles will continue to look fresh and beautiful for years to come.
Frequently Asked Questions
What are the signs that indicate the need for regrouting bathroom tiles?
Discoloration, cracks, and mold are common signs that suggest it’s time to regrout your bathroom tiles.
What benefits does regrouting provide for bathroom tiles?
Regrouting enhances aesthetics, prevents water damage, and improves hygiene in your bathroom.
What tools and materials are essential for regrouting bathroom tiles?
You will need a grout saw, grout float, sponge, new grout mix, and sealant to effectively regrout your bathroom tiles.
Can you provide a brief step-by-step guide on how to regrout bathroom tiles?
- Remove old grout
- Clean the area thoroughly
- Apply new grout evenly
How can I maintain newly regrouted bathroom tiles?
Regularly clean with mild cleaners, address issues promptly, and inspect regularly to extend their lifespan and keep them looking fresh.