
Hot mud taping is favored by many professionals for drywall projects because it's efficient and durable. Learning how to use hot mud well can improve your drywall finishes, making joints look smoother and reducing shrinking.
This article will share important techniques and tips for using hot mud effectively, so you can get the best results on your walls.
Key Takeaways
- Hot mud taping offers efficiency and durability for professional finishing.
- Proper mixing and application ensure a strong, seamless wall surface.
- Effective sanding techniques yield a flawless finish for painting.
- Adequate drying conditions and ventilation are essential for optimal results.
What Is Hot Mud Taping?
Hot mud taping is a technique used in drywall finishing to create smooth and seamless joints between drywall panels. One of the benefits of hot mud taping is its quick drying time, which allows you to move on to the next steps of the drywall finishing process faster than traditional joint compounds. This can greatly speed up the overall project timeline. Additionally, hot mud is known for its strength and durability once it's dried, providing a sturdy foundation for your walls.
However, there are some drawbacks to using hot mud taping. One main drawback is that hot mud sets quickly, which means you need to work efficiently to avoid it hardening before you finish taping. This can be challenging for beginners or those who aren't familiar with the technique.
To execute hot mud taping effectively, you'll need specialized tools such as a taping knife, mud pan, and joint tape. The technique involves applying the hot mud mixture over the joints, embedding the tape, and then feathering out the edges to create a seamless finish. Mastering these techniques and using the right tools is essential for achieving professional results in your drywall finishing project.
How to Prepare Hot Mud
When preparing hot mud for taping, make sure to mix the powdered compound with water to achieve the desired consistency. The mixing importance is essential to make sure a smooth application process. Follow these application techniques to prepare hot mud effectively:
| Mixing Ratio | Water Temperature | Mixing Time |
|---|---|---|
| 4 parts powder : 1 part water | Warm water is best | Mix for 2-3 minutes |
Maintaining the correct mixing ratio is important for the hot mud to adhere properly to the joints. Using warm water can help the compound blend smoothly, making a lump-free consistency. Additionally, mixing the compound for 2-3 minutes allows the powder and water to combine thoroughly, resulting in a creamy texture ideal for taping.
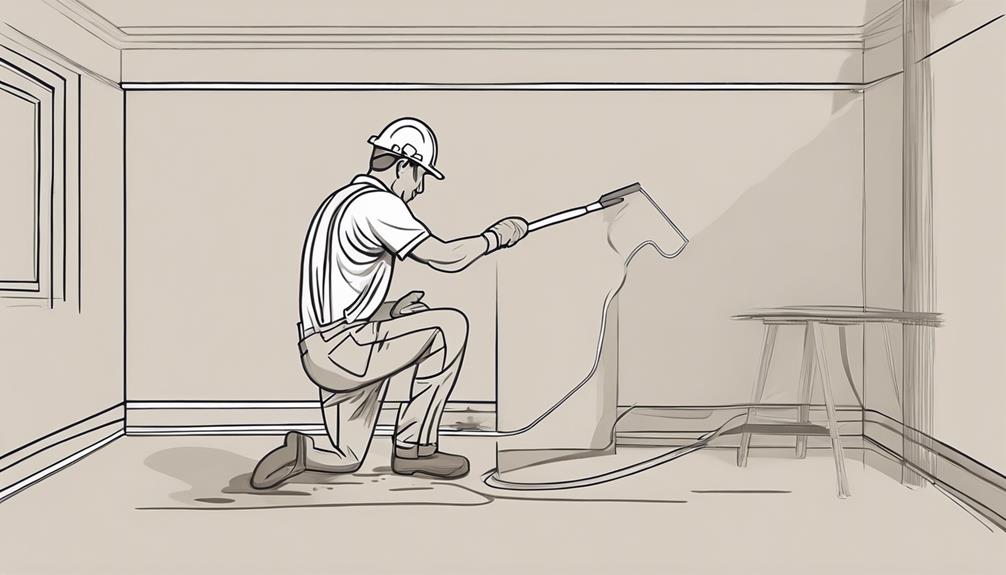
Applying Hot Mud to Joints
To effectively apply hot mud to joints, make sure to achieve efficient application for a smooth finish. Begin by mixing the hot mud to a creamy consistency, ensuring it's free of lumps. Use a taping knife to scoop out an adequate amount and spread it evenly over the joint, pressing gently to fill any gaps. Keep temperature control in mind as hotter temperatures can accelerate drying time, making it challenging to work with. Work swiftly but carefully to prevent the mud from drying out before you can finish.
Smooth out the applied hot mud using the taping knife, feathering the edges to blend it seamlessly with the surrounding surface. Pay close attention to achieving a flat and level finish to minimize the need for extensive sanding later on. Remember that a well-applied hot mud layer will make the subsequent steps smoother and more efficient. Allow the hot mud to dry completely before moving on to the next stage of the taping process.
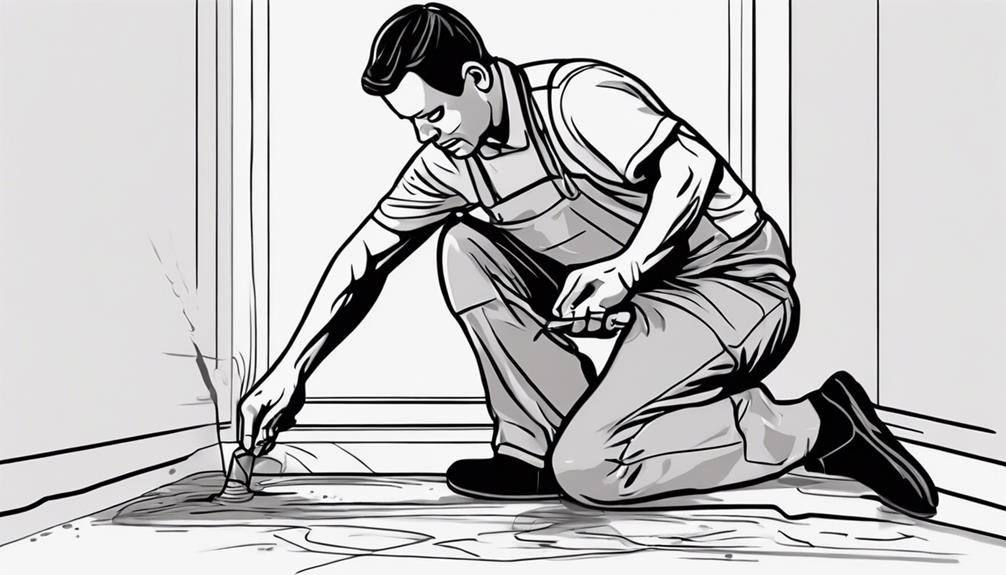
Sanding Hot Mud for a Smooth Finish
Smooth out any imperfections by sanding the hot mud for a flawless finish. When it comes to achieving a perfectly smooth surface, sanding is an important step in the hot mud taping process. Here are some essential tips to help you master the art of sanding hot mud for a professional-looking outcome:
- Use the Right Grit Sandpaper: Start with a coarser grit to remove excess mud and rough areas, then switch to a finer grit for a smoother finish.
- Sand in Multiple Directions: Avoid sanding in only one direction to prevent creating noticeable patterns on the surface.
- Check for Imperfections: Regularly inspect the sanded areas to guarantee all bumps and inconsistencies are smoothed out.
- Finish with Care: Pay attention to detail in the final sanding stages to achieve a seamless surface ready for painting or further finishing touches.
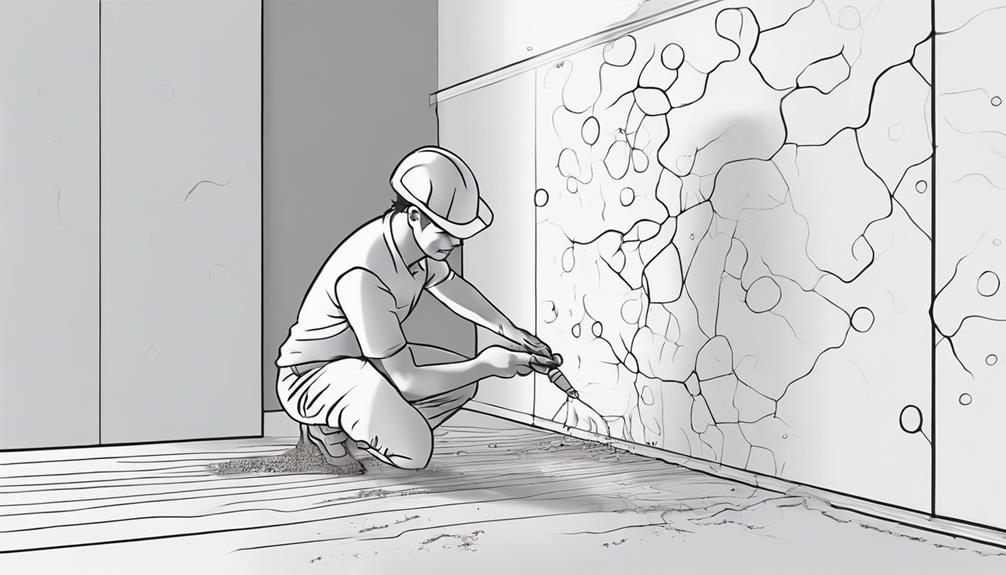
Drying Time and Curing Hot Mud
Ensuring proper drying time and effective curing of hot mud is essential for a successful taping project. Proper ventilation is critical for hot mud to dry efficiently. Make sure the room where you're working has good airflow to aid in the drying process.
Without proper ventilation, the hot mud may take longer to dry, delaying your project. Avoiding moisture is key to successful drying and curing. Keep the area dry and free from any sources of moisture that could hinder the hot mud from setting properly.
A helpful tip is to use a dehumidifier in the room to maintain ideal conditions for drying. Additionally, avoid applying hot mud in humid conditions to prevent issues with setting. By following these key tips and ensuring proper ventilation while avoiding moisture, you can achieve a smooth and successful taping project with hot mud.
Tips for Working With Hot Mud
For best results when working with hot mud, maintain a dry environment and guarantee proper ventilation to facilitate efficient drying. When handling hot mud, consider the following tips:
- Mixing Importance: Achieving the right consistency when mixing hot mud is vital. Aim for a smooth, lump-free texture that's easy to spread on your drywall surfaces.
- Moisture Control: Keep an eye on the moisture content in the hot mud. Too much moisture can lead to cracking, while too little can result in difficulties during application.
- Ventilation is Key: Proper ventilation is essential when working with hot mud. Ensure good airflow in the room to help the mud dry efficiently and prevent issues like bubbling or slow curing.
- Clean Tools: Regularly clean your tools while working with hot mud. Residue on tools can affect the drying process and the overall finish of your taping job.
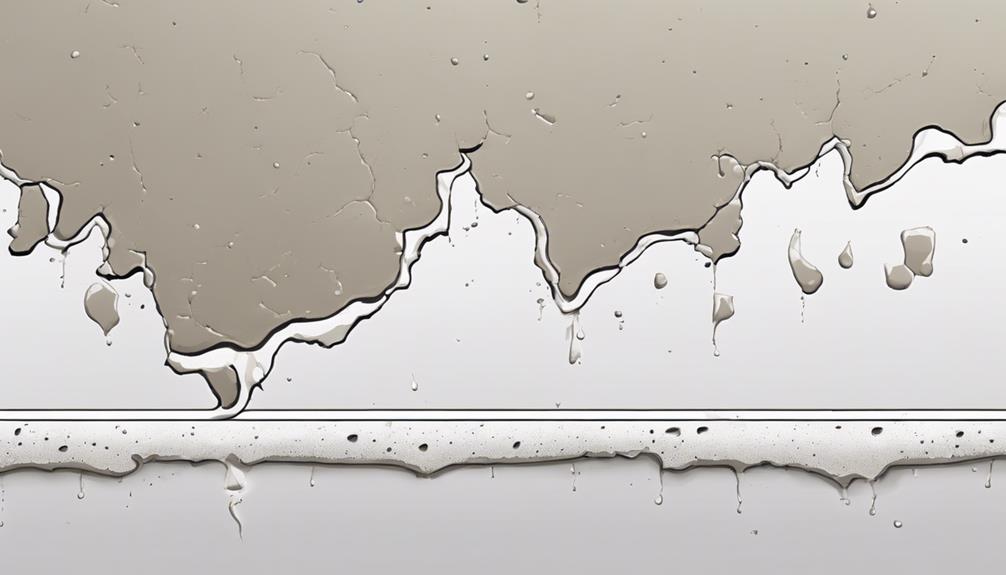
Common Mistakes to Avoid
Maintain proper ventilation while working with hot mud to prevent common mistakes and guarantee a smooth taping process. Two common mistakes to avoid when working with hot mud are avoiding bubbles and ensuring the proper consistency of the mixture. Here are some tips to help you sidestep these pitfalls:
| Common Mistakes | How to Avoid |
|---|---|
| Avoiding Bubbles | 1. Mix the hot mud gently to prevent air bubbles. |
| 2. Apply the hot mud with smooth, even strokes. | |
| 3. Use a wide knife to reduce the chance of trapping air. | |
| Proper Consistency | 1. Follow the manufacturer's guidelines for mixing ratios. |
| 2. Add water or mud to adjust the consistency as needed. | |
| 3. Test the mud on a scrap piece to check for the right consistency. |
Conclusion
Having mastered the technique of taping with hot mud, you're now equipped to elevate your drywall projects to a new level of excellence.
It's essential to focus on the fundamentals: meticulous preparation of the hot mud, careful application to ensure smooth joints, and diligent sanding for a perfect finish.
Remember, patience is key to allow the mud sufficient drying time before proceeding to paint. These core practices are your pathway to achieving results that not only look professional but endure the test of time.
As you contemplate your next project, consider how the skills honed here can transform a simple space into a polished and inviting environment. What impact will your newly acquired expertise have on your future endeavors?