

Halloween is coming up and you might want some simple recipes to try at home.
These ideas focus on easy steps with ingredients that are easy to find.
You can make snacks or treats that fit into your regular routine without extra fuss.
Each recipe keeps things straightforward so you can finish them quickly.
They work well for busy days when you still want something seasonal.
Helpful Tips Before You Start
These ideas will help you move through the recipes with less stress and better results.
Stock Up on Easy Add Ins
Keep candy eyes, colored sprinkles, and black food coloring in your pantry. They turn plain cookies or snacks into Halloween versions in minutes.
Choose Store Bought Bases
Start with pre made cookies, cupcakes, or cheese cubes. This cuts down on baking time and keeps the focus on quick assembly.
Work in Batches
Make one type of treat at a time rather than switching between recipes. It keeps your workspace cleaner and speeds up the whole process.
Involve Kids With Simple Jobs
Let them add candy pieces or arrange items on a tray. They stay busy while you handle any cutting or melting steps.
Mummy Hot Dogs with Crescent Rolls
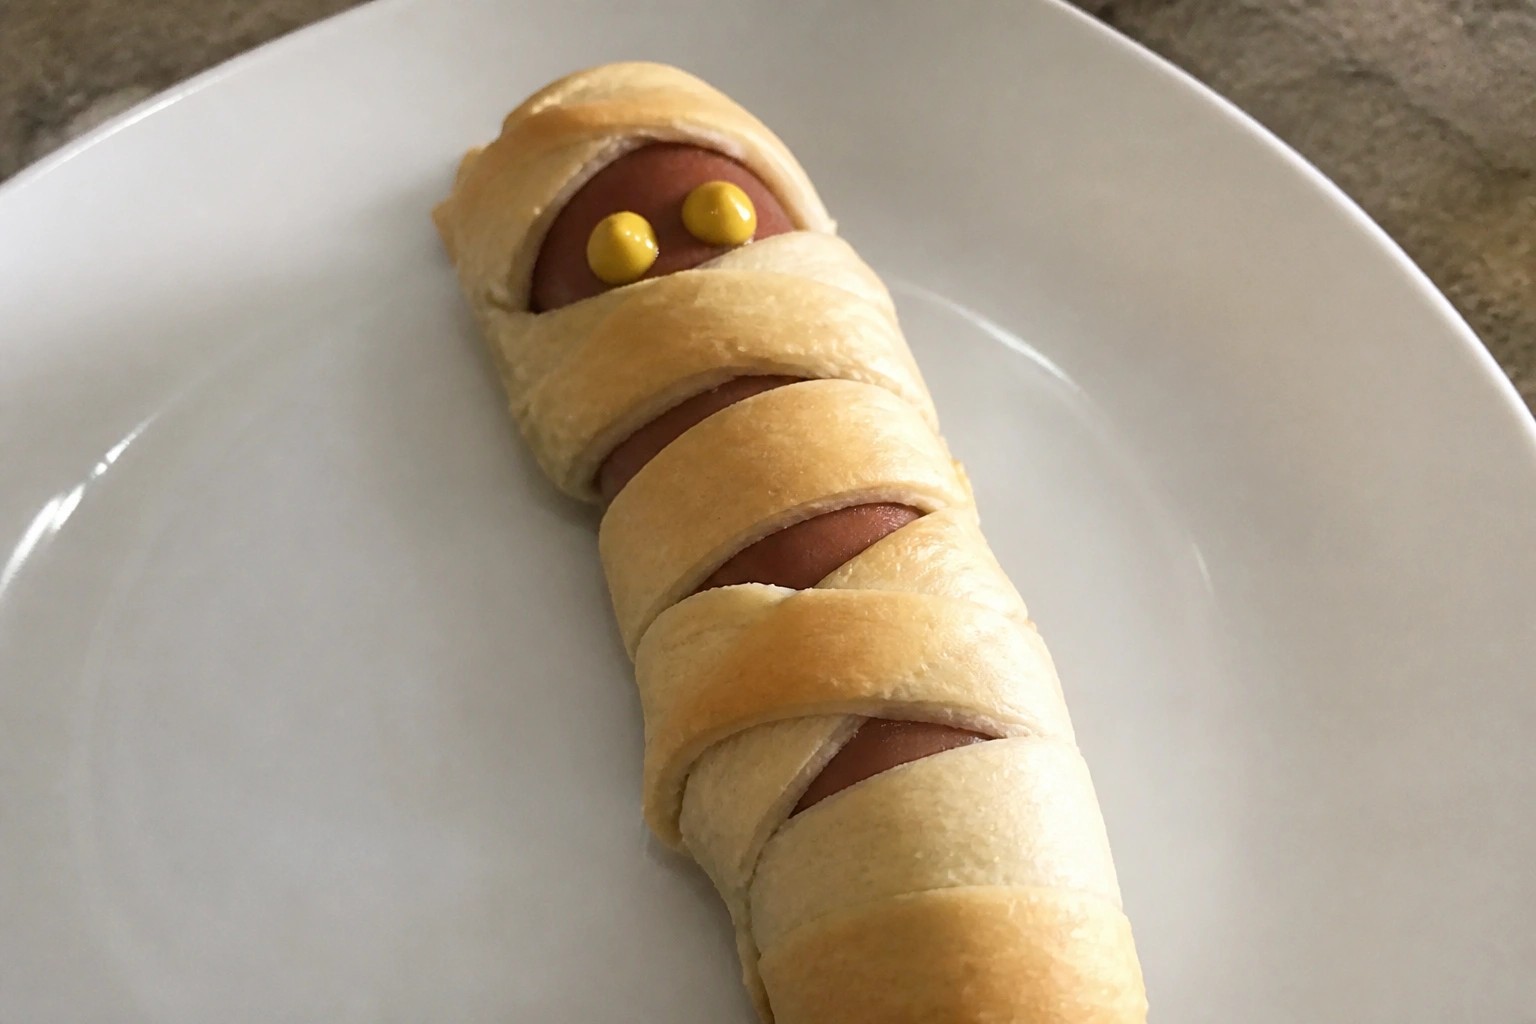
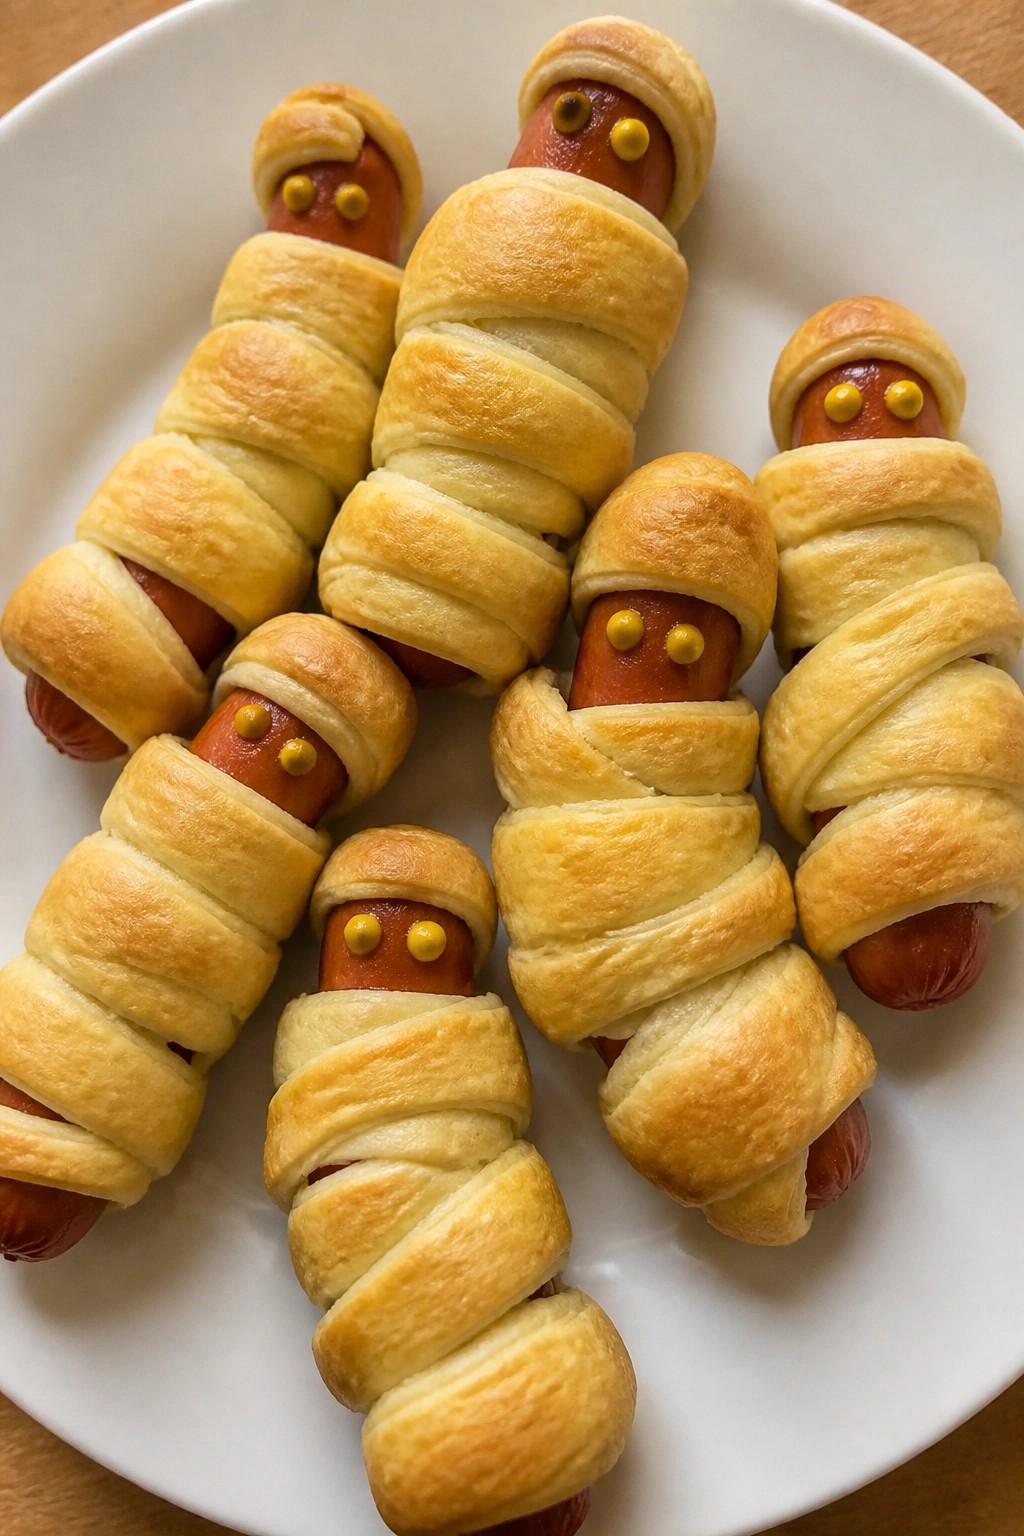
This mummy hot dogs recipe turns regular hot dogs into a quick Halloween snack. Kids enjoy wrapping the dough, and the whole thing comes together with little effort for parties or weeknight dinners.
The crescent rolls bake into a flaky layer around the hot dogs. A few dots of mustard create simple faces that add to the fun without extra work.
Serves 4 people.
Ingredients
- 4 hot dogs
- 1 can crescent roll dough
- 2 tablespoons yellow mustard
Instructions
- Heat the oven to 375 degrees and line a baking sheet with parchment paper.
- Open the can of crescent roll dough and unroll it on a clean surface. Cut the dough into thin strips about half an inch wide.
- Wrap the strips around each hot dog, leaving a small uncovered space near one end for the face. Overlap the strips slightly as you go.
- Place the wrapped hot dogs on the baking sheet with the uncovered end facing up.
- Bake for 12 to 15 minutes until the dough turns golden brown.
- Remove from the oven and let cool for two minutes. Use the mustard to draw two small eyes on the uncovered section of each hot dog.
Extra Tips
Wrap the dough loosely so it has room to expand while baking. If the hot dogs are very cold, let them sit out for ten minutes first to help the dough cook evenly. Leftovers reheat well in a 350-degree oven for five minutes to restore crispness. Course: Appetizer Cuisine: American Equipment: Baking Sheet, Oven, Knife
Spiderweb Black Bean Nachos
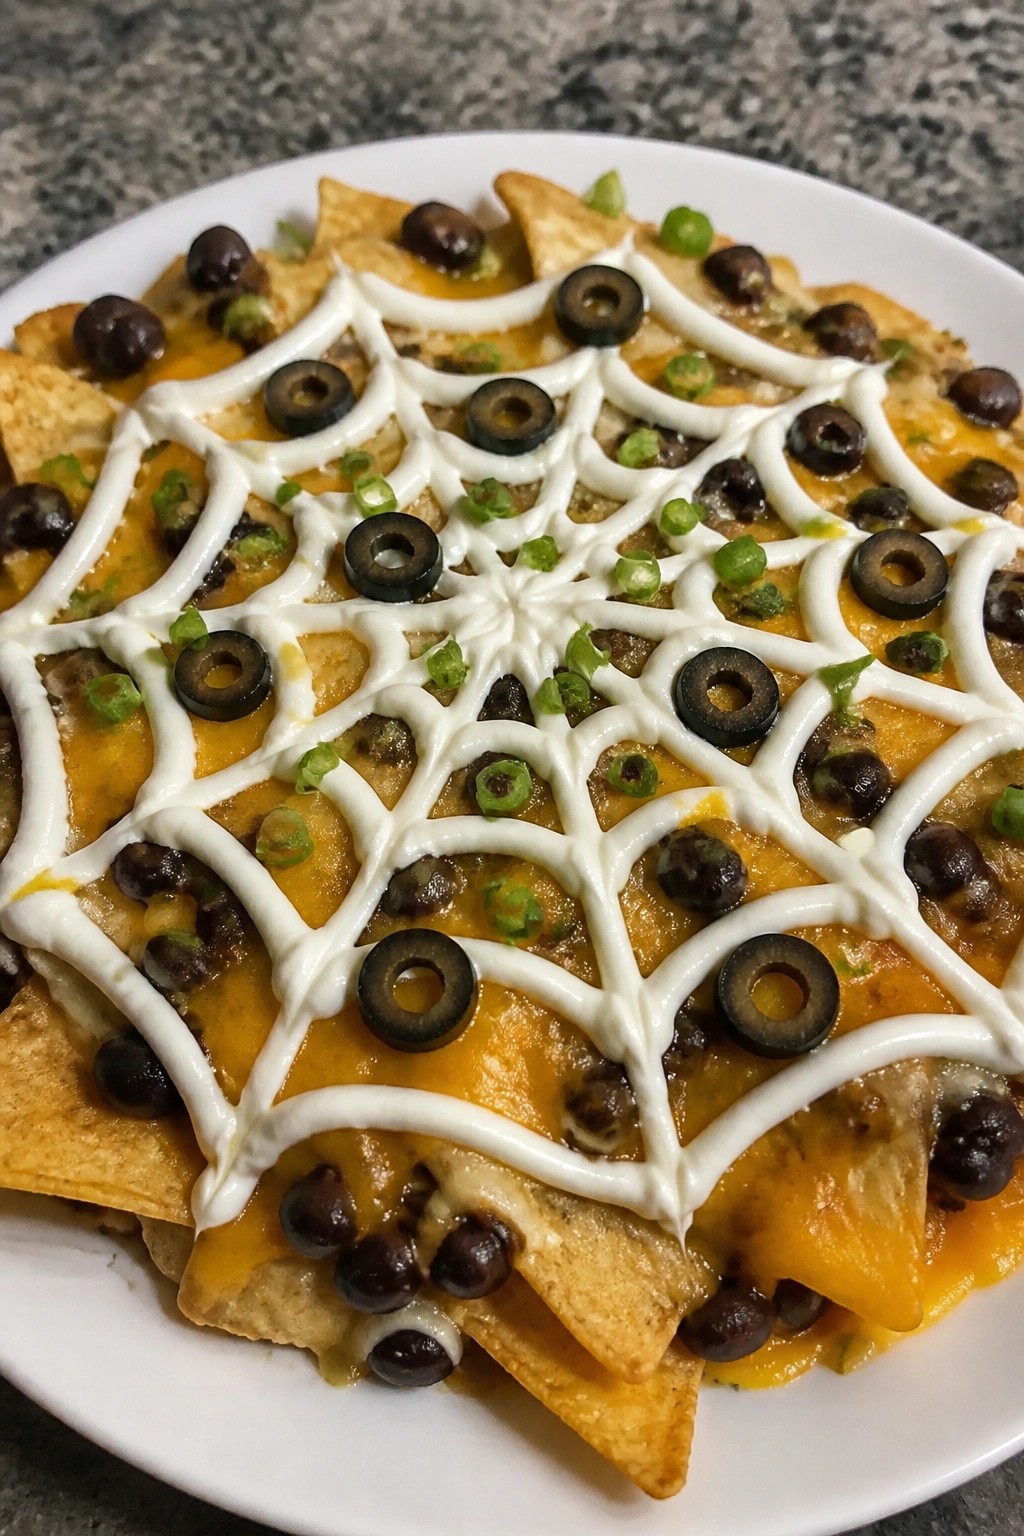
These nachos add a simple Halloween detail to a familiar snack. A sour cream spiderweb on top turns the dish into a quick centerpiece for parties or casual get-togethers with friends.
The base stays hearty with black beans and melted cheese over crisp chips. The sour cream adds cool creaminess that balances the savory layers without extra work.
Serves 4 people.
Ingredients
- 12-ounce bag tortilla chips
- 2 cans (15 ounces each) black beans, drained and rinsed
- 2 cups shredded cheddar cheese
- 1 cup sour cream
- 1/2 cup salsa
- 1/4 cup sliced black olives
- 2 green onions, thinly sliced
Instructions
- Preheat the oven to 375°F. Spread half the tortilla chips in an even layer on a large baking sheet.
- Spoon the drained black beans evenly over the chips, then sprinkle 1 cup of the shredded cheddar cheese on top.
- Add the remaining chips as a second layer, followed by the rest of the black beans and the remaining cup of cheese.
- Bake for 10 to 12 minutes until the cheese is fully melted and the edges of the chips start to brown.
- Remove the sheet from the oven and spoon the salsa across the nachos in small dollops.
- Place the sour cream in a zip-top bag, snip off one corner, and pipe concentric circles starting from the center. Drag a toothpick from the center outward in several lines to form the web.
- Scatter the sliced black olives and green onions over the finished nachos before serving.
Extra Tips
Room-temperature sour cream pipes more smoothly for clean web lines. Warm the black beans briefly in a skillet before layering so they heat through during the short bake time. Leftovers reheat best in a 350°F oven for a few minutes to restore crispness rather than in the microwave. Course: Appetizer Cuisine: Mexican Equipment: Baking sheet, Skillet, Piping bag or zip-top bag
Pumpkin-Shaped Cheese Ball Platter
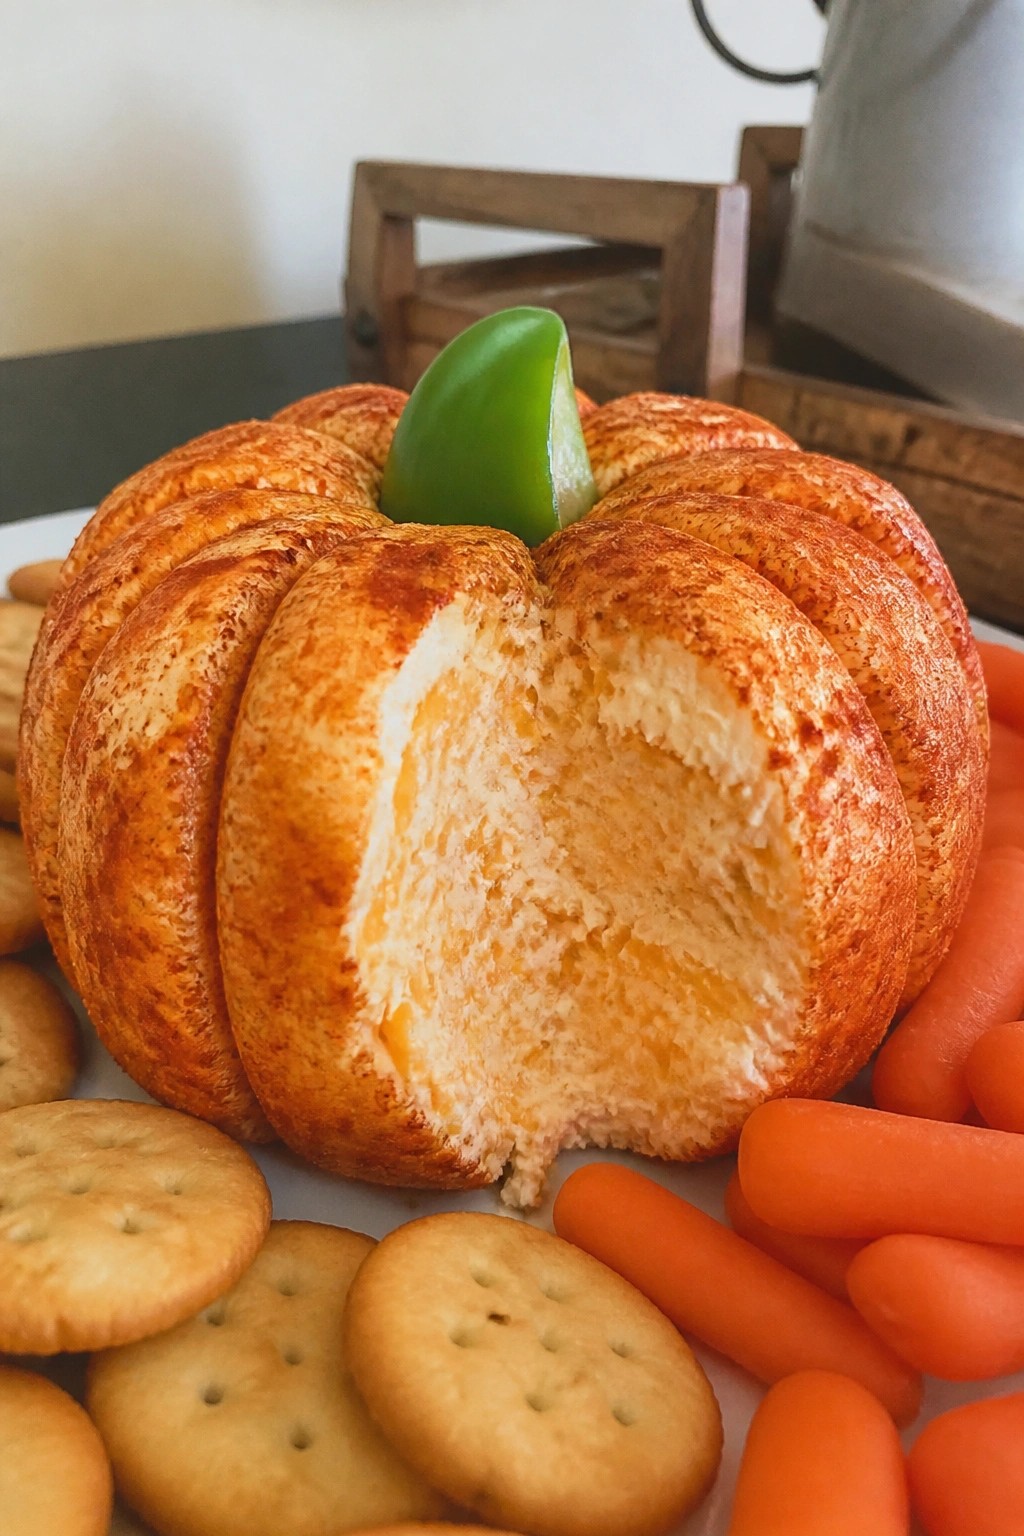
This cheese ball brings a fun Halloween touch to any gathering without extra fuss. Shape it to look like a pumpkin and set it out with simple dippers for an appetizer that looks thoughtful but comes together quickly.
It works well for parties or casual get-togethers where you need something savory to balance sweets. The texture stays creamy inside with a light smoky coating on the outside.
Serves 4 people.
Ingredients
- 8 ounces cream cheese, softened
- 2 cups shredded cheddar cheese
- 1 teaspoon garlic powder
- 1 teaspoon paprika
- 1 small green bell pepper
- 20 crackers
- 1 cup baby carrots
Instructions
- Place the cream cheese, shredded cheddar cheese, garlic powder, and paprika in a mixing bowl.
- Stir the mixture until the ingredients are evenly combined and the cheese forms a thick mass.
- Scoop the mixture onto a piece of plastic wrap and shape it into a round ball.
- Use the edge of a knife to press several shallow vertical lines around the ball to create pumpkin ridges.
- Cut the stem from the green bell pepper and press it into the top of the cheese ball.
- Arrange the finished cheese ball on a platter and surround it with the crackers and baby carrots.
Extra Tips
Chill the cheese ball for at least an hour before adding the stem so the ridges hold their shape. The bell pepper stem gives a bright green contrast that reads as a pumpkin without extra decorations. Swap the baby carrots for cucumber slices if you want a milder dipper option. Course: Appetizer Cuisine: American Equipment: Mixing bowl, Knife, Plastic wrap, Serving platter
Ghostly Deviled Egg Eyeballs
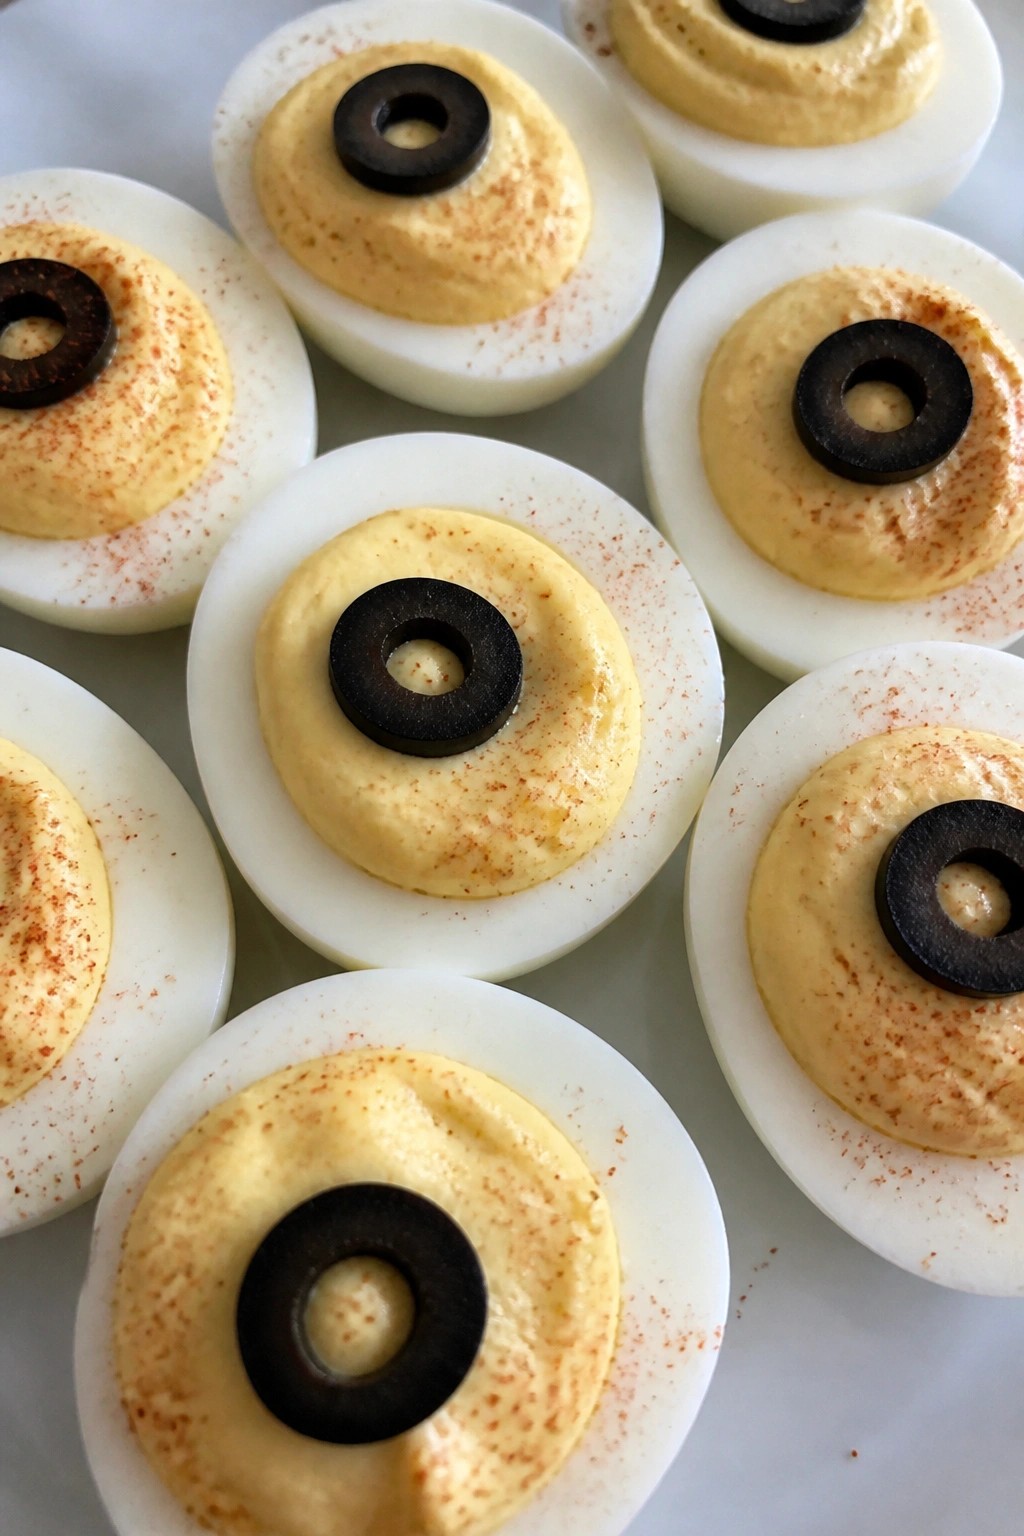
These ghostly deviled egg eyeballs turn a classic snack into a quick Halloween option that fits right into any party spread. They work well for last-minute prep since they use pantry staples and come out looking playful without extra effort. The creamy yolk filling gives a smooth texture against the firm egg whites, with a mild tangy taste.
Serves 4 people.
Ingredients
- 6 large eggs
- 1/4 cup mayonnaise
- 1 tablespoon yellow mustard
- 1 teaspoon white vinegar
- 1/4 teaspoon salt
- 1/8 teaspoon black pepper
- 12 thin slices black olives
- Paprika, for garnish
Instructions
- Place the eggs in a saucepan and cover them with cold water. Bring the water to a boil over medium-high heat, then reduce to a simmer and cook for 10 minutes.
- Drain the eggs and transfer them to a bowl of ice water. Let them cool for 5 minutes before peeling.
- Slice each egg in half lengthwise and remove the yolks. Place the yolks in a mixing bowl and set the whites aside on a serving plate.
- Mash the yolks with a fork. Add the mayonnaise, yellow mustard, white vinegar, salt, and black pepper. Stir until the mixture is smooth.
- Spoon or pipe the yolk mixture back into the egg white halves.
- Press one black olive slice gently into the center of each filled egg to create the pupil.
- Lightly dust the tops with paprika for color.
Extra Tips
Cool the eggs fully in ice water before peeling to keep the whites smooth and intact. Press the olive slices in place right after filling so they stay secure. If you want a milder flavor, reduce the mustard by half and taste the filling before adding more. Course: Appetizer Cuisine: American Equipment: Saucepan, Mixing Bowl, Knife
Witch Finger Breadstick Dippers
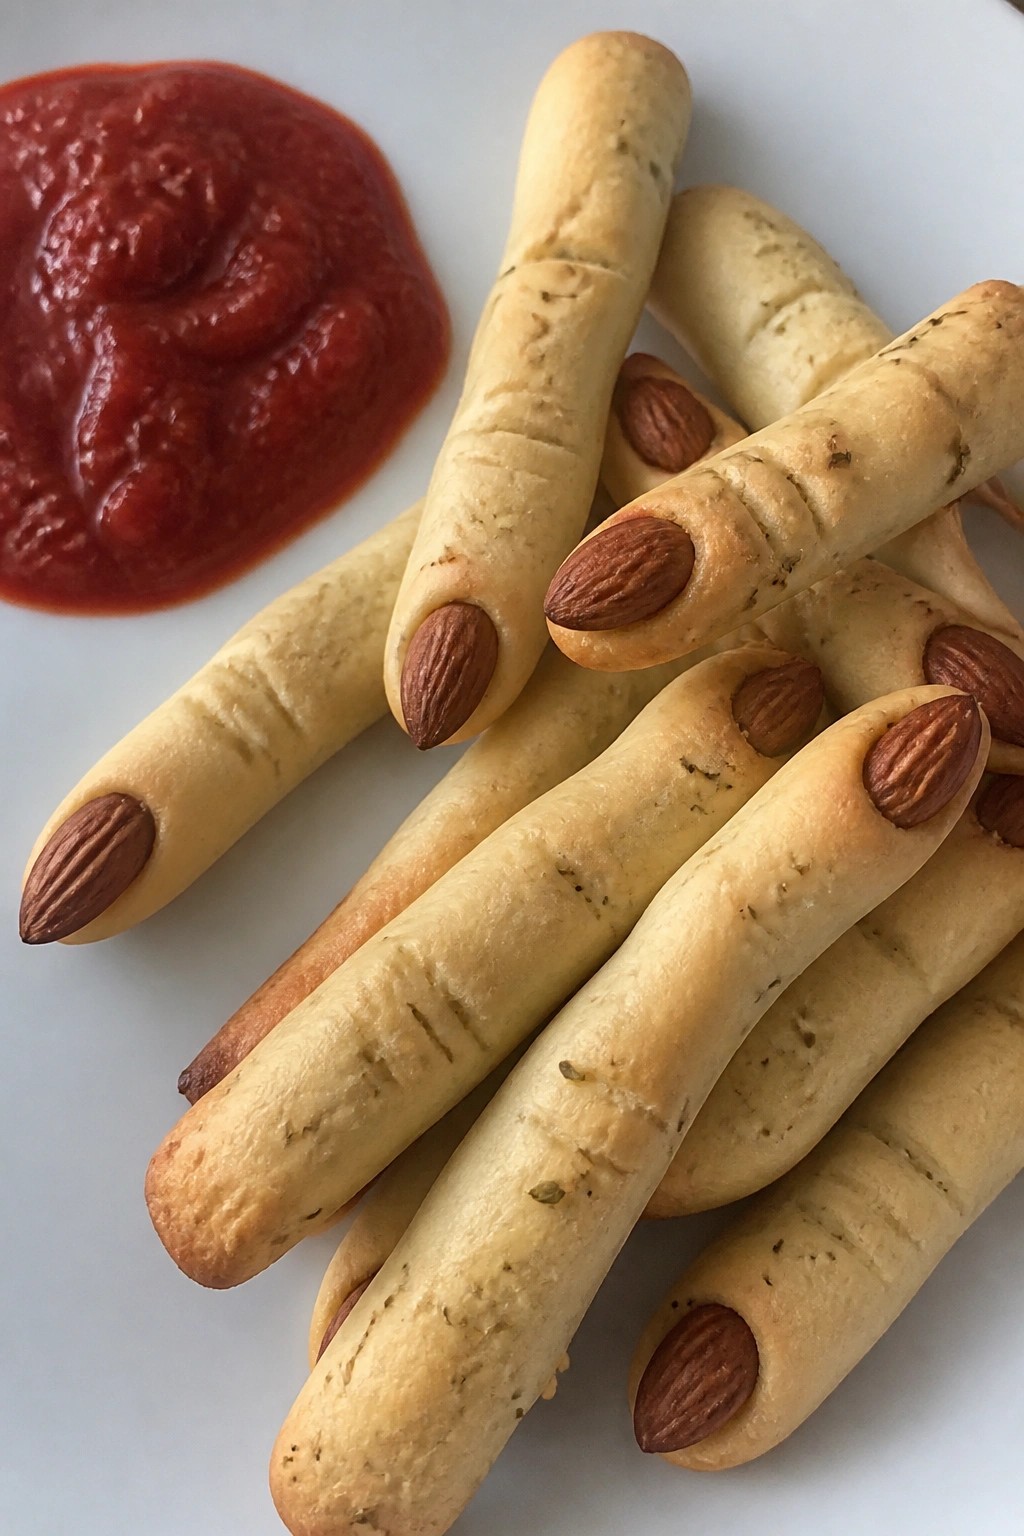
These breadsticks turn a basic dough into a fun Halloween snack. Shape them like fingers, add almond nails, and serve them with marinara for dipping. They come out crisp on the outside with a soft center and a light garlic taste.
The recipe uses store-bought dough so it stays quick and simple. It works well for parties or a weeknight treat when you want something themed without extra effort.
Serves 4 people.
Ingredients
- 1 can (11 ounces) refrigerated breadstick dough
- 8 whole almonds
- 1 egg
- 1 teaspoon garlic powder
- 1 teaspoon dried Italian seasoning
- 1 cup marinara sauce
Instructions
- Preheat the oven to 375 degrees and line a baking sheet with parchment paper.
- Separate the breadstick dough into 8 pieces. Roll each piece into a thin log about 6 inches long.
- Use a knife to make two or three shallow cuts across the middle of each log to create knuckle marks. Press one almond into the tip of each log to form a fingernail.
- Beat the egg in a small bowl. Brush the egg over each breadstick. Sprinkle the garlic powder and Italian seasoning evenly over the tops.
- Place the breadsticks on the baking sheet. Bake for 12 to 15 minutes until golden brown.
- Warm the marinara sauce in a small saucepan over low heat. Serve the breadsticks warm with the sauce for dipping.
Extra Tips
Shape the dough a little thicker at one end to give the fingers a more natural look. If the almonds slide off during baking, press them back in right after the breadsticks come out of the oven while they are still soft. Store leftovers in an airtight container at room temperature for up to two days and reheat briefly in a 300-degree oven to restore crispness. Course: Appetizer Cuisine: American Equipment: Baking sheet, Mixing bowl, Pastry brush
Skeleton Bone Pretzel Rods with Cheese Dip
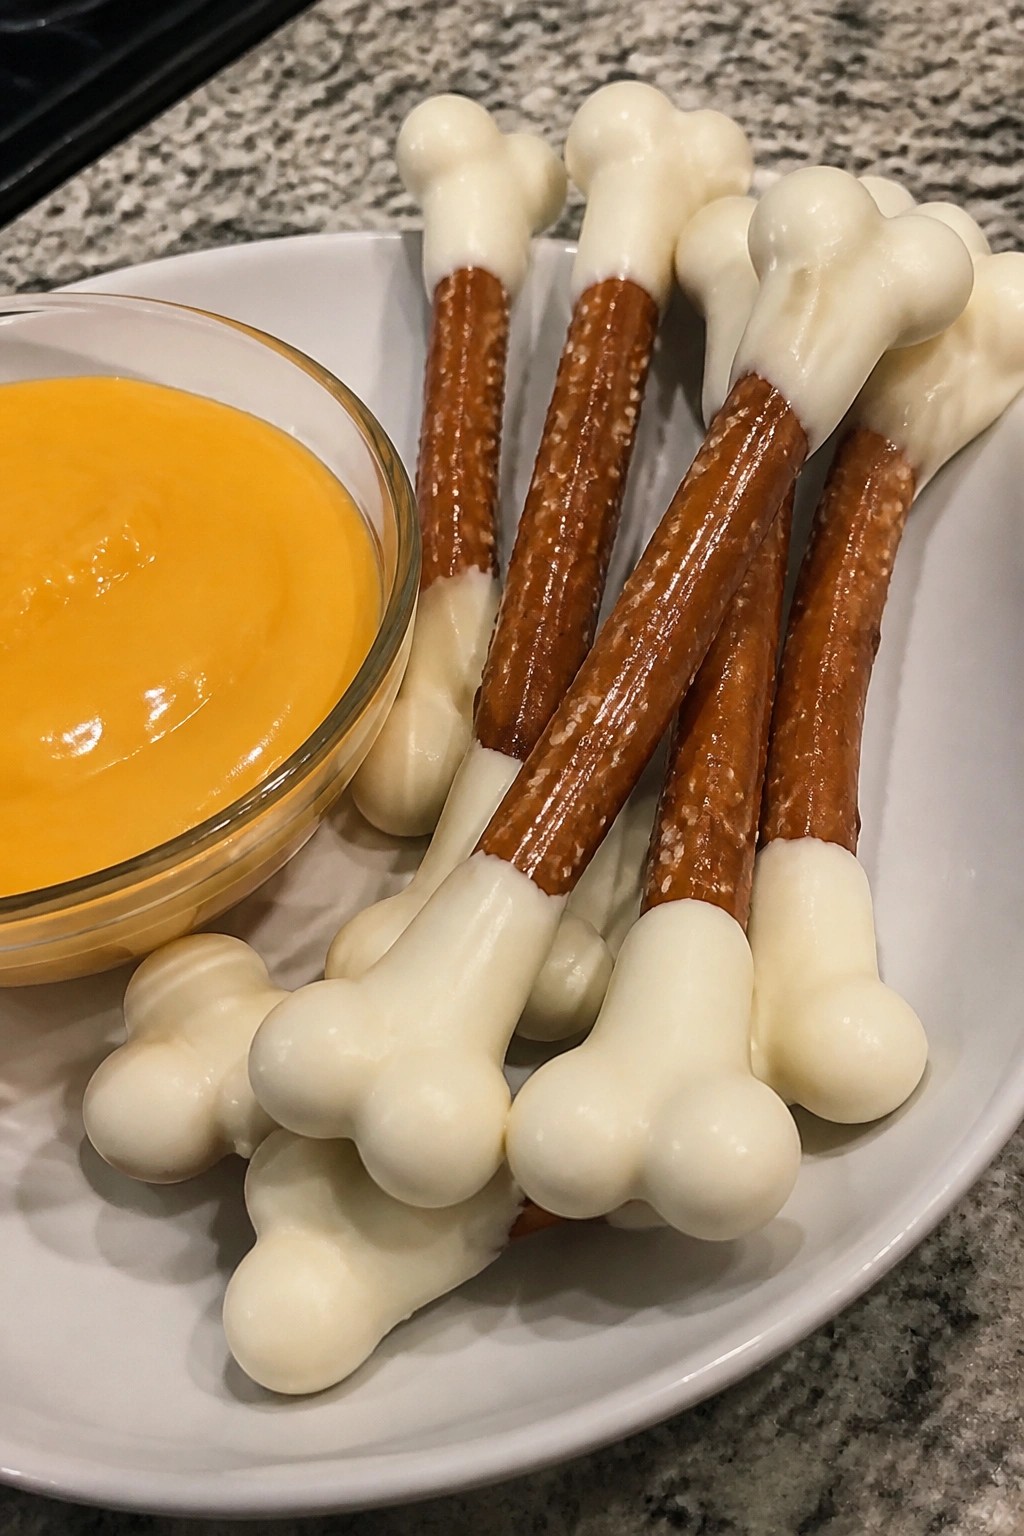
These pretzel rods get a quick white chocolate dip on the ends to create a simple bone shape that fits right into a Halloween spread. They pair well with a warm cheese dip for parties or casual get-togethers when you need something quick that still feels themed.
The finished snack gives a crunchy, salty bite from the pretzels against the smooth, mild cheese dip. It works as an easy starter that kids and adults can both enjoy.
Serves 4 people.
Ingredients
- 12 pretzel rods
- 1 cup white chocolate melting wafers
- 2 cups shredded cheddar cheese
- ¾ cup milk
- 1 tablespoon butter
- ½ teaspoon garlic powder
- ¼ teaspoon paprika
Instructions
- Line a baking sheet with parchment paper. Place the white chocolate melting wafers in a microwave-safe bowl and heat in 30-second intervals, stirring between each, until fully melted and smooth.
- Dip both ends of each pretzel rod into the melted white chocolate, leaving the center uncovered. Place the dipped pretzels on the prepared baking sheet and let them set at room temperature until the coating hardens.
- While the pretzels set, make the cheese dip. Melt the butter in a small saucepan over medium heat. Add the milk and stir to combine.
- Gradually add the shredded cheddar cheese to the saucepan, stirring constantly until the cheese melts and the mixture becomes smooth. Stir in the garlic powder and paprika.
- Remove the saucepan from the heat. Serve the cheese dip warm alongside the set pretzel rods.
Extra Tips
Keep the cheese dip on low heat after melting if you need to hold it for a few minutes, and stir in a splash more milk if it thickens too much. The white chocolate sets faster in a cool room, so avoid placing the pretzels in the fridge or the coating may crack. Course: Appetizer Cuisine: American Equipment: Baking Sheet, Microwave-Safe Bowl, Small Saucepan
Spiderweb Brownie Bites
These brownie bites bring a simple Halloween twist to a classic treat. They work well for parties, school events, or a quick weekend project when you want something themed but still easy to pull together.
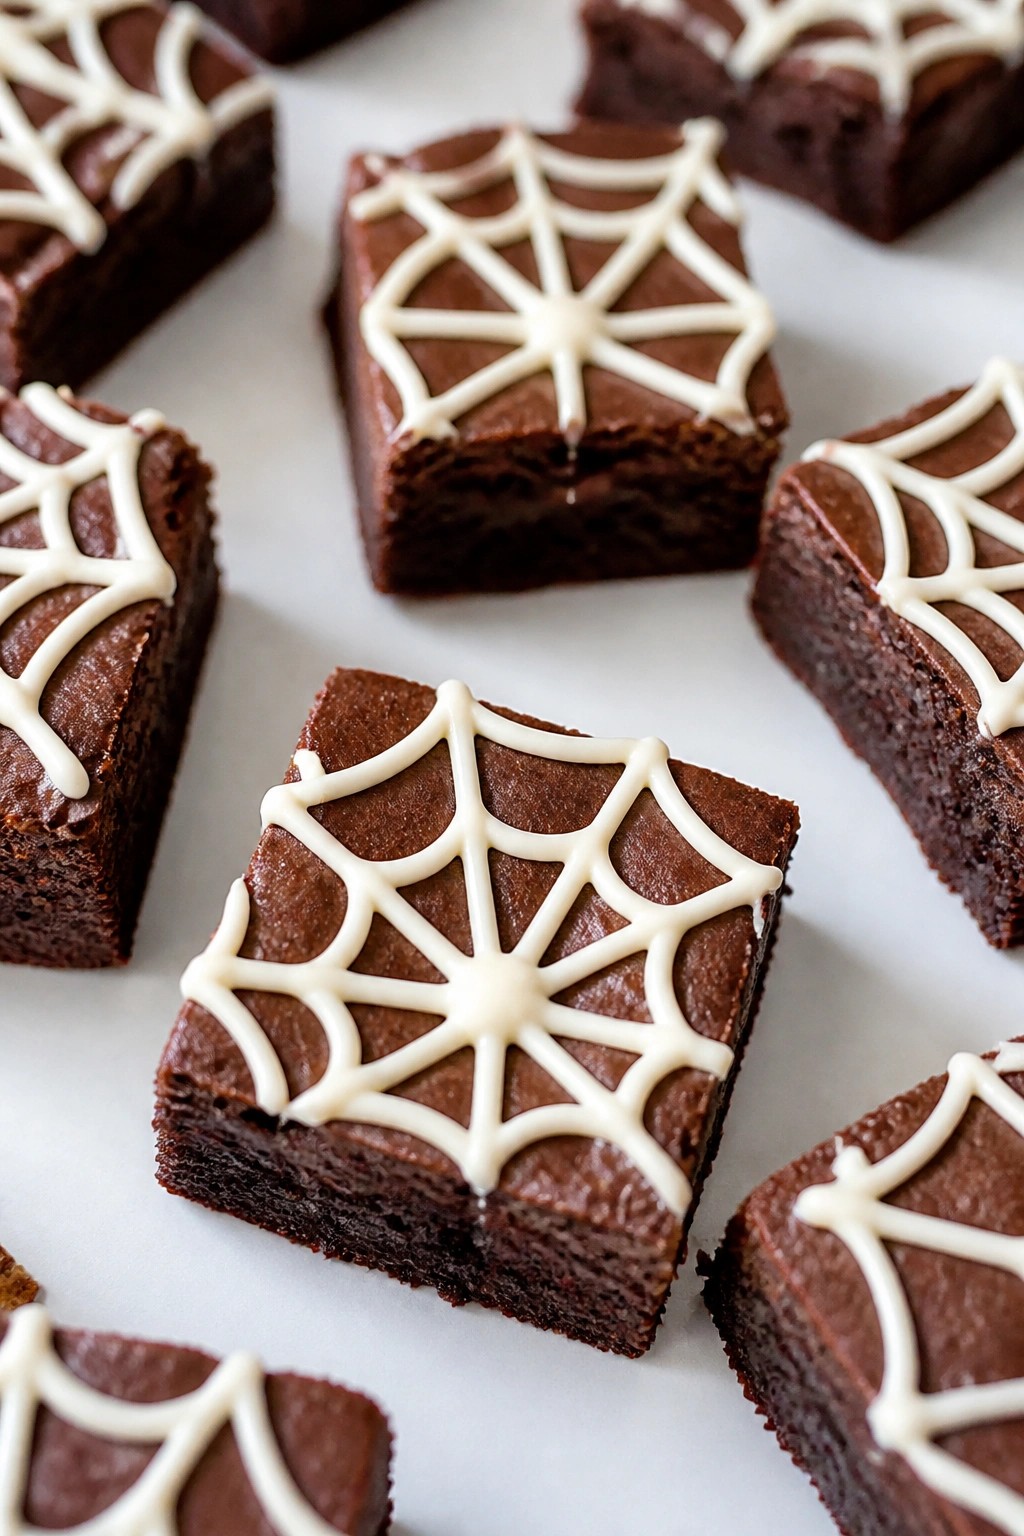
The fudgy base holds up to the sweet white chocolate web on top, creating a mix of rich chocolate flavor and light crunch in each small bite.
Serves 4 people.
Ingredients
- 1 box (18 oz) brownie mix
- 1/2 cup vegetable oil
- 1/4 cup water
- 1 large egg
- 1/2 cup white chocolate chips
Instructions
- Preheat the oven to 350°F and grease a mini muffin pan.
- In a mixing bowl, combine the brownie mix, vegetable oil, water, and egg. Stir until the batter is smooth and no dry streaks remain.
- Spoon the batter into the prepared mini muffin cups, filling each about two thirds full.
- Bake for 12 to 15 minutes, until a toothpick inserted in the center comes out clean. Remove from the oven and let the bites cool completely in the pan.
- Place the white chocolate chips in a microwave-safe bowl and heat in 20-second bursts, stirring after each, until fully melted and smooth.
- Transfer the melted white chocolate to a piping bag or zip-top bag with a small corner snipped off. Pipe concentric circles on top of each cooled brownie bite.
- Drag a toothpick from the center of each circle outward in several places to form a web pattern. Let the chocolate set before serving.
Extra Tips
Cool the brownie bites fully before piping so the white chocolate holds its shape. If the melted chocolate starts to firm up while you work, give it another short microwave burst to restore a smooth flow. Store any leftovers in an airtight container at room temperature for up to two days. Course: Dessert Cuisine: American Equipment: Mixing Bowl, Mini Muffin Pan, Microwave-Safe Bowl, Piping Bag
Monster Avocado Deviled Eggs
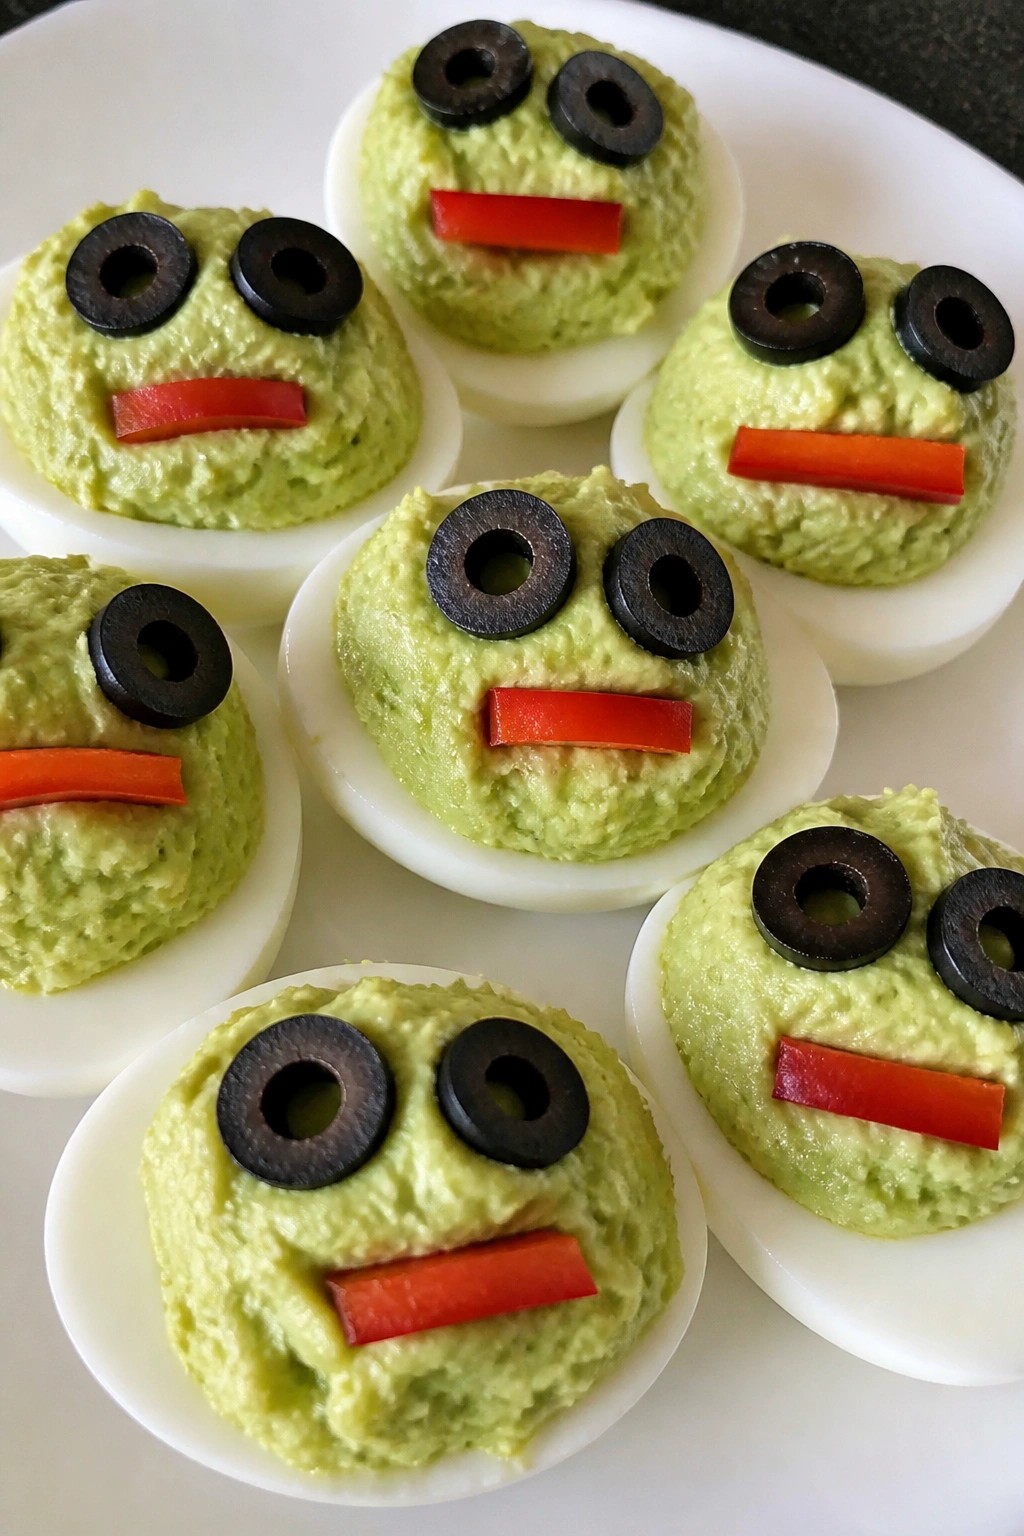
These deviled eggs get a green boost from avocado, which turns the filling bright and creamy. They make a fun addition to a Halloween spread and come together with basic ingredients most people keep on hand. The result is a mild, slightly tangy bite with a smooth texture that kids and adults both enjoy.
The monster look comes from simple olive slices for eyes and small red pepper pieces for mouths. Serve them at a party or as an easy starter before a holiday meal.
Serves 4 people.
Ingredients
- 6 large eggs
- 1 ripe avocado, peeled and pitted
- 2 tablespoons mayonnaise
- 1 teaspoon yellow mustard
- 1/2 teaspoon salt
- 1/4 teaspoon black pepper
- 6 black olives, sliced into rounds
- 1 small red bell pepper, cut into thin strips
Instructions
- Place the eggs in a large pot and cover with cold water. Bring to a boil over medium-high heat, then remove the pot from the heat, cover, and let the eggs sit for 12 minutes.
- Drain the hot water and run cold water over the eggs until they are cool enough to handle. Peel the eggs and slice each one in half lengthwise.
- Scoop the yolks into a mixing bowl. Add the avocado, mayonnaise, mustard, salt, and black pepper. Mash everything together until smooth.
- Spoon or pipe the filling back into the egg white halves. Press two olive slices into the top of each filled egg to create eyes. Add a small red bell pepper strip below the eyes to form a mouth.
Extra Tips
Make the filling a few hours ahead and keep it covered in the fridge, then fill the eggs just before serving so they stay neat. If the avocado is very ripe, reduce the mayonnaise slightly to keep the texture thick enough to hold its shape. Leftovers store well in an airtight container for one day. Course: Appetizer Cuisine: American Equipment: Large pot, Mixing bowl, Knife
Bloody Finger Sausage Skewers
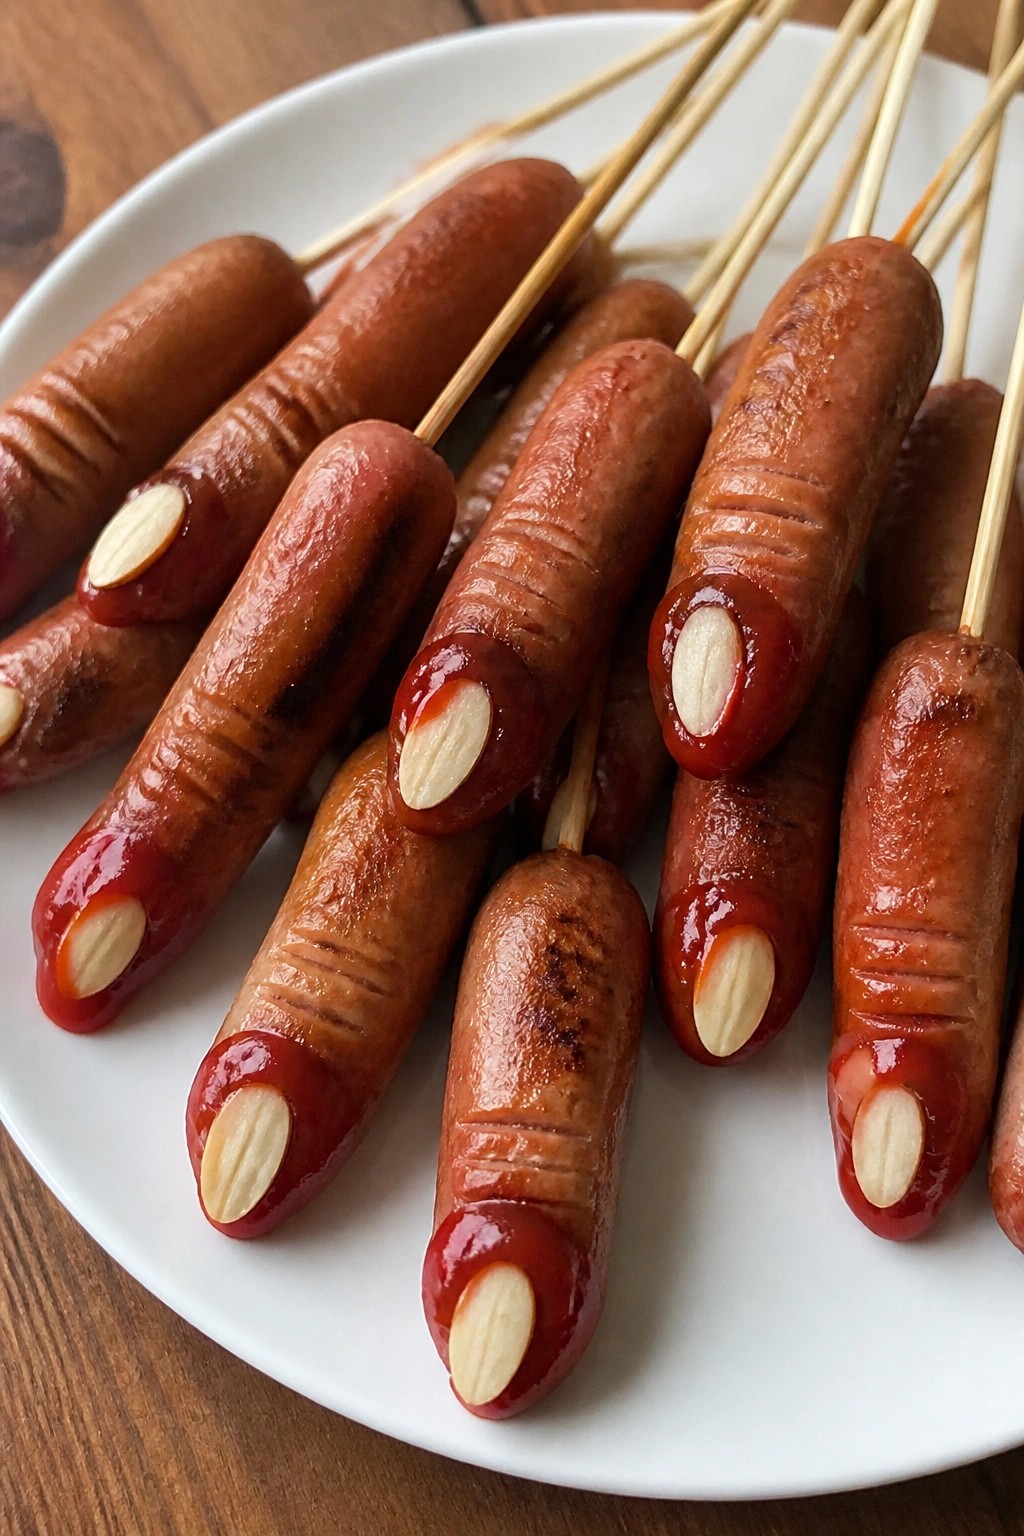
These skewers turn everyday sausages into a playful Halloween snack that kids and adults both enjoy. They come together quickly on the stove and look right at home on a party table. The sausages stay juicy inside with a lightly browned outside, while the ketchup adds a bright, tangy finish.
This recipe works well for casual gatherings or as an easy starter before a bigger meal. The almond pieces give a slight crunch that contrasts with the soft sausage.
Serves 4 people.
Ingredients
- 8 sausages
- 2 tablespoons vegetable oil
- 8 wooden skewers
- 1/4 cup ketchup
- 8 almond slivers
Instructions
- Heat the vegetable oil in a large skillet over medium heat. Add the sausages and cook, turning them every few minutes, until they are browned on all sides and cooked through.
- Remove the sausages from the skillet and let them cool for 2 minutes so they are easier to handle.
- Carefully thread one sausage onto each wooden skewer, pushing the skewer through the center.
- Spoon a small amount of ketchup over the top of each sausage so it drips down like blood.
- Press one almond sliver onto the tip of each sausage to create the look of a fingernail.
Extra Tips
Cook the sausages in batches if your skillet is small so they brown evenly instead of steaming. The almond slivers stay in place best when pressed on right after the ketchup is added while it is still wet. Leftovers can be stored in the fridge for one day and reheated briefly in a skillet to keep the texture from turning soft. Course: Appetizer Cuisine: American Equipment: Large Skillet, Wooden Skewers
Cauldron Caramel Popcorn Balls
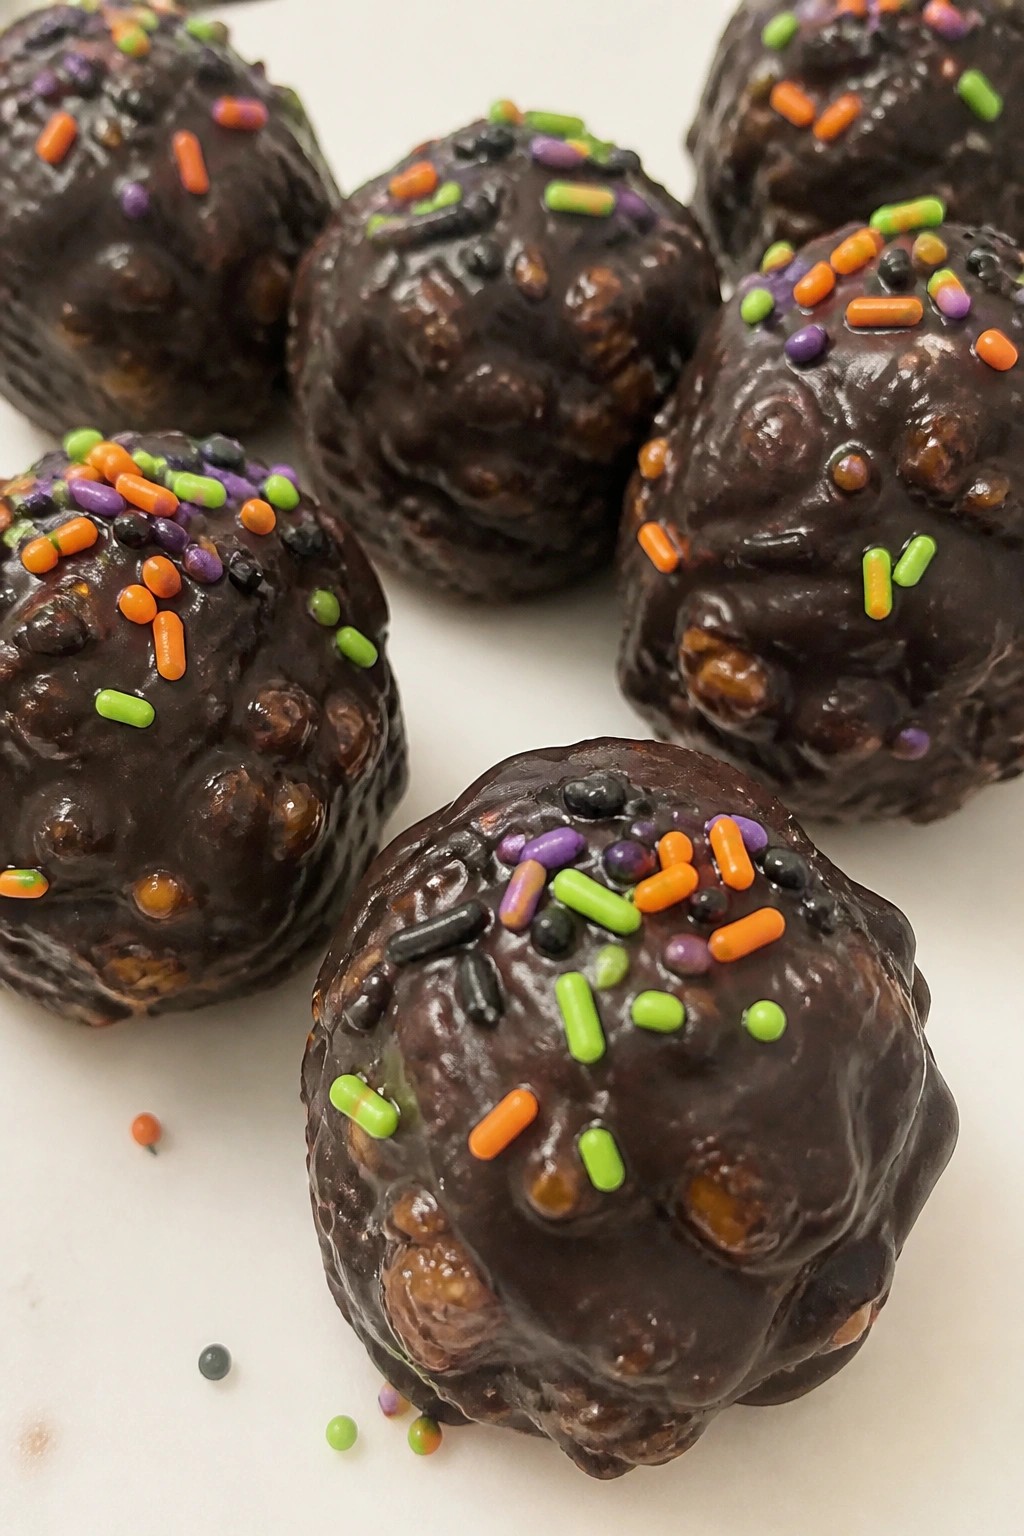
These popcorn balls bring a simple Halloween twist to a classic sweet snack. The caramel coating gives a rich, buttery flavor while the black candy shell turns each ball into a dark, cauldron-like treat. They work well for parties or quick after-school snacks when you want something fun without much fuss.
The texture stays crunchy on the outside with chewy caramel threads running through the popcorn. A light sprinkle on top adds just enough color to match the season.
Serves 4 people.
Ingredients
- 8 cups popped popcorn
- ½ cup butter
- 1 cup packed brown sugar
- ¼ cup light corn syrup
- 1 tsp vanilla extract
- ½ tsp baking soda
- 8 oz black candy melts
- 2 tbsp Halloween sprinkles
Instructions
- Place the popped popcorn in a large bowl and set it aside.
- In a medium saucepan, melt the butter over medium heat. Stir in the brown sugar and corn syrup. Bring the mixture to a boil and cook for 2 minutes without stirring.
- Remove the pan from the heat. Stir in the vanilla extract and baking soda until the mixture turns light and foamy.
- Pour the hot caramel over the popcorn and toss quickly until every piece is coated. Let the mixture cool for 2 minutes until it is safe to handle.
- Lightly grease your hands and shape the coated popcorn into 8 balls. Place the balls on a parchment-lined baking sheet.
- Melt the black candy melts according to package directions. Dip the top half of each popcorn ball into the melted candy, letting excess drip off. Immediately add sprinkles before the candy sets.
Extra Tips
Work fast when shaping the balls so the caramel does not harden too soon. If the candy melts thicken while dipping, warm them for a few seconds in the microwave. Store any leftovers in an airtight container at room temperature for up to two days to keep the coating from softening. Course: Snack Cuisine: American Equipment: Large bowl, Medium saucepan, Baking sheet, Parchment paper