

Planning a Halloween party for kids means finding food that looks fun but stays simple and appealing to them. You need ideas that do not require special skills or hard to find ingredients. These recipes focus on easy to make options that fit the holiday without being too scary or complicated. They work well for a group and can be prepared ahead of time. The list below gives you ten practical choices to build your menu.
Helpful Tips Before You Start
These tips will help you plan foods that kids can enjoy without extra stress.
Let Kids Join In On Simple Tasks
Kids can help cut shapes with cookie cutters or add candy eyes. Give them small jobs to keep them busy and excited.
Watch For Allergies And Preferences
Check with parents about nut free needs or picky eaters before you shop. Keep a few plain versions of each item on hand as backups.
Focus On Small, Easy Bites
Kids eat more when portions are small and easy to grab. Cut sandwiches, fruits, and treats into bite sized pieces or fun shapes.
Prep What You Can Ahead Of Time
Many finger foods and dips hold up well in the fridge overnight. Make them the day before so you have less to do on the party day.
Crescent Roll Mummy Hot Dogs
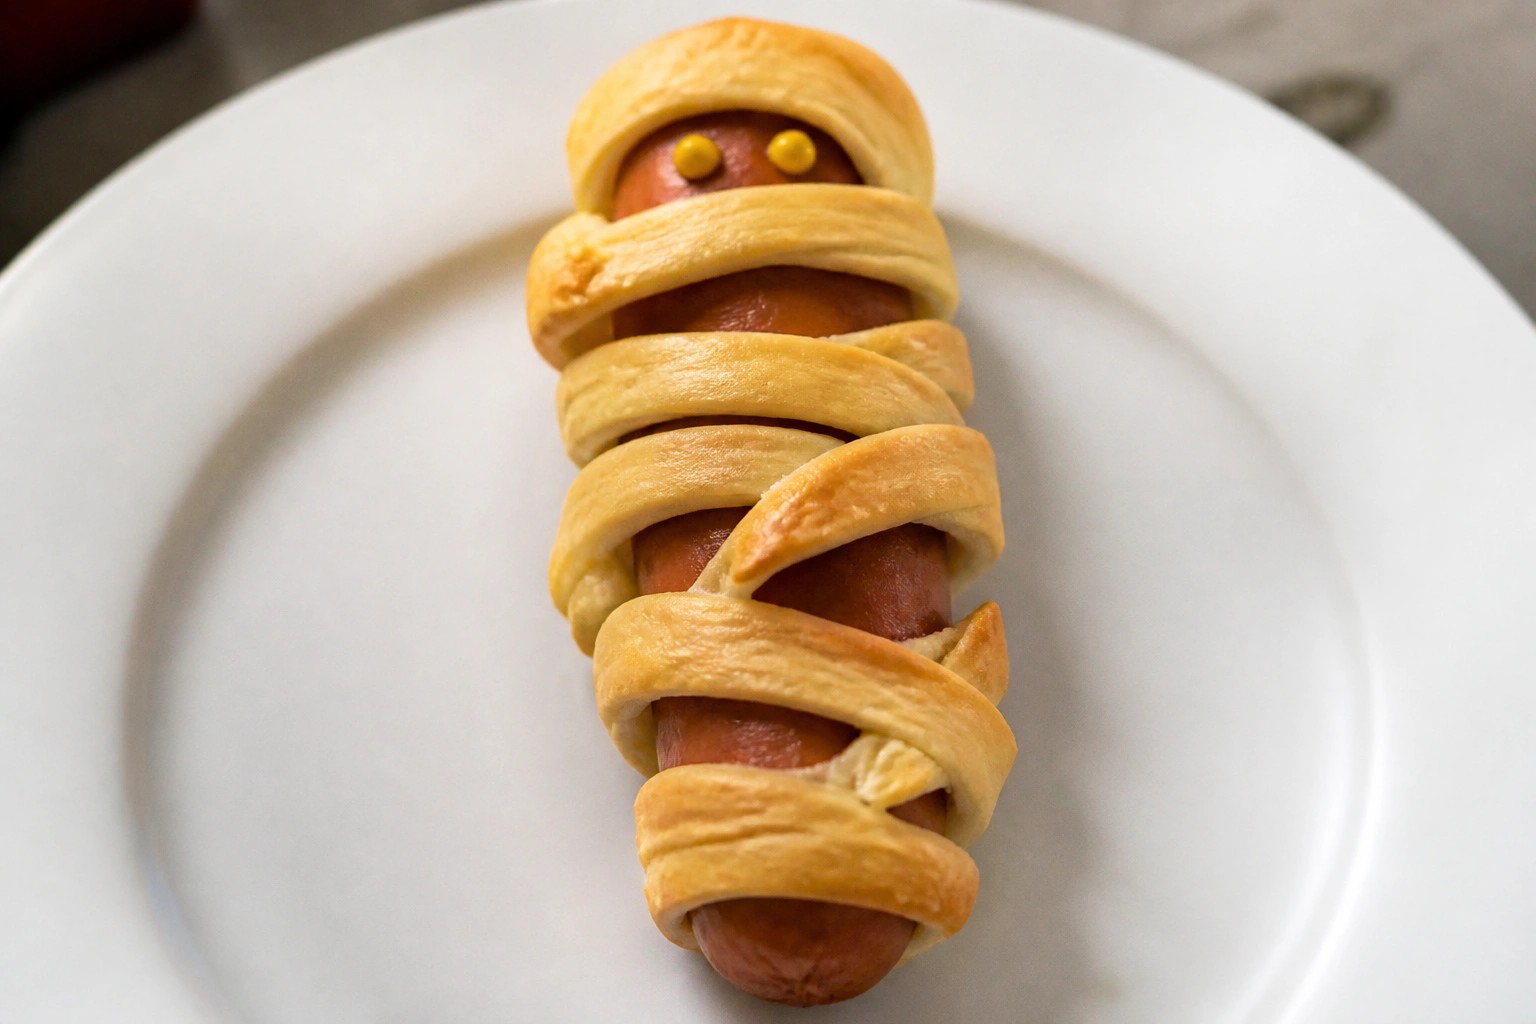
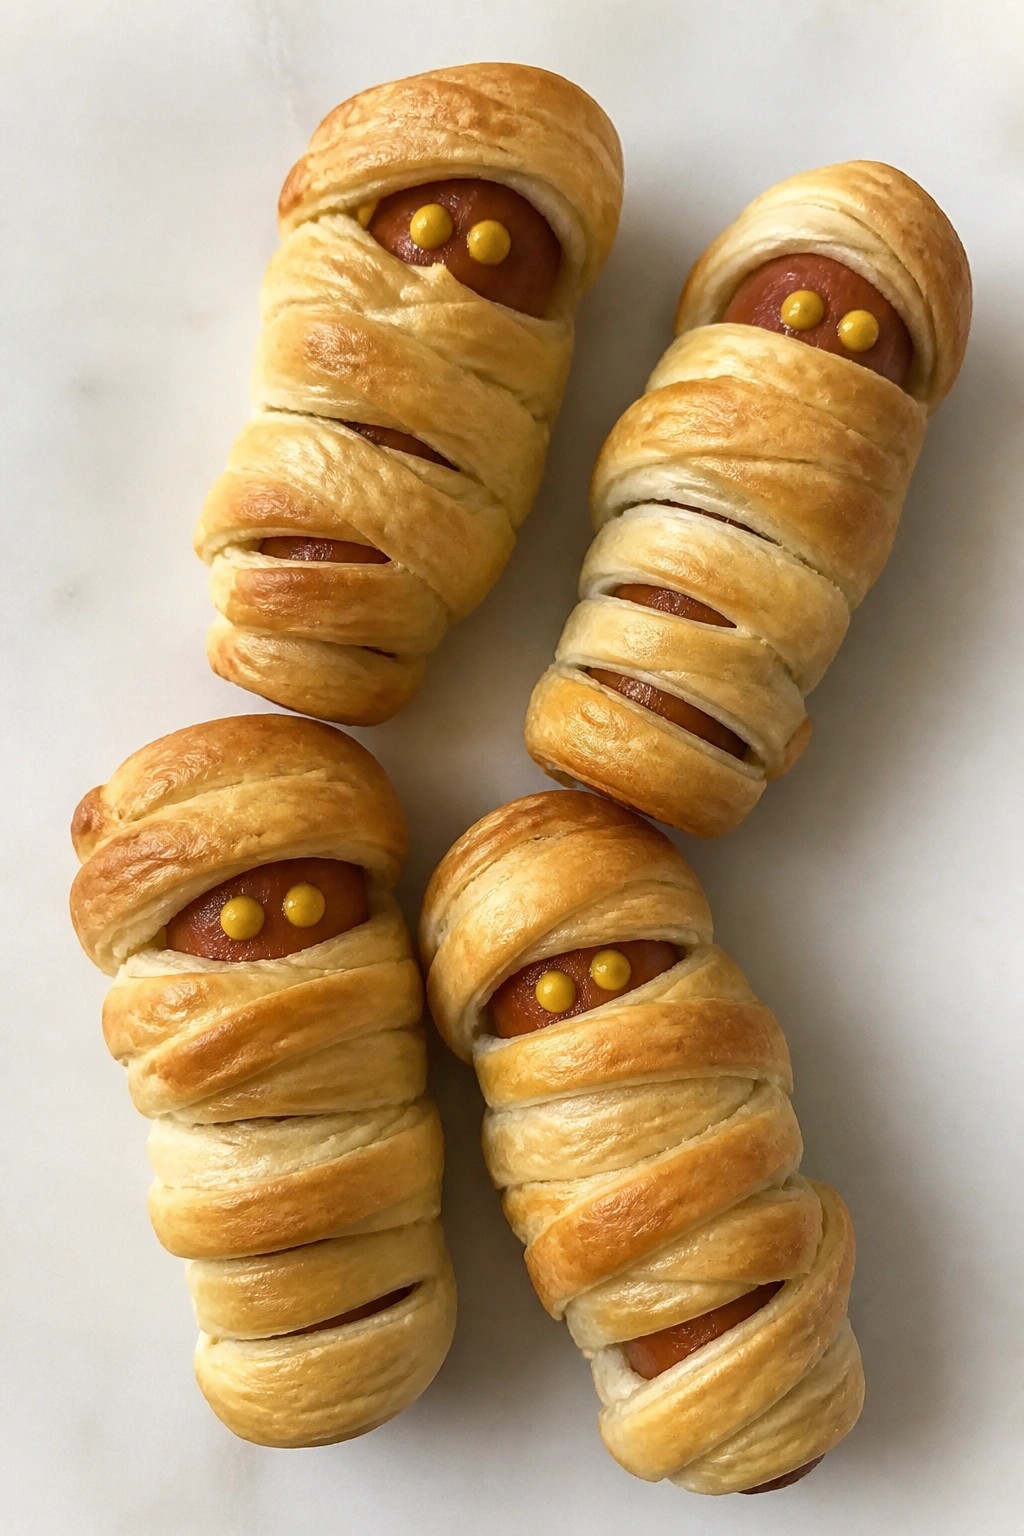
These mummy hot dogs turn a simple hot dog into a playful party bite that fits right into a kid-friendly Halloween spread. The crescent dough bakes up flaky around the sausage, giving a contrast of crisp pastry and juicy filling that children enjoy without any fuss.
Serves 4 people.
Ingredients
- 4 hot dogs
- 1 can (8 oz) refrigerated crescent roll dough
- Yellow mustard for eyes
Instructions
- Heat the oven to 375°F and line a baking sheet with parchment paper.
- Unroll the crescent dough on a cutting board and press the seams together to form one sheet.
- Cut the dough into thin strips about ½ inch wide.
- Wrap the strips around each hot dog in a crisscross pattern, leaving a small gap near one end for the face.
- Place the wrapped hot dogs on the prepared baking sheet.
- Bake for 12 to 15 minutes until the dough is golden brown.
- Let the mummies cool for a minute, then use a small amount of yellow mustard to dot two eyes on each exposed hot dog end.
Extra Tips
Wrap the dough loosely so it has room to puff and create visible bandage layers. If the strips break while wrapping, simply press the ends back together on the hot dog. These are best served warm with a side of ketchup for dipping. Course: Appetizer Cuisine: American Equipment: Baking sheet, Parchment paper, Knife
Jack-o’-Lantern Stuffed Bell Peppers
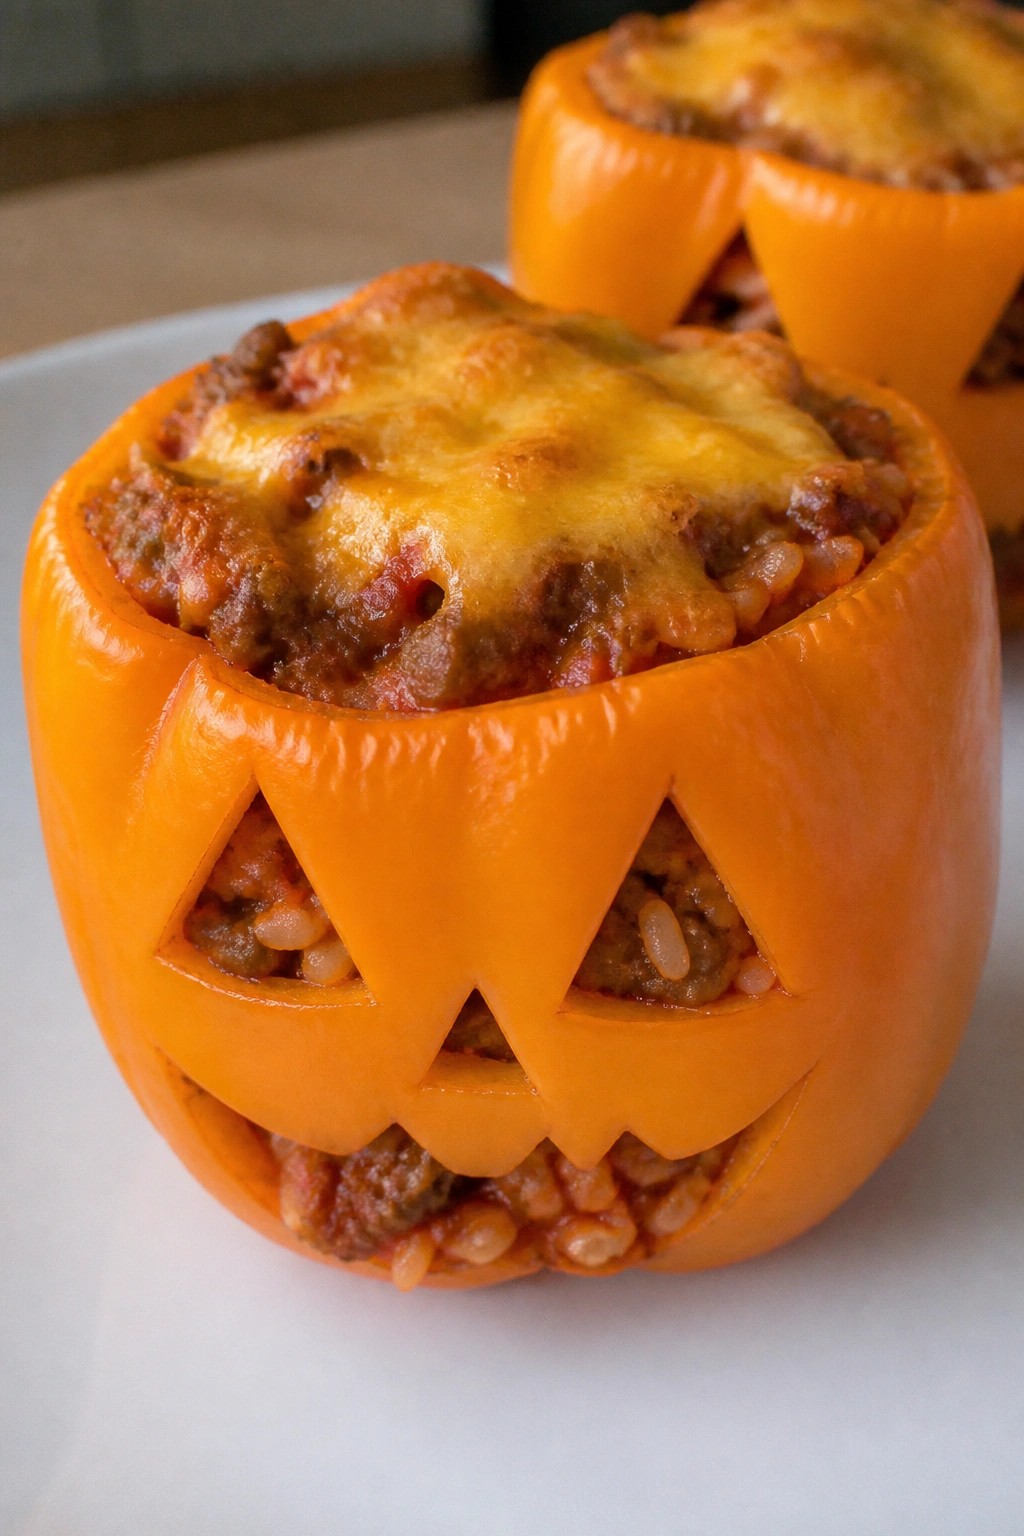
These stuffed peppers bring a playful Halloween touch to any kids’ party spread. Families can work together to carve simple faces into the peppers before filling them, turning dinner prep into an easy activity. The result is a mild, cheesy dish with tender peppers and a savory rice and meat filling that most children enjoy.
This recipe works well as a main item at a fall gathering because it feels festive without requiring special skills or hard-to-find ingredients. The orange peppers stand out on the table while the soft texture and familiar flavors keep things approachable for young guests.
Serves 4 people.
Ingredients
- 4 large orange bell peppers
- 1 pound ground beef
- 1 small onion, diced
- 2 cloves garlic, minced
- 1 cup cooked white rice
- 1 cup marinara sauce
- 1 cup shredded cheddar cheese
- 1/2 teaspoon salt
- 1/4 teaspoon black pepper
- 2 tablespoons chopped fresh parsley
Instructions
- Preheat the oven to 375 degrees F. Cut the tops off each bell pepper and remove the seeds and membranes. Use a small knife to carve simple jack-o’-lantern faces into the front of each pepper.
- Place the carved peppers in a baking dish that holds them upright. Set aside.
- Heat a large skillet over medium heat. Add the ground beef, diced onion, and minced garlic. Cook until the beef is browned and the onion is soft, breaking up the meat as it cooks.
- Stir in the cooked white rice, marinara sauce, salt, and black pepper. Cook for 2 to 3 minutes until everything is heated through and well combined.
- Remove the skillet from the heat and stir in 3/4 cup of the shredded cheddar cheese until it melts into the mixture.
- Spoon the filling evenly into the four carved peppers. Sprinkle the remaining 1/4 cup cheese over the tops.
- Bake for 25 to 30 minutes until the peppers are tender and the cheese on top is melted and lightly golden.
- Remove from the oven and sprinkle with chopped fresh parsley before serving.
Extra Tips
Choose peppers with flat bottoms so they stand steady in the baking dish after carving. If the filling seems too thick after mixing, add a splash of water to loosen it. Leftovers reheat well in the microwave with a damp paper towel over the top to keep the peppers from drying out. For a milder flavor, swap the ground beef for ground turkey. Course: Appetizer Cuisine: American Equipment: Large skillet, Baking dish, Cutting board, Knife
Chocolate-Dipped Ghost Strawberries
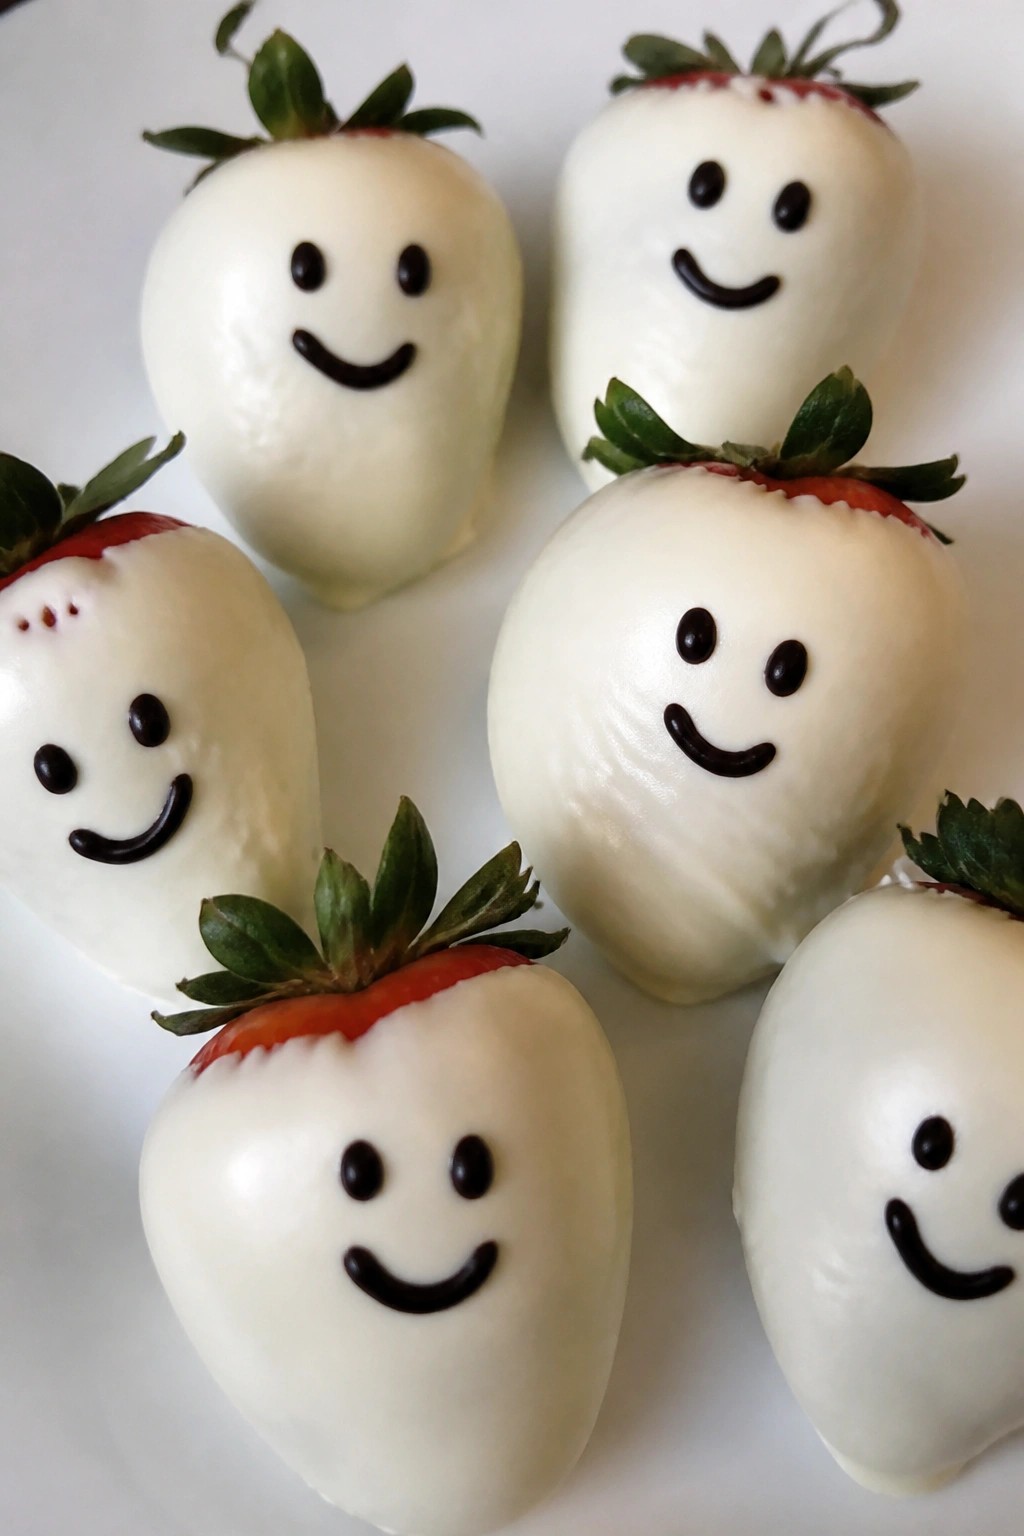
These chocolate-dipped ghost strawberries add a simple Halloween touch to any kid party spread. Fresh fruit keeps the treat light while the white coating and drawn-on faces give them a playful look that fits the theme.
The finished berries offer a creamy outer layer over a cool, juicy center. The small dark chocolate details create friendly ghost faces without extra work.
Serves 4 people.
Ingredients
- 12 large fresh strawberries
- 1 cup white chocolate chips
- 1 tablespoon coconut oil
- 1/4 cup dark chocolate chips
Instructions
- Wash the strawberries and pat them completely dry with paper towels. Set them aside on a plate.
- Place the white chocolate chips and coconut oil in a microwave-safe bowl. Heat in 20-second bursts, stirring between each, until the mixture is smooth.
- Hold each strawberry by the stem and dip it into the white chocolate, leaving the top third uncovered to form the ghost shape. Let excess chocolate drip off.
- Set the dipped strawberries on a parchment-lined baking sheet. Chill in the refrigerator for 10 minutes until the coating firms.
- Melt the dark chocolate chips in a small bowl using the same microwave method. Spoon the melted chocolate into a zip-top bag and snip a tiny corner.
- Pipe two small dots for eyes and one for a mouth on each white-coated strawberry. Return the sheet to the refrigerator for another 5 minutes to set the faces.
Extra Tips
Make sure strawberries are fully dry before dipping or the chocolate will seize. Use a toothpick to fix any uneven faces before the dark chocolate sets. Store leftovers in a single layer in the fridge for up to one day. Course: Dessert Cuisine: American Equipment: Microwave-safe bowl, Baking sheet, Parchment paper, Zip-top bag
Spiderweb Cheesy Nachos
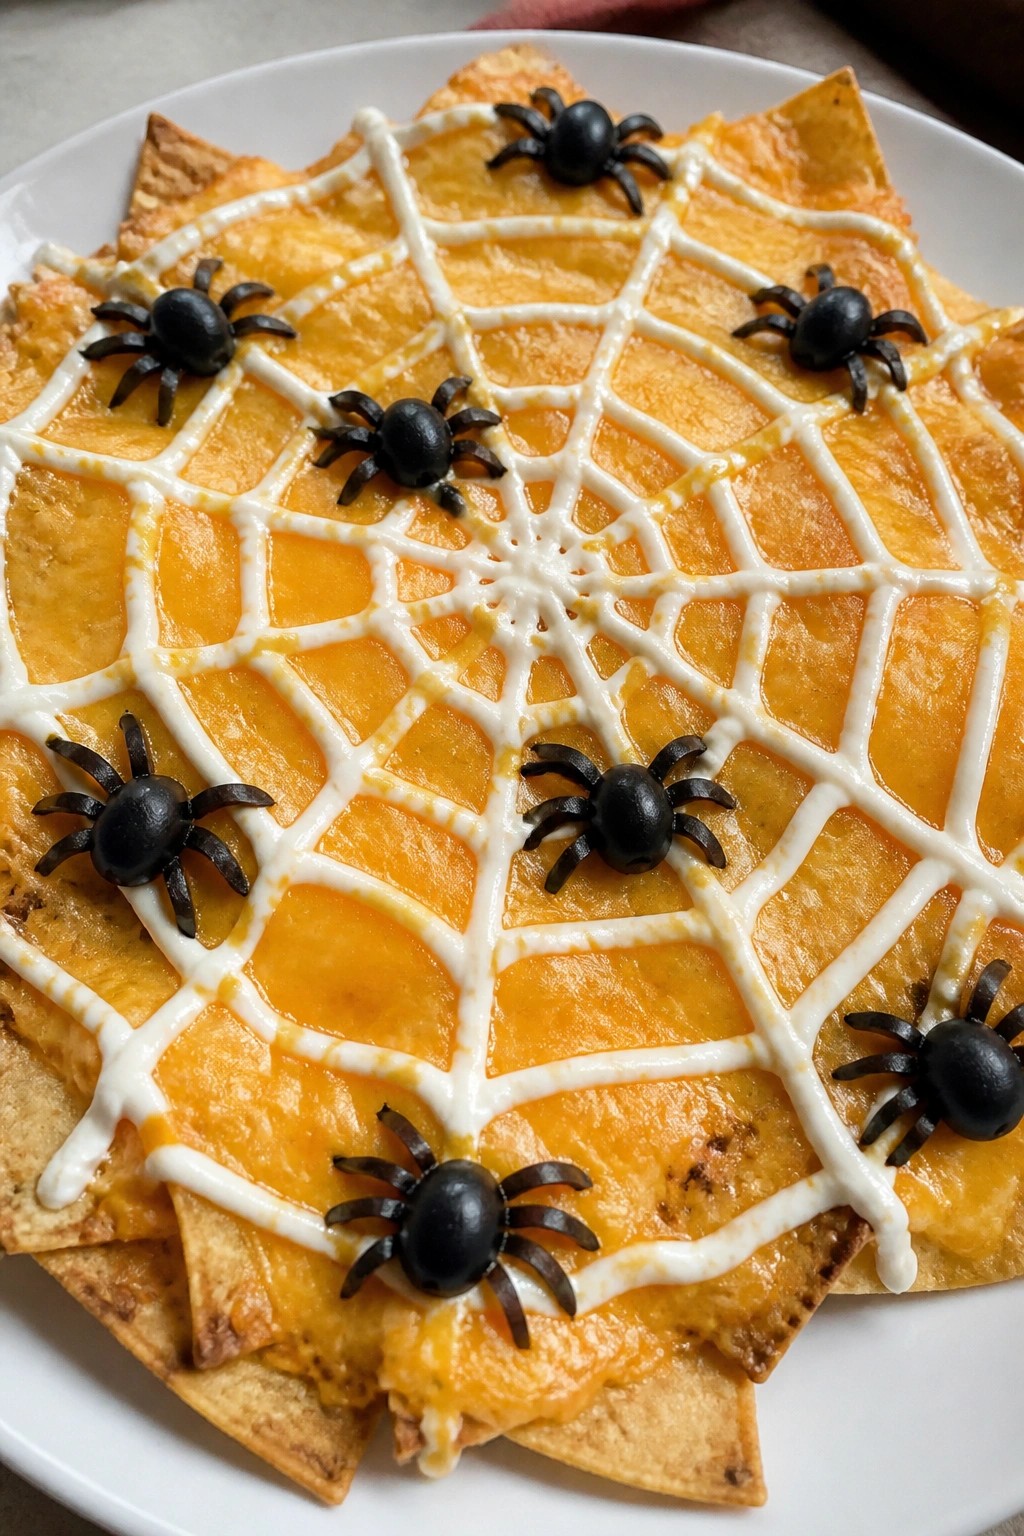
These nachos bring a simple Halloween twist to a classic snack. Kids enjoy spotting the spiderweb design while adults appreciate an easy dish that comes together quickly for a party spread. The result is a mix of crispy chips and melted cheese with a cool sour cream topping.
Serves 4 people.
Ingredients
- 8 oz bag tortilla chips
- 2 cups shredded cheddar cheese
- 1/2 cup sour cream
- 8 black olives
Instructions
- Preheat the oven to 375 degrees. Spread the tortilla chips in a single layer on a baking sheet. Sprinkle the shredded cheddar cheese evenly over the chips. Bake for 8 to 10 minutes until the cheese is fully melted. Remove the sheet from the oven. Place the sour cream in a small zip-top bag, snip off one corner, and pipe concentric circles across the cheese. Drag a toothpick from the center outward to form the web pattern. Slice the black olives in half and arrange a few on the nachos to create spider shapes.
Extra Tips
Pipe the sour cream while the cheese is still warm so the lines stay defined. Use whole black olives cut into halves and thin strips to form the spiders right on the web. Leftovers reheat best in a 350-degree oven for a few minutes to restore crispness rather than a microwave. Course: Appetizer Cuisine: American Equipment: Baking sheet, Oven, Zip-top bag
Witch Hat Pretzel Cookies
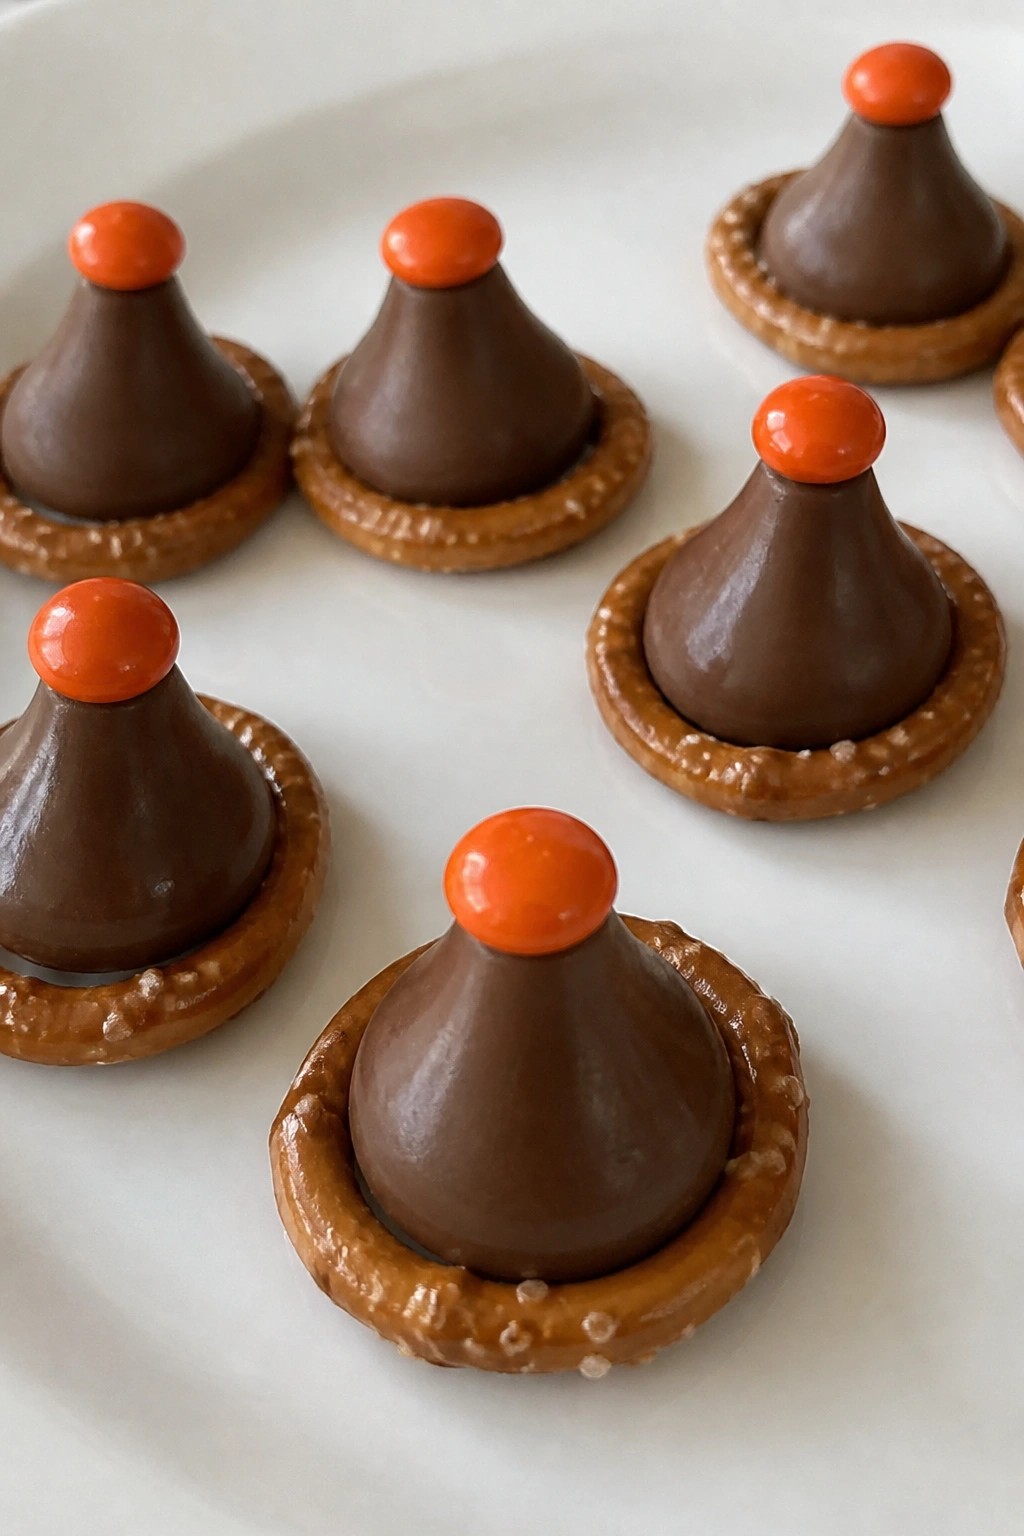
These witch hat cookies give kids a simple way to join in the fun at a Halloween party. The mix of crunchy pretzel, smooth chocolate, and sweet candy creates a balanced bite that feels festive without much effort. They work well when you need a quick snack that travels easily and holds up on a table.
Serves 4 people.
Ingredients
- 12 mini pretzel twists
- 12 milk chocolate kisses, unwrapped
- 12 orange M&Ms
Instructions
- Line a baking sheet with parchment paper and arrange the mini pretzel twists in a single layer.
- Place one milk chocolate kiss in the center of each pretzel twist with the flat side down.
- Microwave the baking sheet in 10-second bursts until the bottom of each kiss softens enough to stick to the pretzel.
- Gently press one orange M&M onto the side of each softened kiss where it meets the pretzel to form the hat band.
- Let the cookies sit at room temperature until the chocolate firms up completely.
Extra Tips
Work in small batches when microwaving so the kisses stay soft just long enough to attach the M&Ms without melting fully. Store leftovers in an airtight container at room temperature for up to two days to keep the pretzels crisp. If you want a different color band, swap the orange M&Ms for another shade that still fits the party theme. Course: Snack Cuisine: American Equipment: Baking sheet, Microwave, Parchment paper
Monster Avocado Toast Bites
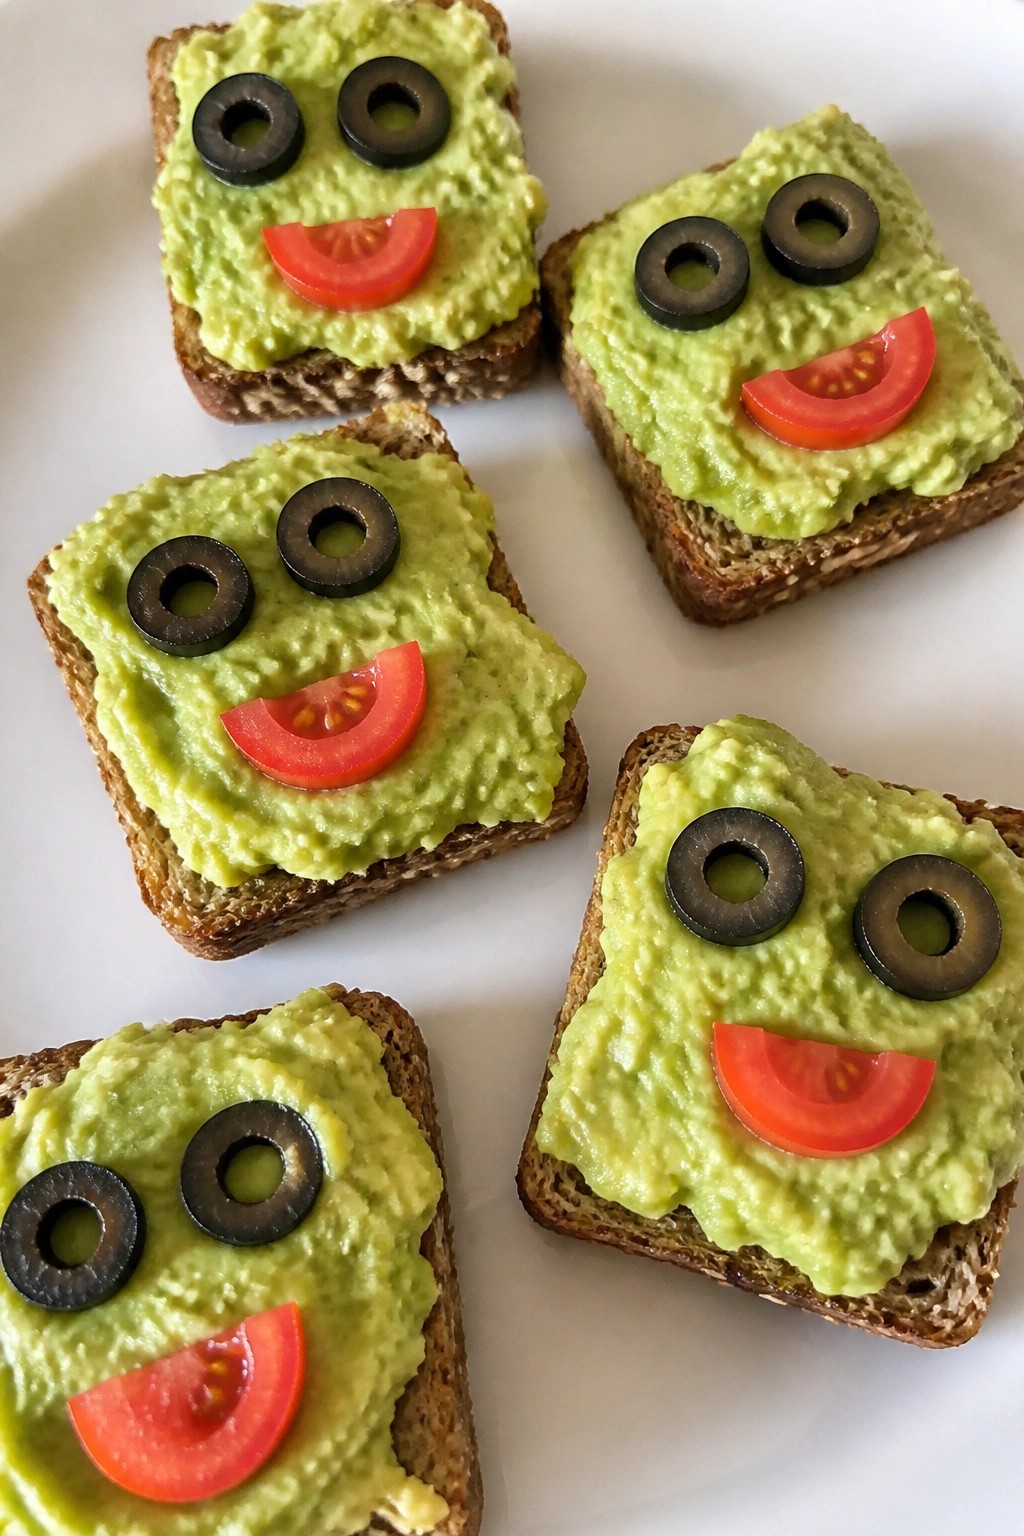
These Monster Avocado Toast Bites add a lighthearted element to a kid Halloween party table. Children enjoy adding the faces themselves, turning a simple snack into an activity that fits right into the celebration.
Creamy avocado on crisp toast gives a mild flavor and pleasant texture that most kids accept easily. The bites stay small enough for little hands and work well alongside other finger foods.
Serves 4 people.
Ingredients
- 4 slices whole grain bread
- 2 ripe avocados
- 1 tablespoon lemon juice
- 1/4 teaspoon salt
- 16 pitted black olives
- 4 cherry tomatoes
Instructions
- Place the bread slices in a toaster and toast until golden and firm.
- Cut the avocados in half, remove the pits, and scoop the flesh into a mixing bowl.
- Add the lemon juice and salt to the avocado. Mash with a fork until mostly smooth with a few small chunks remaining.
- Spread the mashed avocado evenly across each piece of toast.
- Cut each toast slice into four bite-sized squares to make 16 pieces total.
- Slice eight of the olives in half lengthwise. Set two halves on each avocado bite to form eyes.
- Cut the cherry tomatoes into small wedges or halves. Add a piece to some bites to create mouths or other simple monster features.
Extra Tips
Prepare the faces just before guests arrive so the toast stays crisp. Different olive placements and tomato shapes let kids create their own monster expressions without extra ingredients. Course: Appetizer Cuisine: American Equipment: Toaster, Mixing bowl, Knife, Fork
Candy Corn Yogurt Parfaits
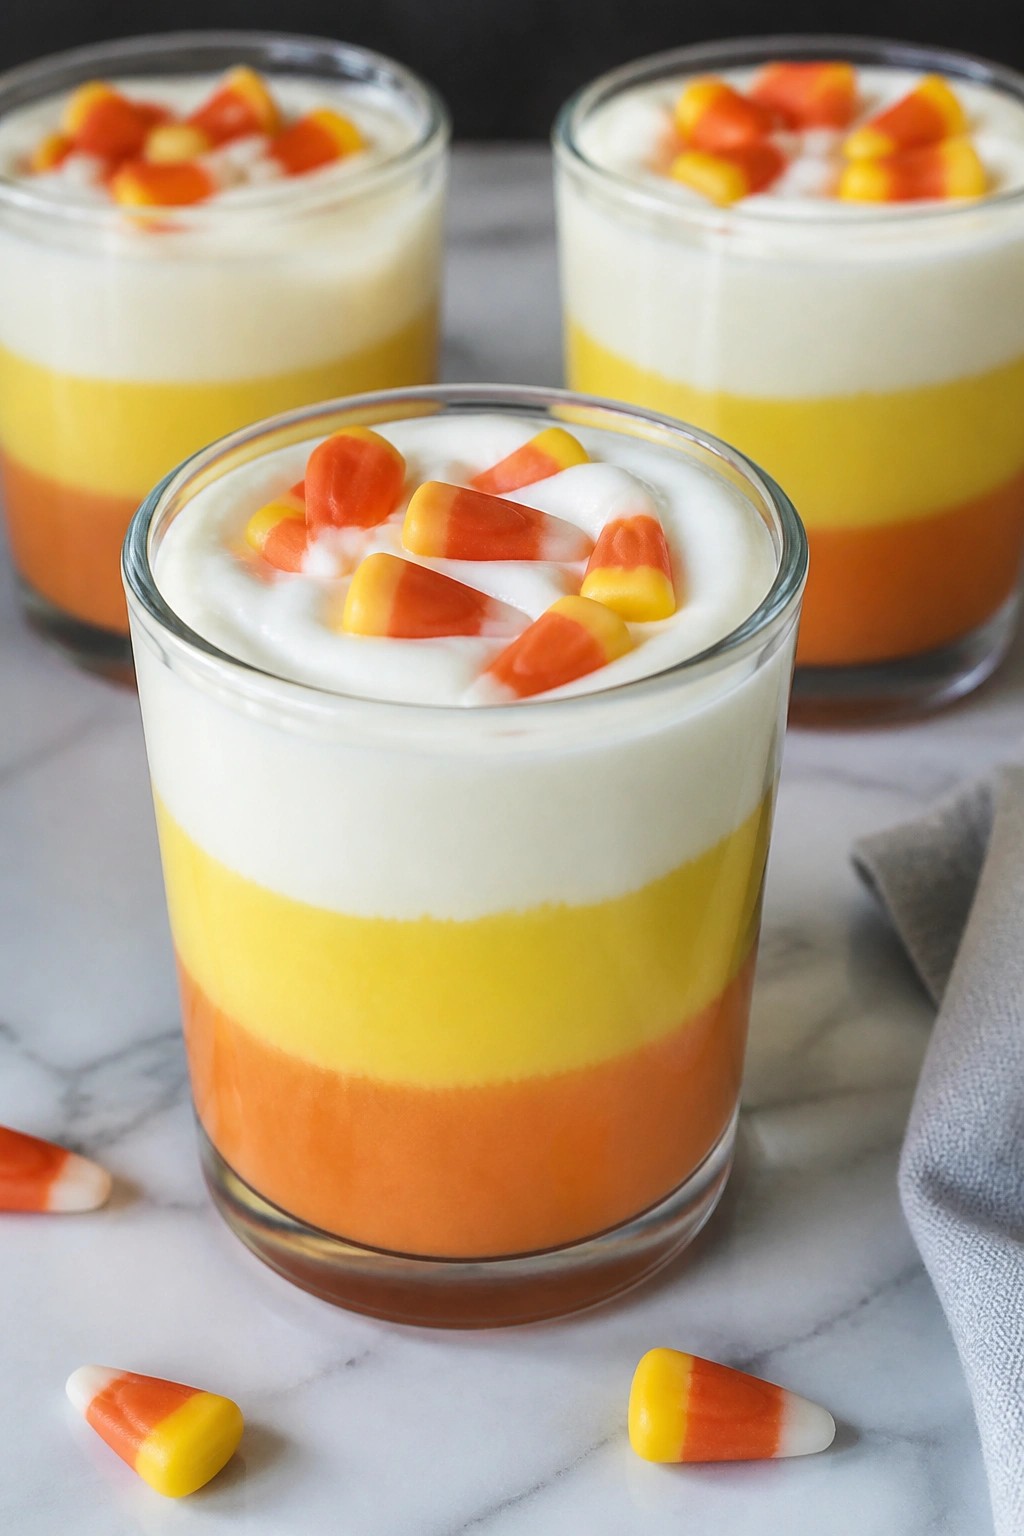
These parfaits bring the colors of candy corn into a simple layered treat. Kids enjoy building the stripes themselves, and the creamy yogurt balances the sweetness of the candy on top. The result is a light snack that feels festive without extra work.
They work well for a party table or as a quick afternoon activity. The texture stays smooth and cool, with a mild vanilla taste that pairs nicely with the chewy candy corn.
Serves 4 people.
Ingredients
- 3 cups vanilla yogurt
- Yellow food coloring
- Orange food coloring
- ½ cup candy corn
Instructions
- Divide the vanilla yogurt evenly into three bowls.
- Add yellow food coloring to the first bowl and stir until the color is uniform. Add orange food coloring to the second bowl and stir until the color is uniform. Leave the third bowl plain.
- Spoon the yellow yogurt into the bottom of four small glasses. Add a layer of the orange yogurt on top. Finish with a layer of the plain yogurt.
- Top each parfait with a small handful of candy corn just before serving.
Extra Tips
Layer the yogurt gently with a spoon to keep the colors from blending. If the candy corn starts to soften, add it right before guests arrive. For a milder look, use fewer drops of food coloring to create softer shades. Course: Dessert Cuisine: American Equipment: Mixing bowls, Spoon, Parfait glasses
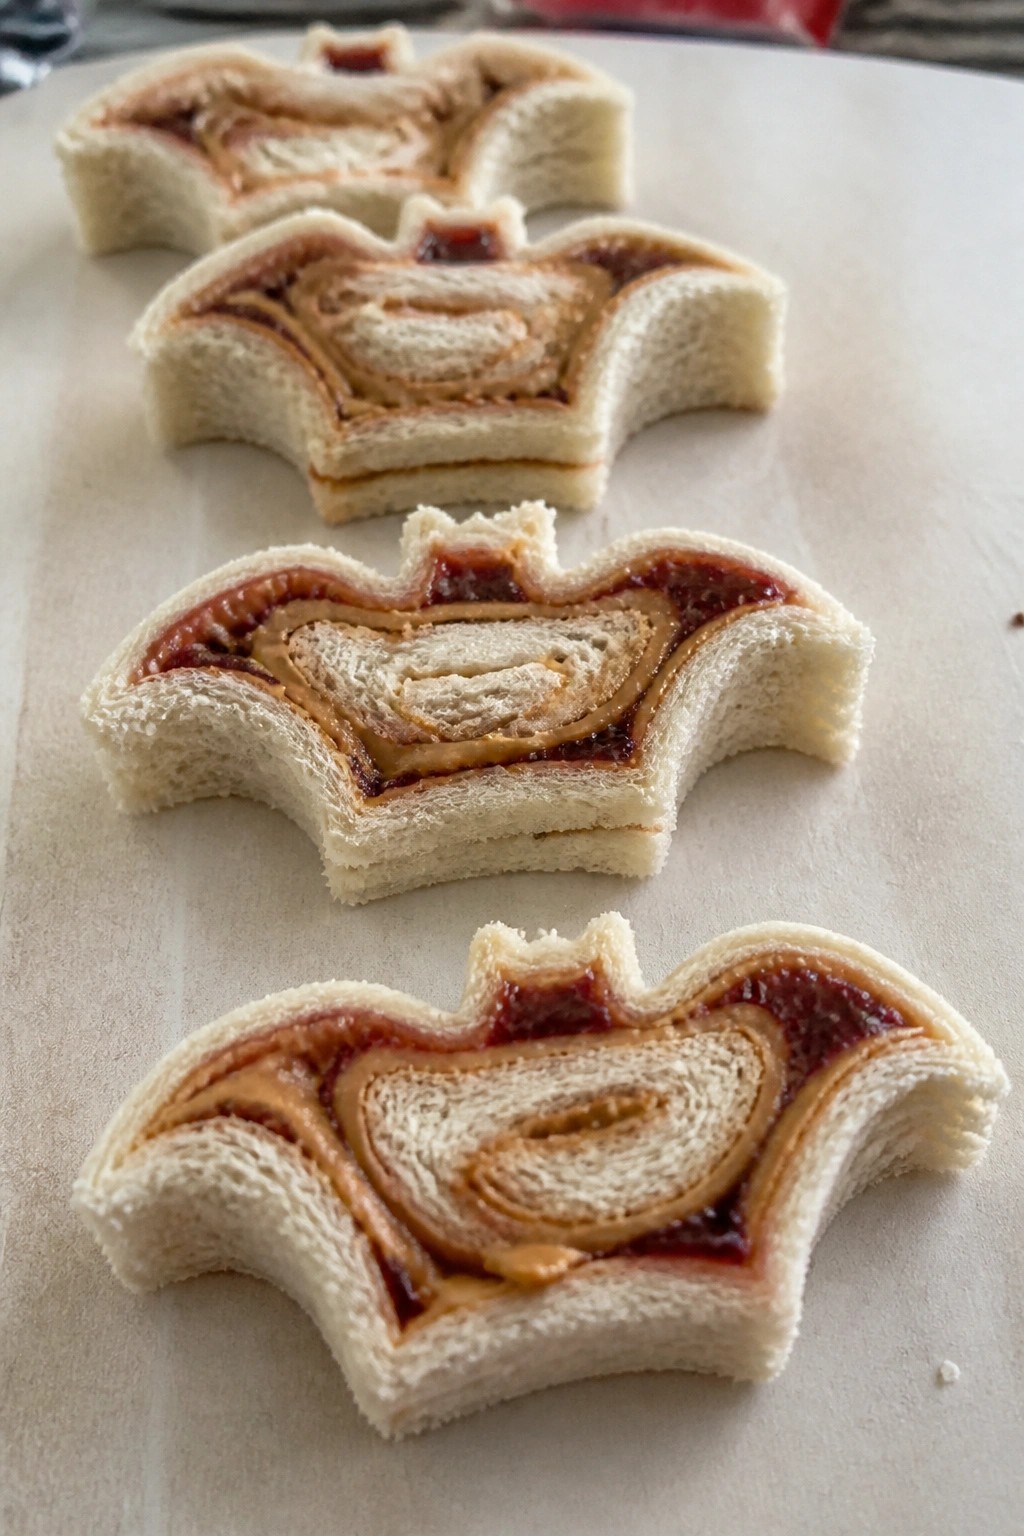
Bat-Shaped PB&J Pinwheels
These pinwheels turn a classic lunch favorite into a playful party bite. Kids enjoy the familiar peanut butter and jelly taste while the bat shape adds a light Halloween touch that fits right into a kid-friendly spread. The soft bread and creamy filling give a gentle texture that little ones can handle easily.
They work well for afternoon snacks or as part of a larger buffet table. The simple rolling method keeps prep straightforward and lets the shapes stand out without extra decoration.
Serves 4 people.
Ingredients
- 4 slices white bread
- 1/4 cup creamy peanut butter
- 1/4 cup strawberry jelly
Instructions
- Lay each slice of bread on a flat surface and trim off the crusts.
- Spread an even layer of peanut butter across one side of every bread slice.
- Spread the strawberry jelly over the peanut butter on each slice.
- Roll each slice tightly from one short end to the other to form a log.
- Slice each log into four equal rounds to create the pinwheels.
- Use a bat-shaped cutter to press shapes from the center of each round.
Extra Tips
Press the rolls firmly before slicing so the pinwheels hold together without unrolling. Strawberry jelly gives good color contrast against the bread. If the bread feels dry, warm it slightly between damp paper towels first to help it roll without cracking. Course: Snack Cuisine: American Equipment: Rolling pin, Sharp knife, Cutting board
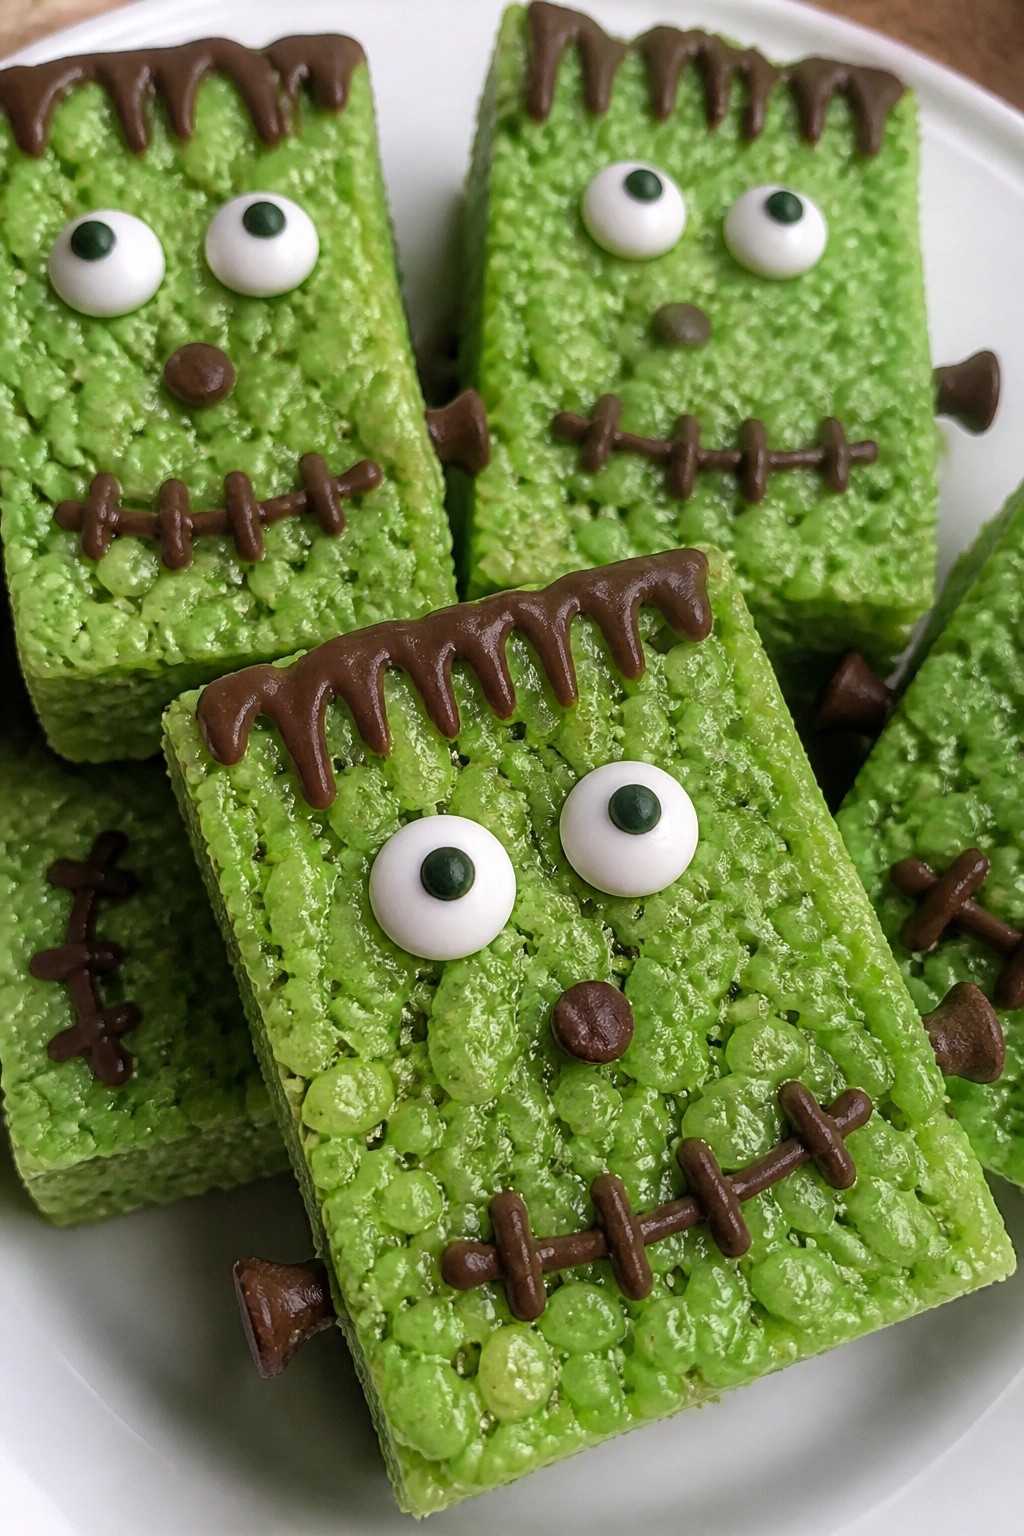
Frankenstein Rice Krispie Treats
These green monster treats bring a simple Halloween twist to a classic snack that kids already love. They work well for a party table because they hold their shape and look playful without needing fancy skills. The texture stays chewy with a light crisp from the cereal, while the flavor stays sweet and familiar.
Serves 4 people.
Ingredients
- 2 tablespoons unsalted butter
- 20 large marshmallows
- 3 cups Rice Krispies cereal
- 8 drops green food coloring
- 8 candy eyes
- 1/4 cup semisweet chocolate chips
Instructions
- Melt the butter in a large saucepan over low heat. Add the marshmallows and stir until they are fully melted and smooth. Remove the pan from the heat and stir in the green food coloring until the mixture turns an even shade of green. Add the Rice Krispies cereal and stir quickly until every piece is coated. Press the mixture into a greased 8×8 pan and let it cool for 10 minutes until it firms up. Cut the cooled block into four rectangles. Melt the chocolate chips in a small microwave-safe bowl in 20-second bursts, stirring between each burst. Use the melted chocolate to attach two candy eyes to each rectangle and to draw a mouth and hair on top.
Extra Tips
Press the cereal mixture firmly into the pan so the treats hold their rectangle shape after cutting. If the chocolate sets too quickly, warm it for a few more seconds before piping the hair and mouth lines. Store leftovers in an airtight container at room temperature for up to two days to keep the cereal crisp. Course: Dessert Cuisine: American Equipment: Large saucepan, Mixing bowl, Microwave-safe bowl, 8×8 pan
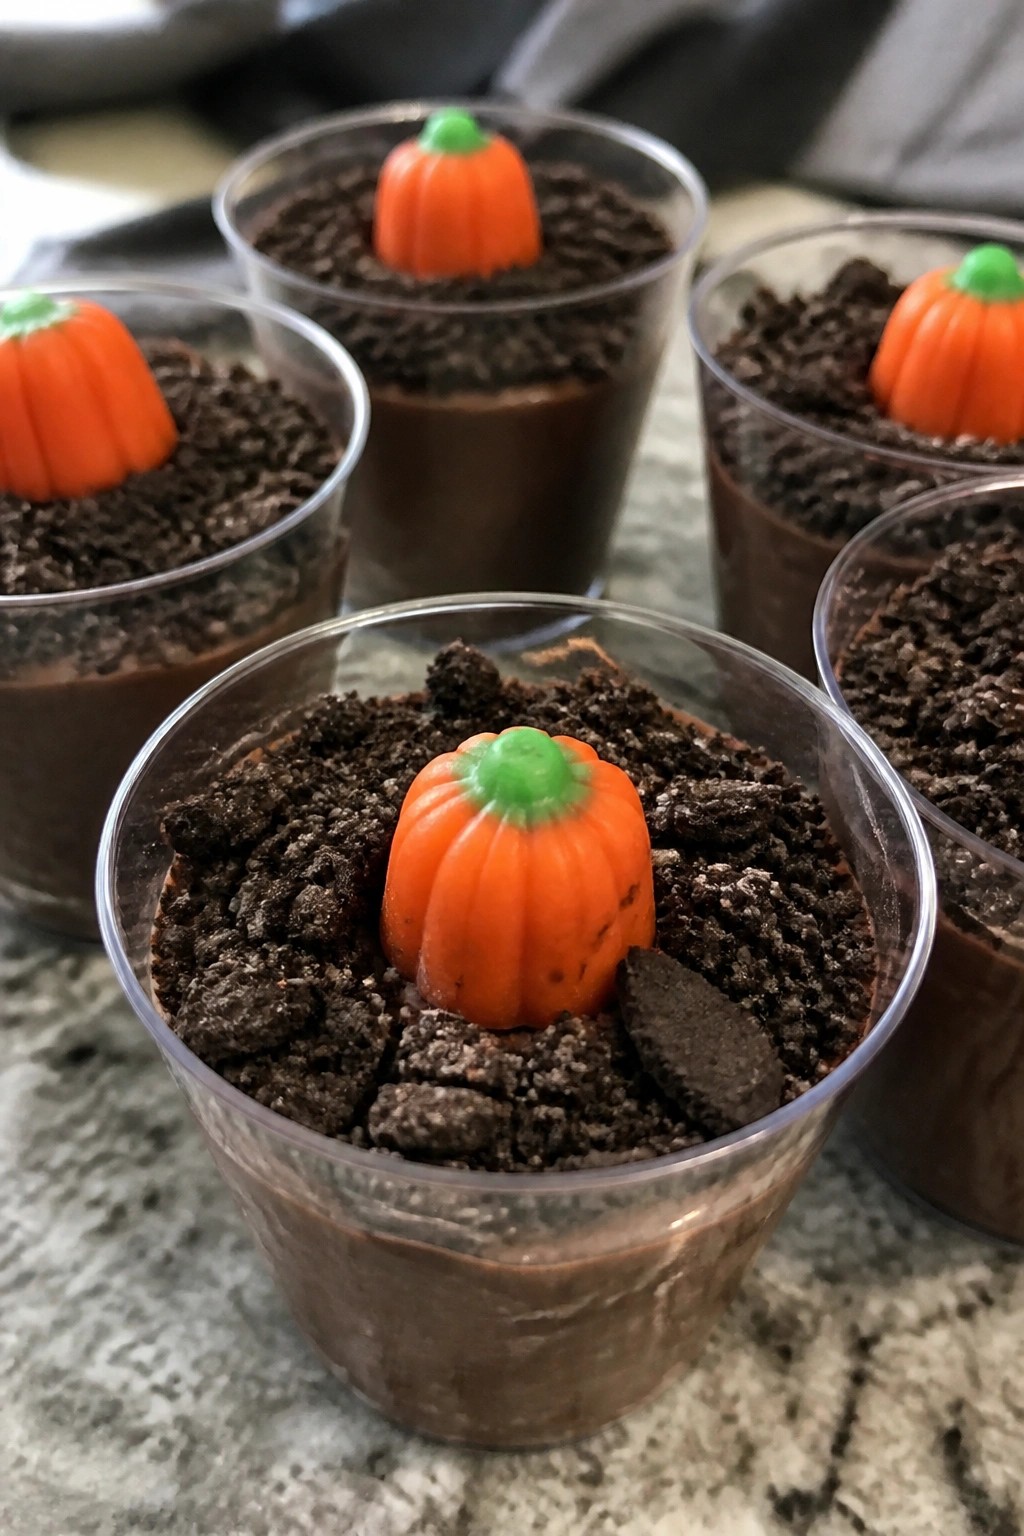
Pumpkin Patch Dirt Pudding Cups
These pudding cups turn a classic chocolate dessert into a playful Halloween treat. Kids enjoy spotting the candy pumpkins nestled in the cookie "dirt," and the cups work well for party tables or small group activities. The texture combines smooth pudding with crunchy cookie pieces and a bit of chew from the candy.
The flavor stays mild and chocolate-forward, so it appeals to most young guests without being too rich.
Serves 4 people.
Ingredients
- 1 (3.9-ounce) package instant chocolate pudding mix
- 2 cups cold milk
- 16 chocolate sandwich cookies, crushed
- 12 pumpkin-shaped candies
Instructions
- Pour the cold milk into a mixing bowl and add the instant chocolate pudding mix. Whisk for two minutes until the mixture thickens.
- Let the pudding sit for five minutes so it firms up slightly.
- Spoon a layer of pudding into the bottom of each serving cup.
- Sprinkle a layer of crushed chocolate sandwich cookies over the pudding.
- Repeat with another layer of pudding and finish with more crushed cookies on top to create the dirt effect.
- Press three pumpkin-shaped candies gently into the cookie layer on each cup.
Extra Tips
Crush the cookies just before assembly so they stay crisp. If the pudding thickens too much while you work, give it a quick stir before the next layer. Store finished cups in the refrigerator and add the candies right before serving to keep their shape. Course: Dessert Cuisine: American Equipment: Mixing Bowl, Whisk, Serving Cups